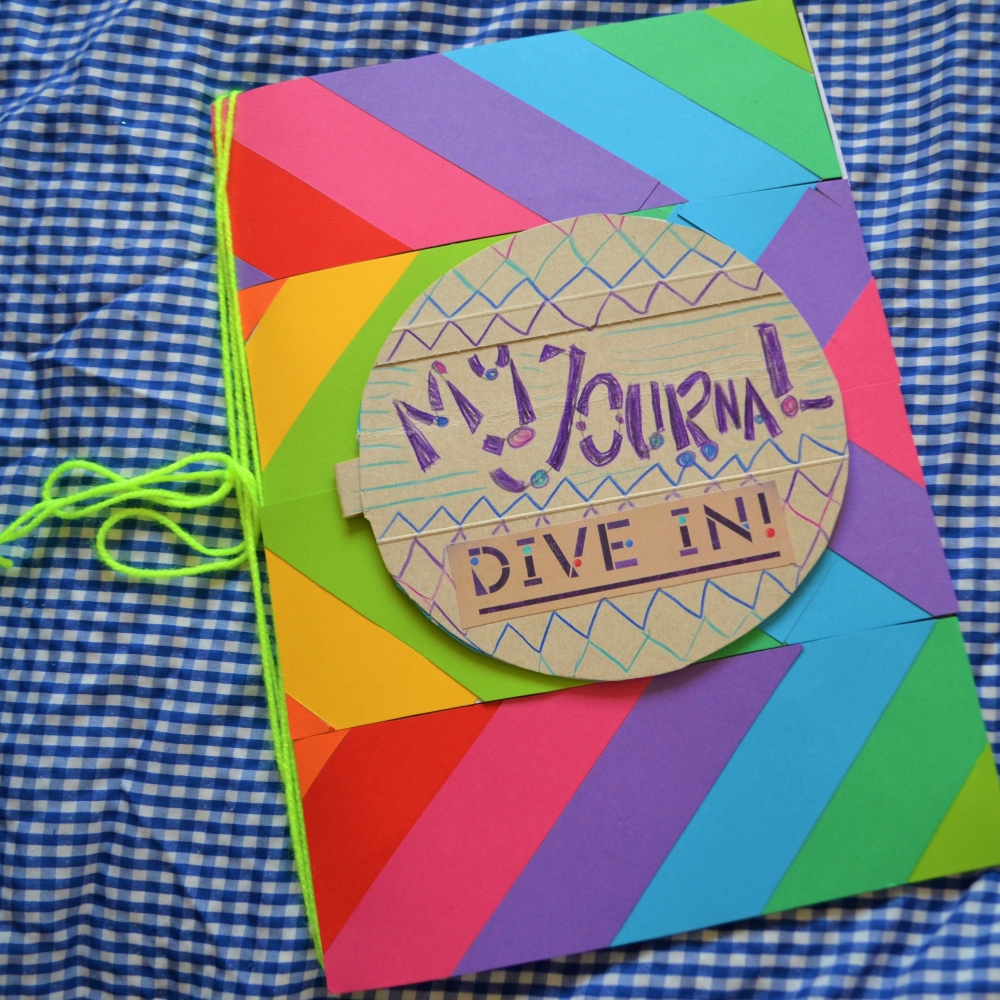
Are you inspired by Tiikat to create your own journal? This is how to make a journal cover like his.
Tiikat was happy to share his ideas because he would love it if you wrote about some of your own adventures just like he has!
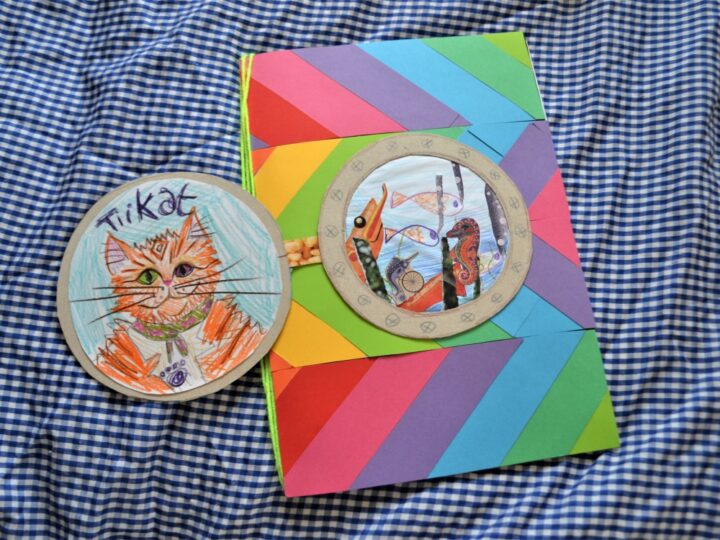
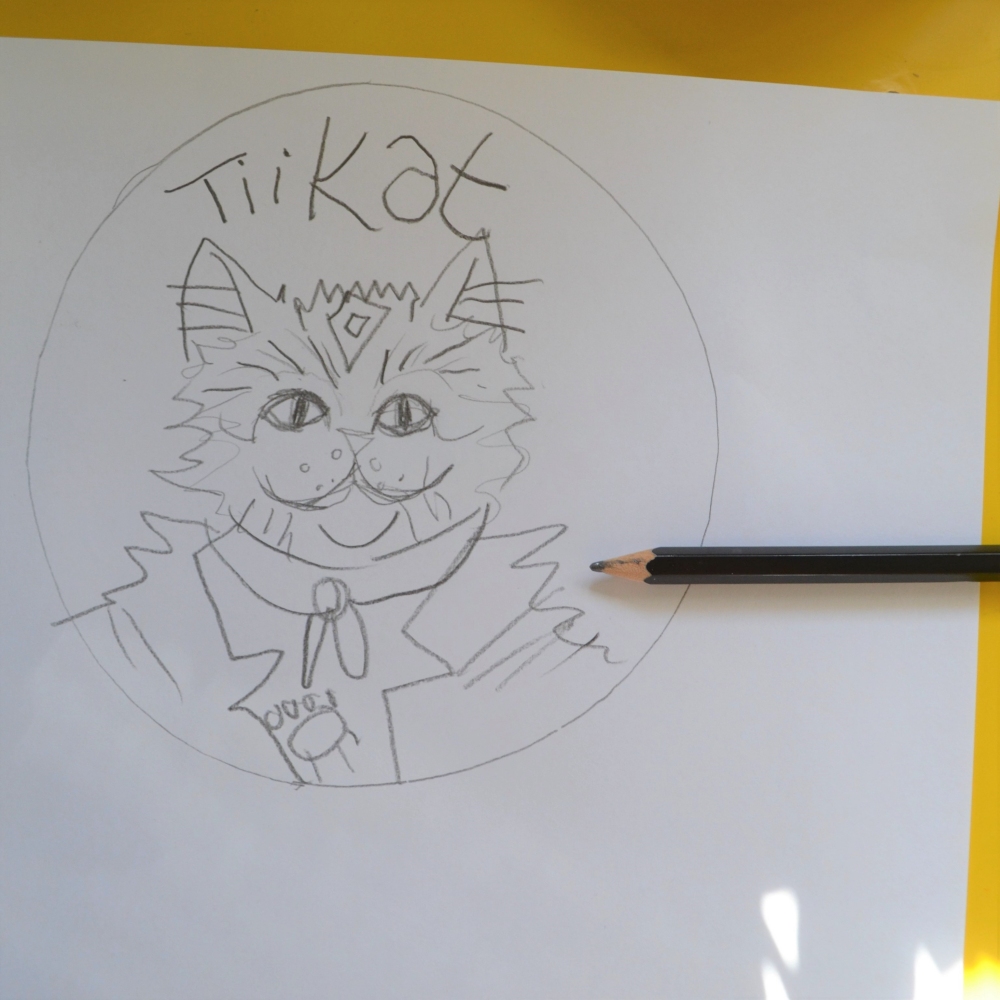
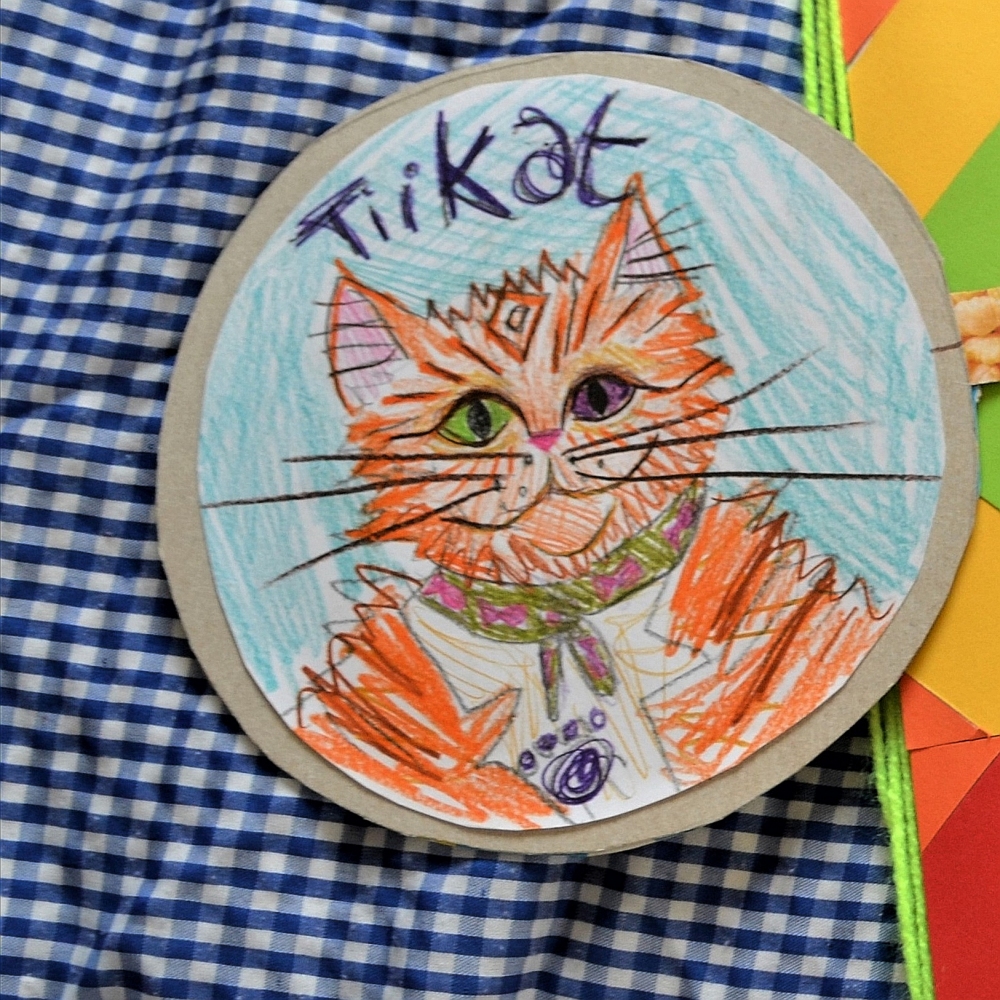
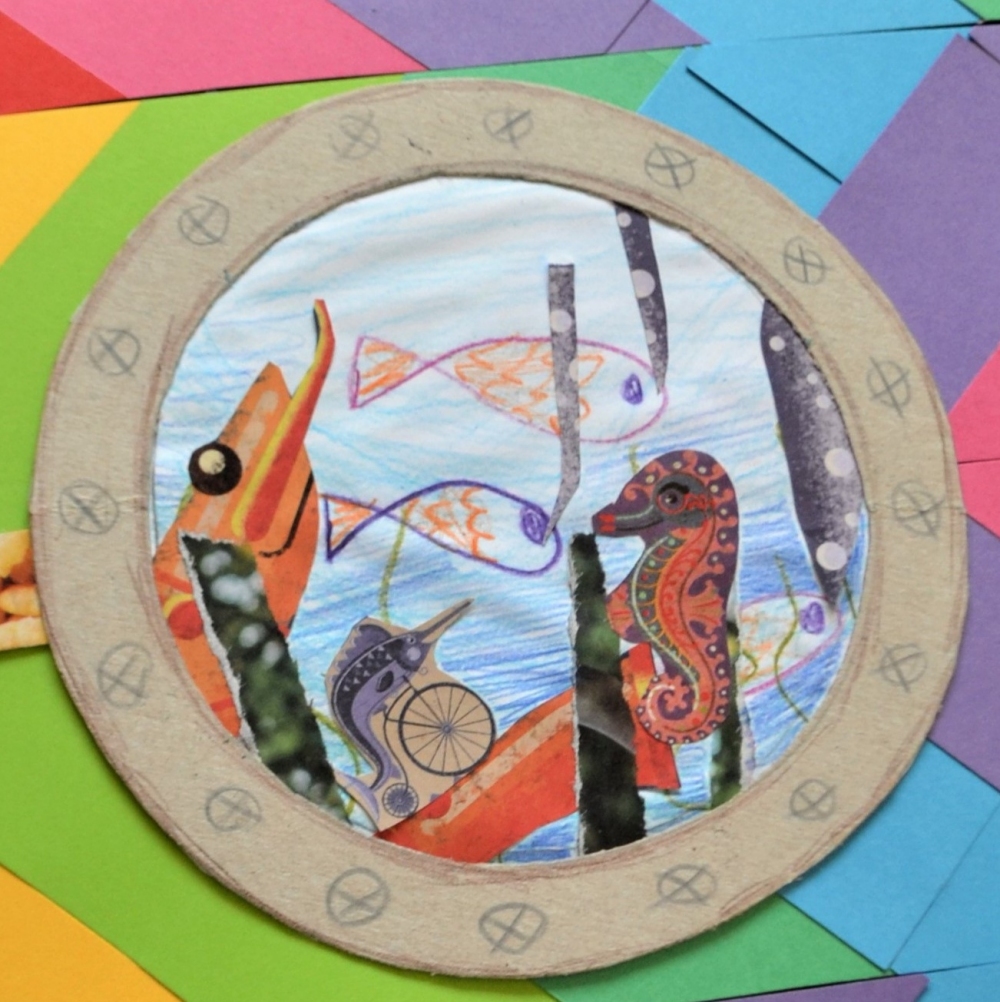
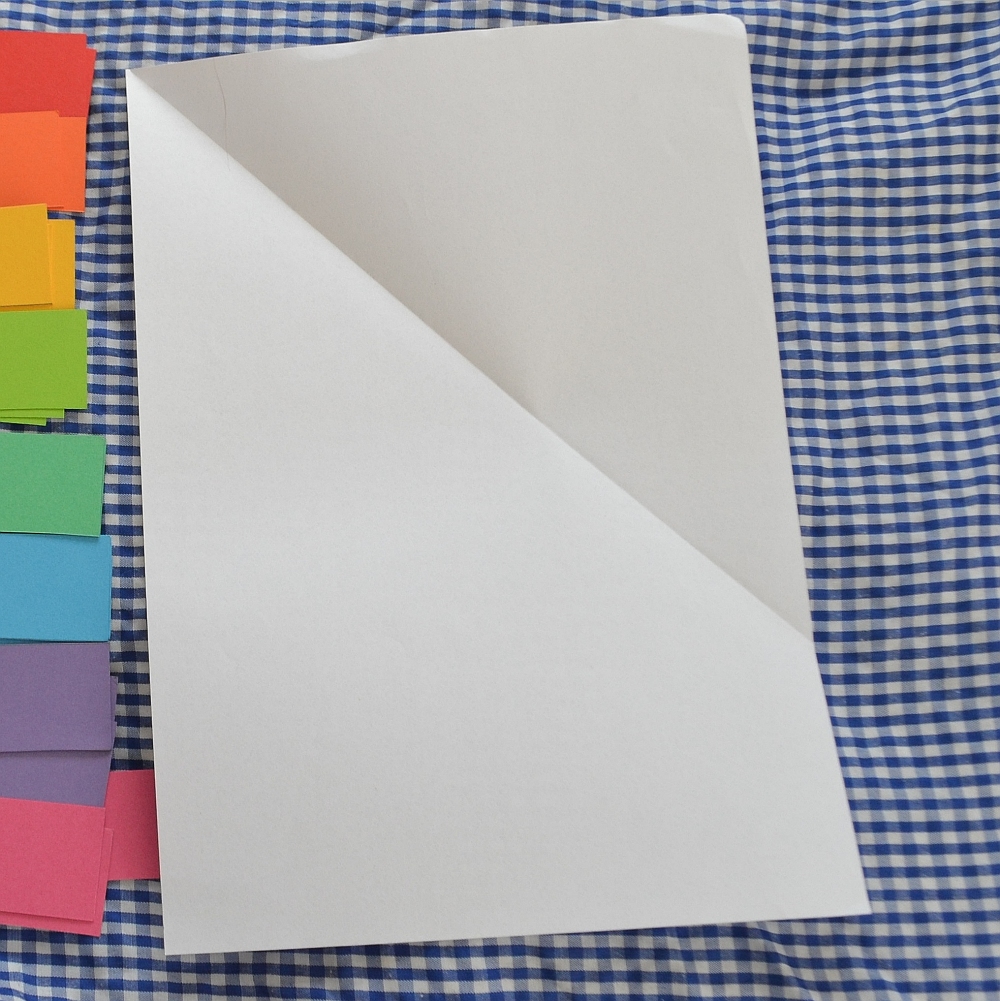
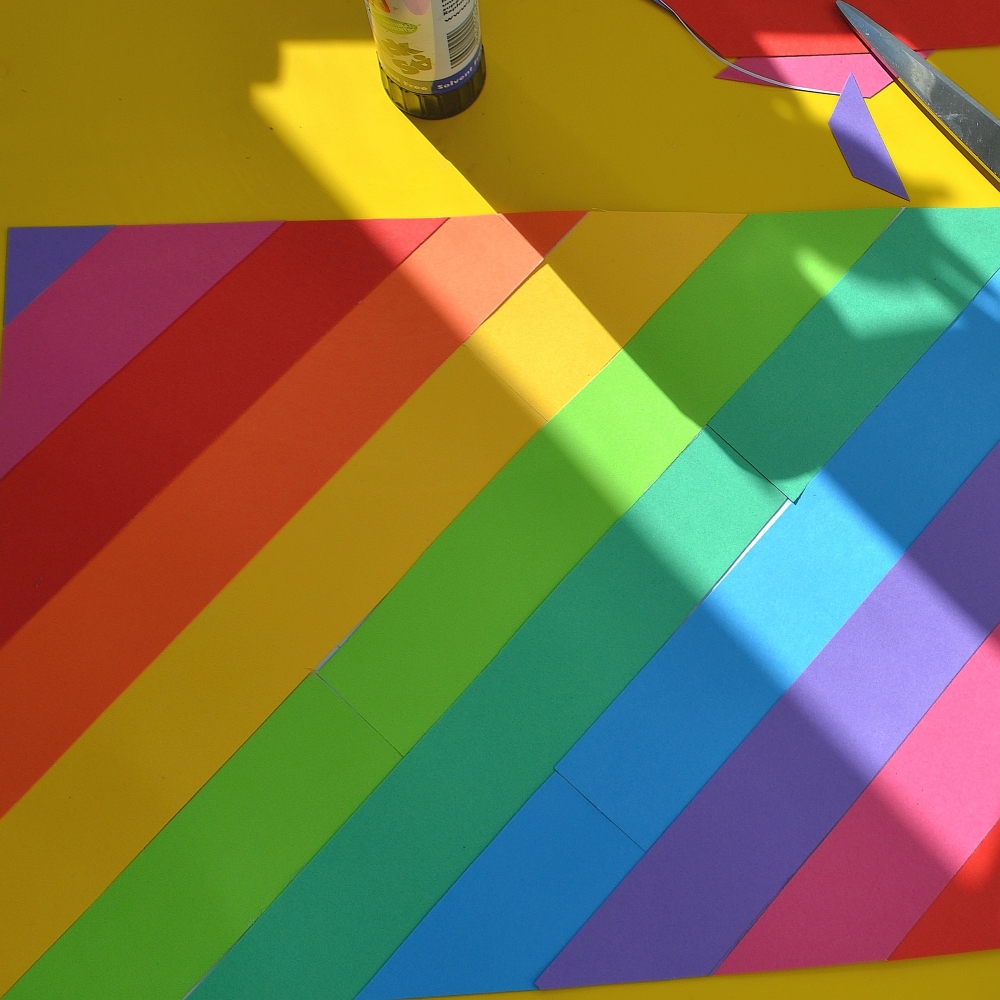
Did you know that Tiikat’s journal looks like the inside of one of his bedroom walls on The Purrpoise? The background looks like the planks of wood on his wall and then there is a porthole of course.
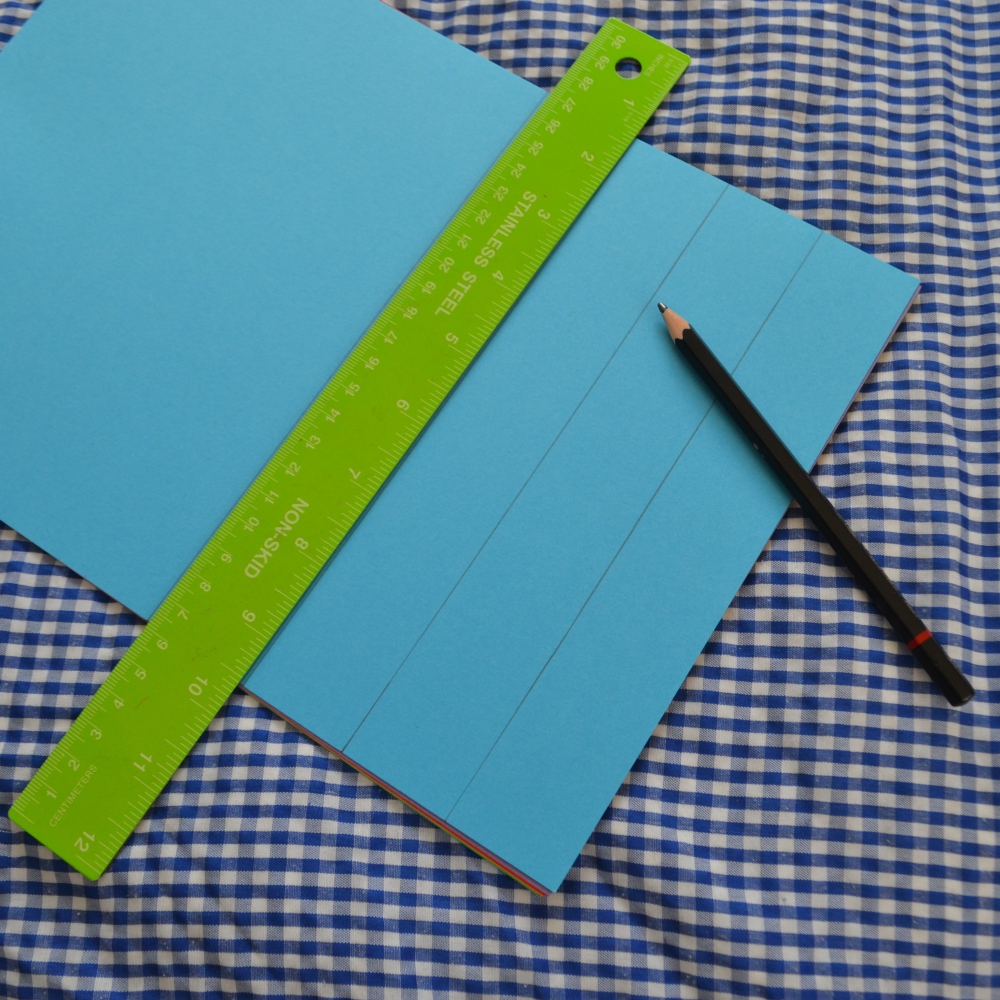
Fun Fact – Diagonal planks of wood are also used in lots of Finnish buildings and we think that they look great!
Hint – You could choose to personalise your journal differently to look like the inside of your own bedroom. You could be inspired by Tiikat’s journal to create a porthole picture on a different style of background, or use the striped background without a porthole picture.
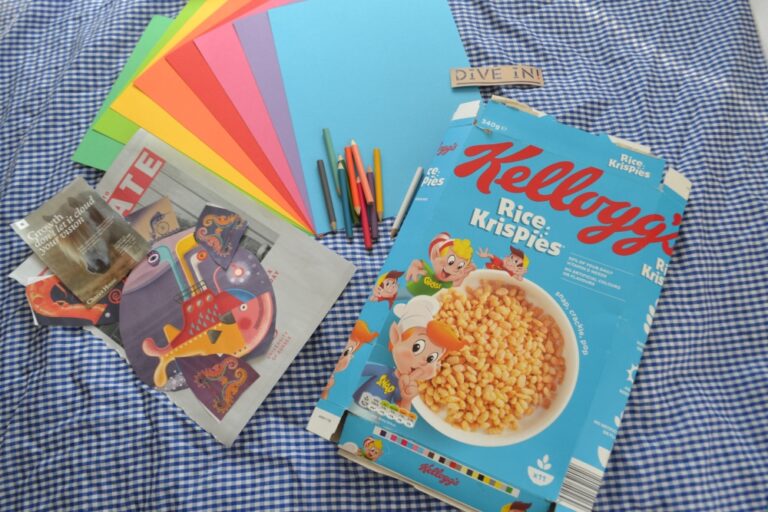
If you want you could just cover your journal with pictures of your favourite things! There are no rules, this journal is just for you and your ideas…
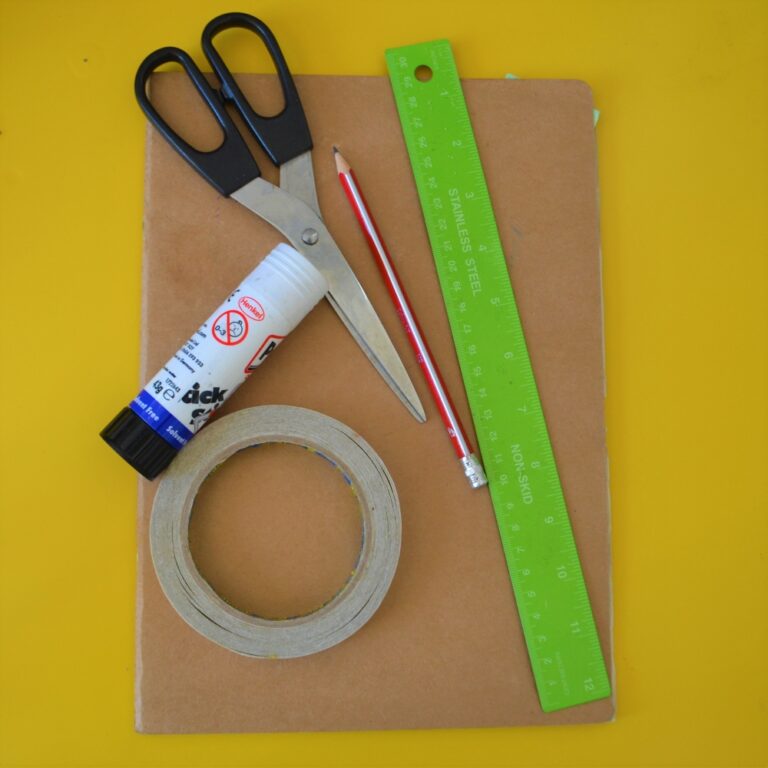
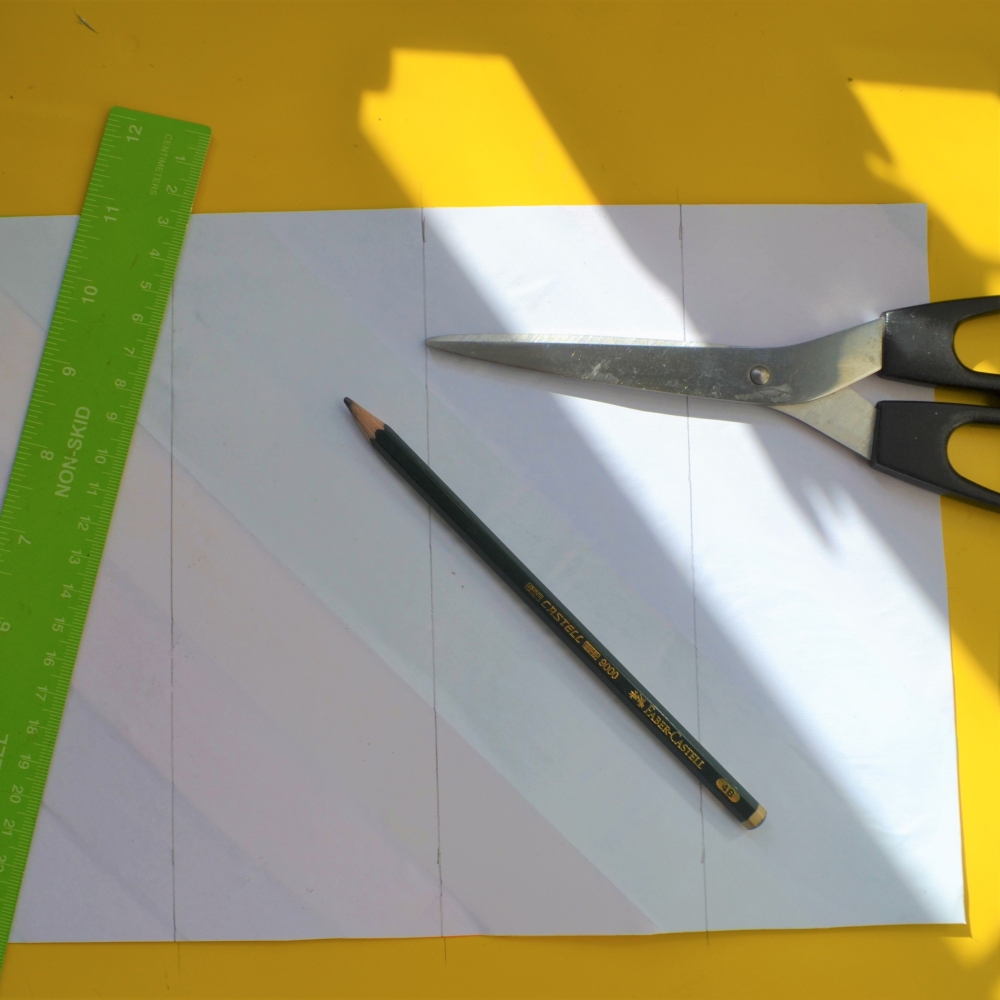
Difficulty Level:
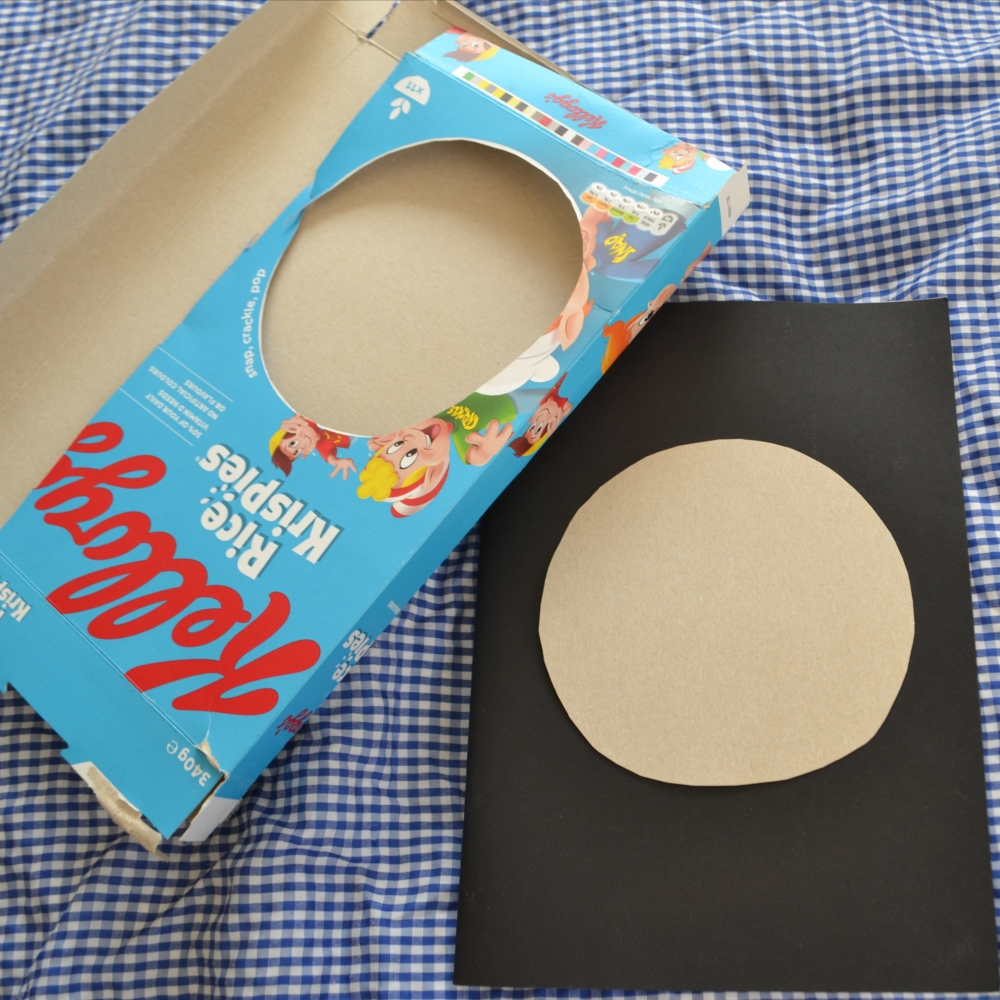
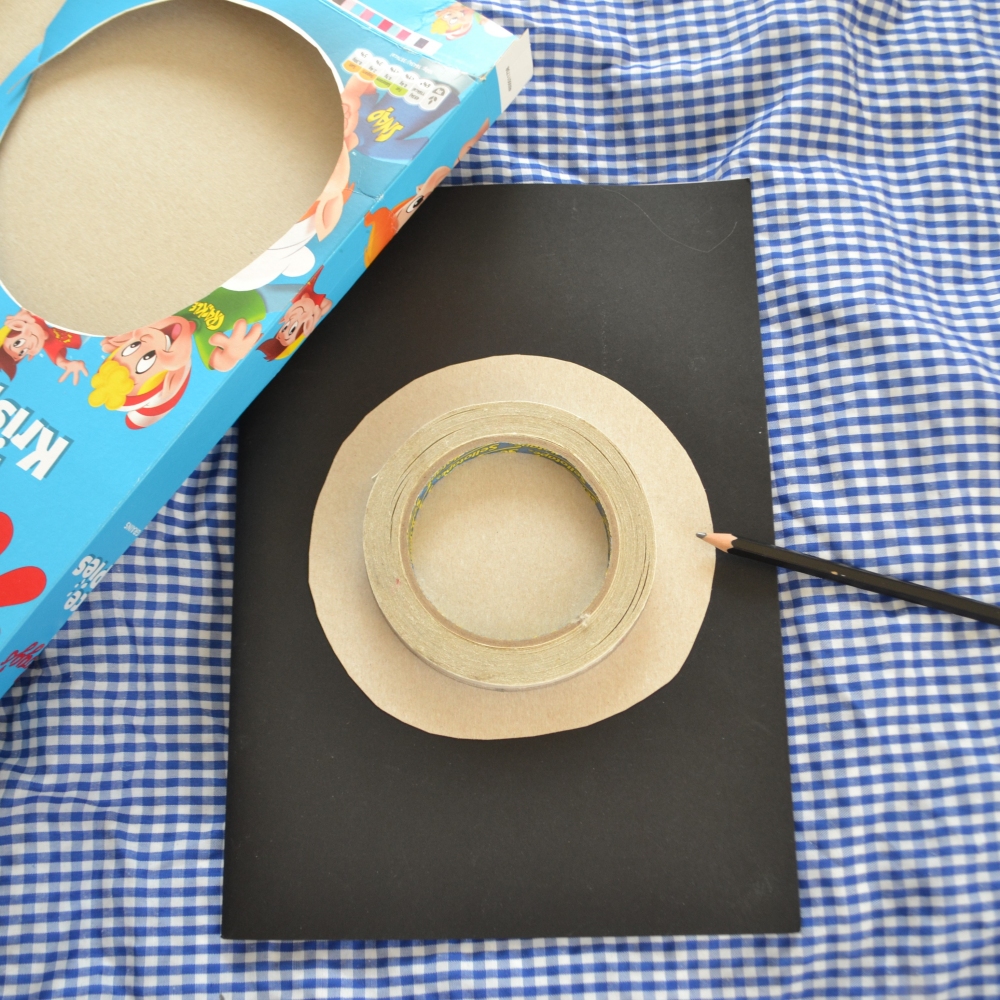
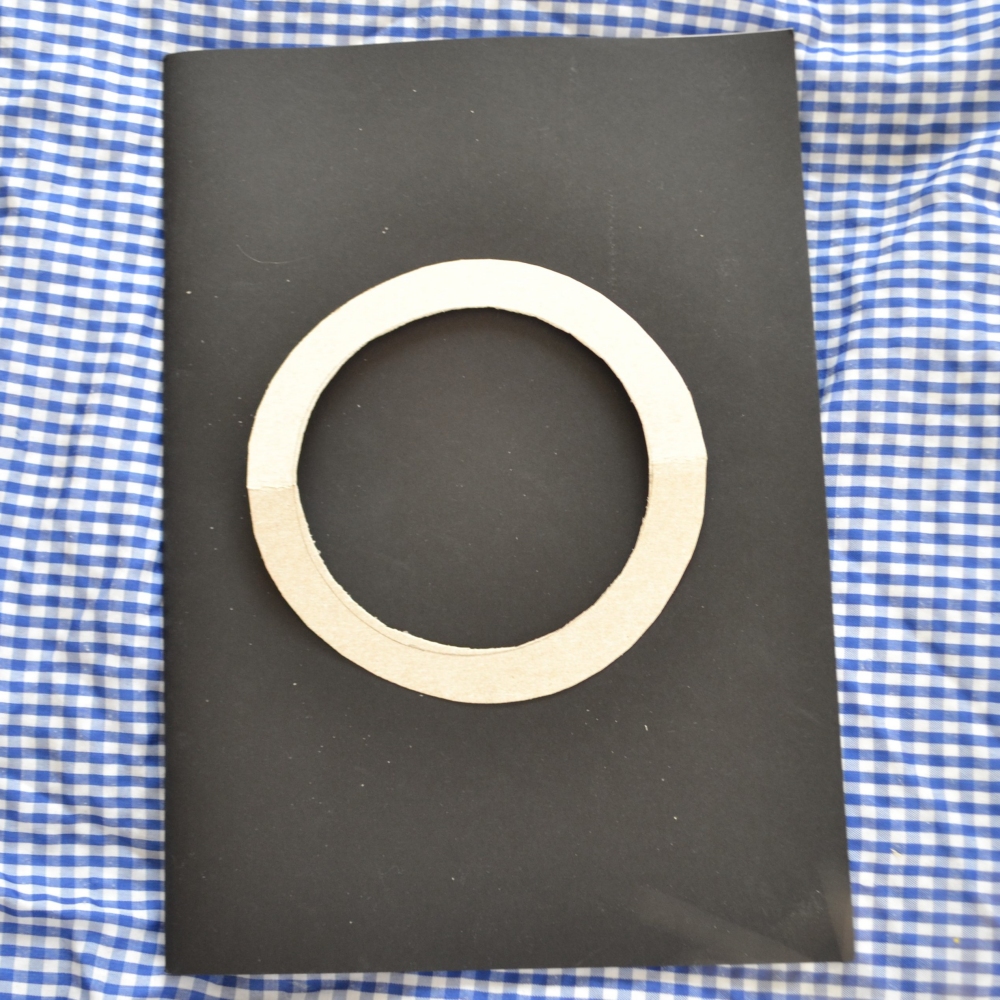
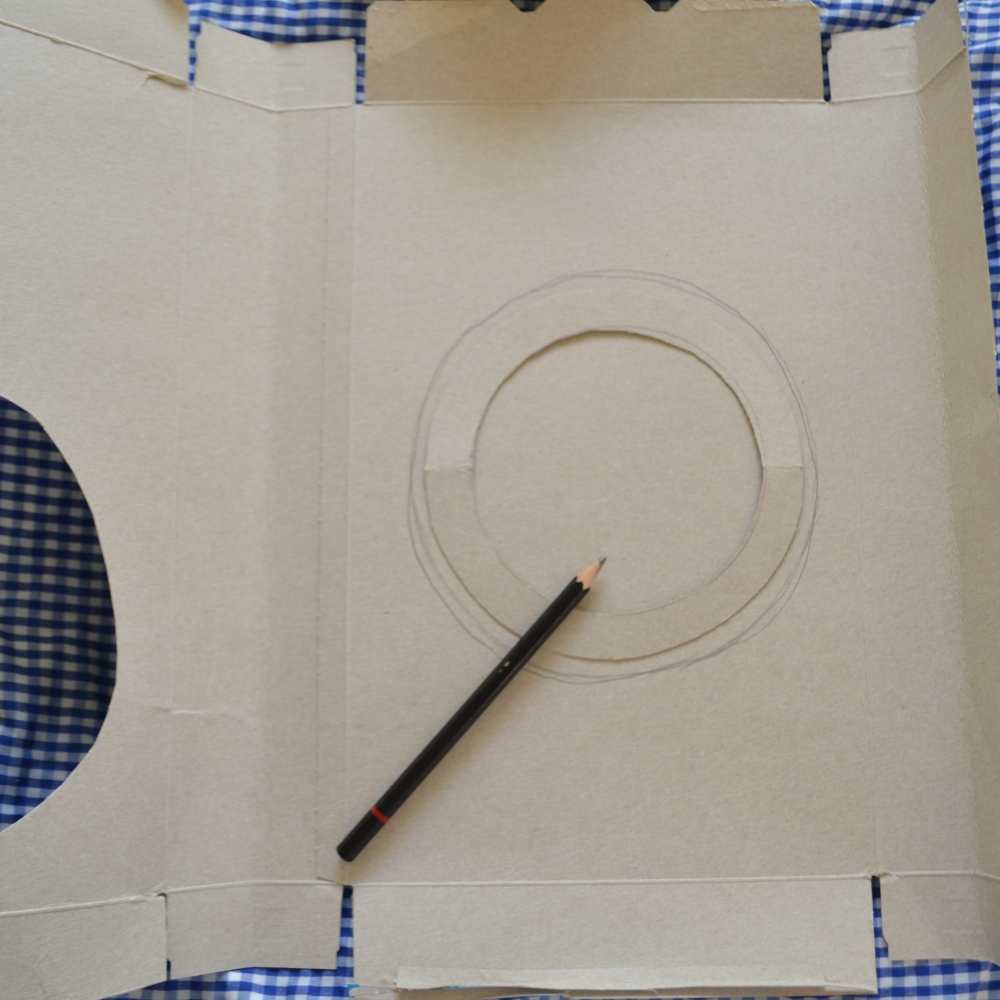
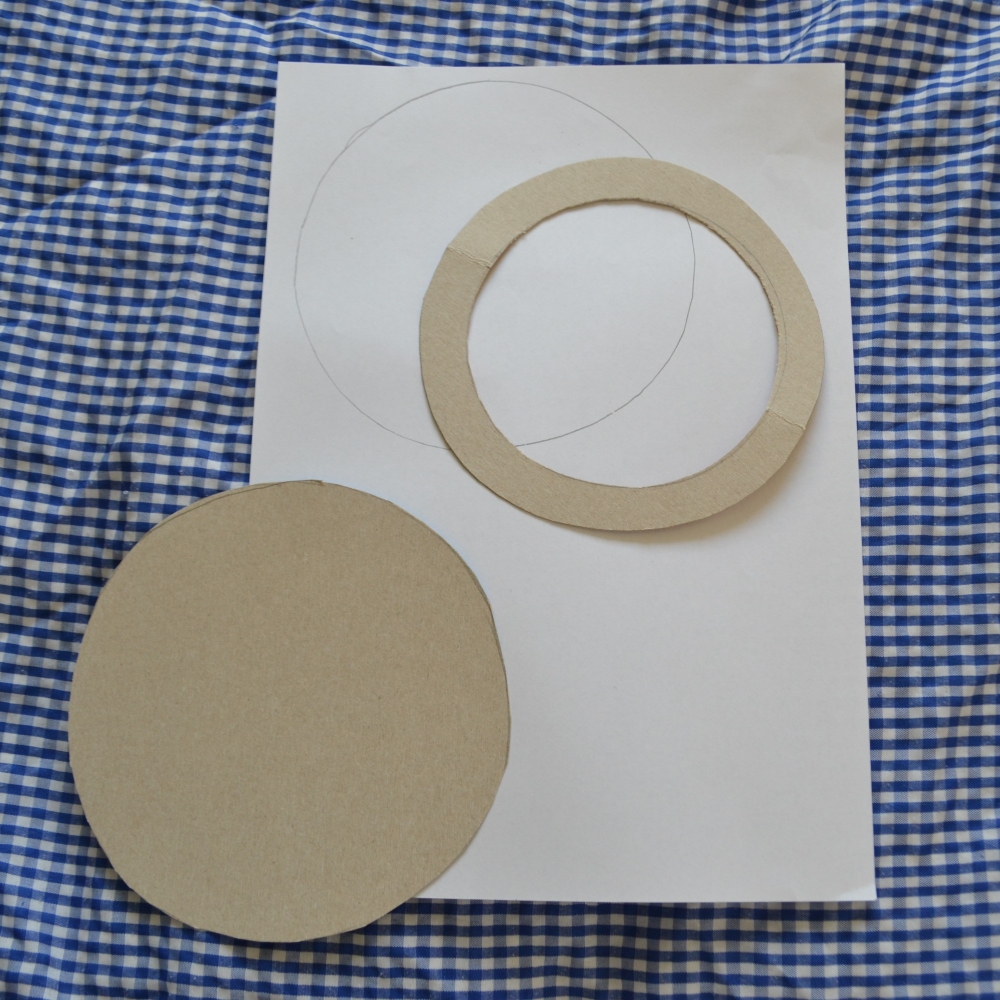
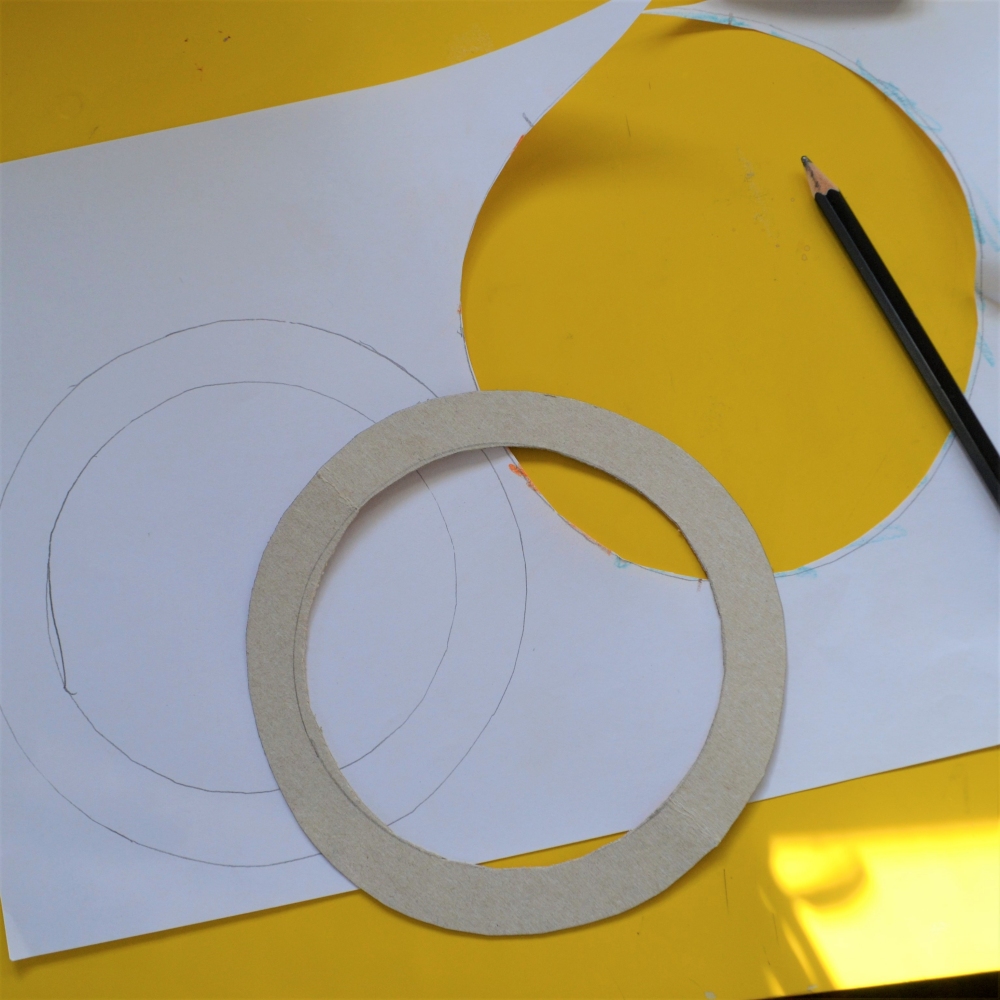
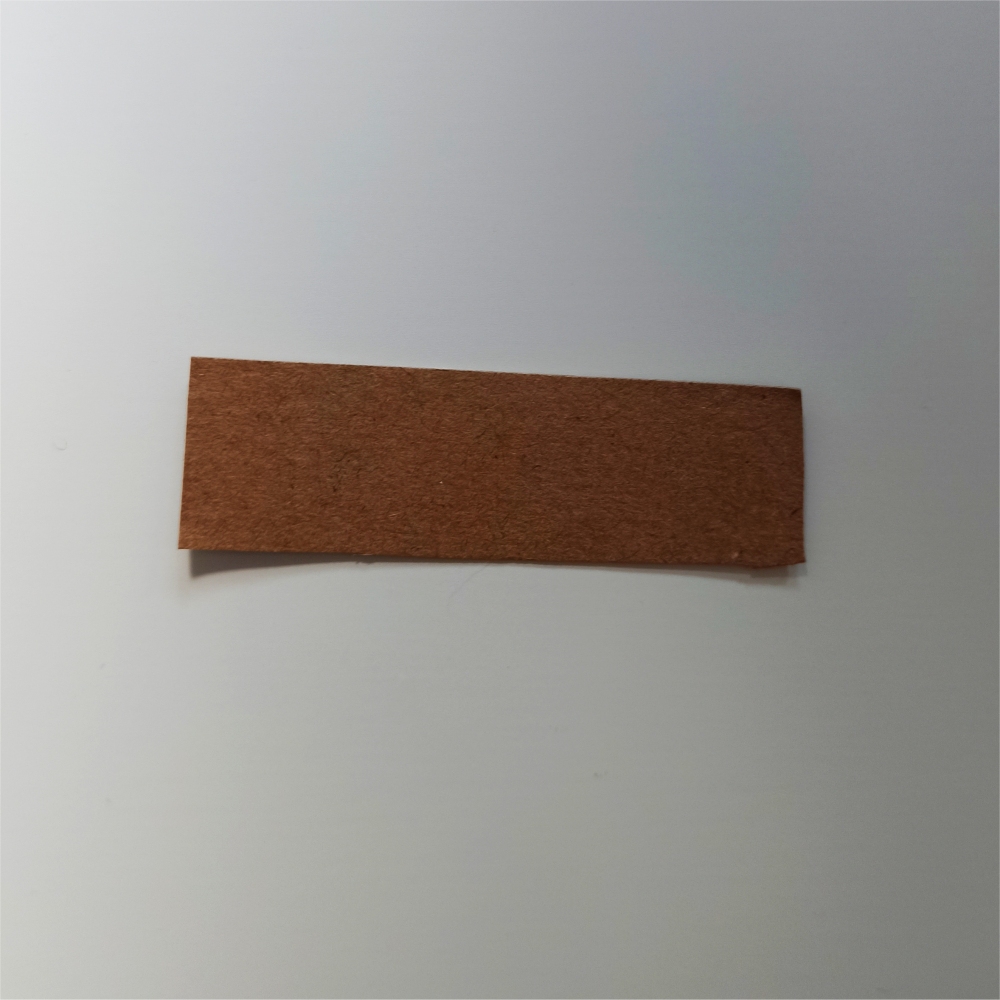
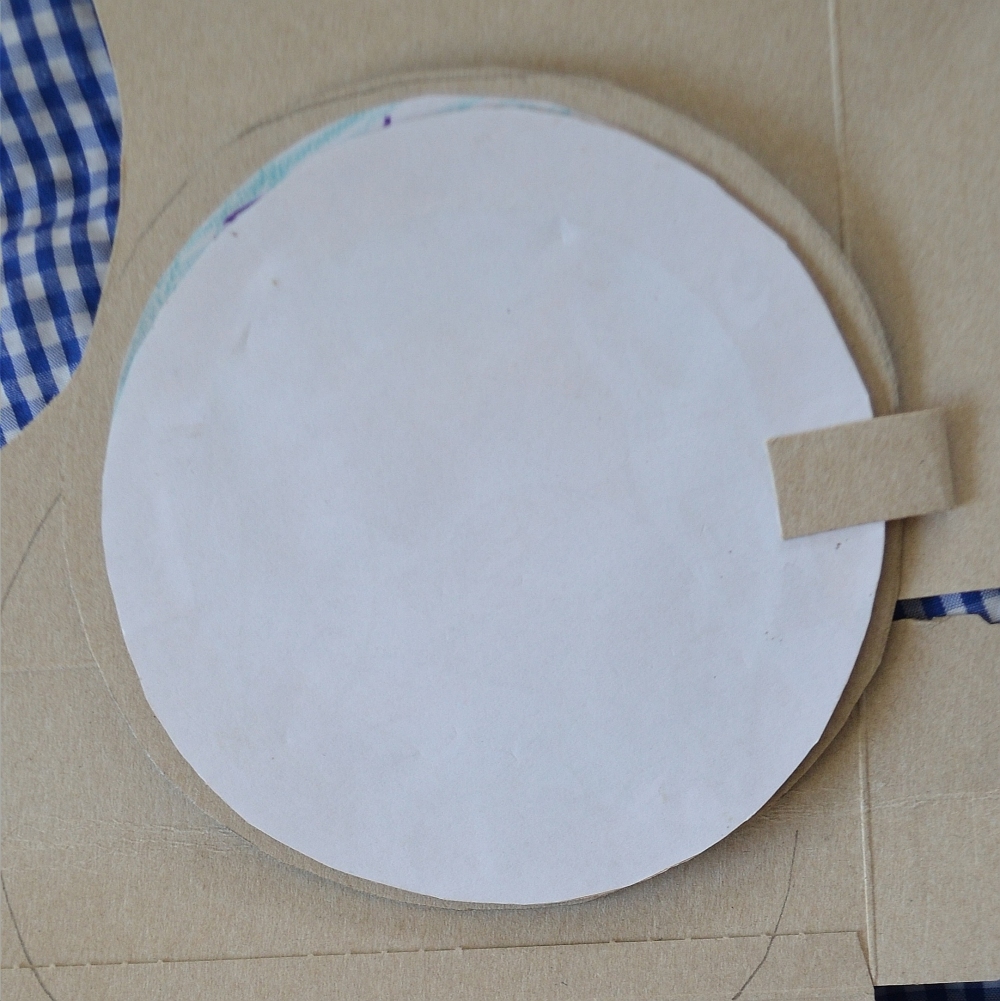
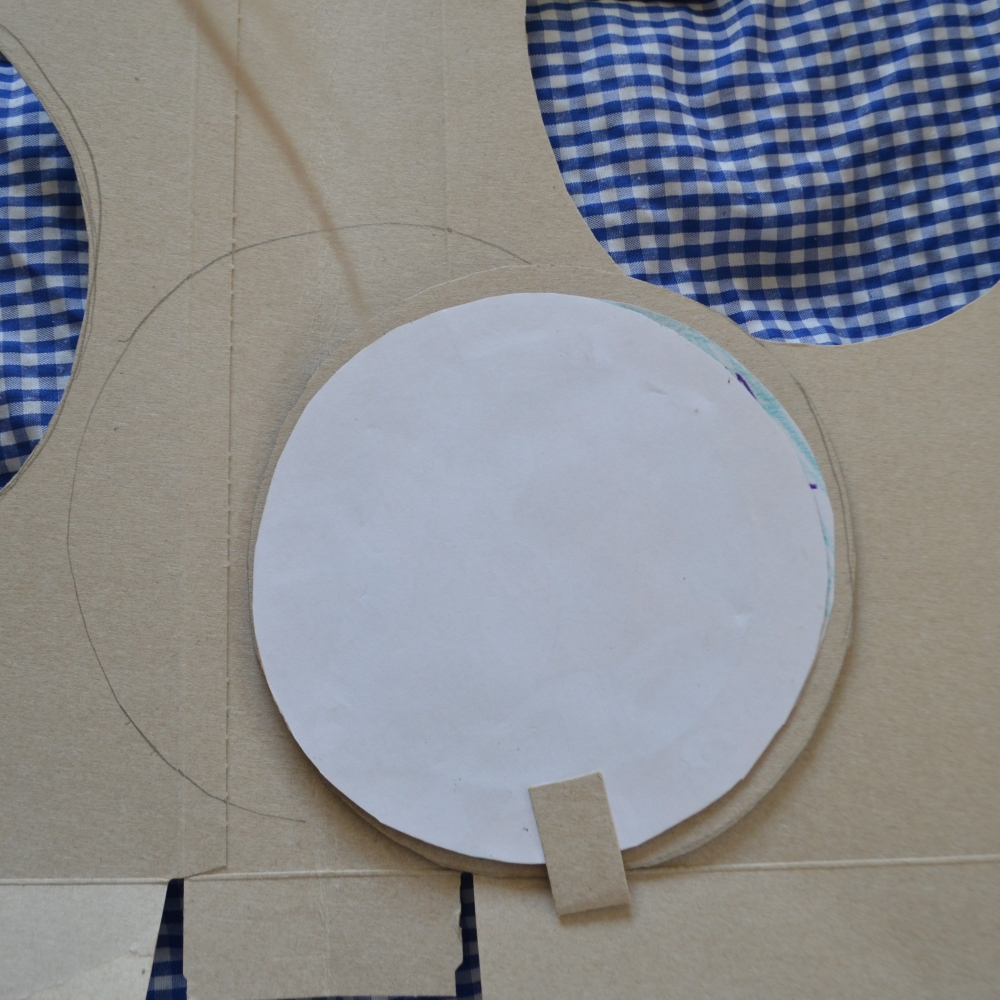
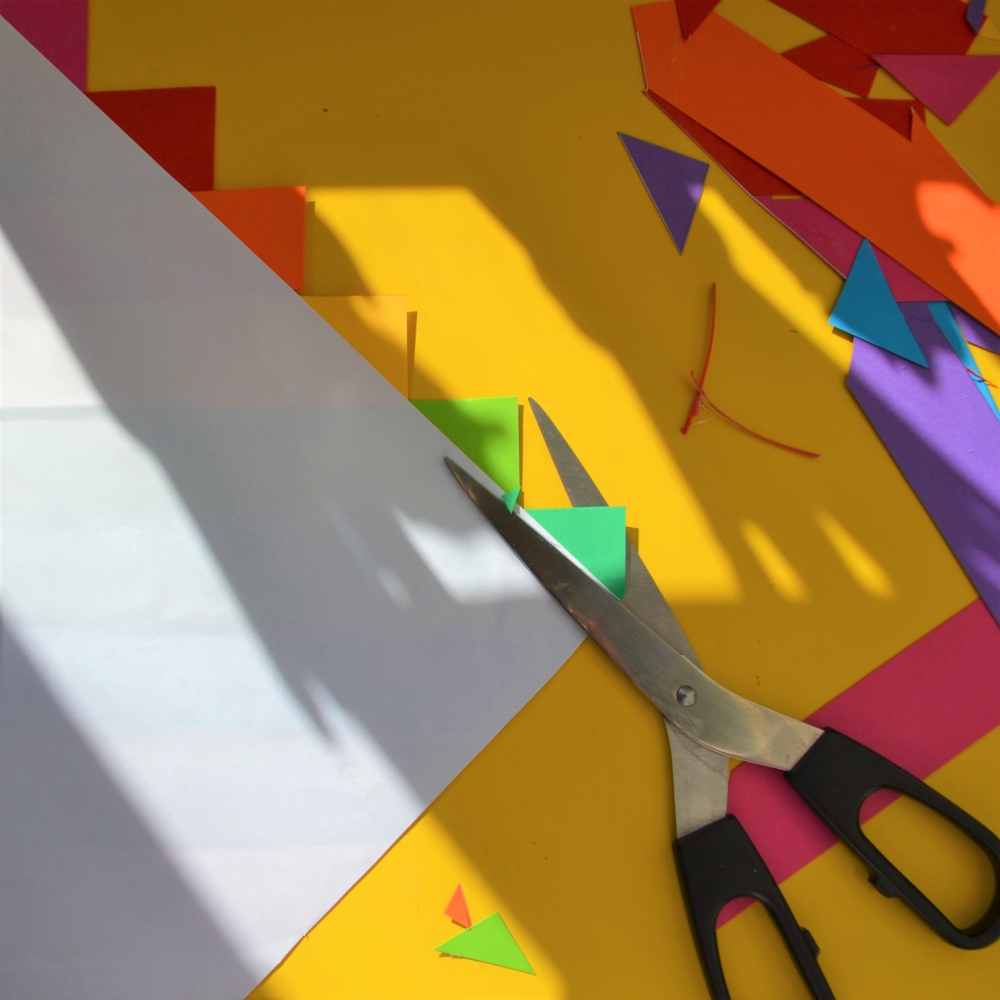
Porthole – 
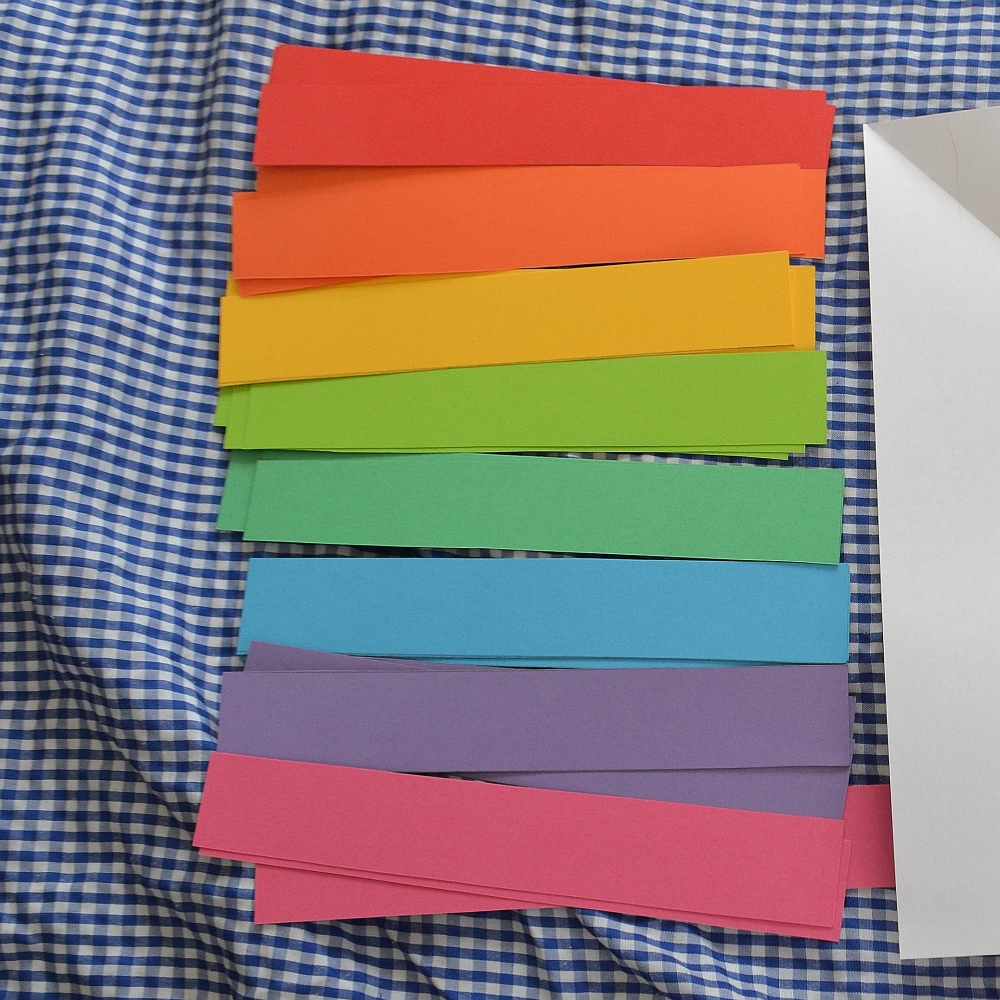
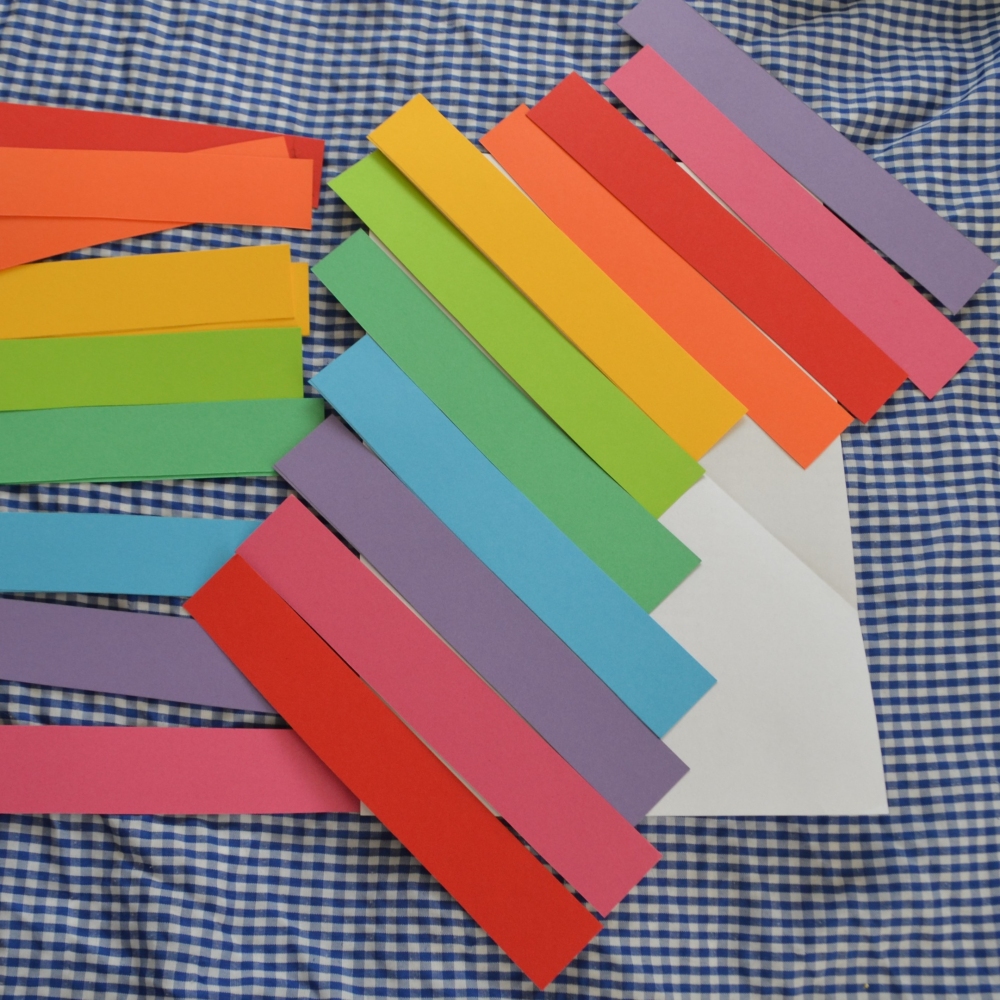
Rainbow striped background –