So we’ve all seen a marble roll, but who’s seen a marble run???
This activity to make a funky marble run will require all the imagination you can muster as well as some patience and lots of thinking! If you think you’ve got what it takes then go for it!
Marble runs can come in all different shapes and sizes, do some research to find out what kind of thing you would like to do – or try Tiikat’s one shown here which starts off with a box and ends in an epic game!
Why not try experimenting with adding extra components, like marble bridges, or even add a spiral ramp like the one in Screw activities HERE?
Difficulty Level:
What you need:
Equipment:
Large shoe box or other large box
Paper plate (ideally with strong raised sides)
Colourful paper
Wrapping paper
Double sided sticky tape
Card
Scissors
Craft knife
pen/pencil
Toilet roll tubes
Sellotape
Method:
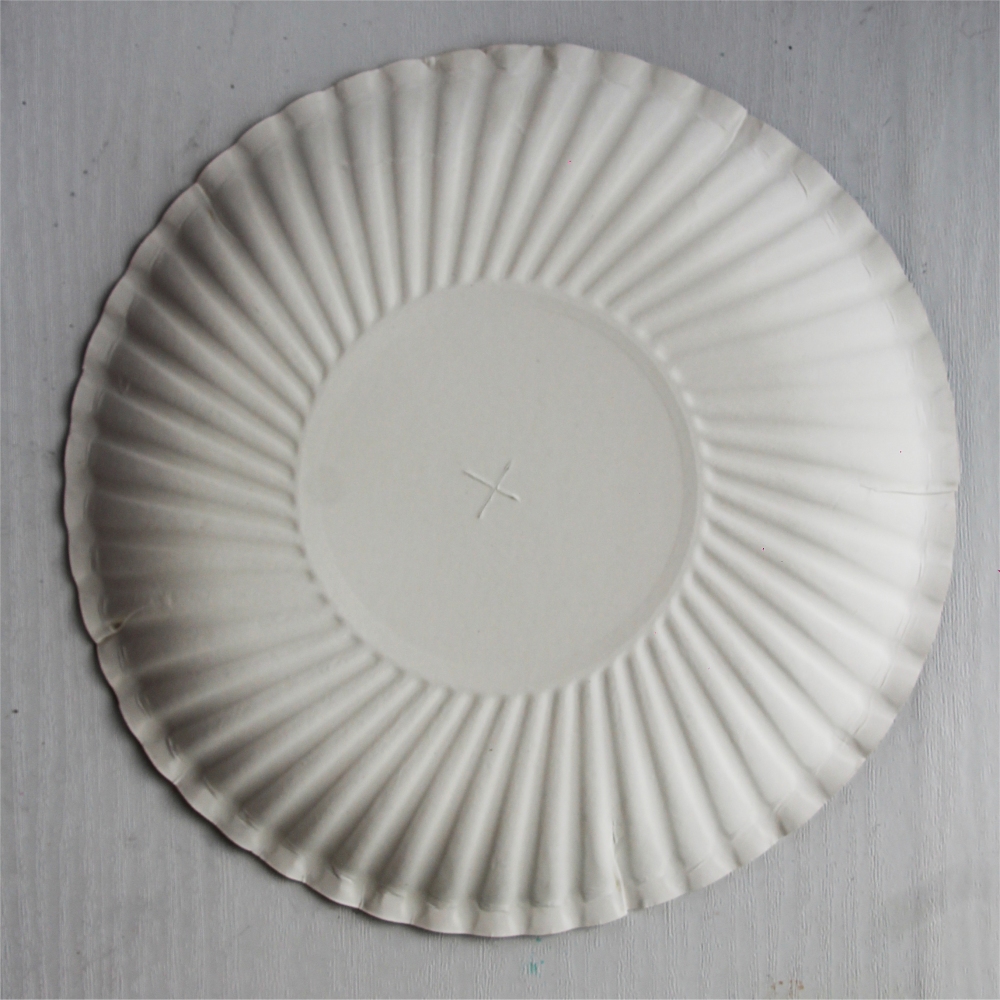
To make the start of your run, place a paper plate upside down on your work surface
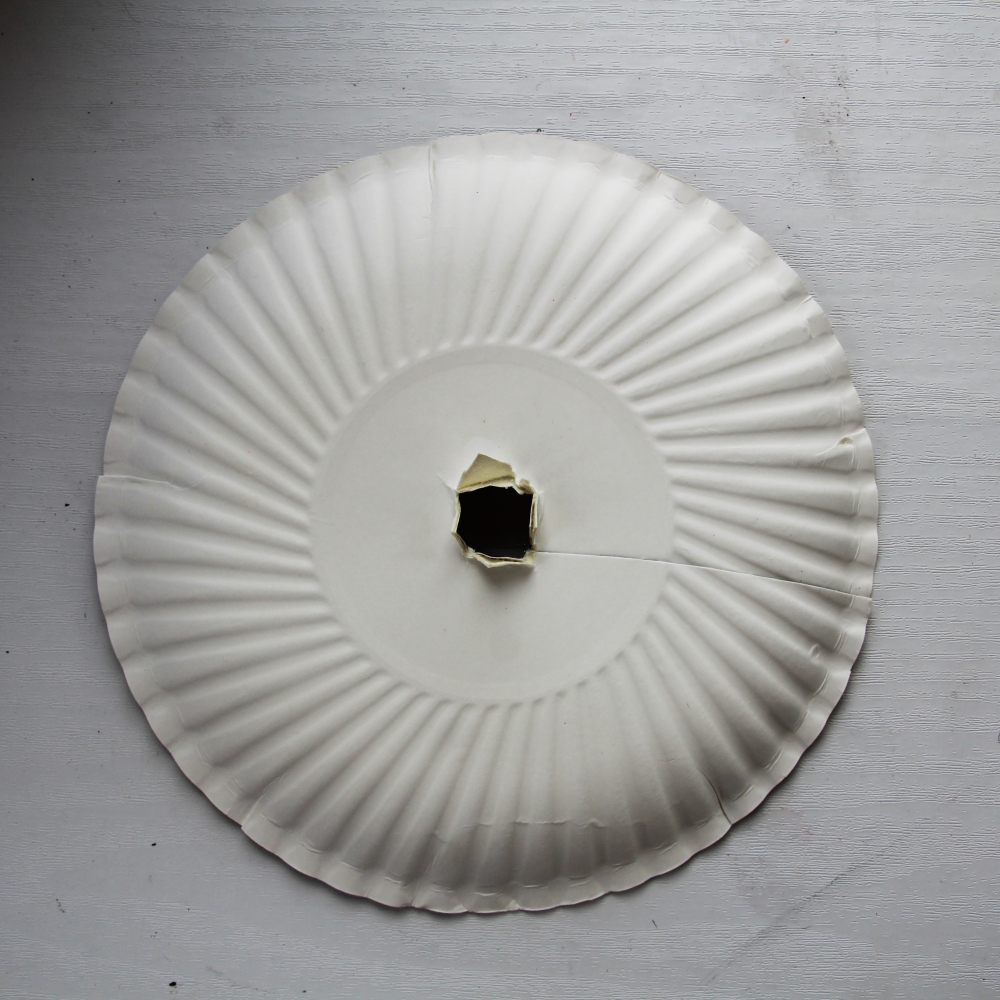
Make a hole in the middle of your plate. This needs to be wide enough for your marbles to go through, and to squeeze in a toilet roll tube.
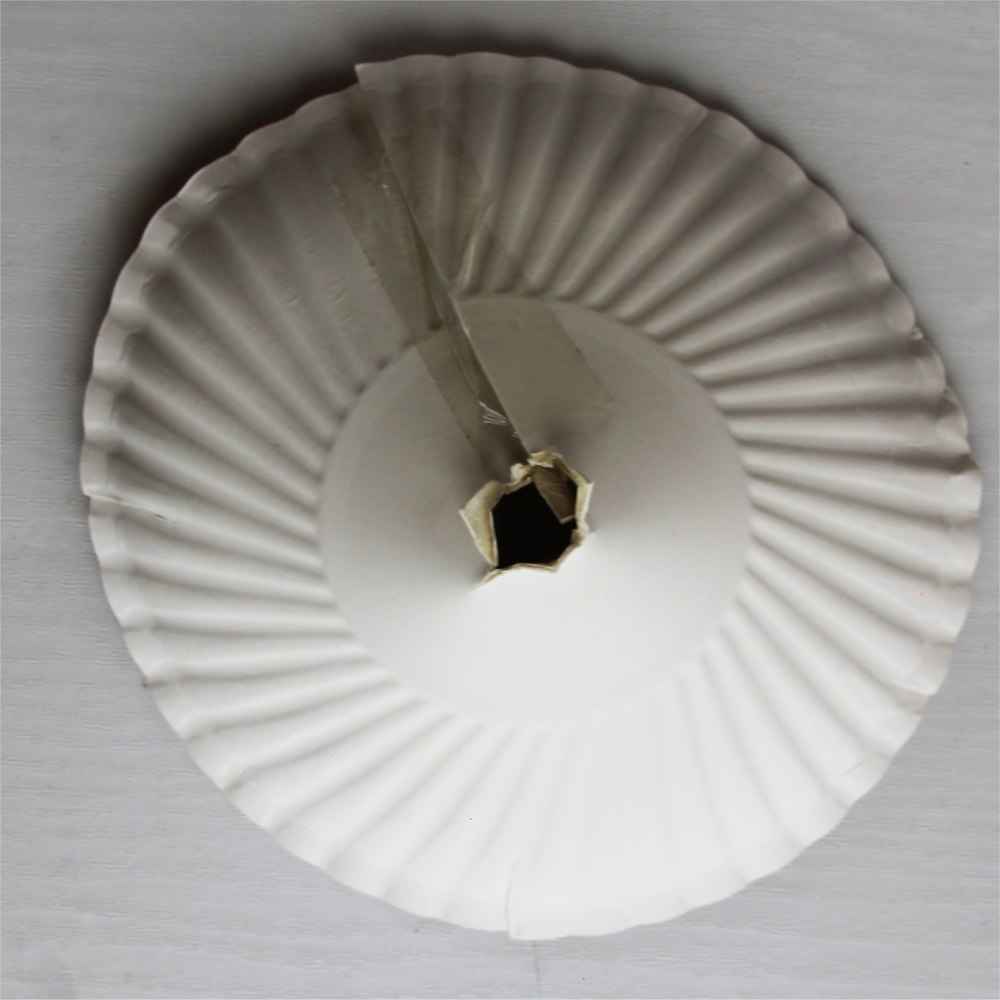
Cut a slit in your plate and cross the two sides over each other then tape. This should make a cone shape.
(Step 3b shows what the cone looks like from the other side.)
Step 1
Step 2
Step 3
Step 3b
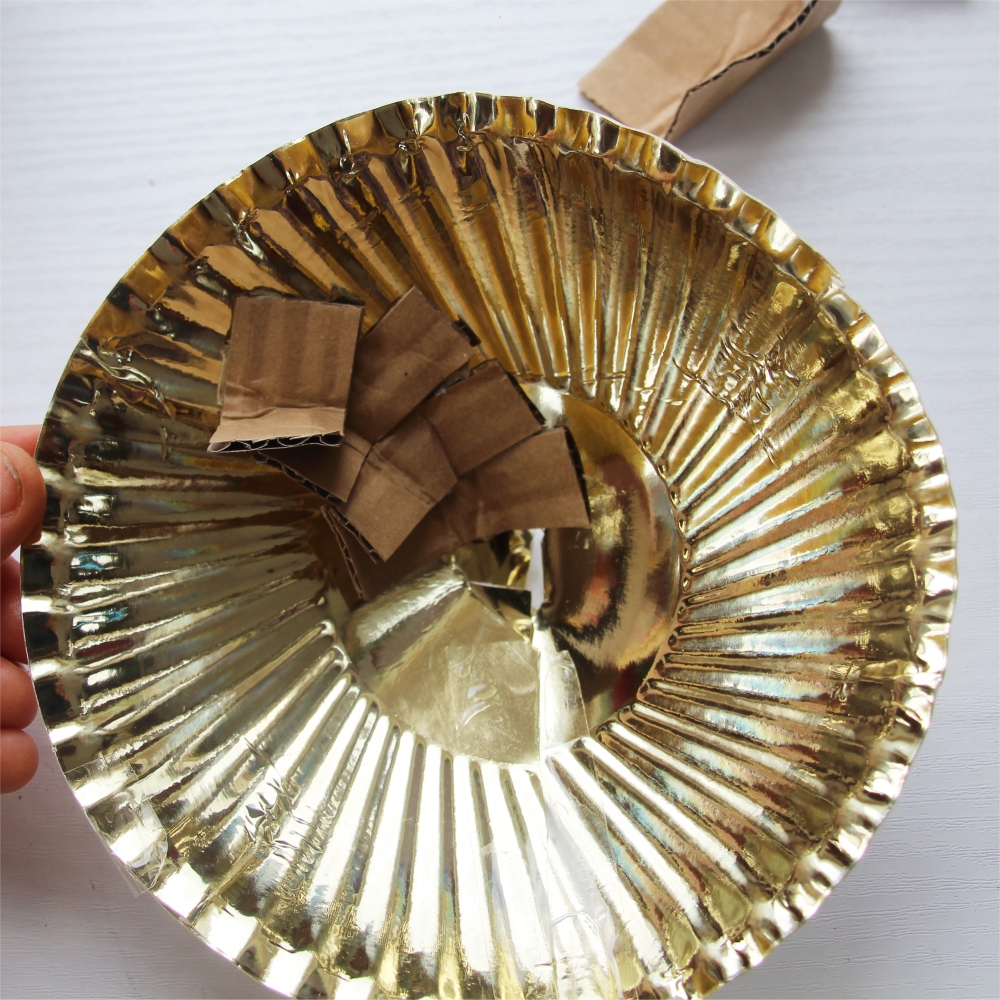
Next we are going to make lots of cardboard ‘steps’ to stick onto the plate. Cut several pieces of cardboard about 1cm wide and 4cm long and fold in half.
Add double sided tape to the bottom of one side
Cut a small slit about halfway along the fold in the middle
Stick down some steps into the paper plate cone so that they overlap slightly (where the slit it). This will work to guide the marble down the paper plate to the entrance hole.
Step 4
Step 5
Step 6
Step 7
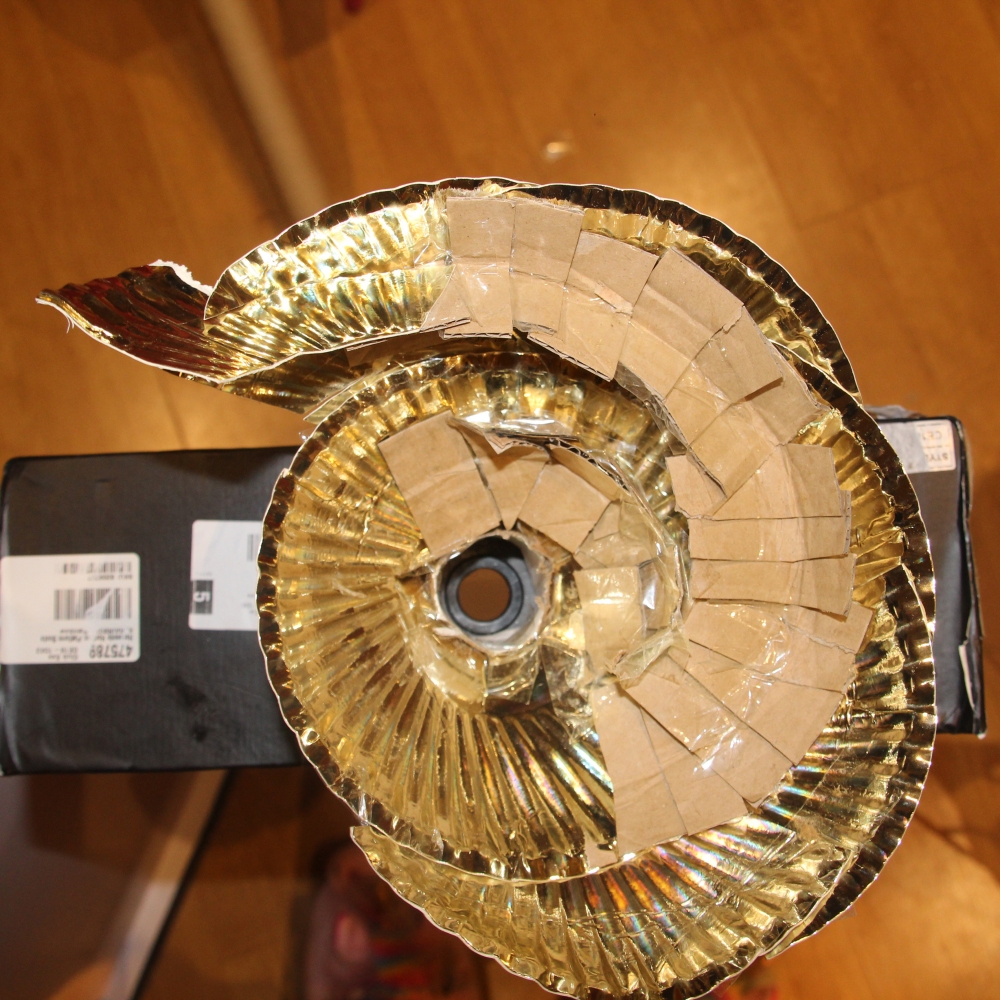
You will need to cut some steps shaped like this to attach closer to the entrance. Just cut a diagonal edge off some of your original steps.
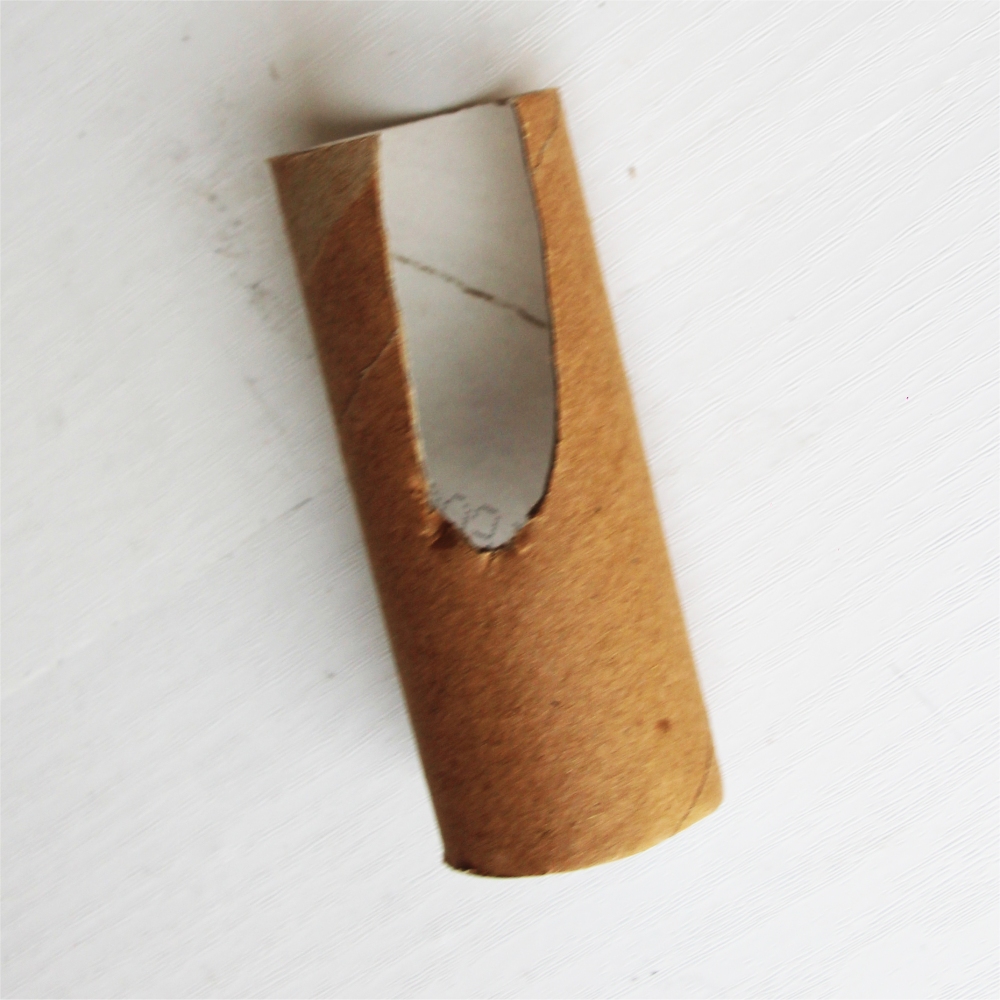
Cut a “doorway” into a toilet roll tube.
If you cut some more paper plate sides and stick them to the original cone plate, before adding more steps, you can get something that looks like this. If that is too tricky, you can stick to using just one plate.
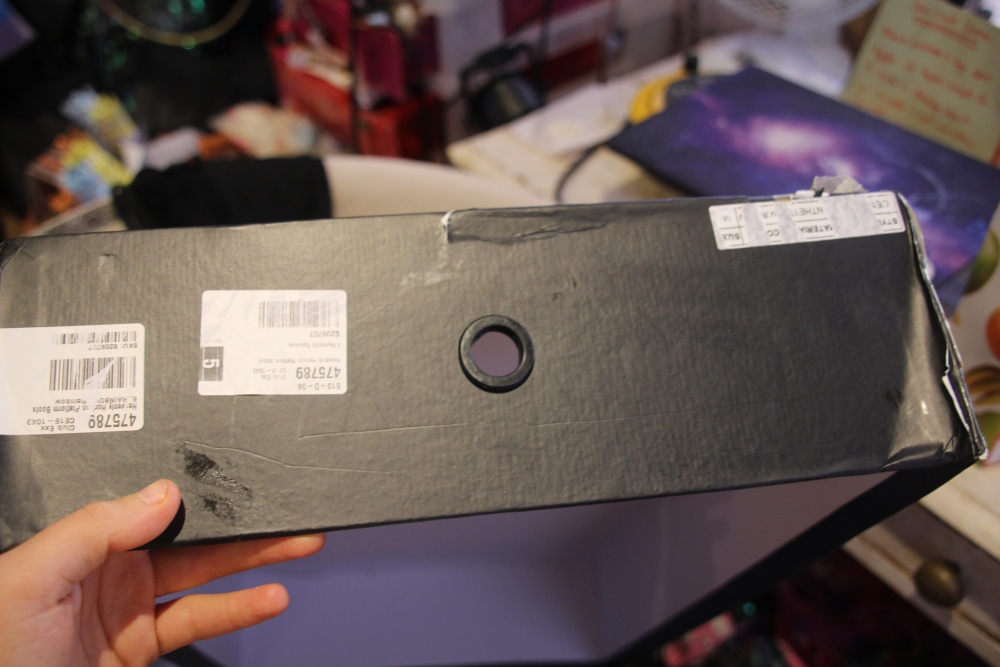
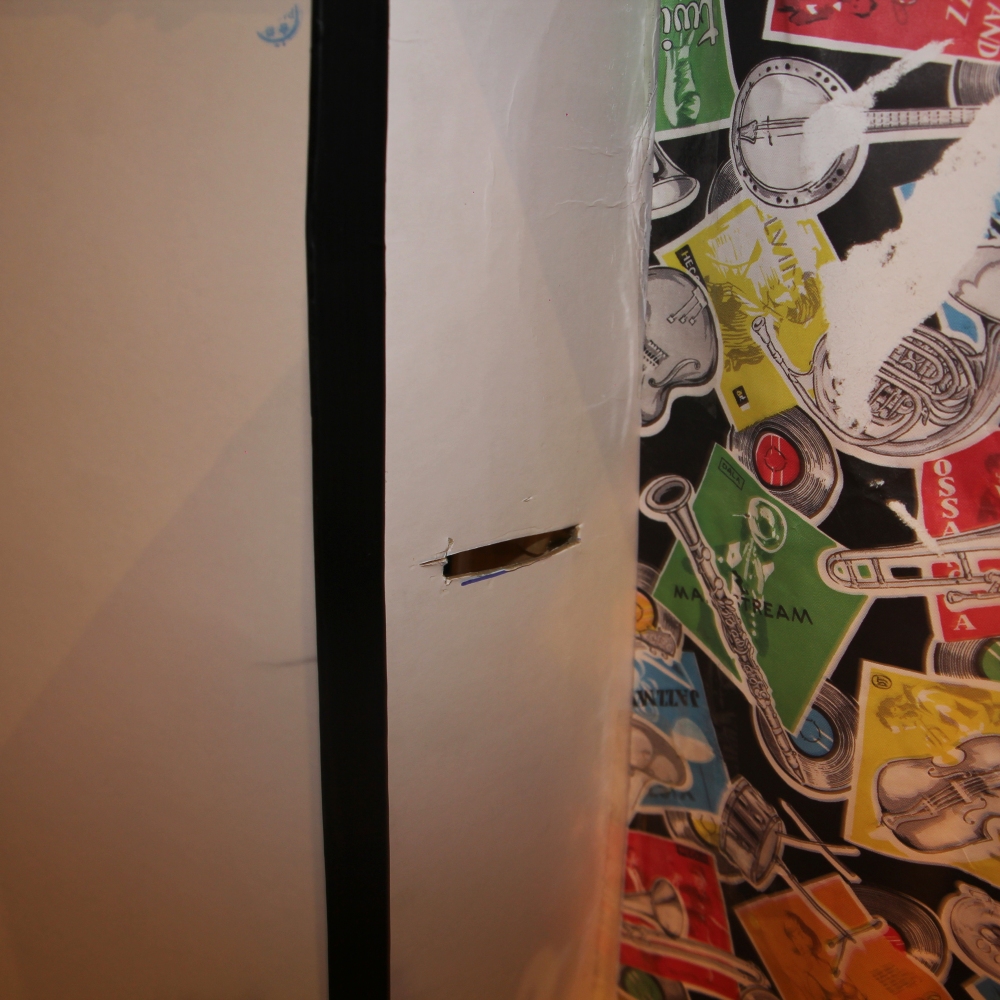
Get your box. Our box usefully had a hole in one side already, but if yours doesn’t you need to make one.
Step 8
Step 9
Step 10
Step 11
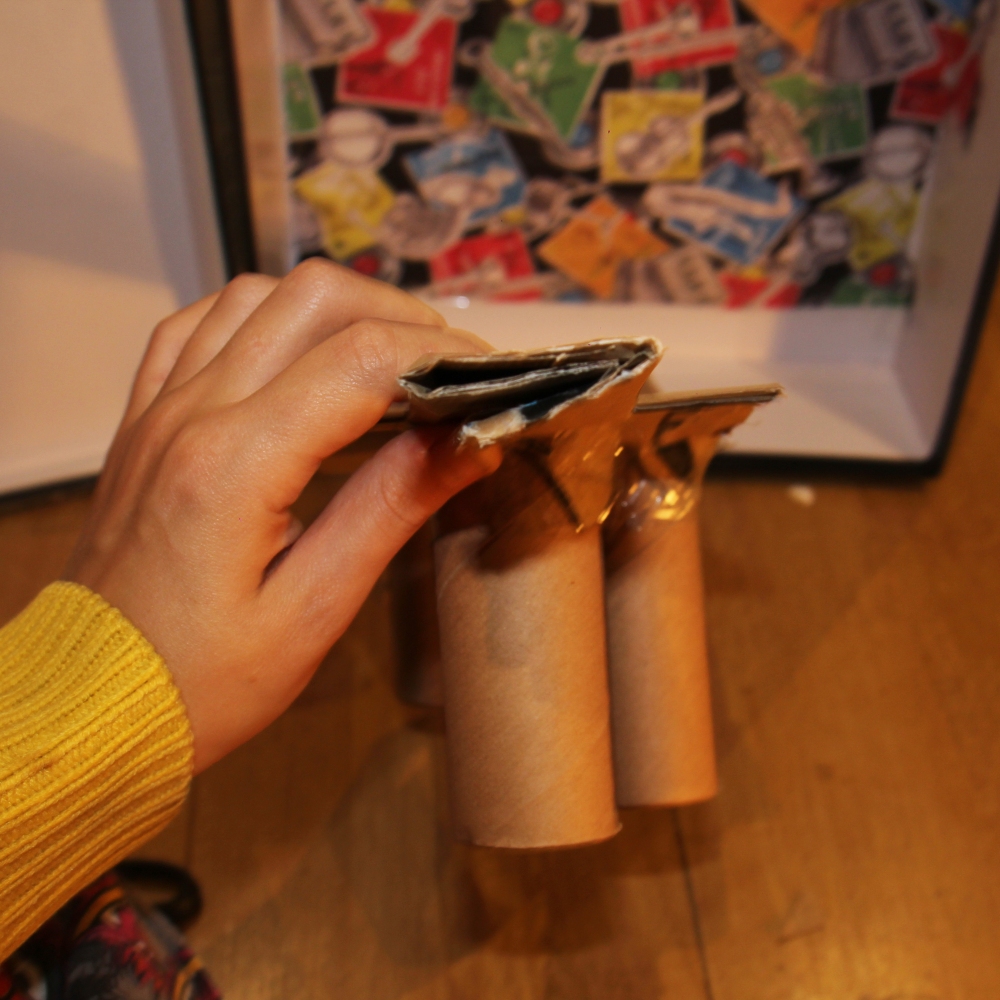
Feed your toilet roll “doorway” into the bottom of your paper plate and cut 4 flaps into the bottom ready to stick onto the top of your box.
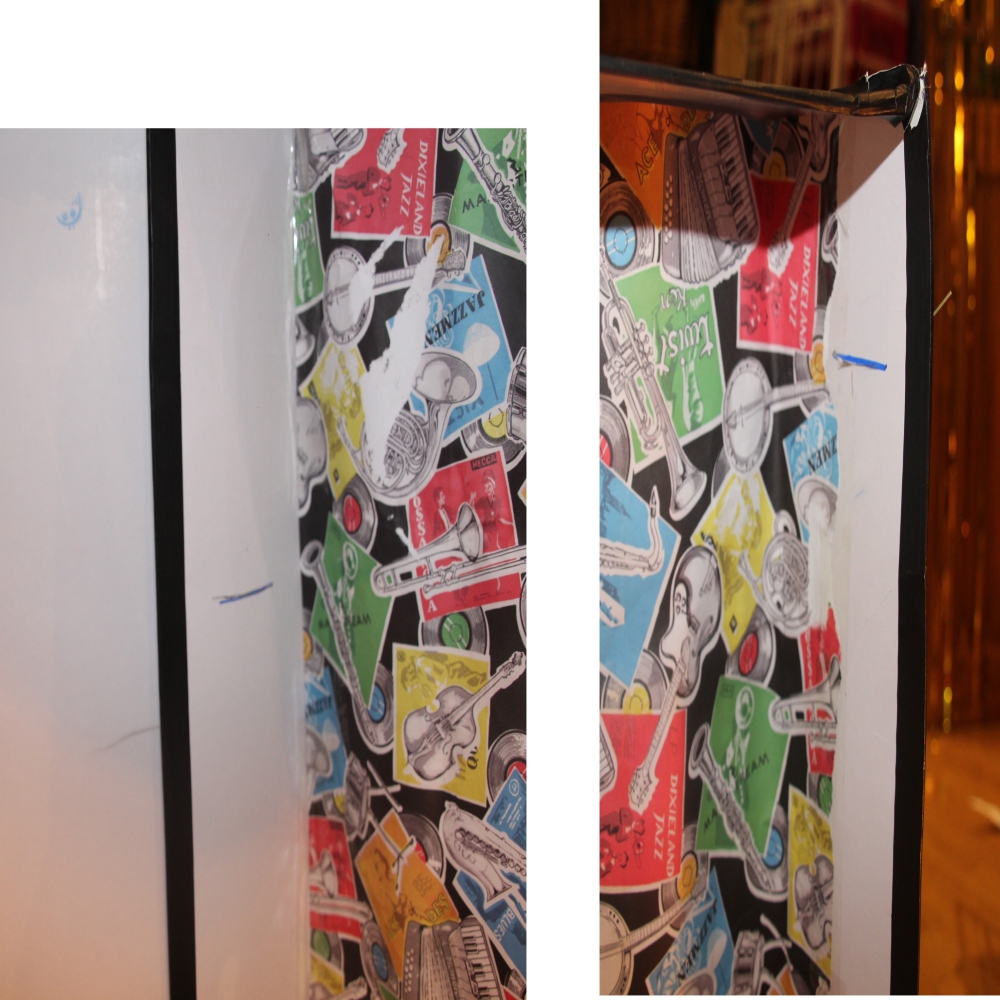
Attach your entrance cone to the box and decorate the inside with some nice paper/wrapping paper.
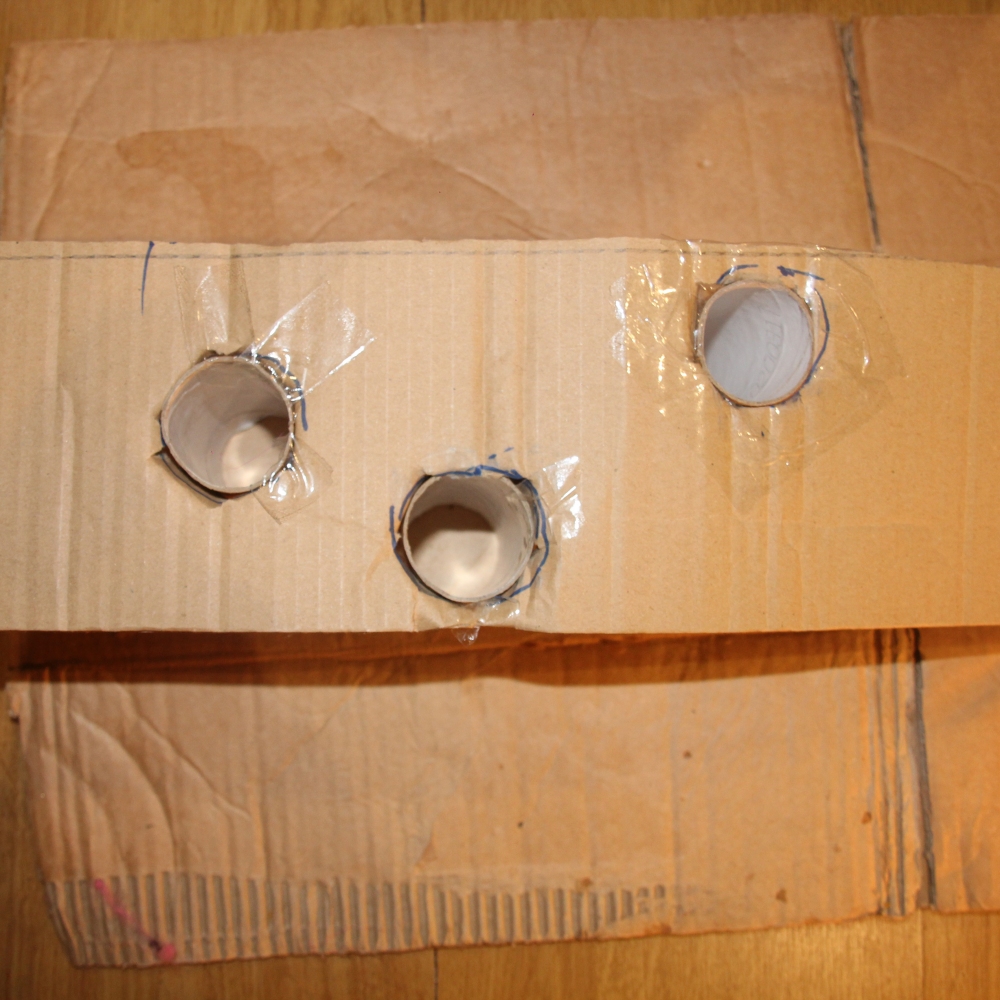
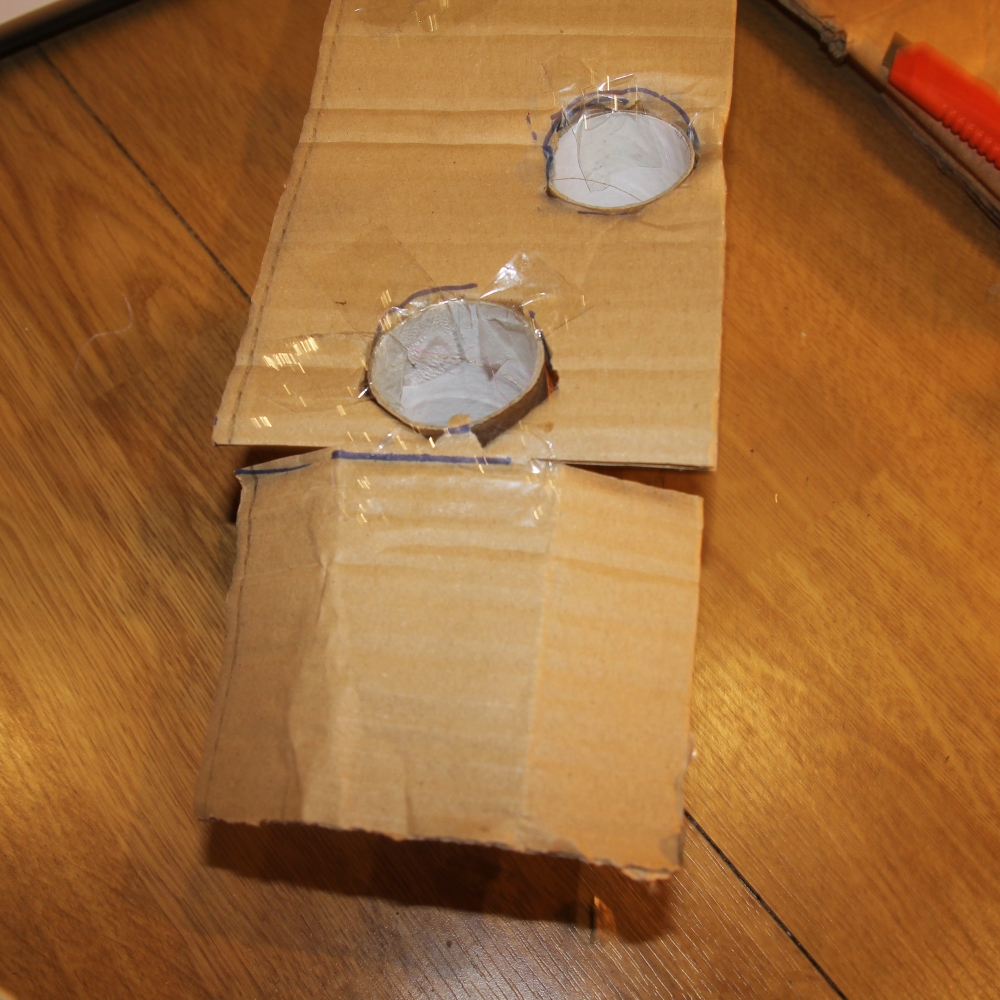
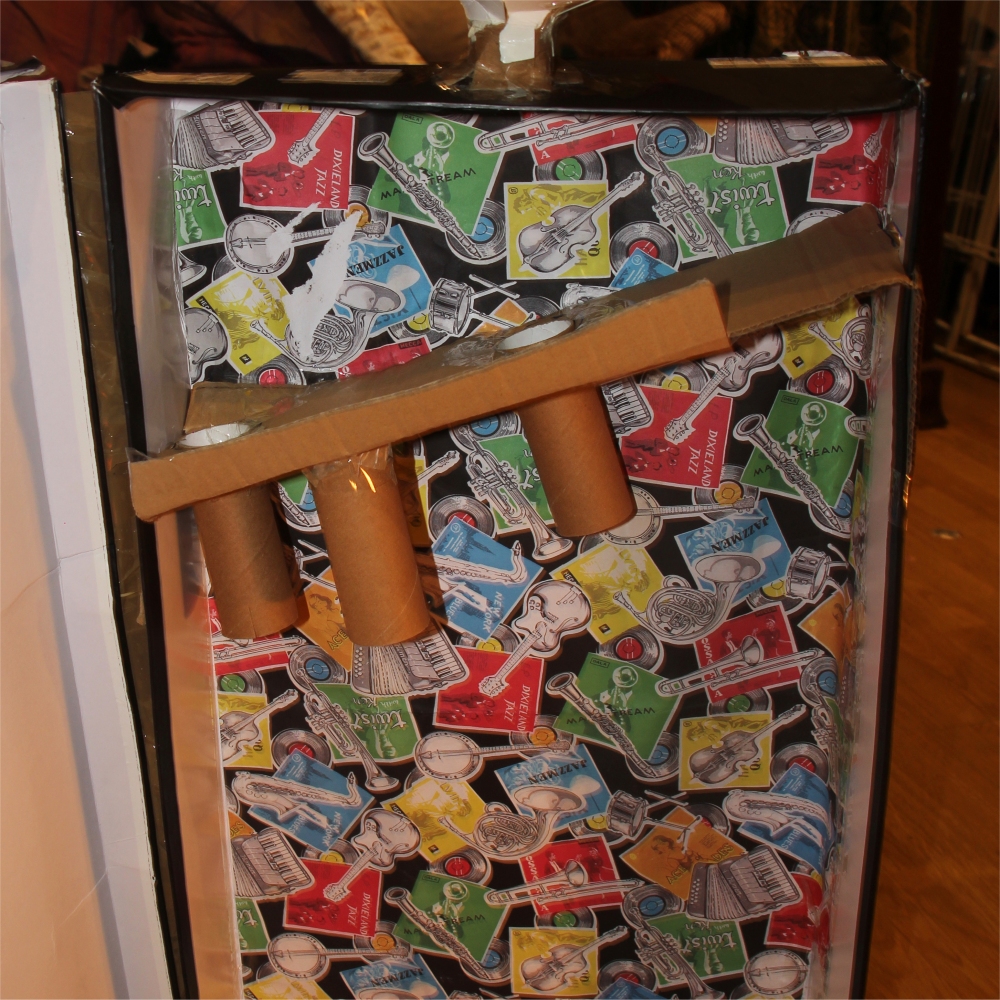
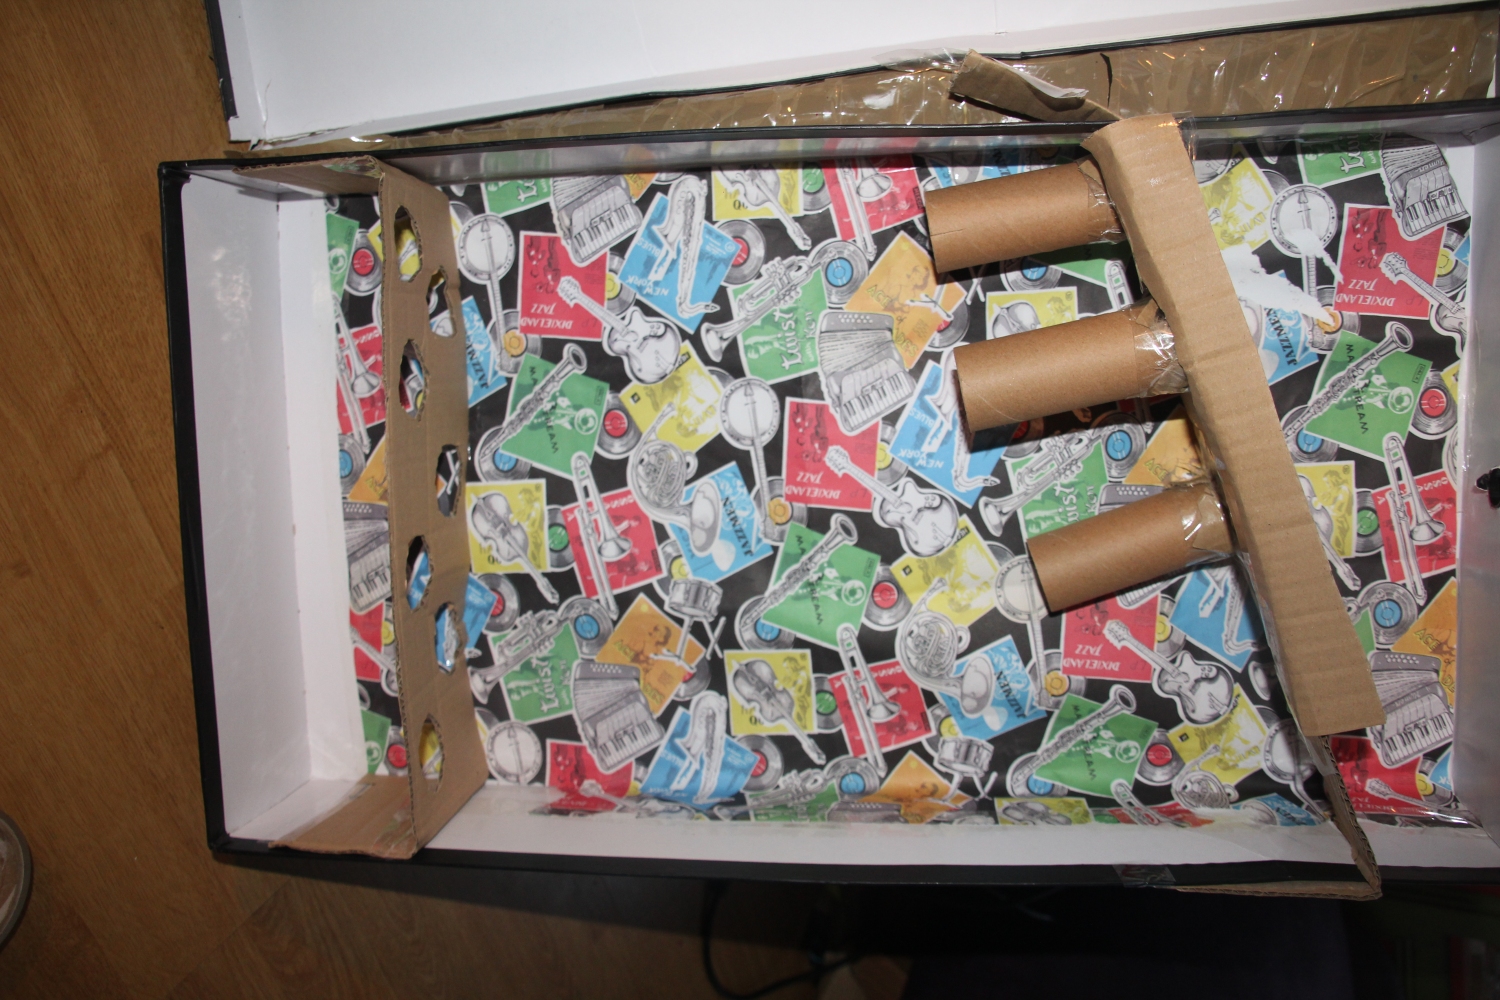
Cut a piece of card that will fit in the box like a shelf (longer than the width of your box though as it will be going in diagonally and some will be needed for attachment later). Then make some holes in it that the marble can fall through.
Step 12
Step 13
Step 14
Attach toilet roll tubes to the underside of those holes. (Step 15b shows what it should look something like this from the other side.)
Draw lines in the main box with a pen where you want your shelf to sit. You want these to be at different heights so that the marble rolls, but not so different that it just falls straight to the end. Approximately 5cm difference in height would work well
Cut these slits out.
Step 15a
Step 15b
Step 16
Step 17
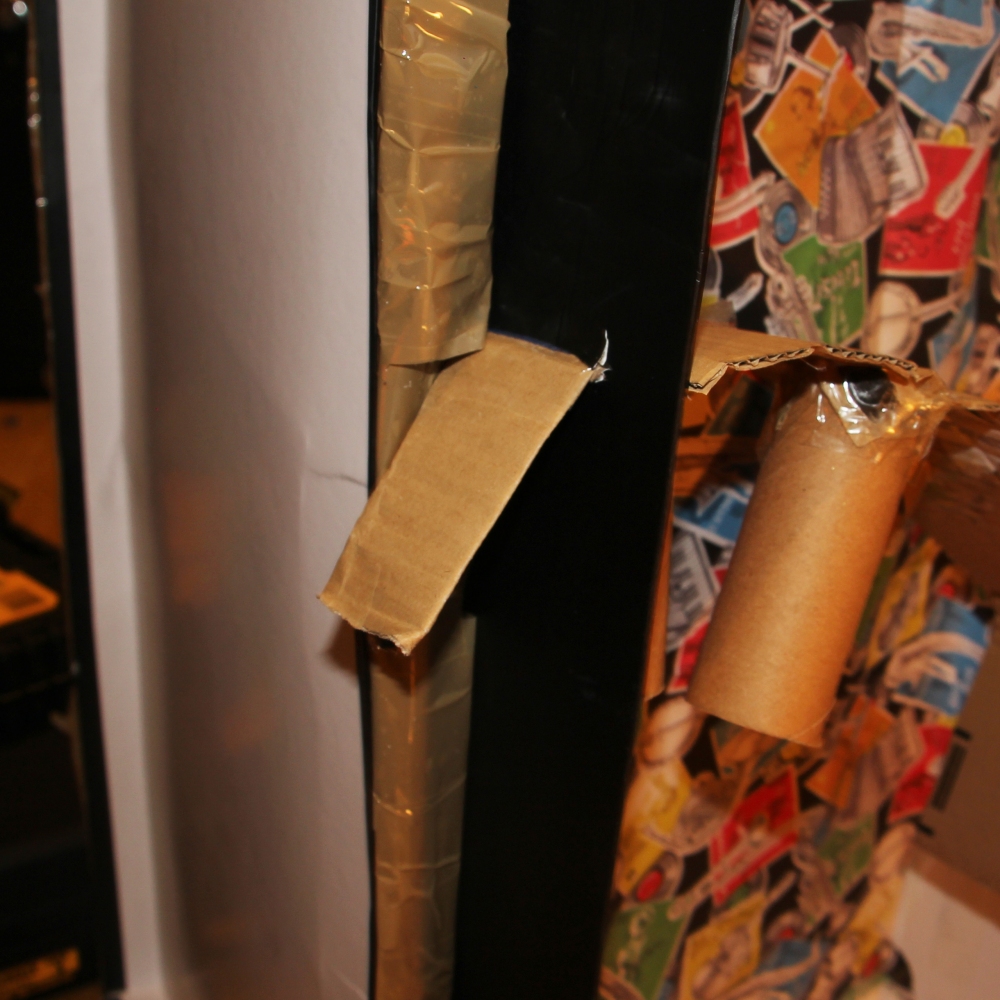
Cut out some flaps from the shelf you made
Fold the flaps on the shelf inwards so that they will fit through the slits in the box.
Feed the shelf folds into the box slits (you may need to enlarge these a bit if necessary.
Repeat on the other side.
Step 18
Step 19
Step 20
Step 21
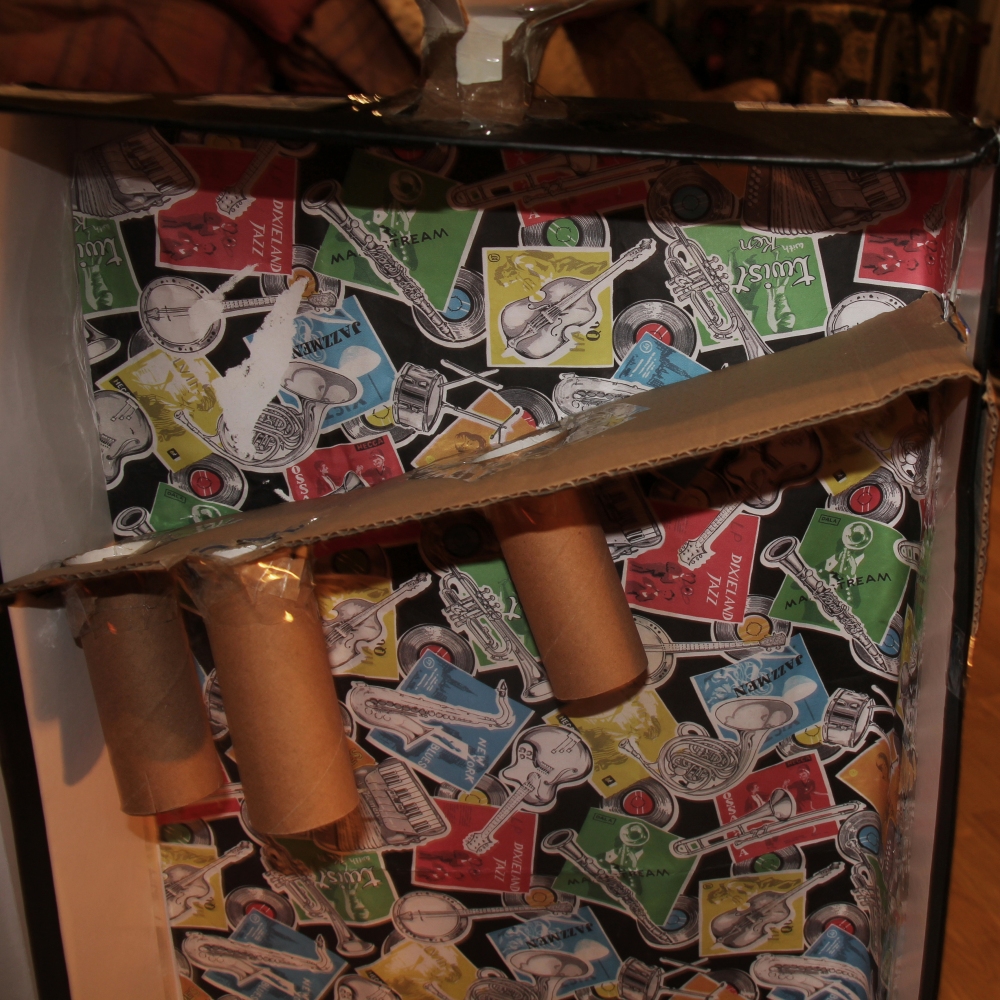
Open up the folds once they are through the slits and glue/tape these down securely to the sides of the box.
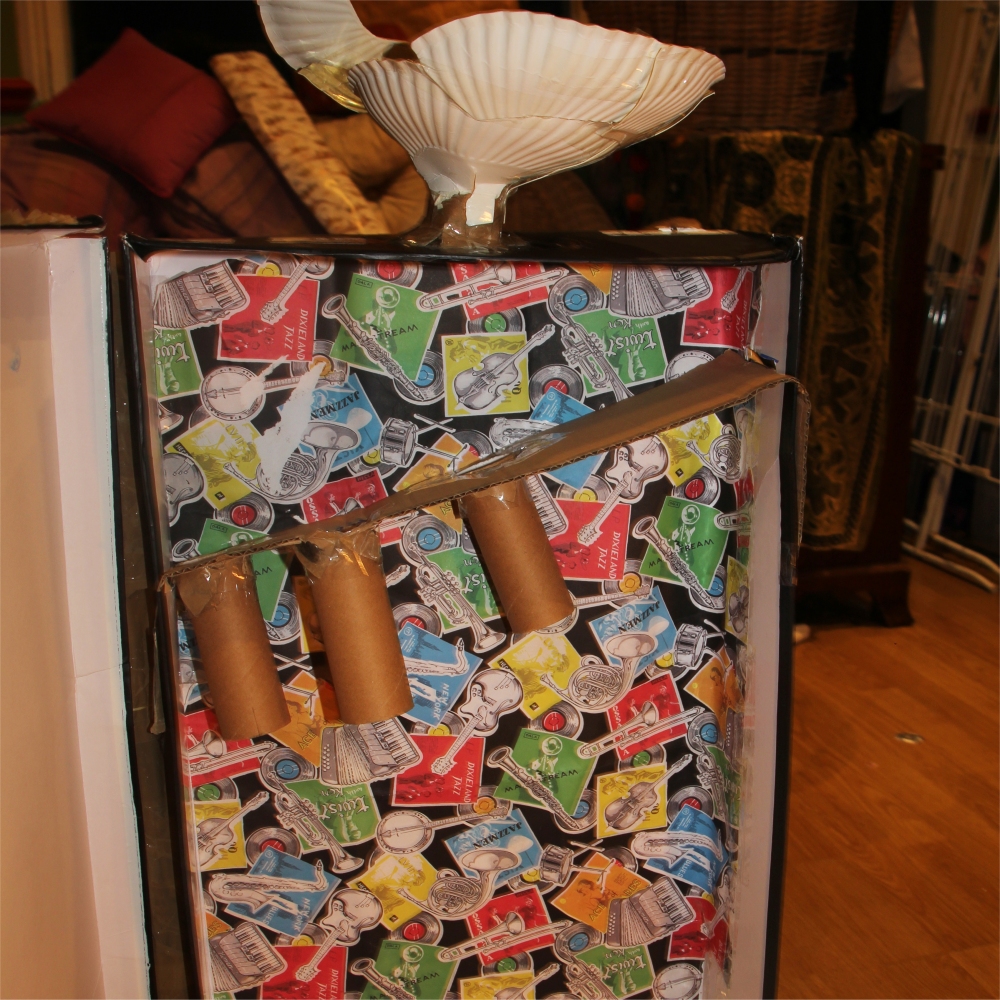
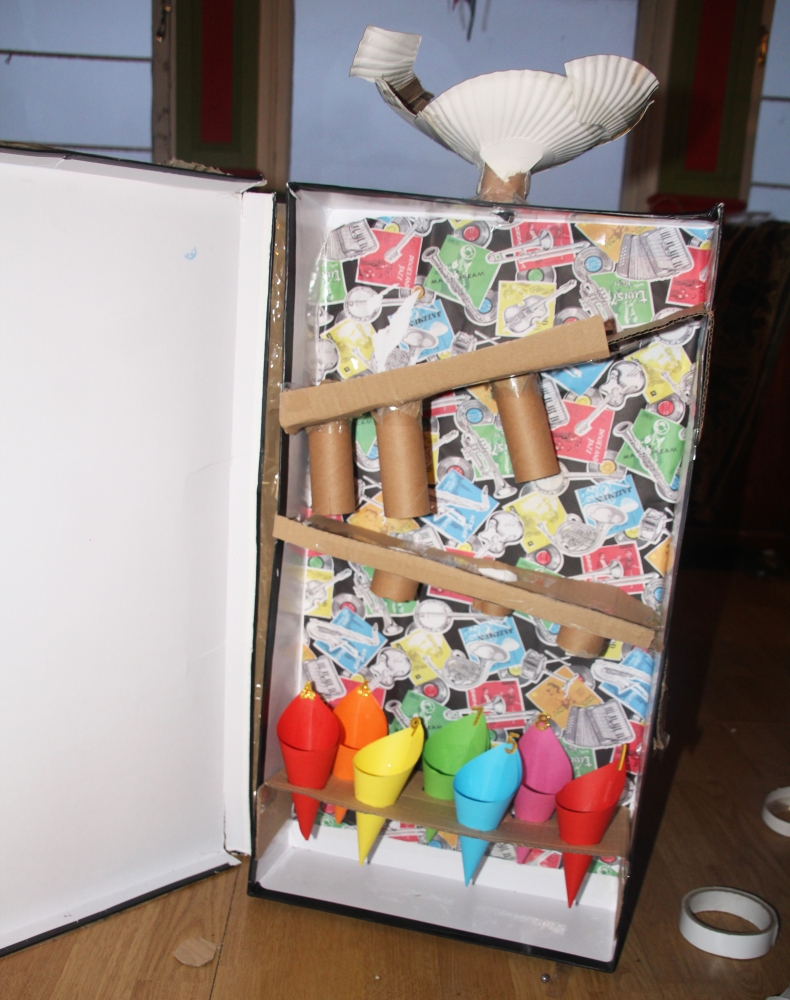
Hopefully your run should now look something like this.
You might want to add a “safety barrier” so that the marble cant run off the side. Do this by sticking a long piece of card to the front of the shelf
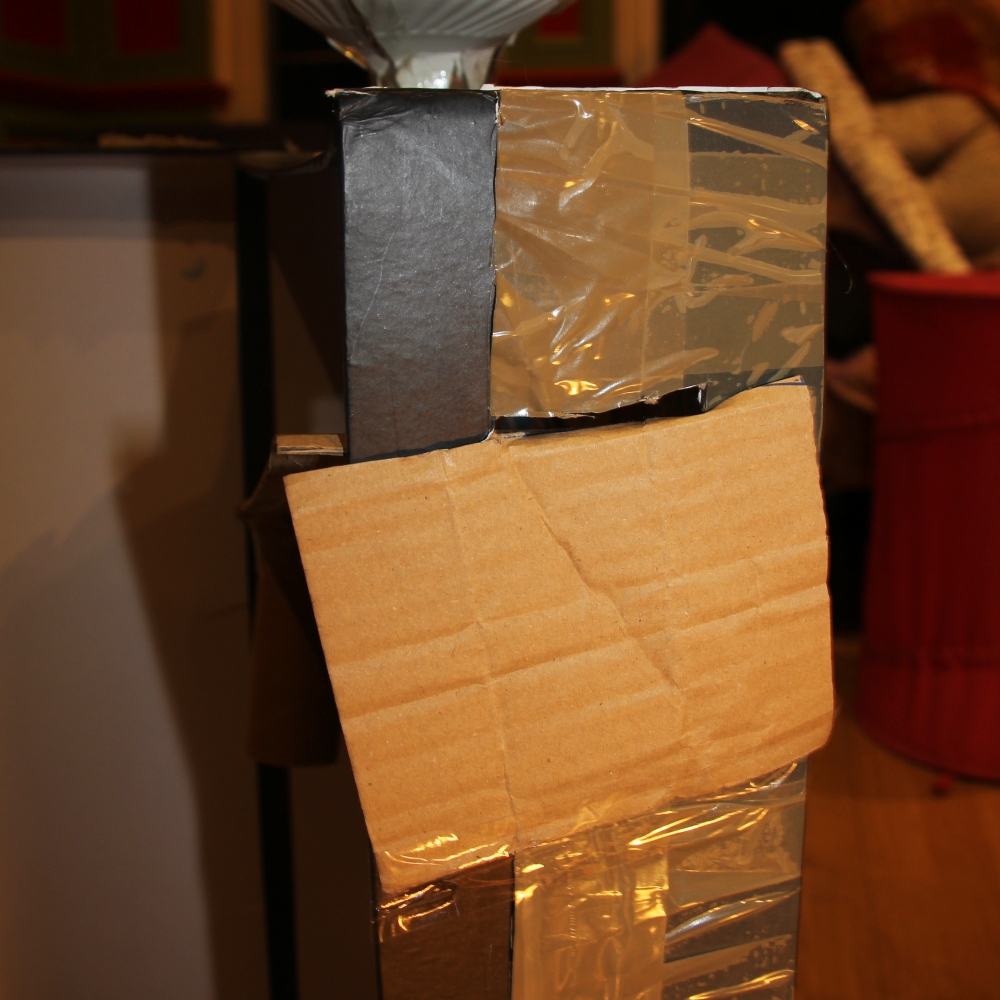
If you want you can now make more shelves below your first ones so that the marble has further to go by repeating steps 14-24. Make this shelf go the other diagonal direction if you do. In the image of our finished piece you can see how we did this.
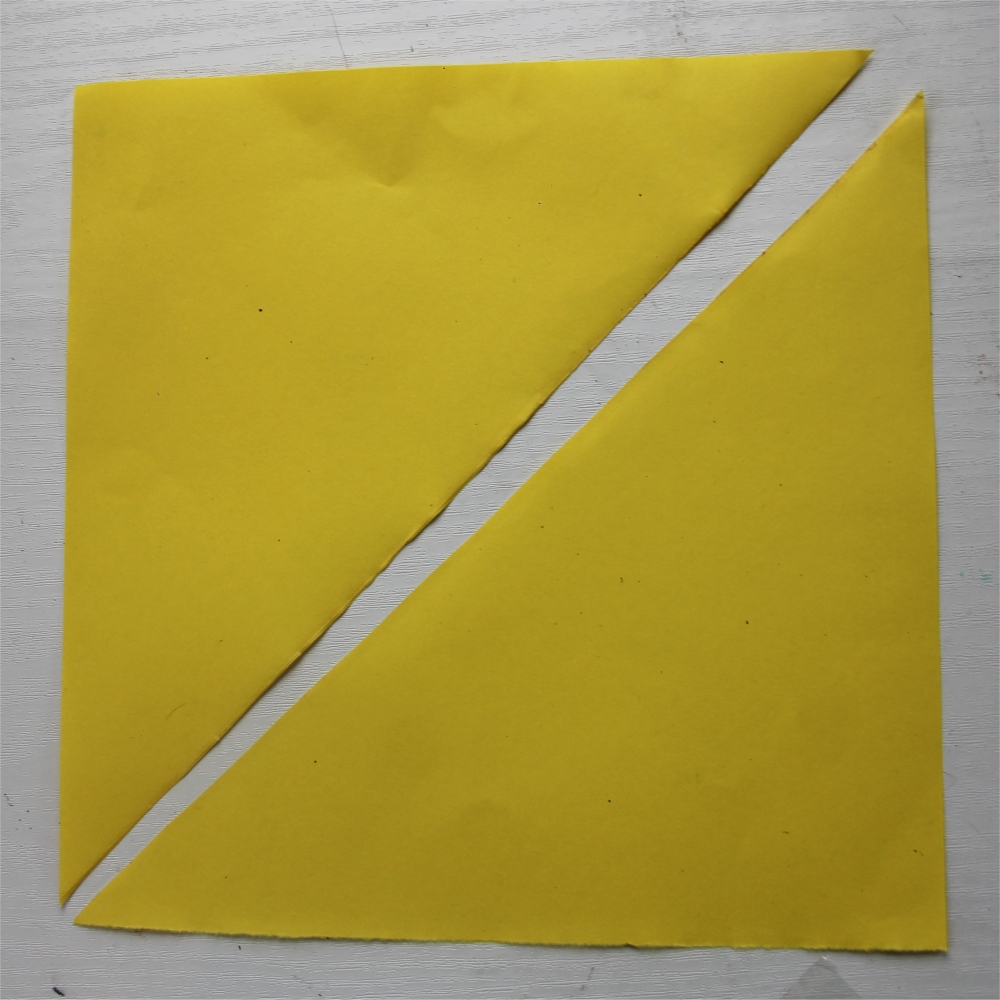
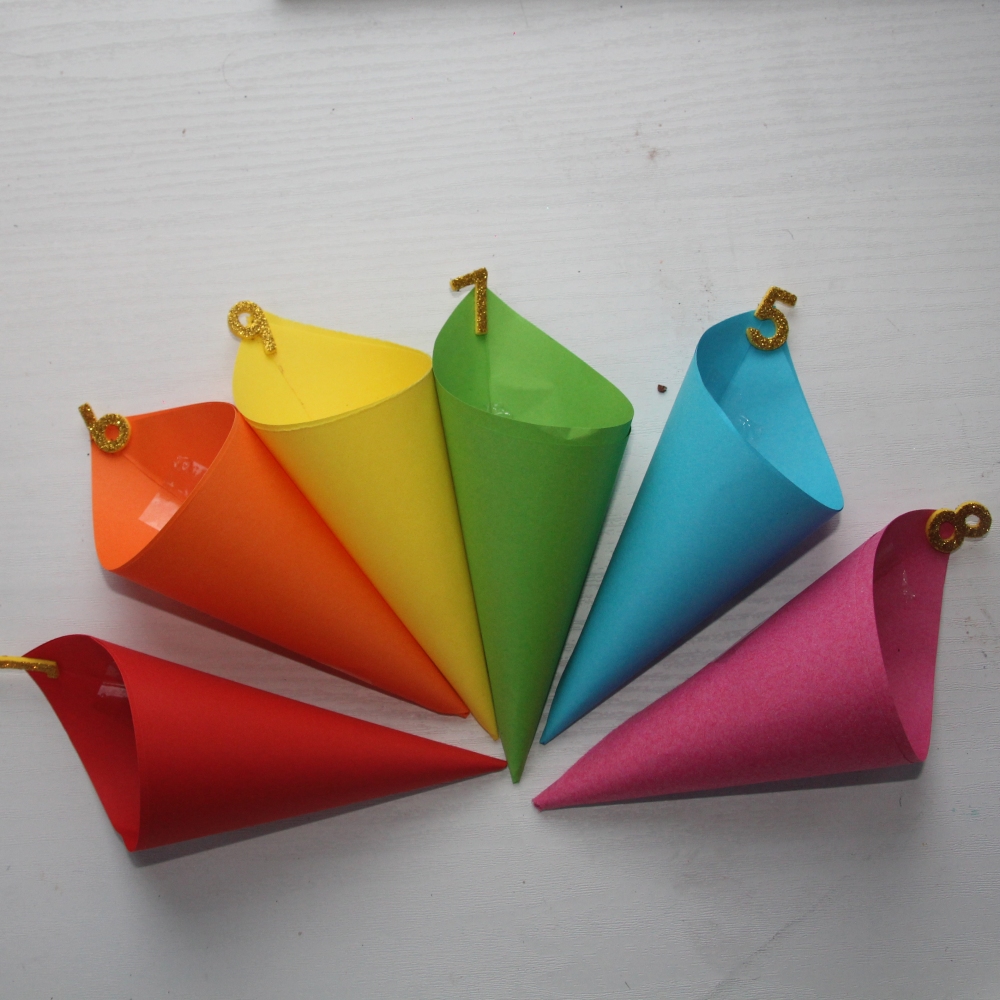
We will now make some cone catchers for the marble to end in to score points. Cut a square piece of paper in half.
Step 22
Step 23
Step 24
Step 25
Next we are going to make lots of
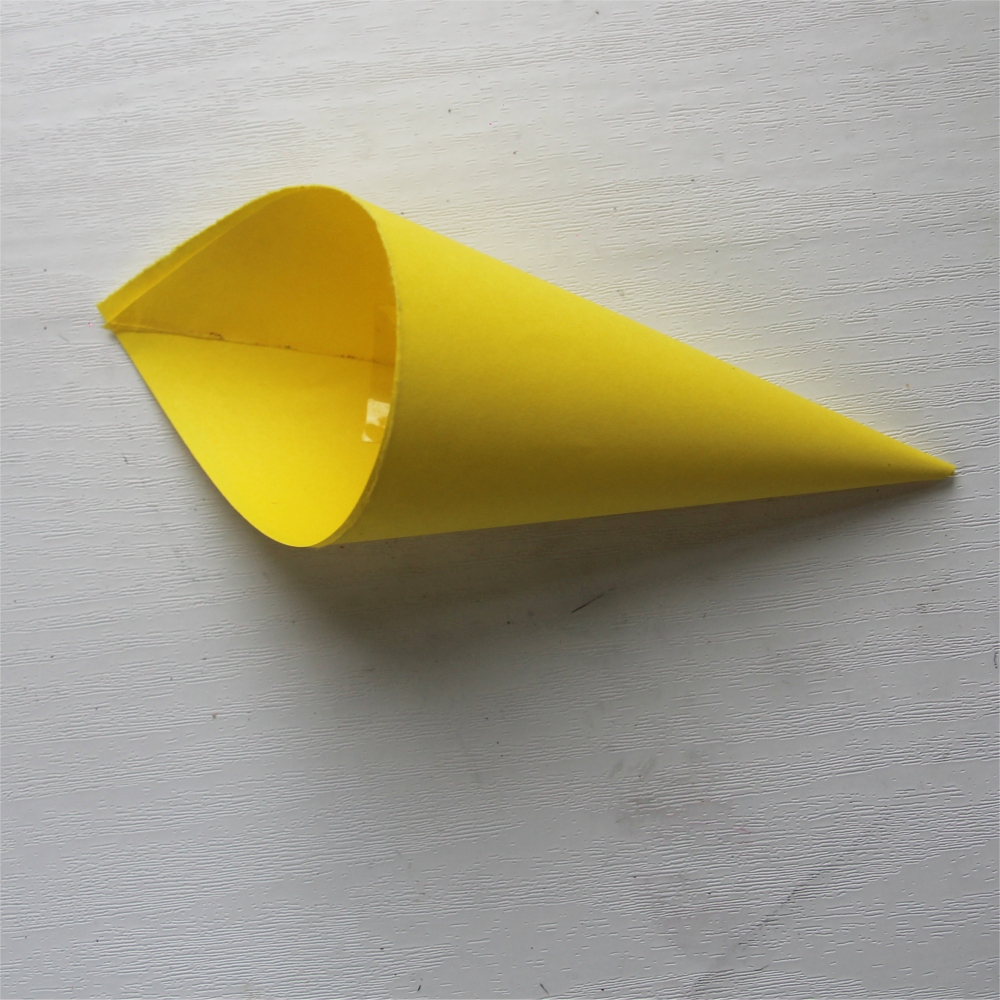
Wrap one half round itself into a cone and tape it.
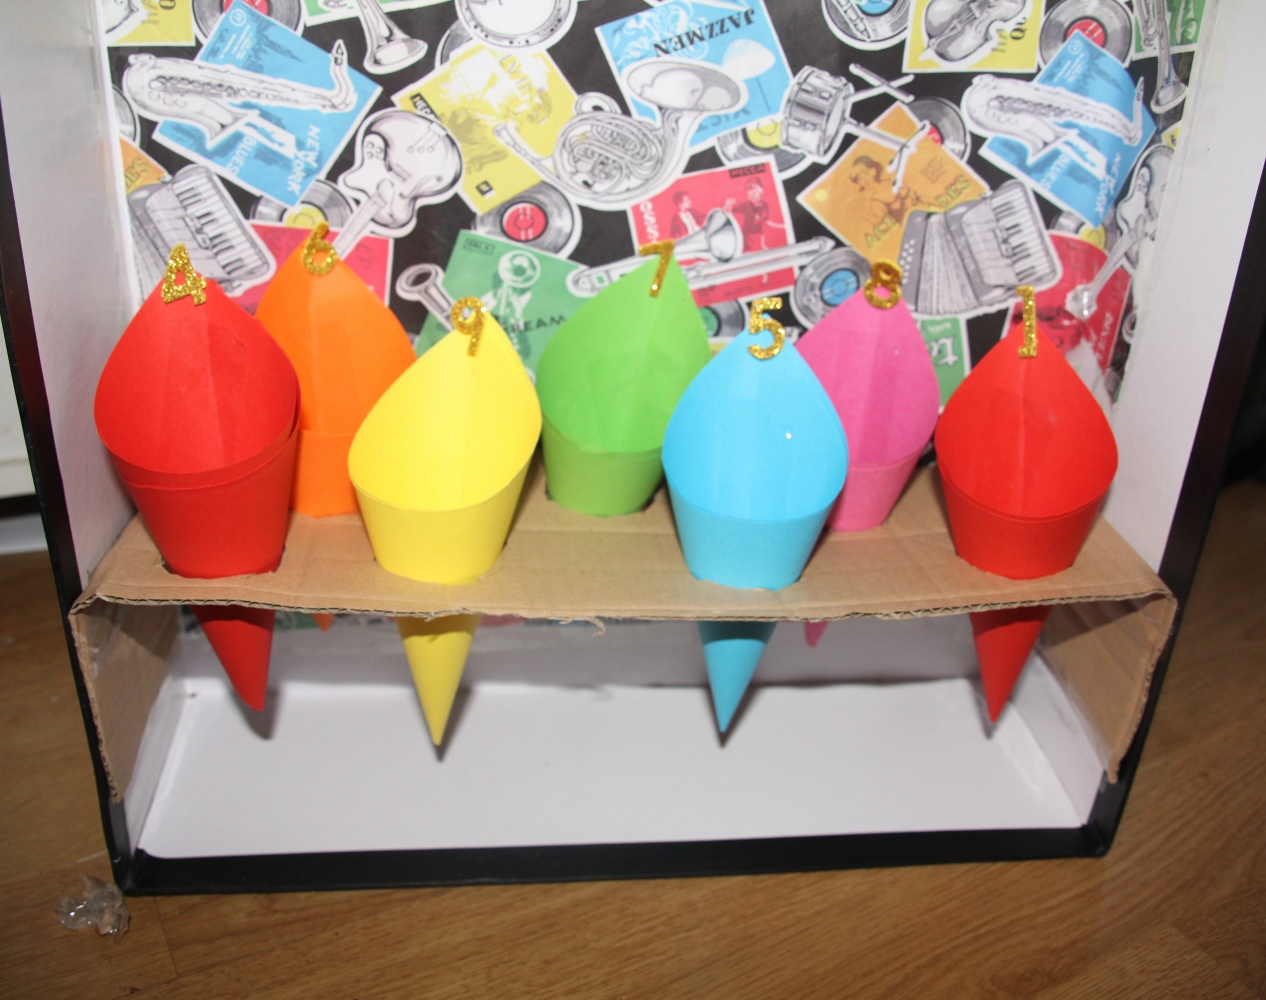
Make some more cones and number them with different numbers representing points you can score.
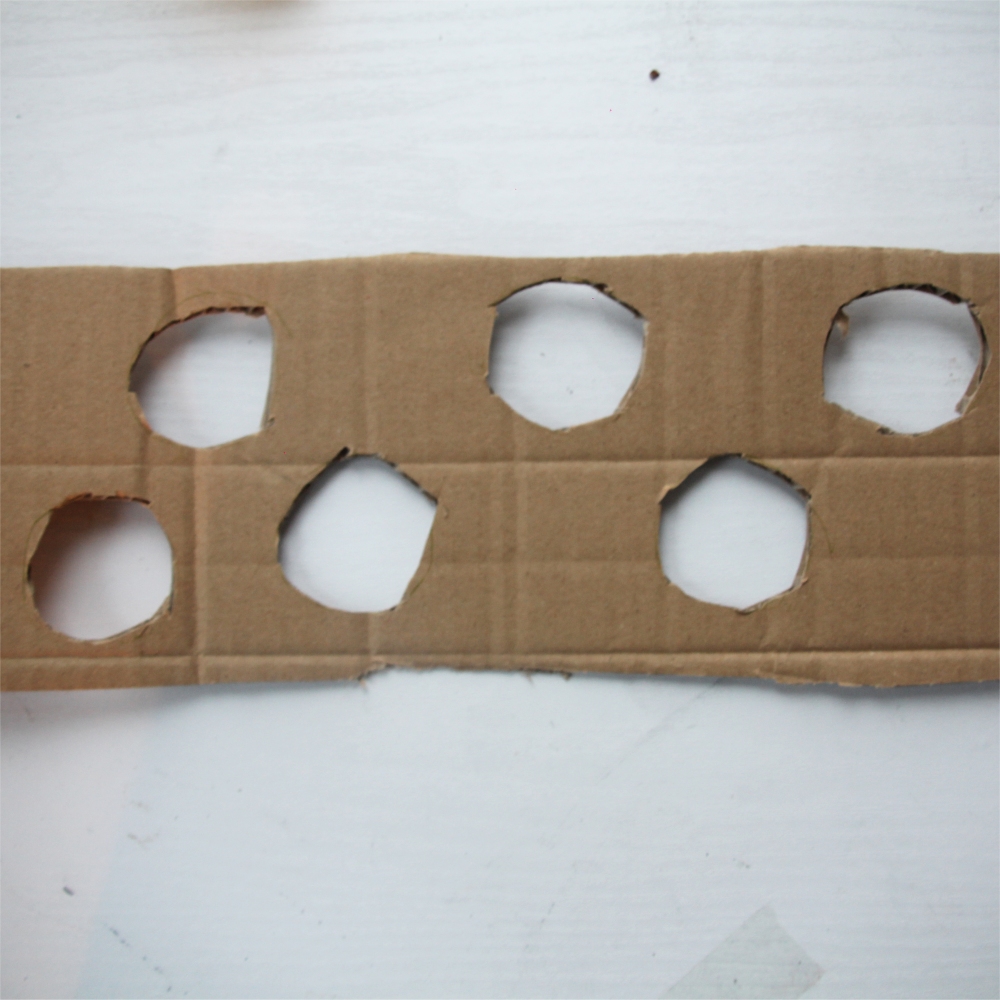
Using cardboard, make a tray to hold the cones by cutting holes big enough for them to sit in (but not so big they fall through!).
Hint: Your tray needs to be longer than the width of the box so you can create flaps to attach it to the box.
Step 26
Step 27
Step 28
Step 29
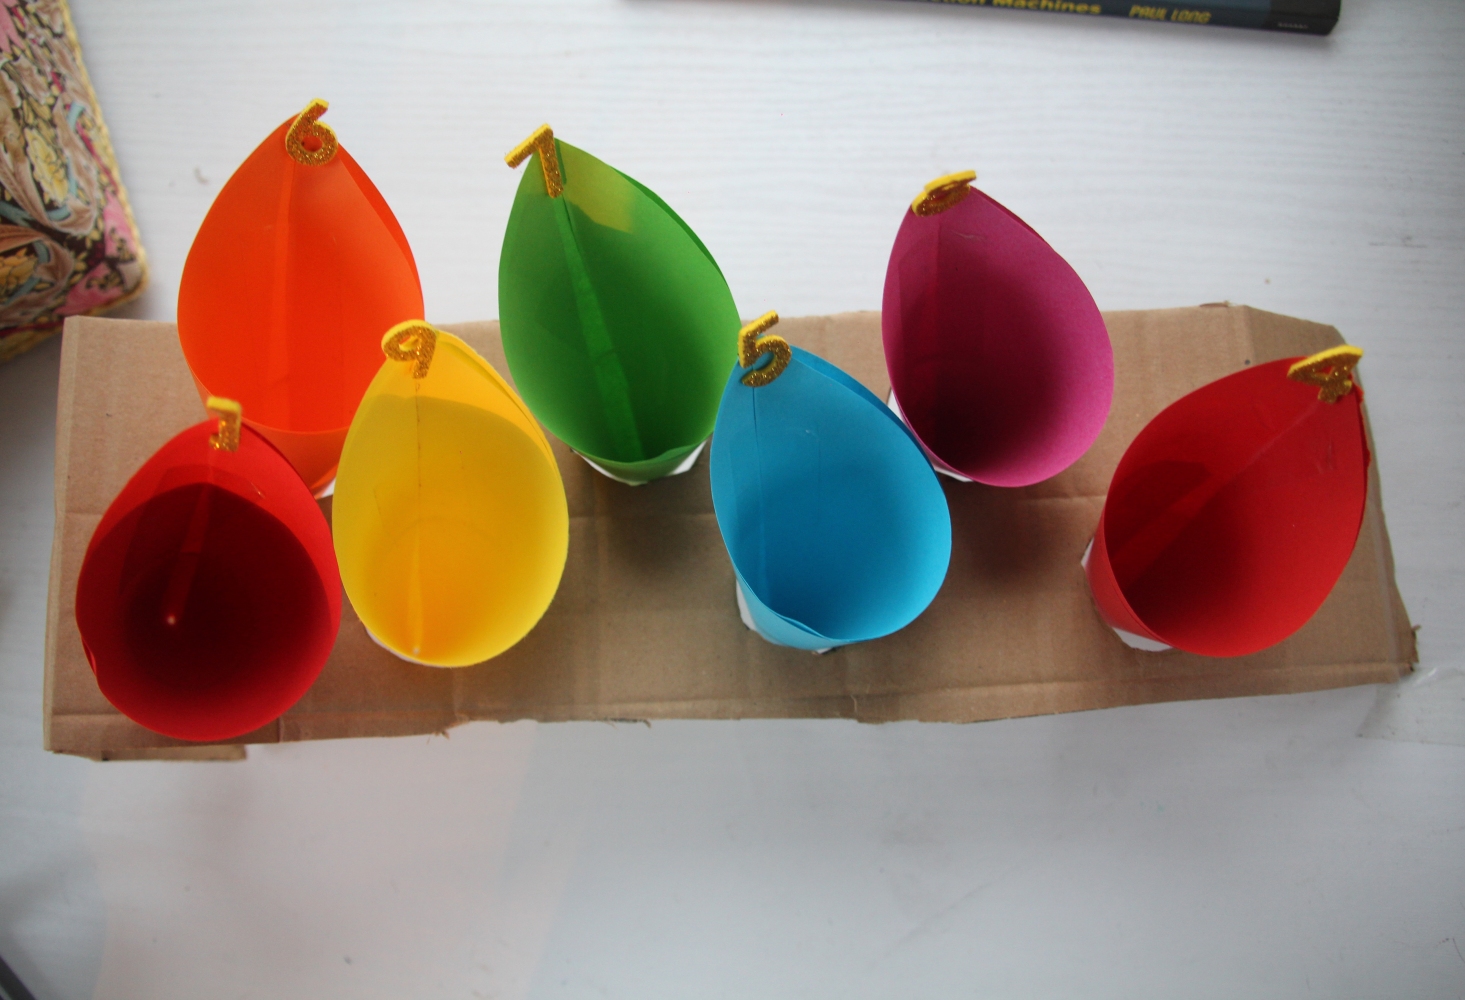
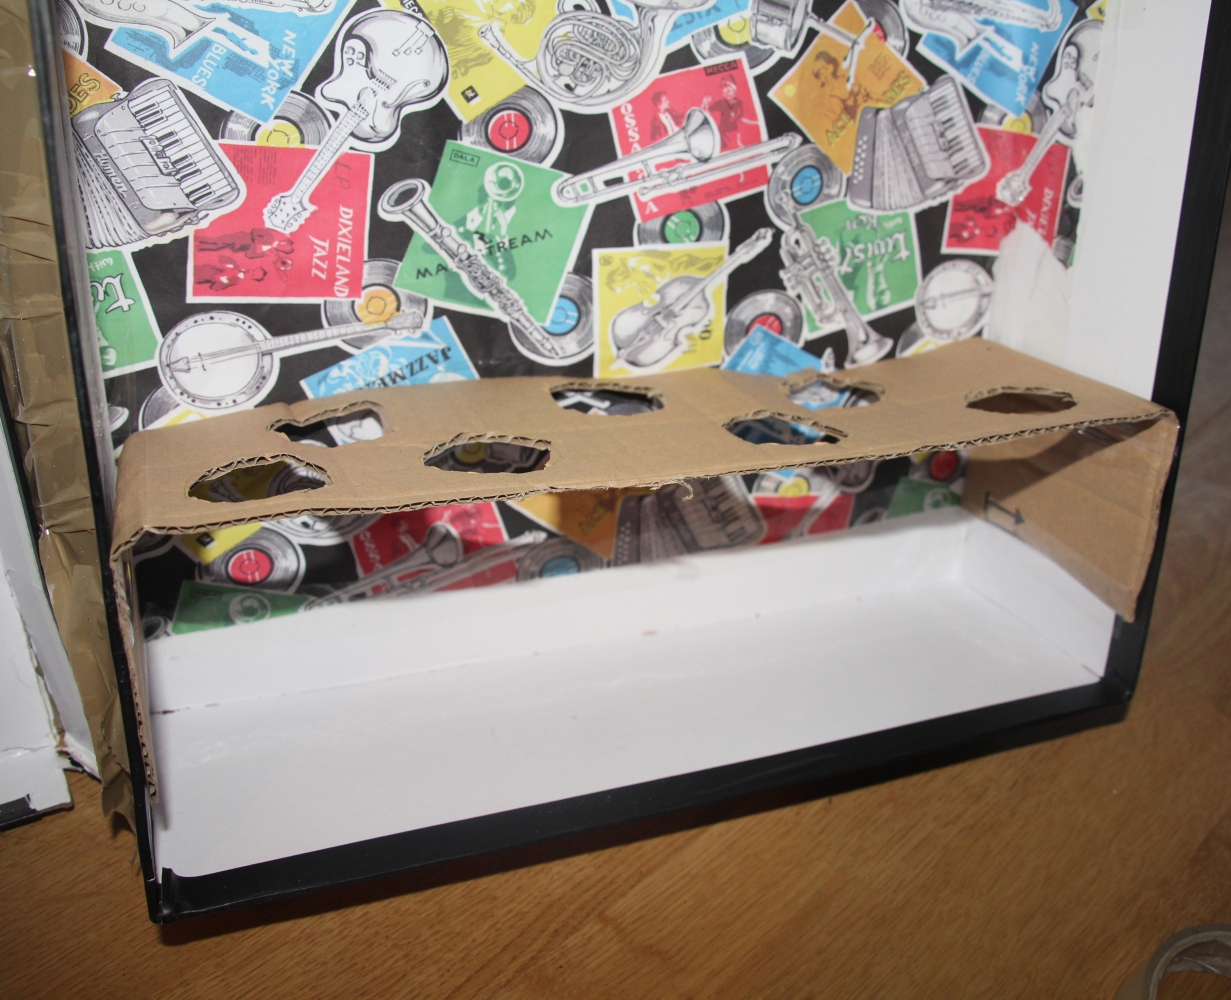
Remove the cones and attach the tray to the bottom of the marble run box by bending flaps in the cardboard and taping them to the sides of the box.
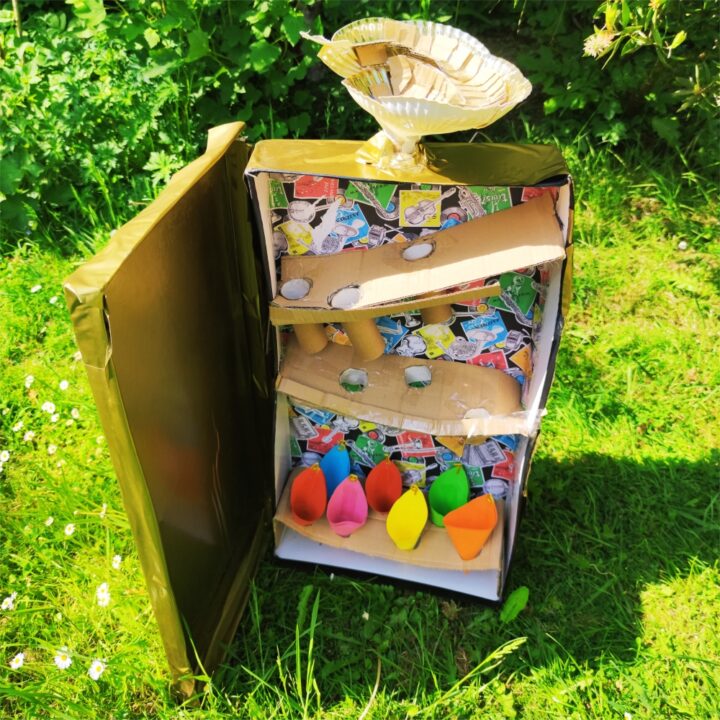
This is what your marble run should look something like now.
Place the cones back into the tray. Now you are ready to play!
Here you can see our marble run in all its glory with the cone tray, and a second shelf added. Marbles away!
Why not have a competition with friends or family to see who can get the most points?