Inspired by Tiikat’s Journal entry ‘Saved by the Screw’, why not build your own marble run in a screw shape? You can have hours of fun playing with it!
Look out for more marble run fun coming soon!
You will need help from someone to hold the spiral in place and glue, so best to get some help for this activity.
The activity involves some trial and error. Make your spiral too steep and your marbles may go flying, make the slope too gentle and they may get stuck. We will give you some tricks to help stop the marbles flying off!
Adult supervision needed!
Difficulty Level:
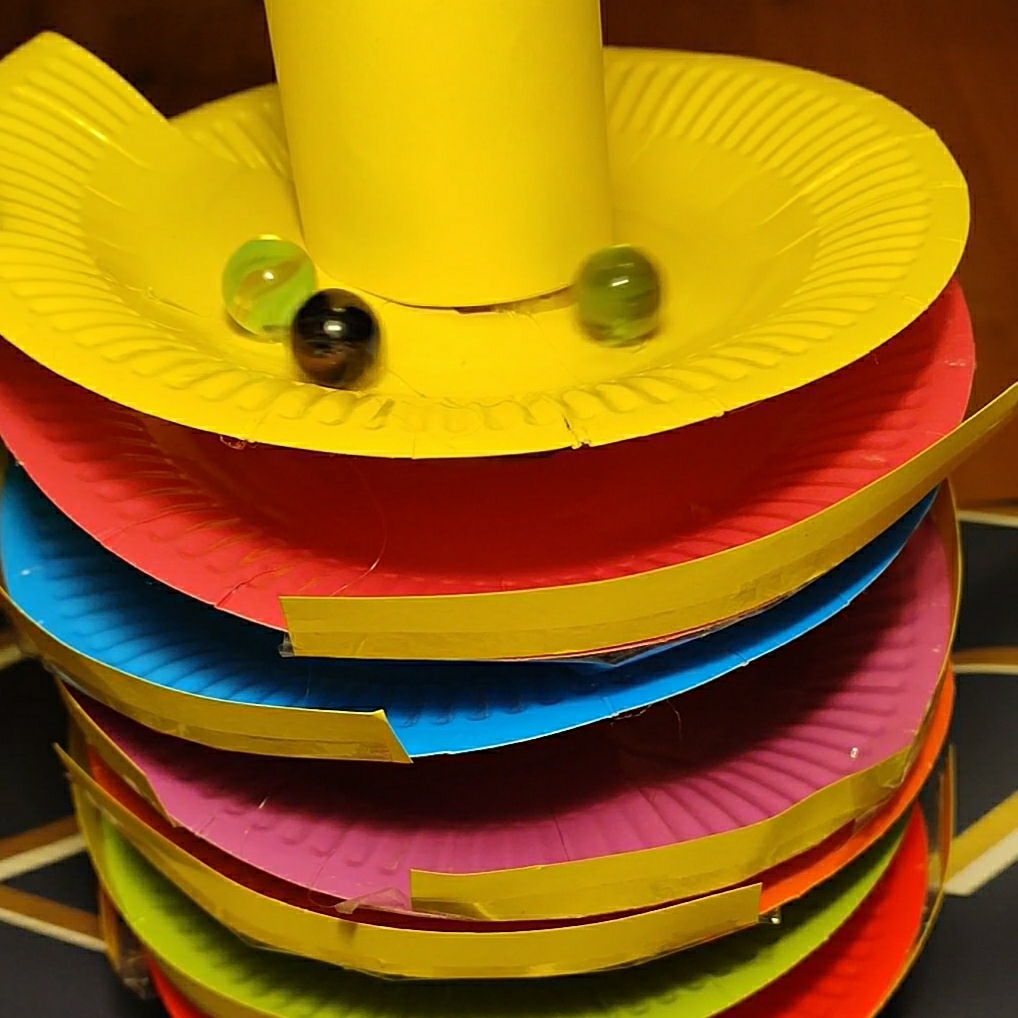
Play the Video to see Marble Ramp in Action!
What you need:
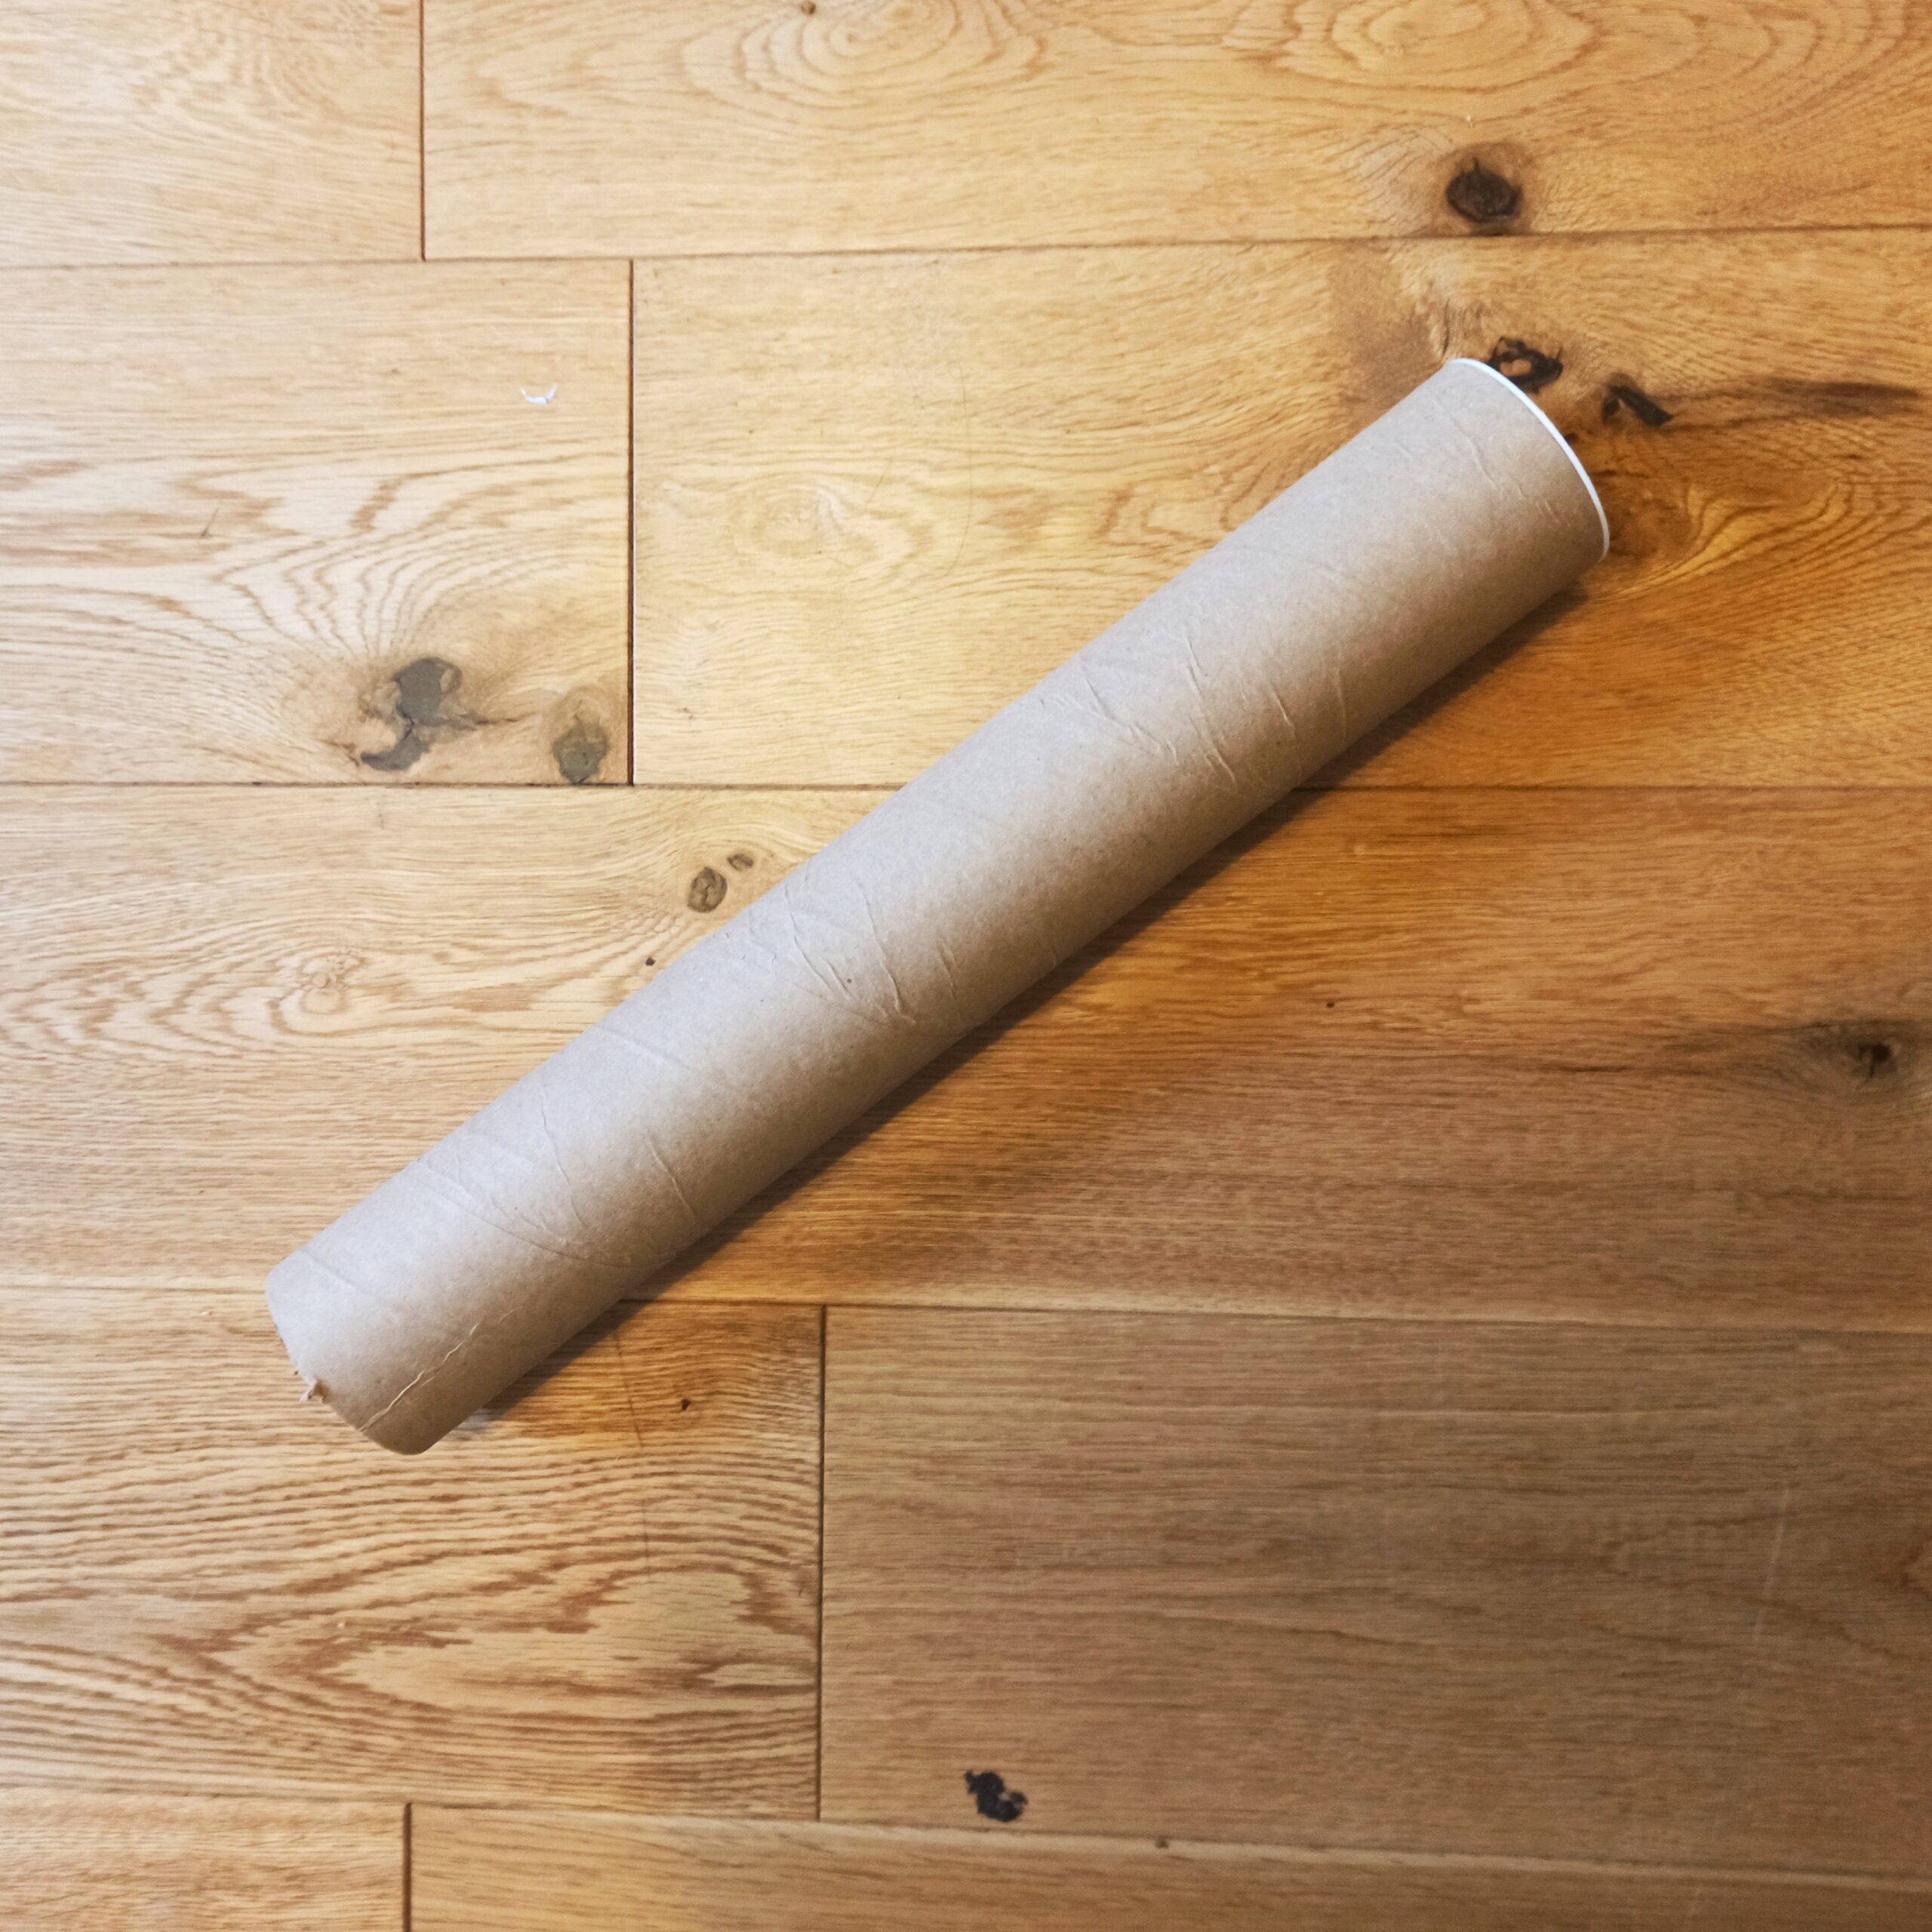
Cardboard tube (e.g. a poster tube)
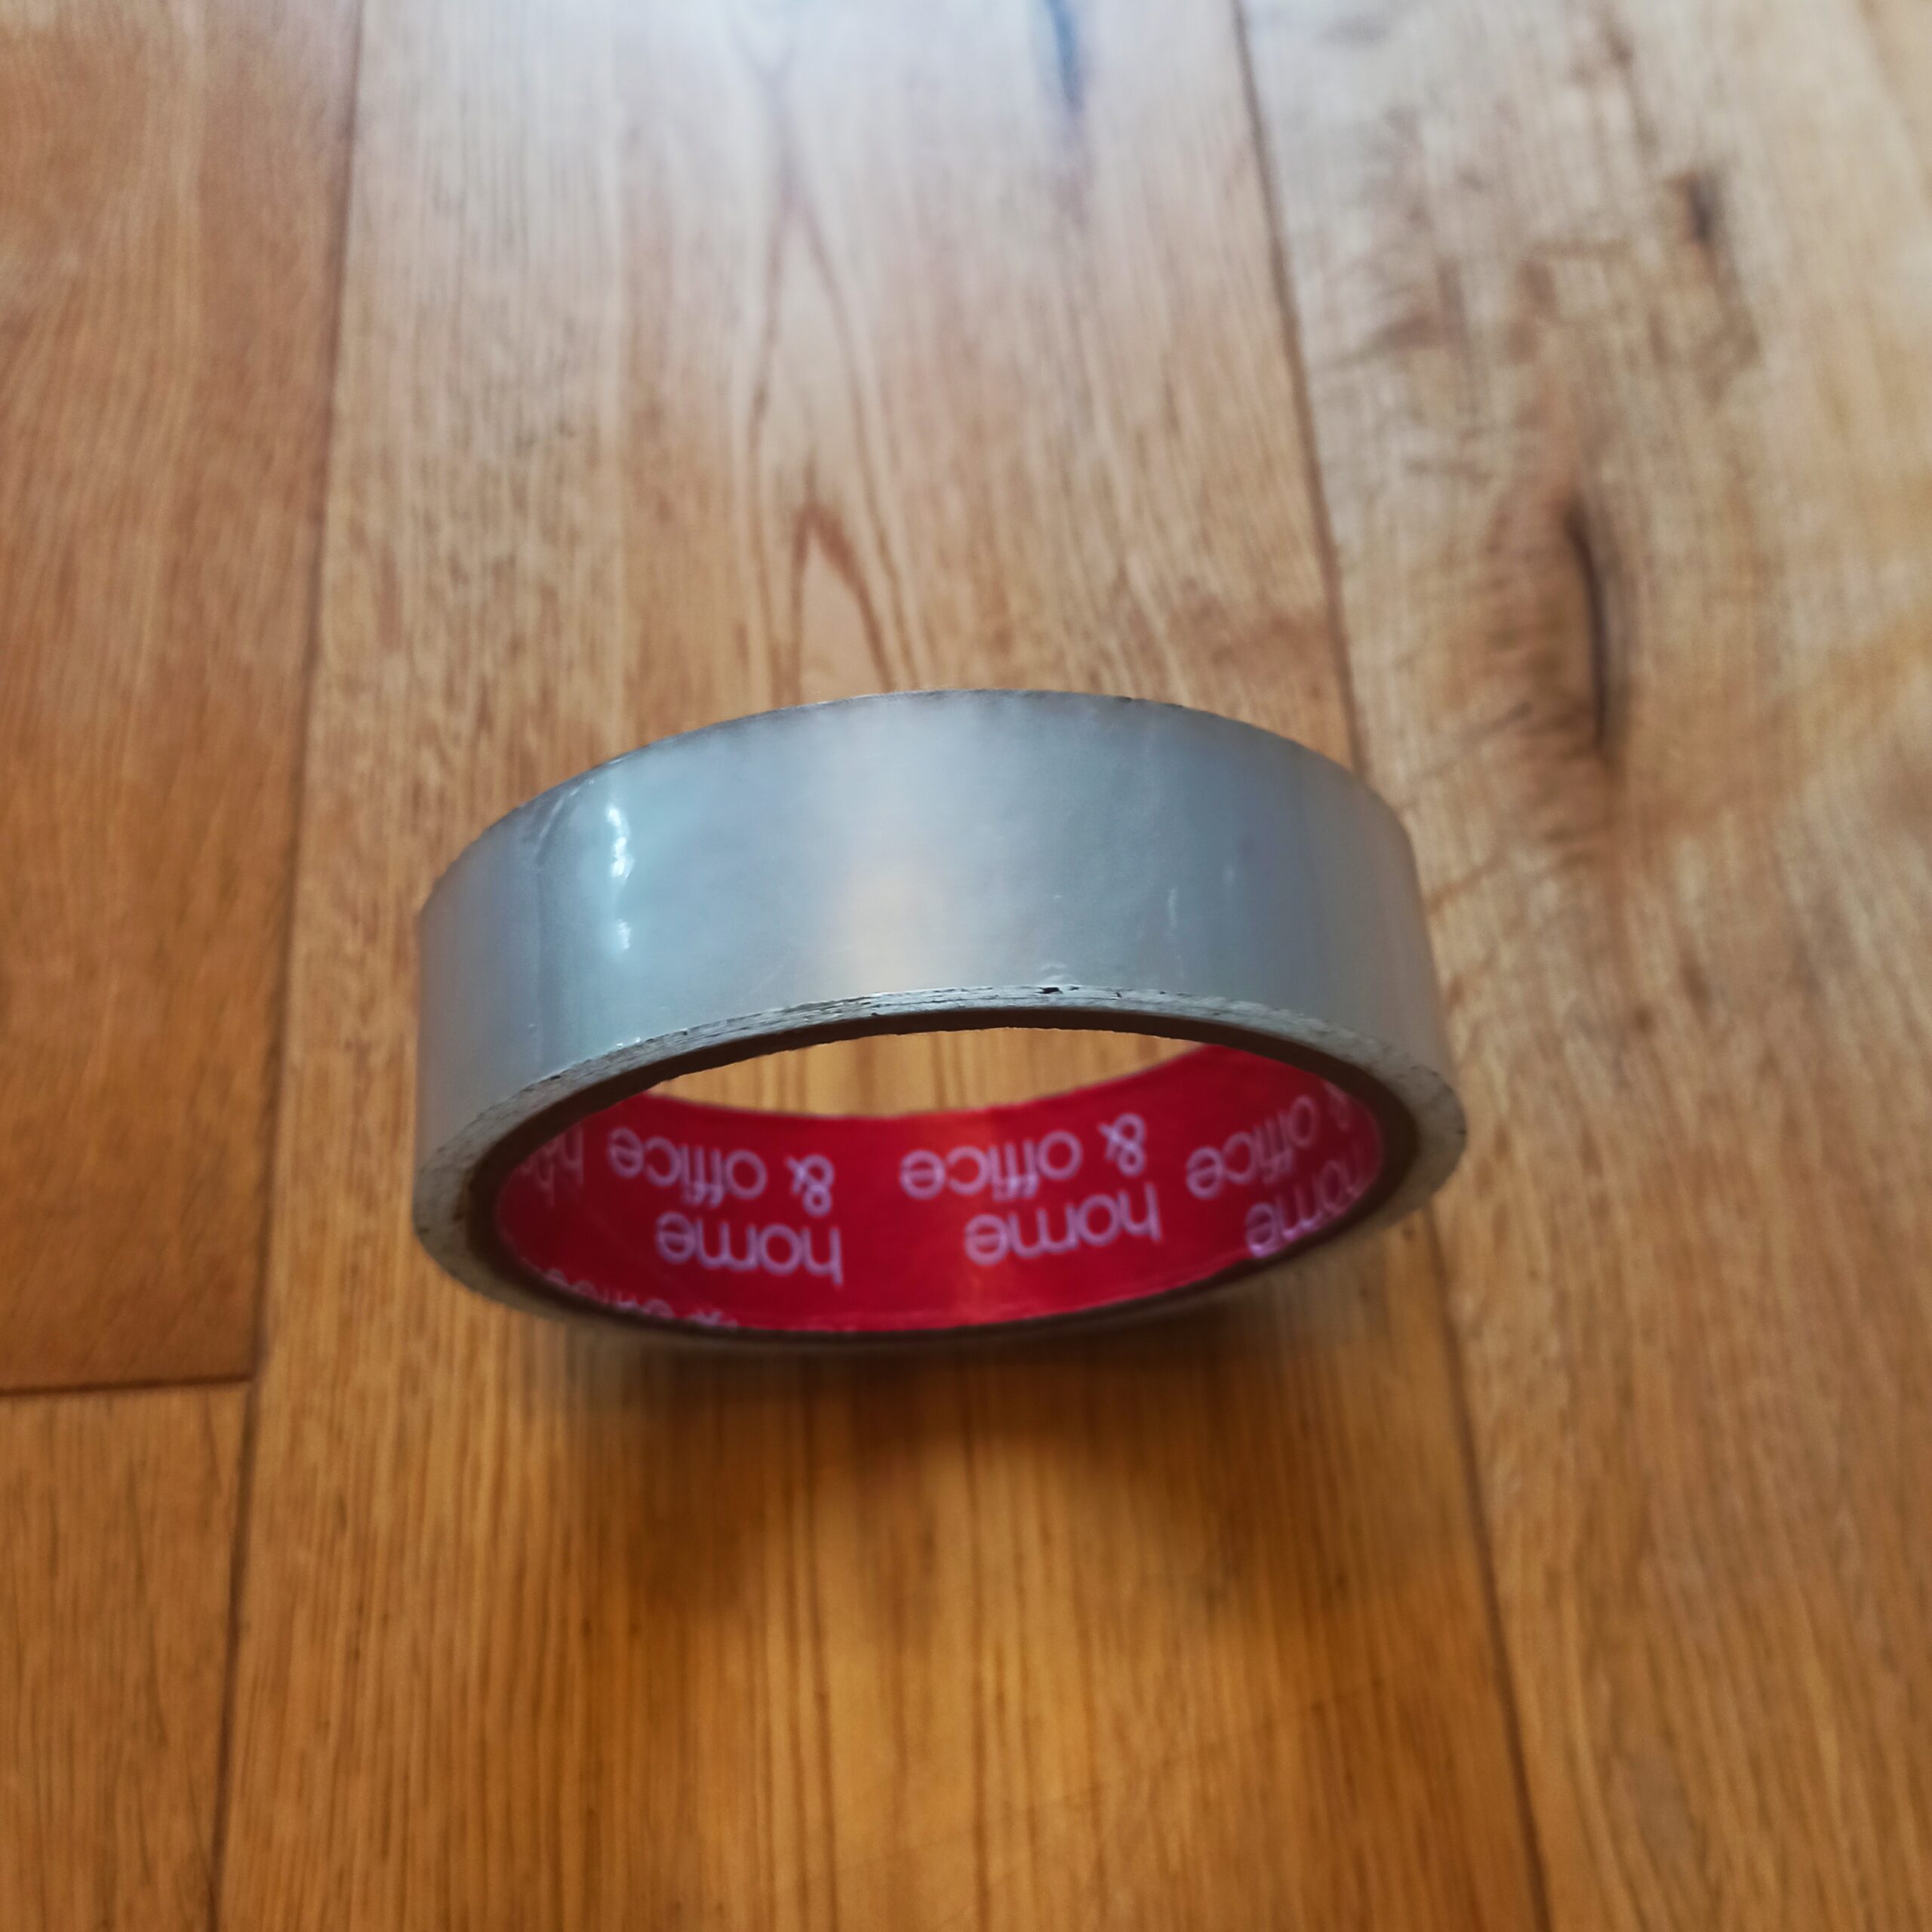
Sellotape
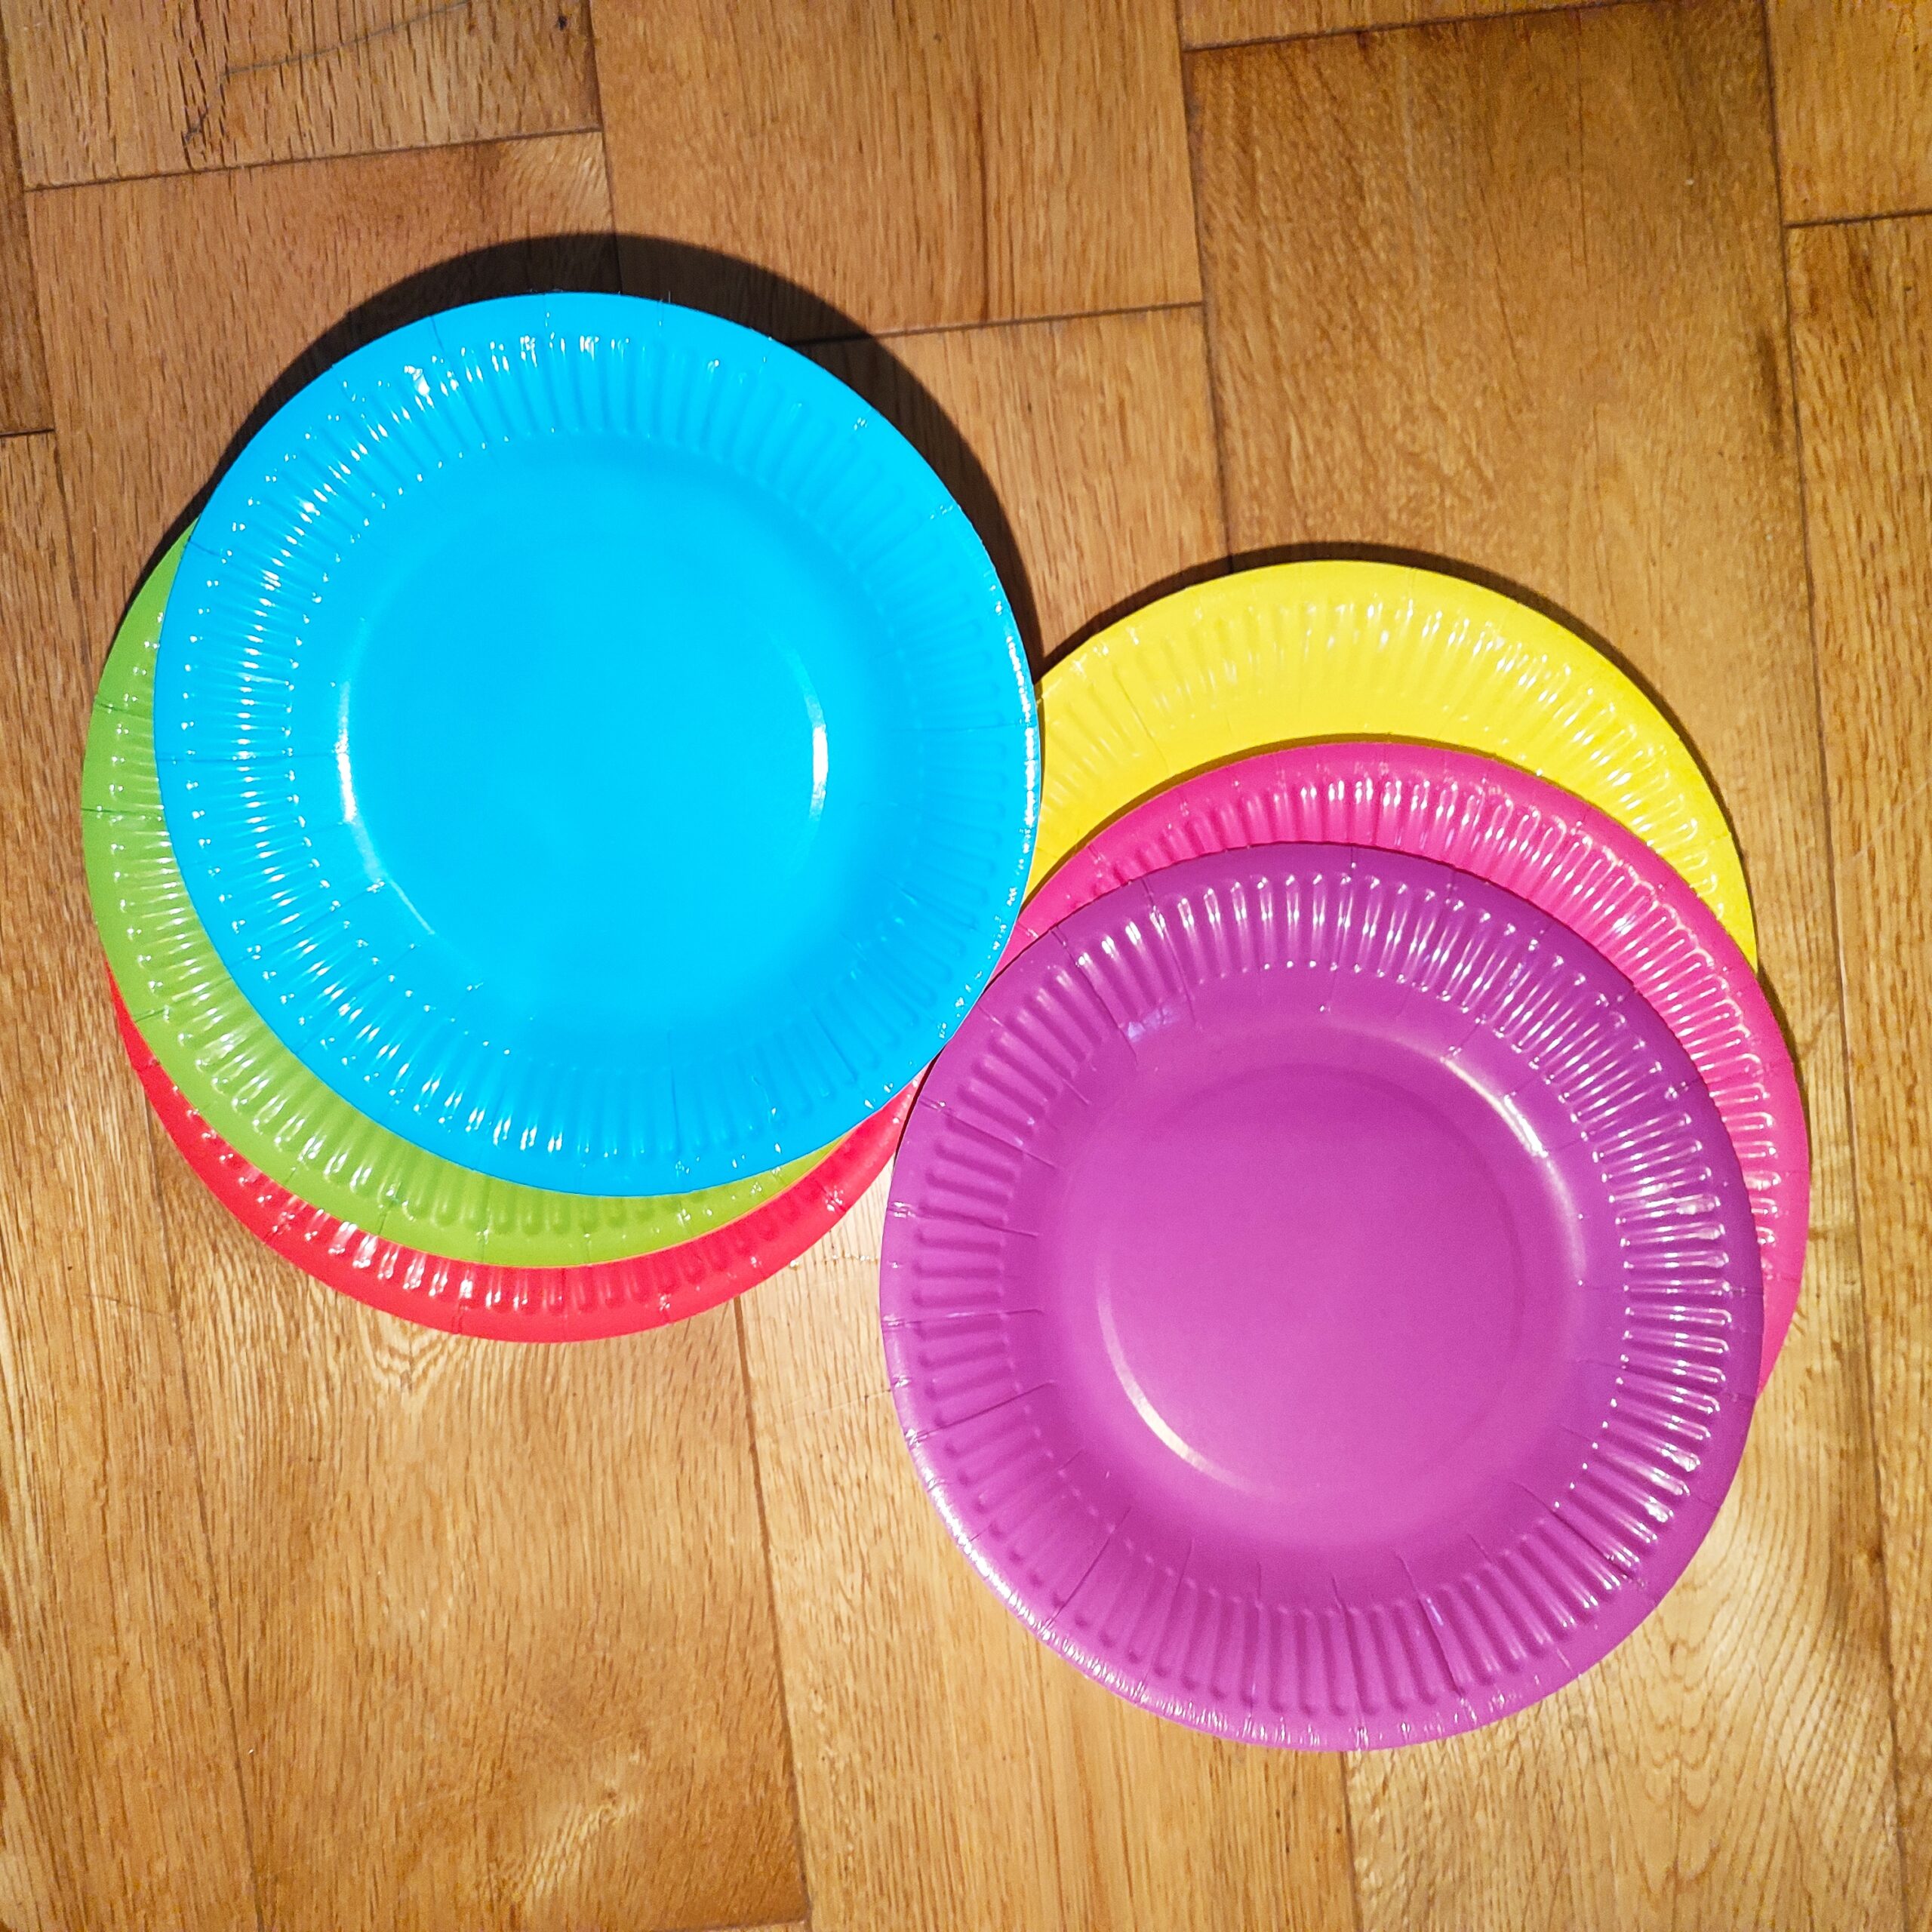
Paper plates (best to use stronger ones with raised sides)
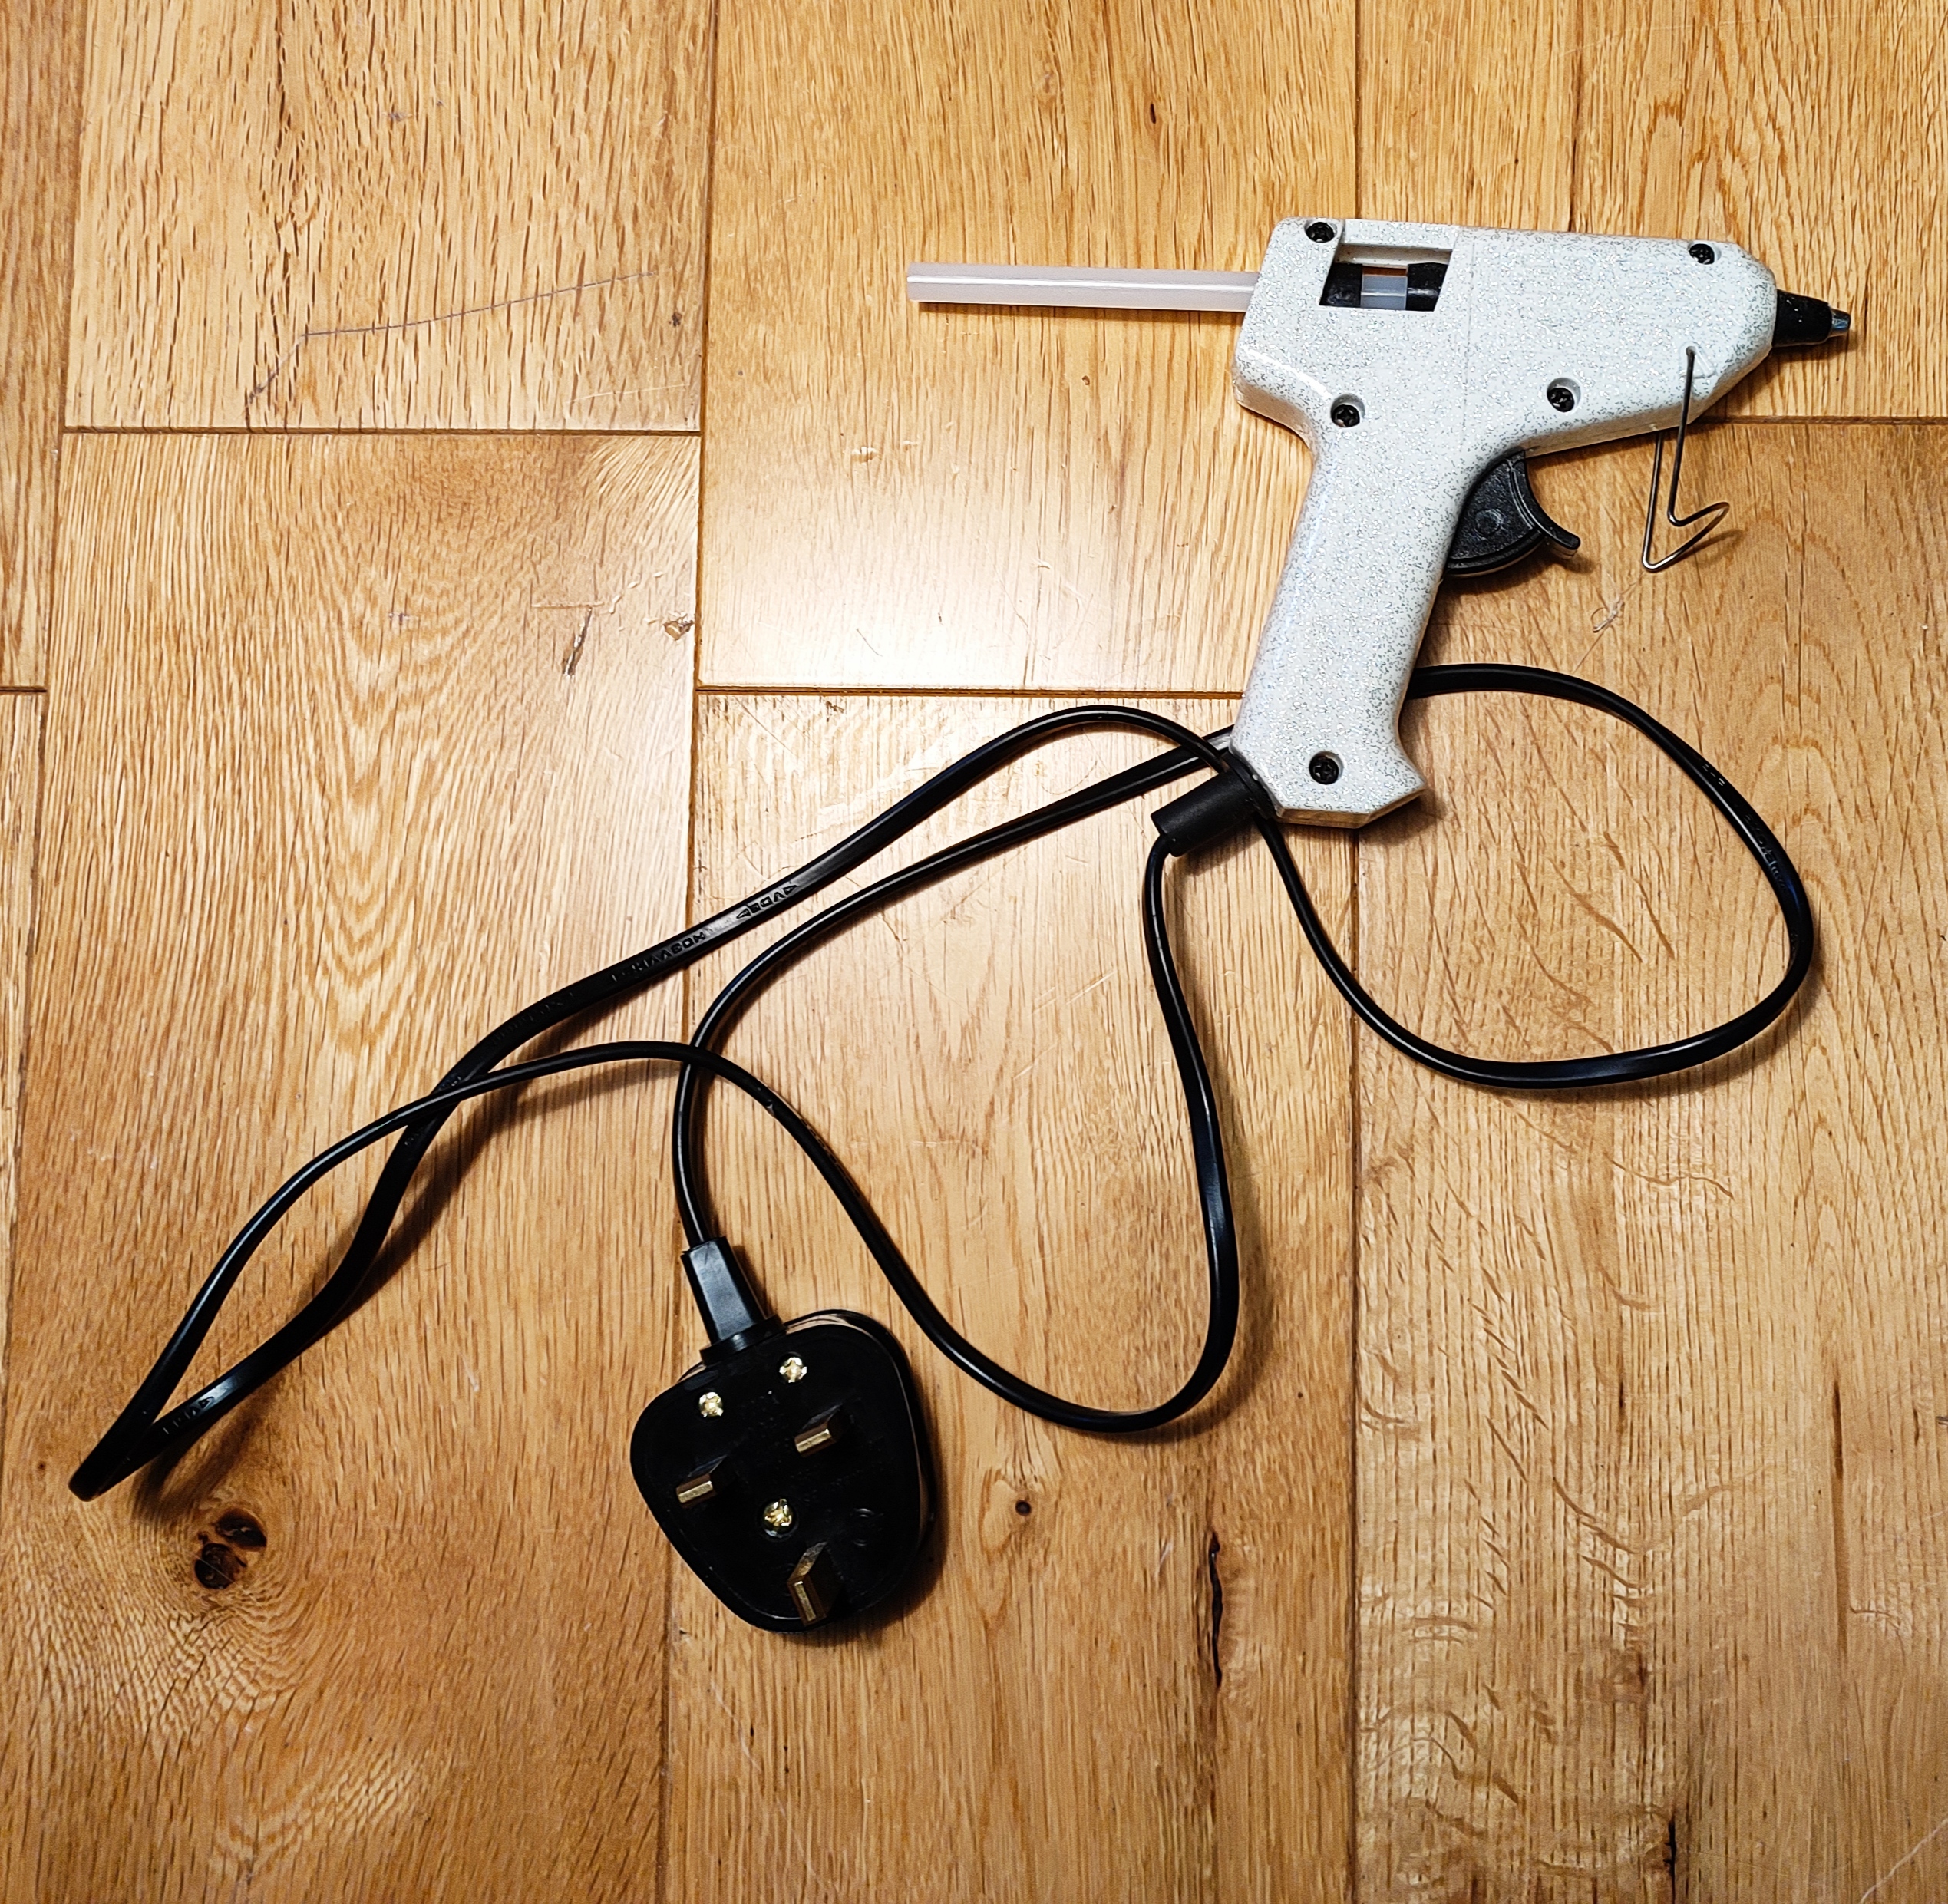
Glue gun (or other strong glue)
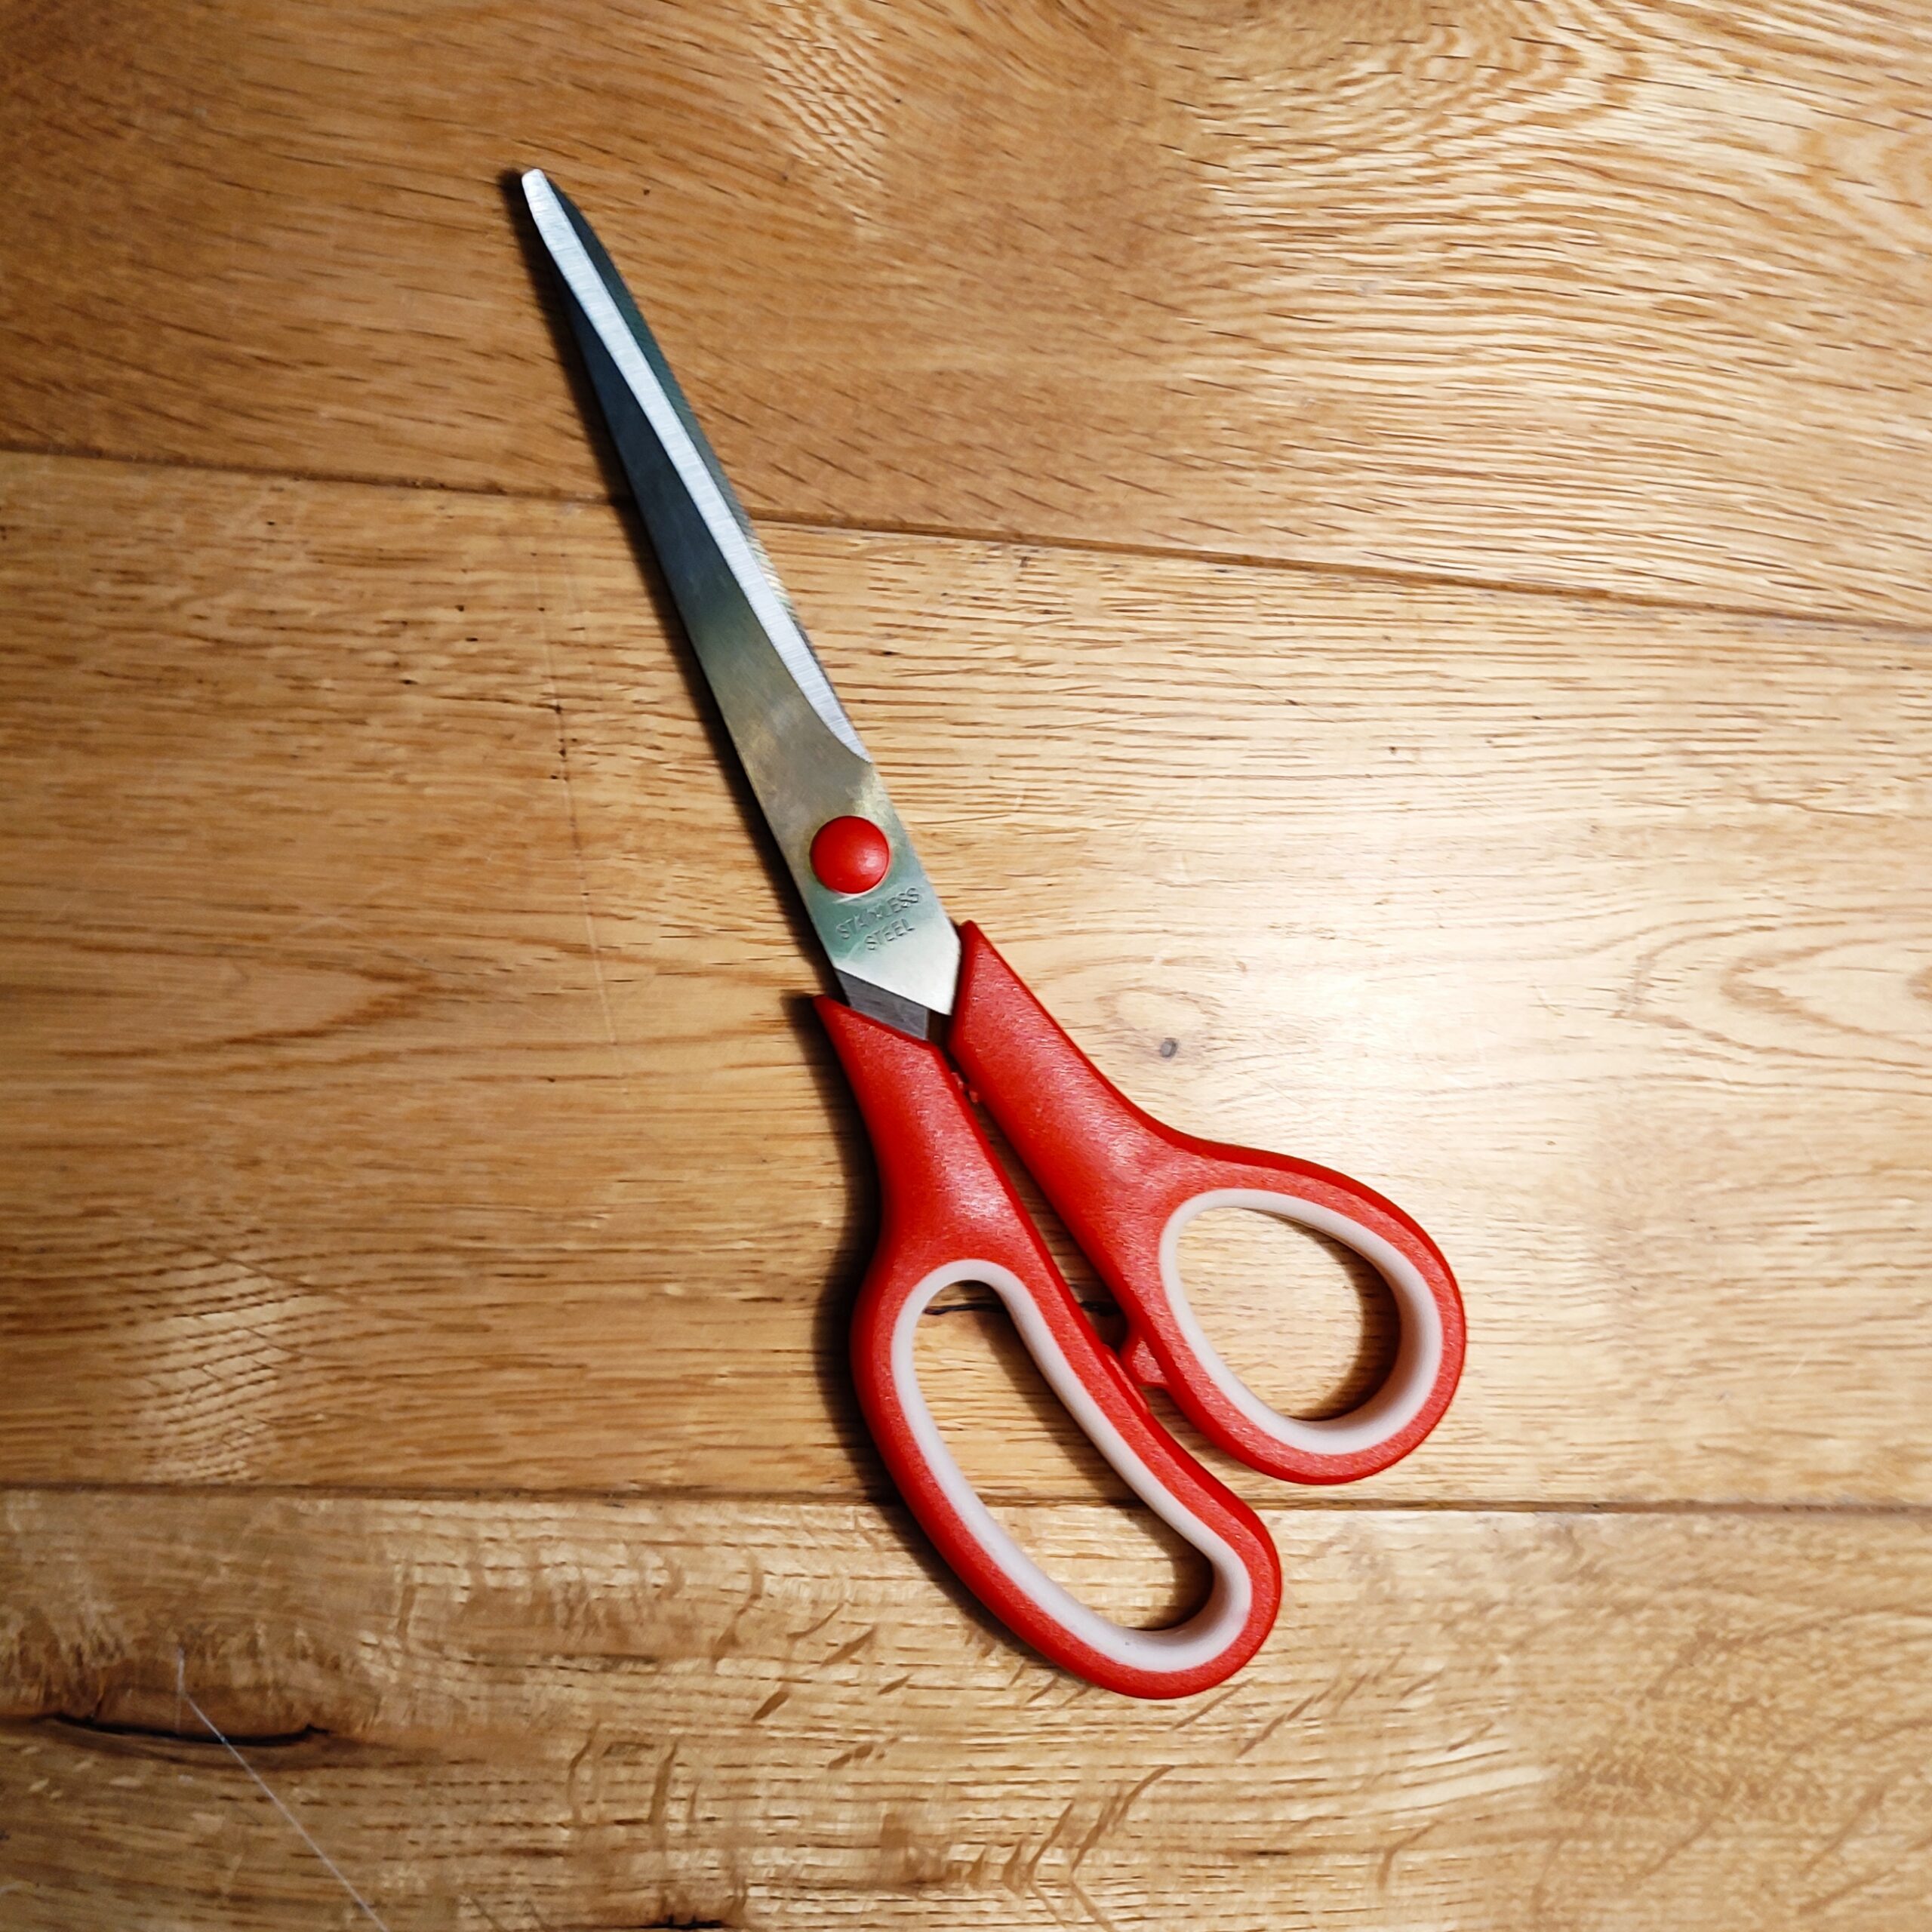
Scissors
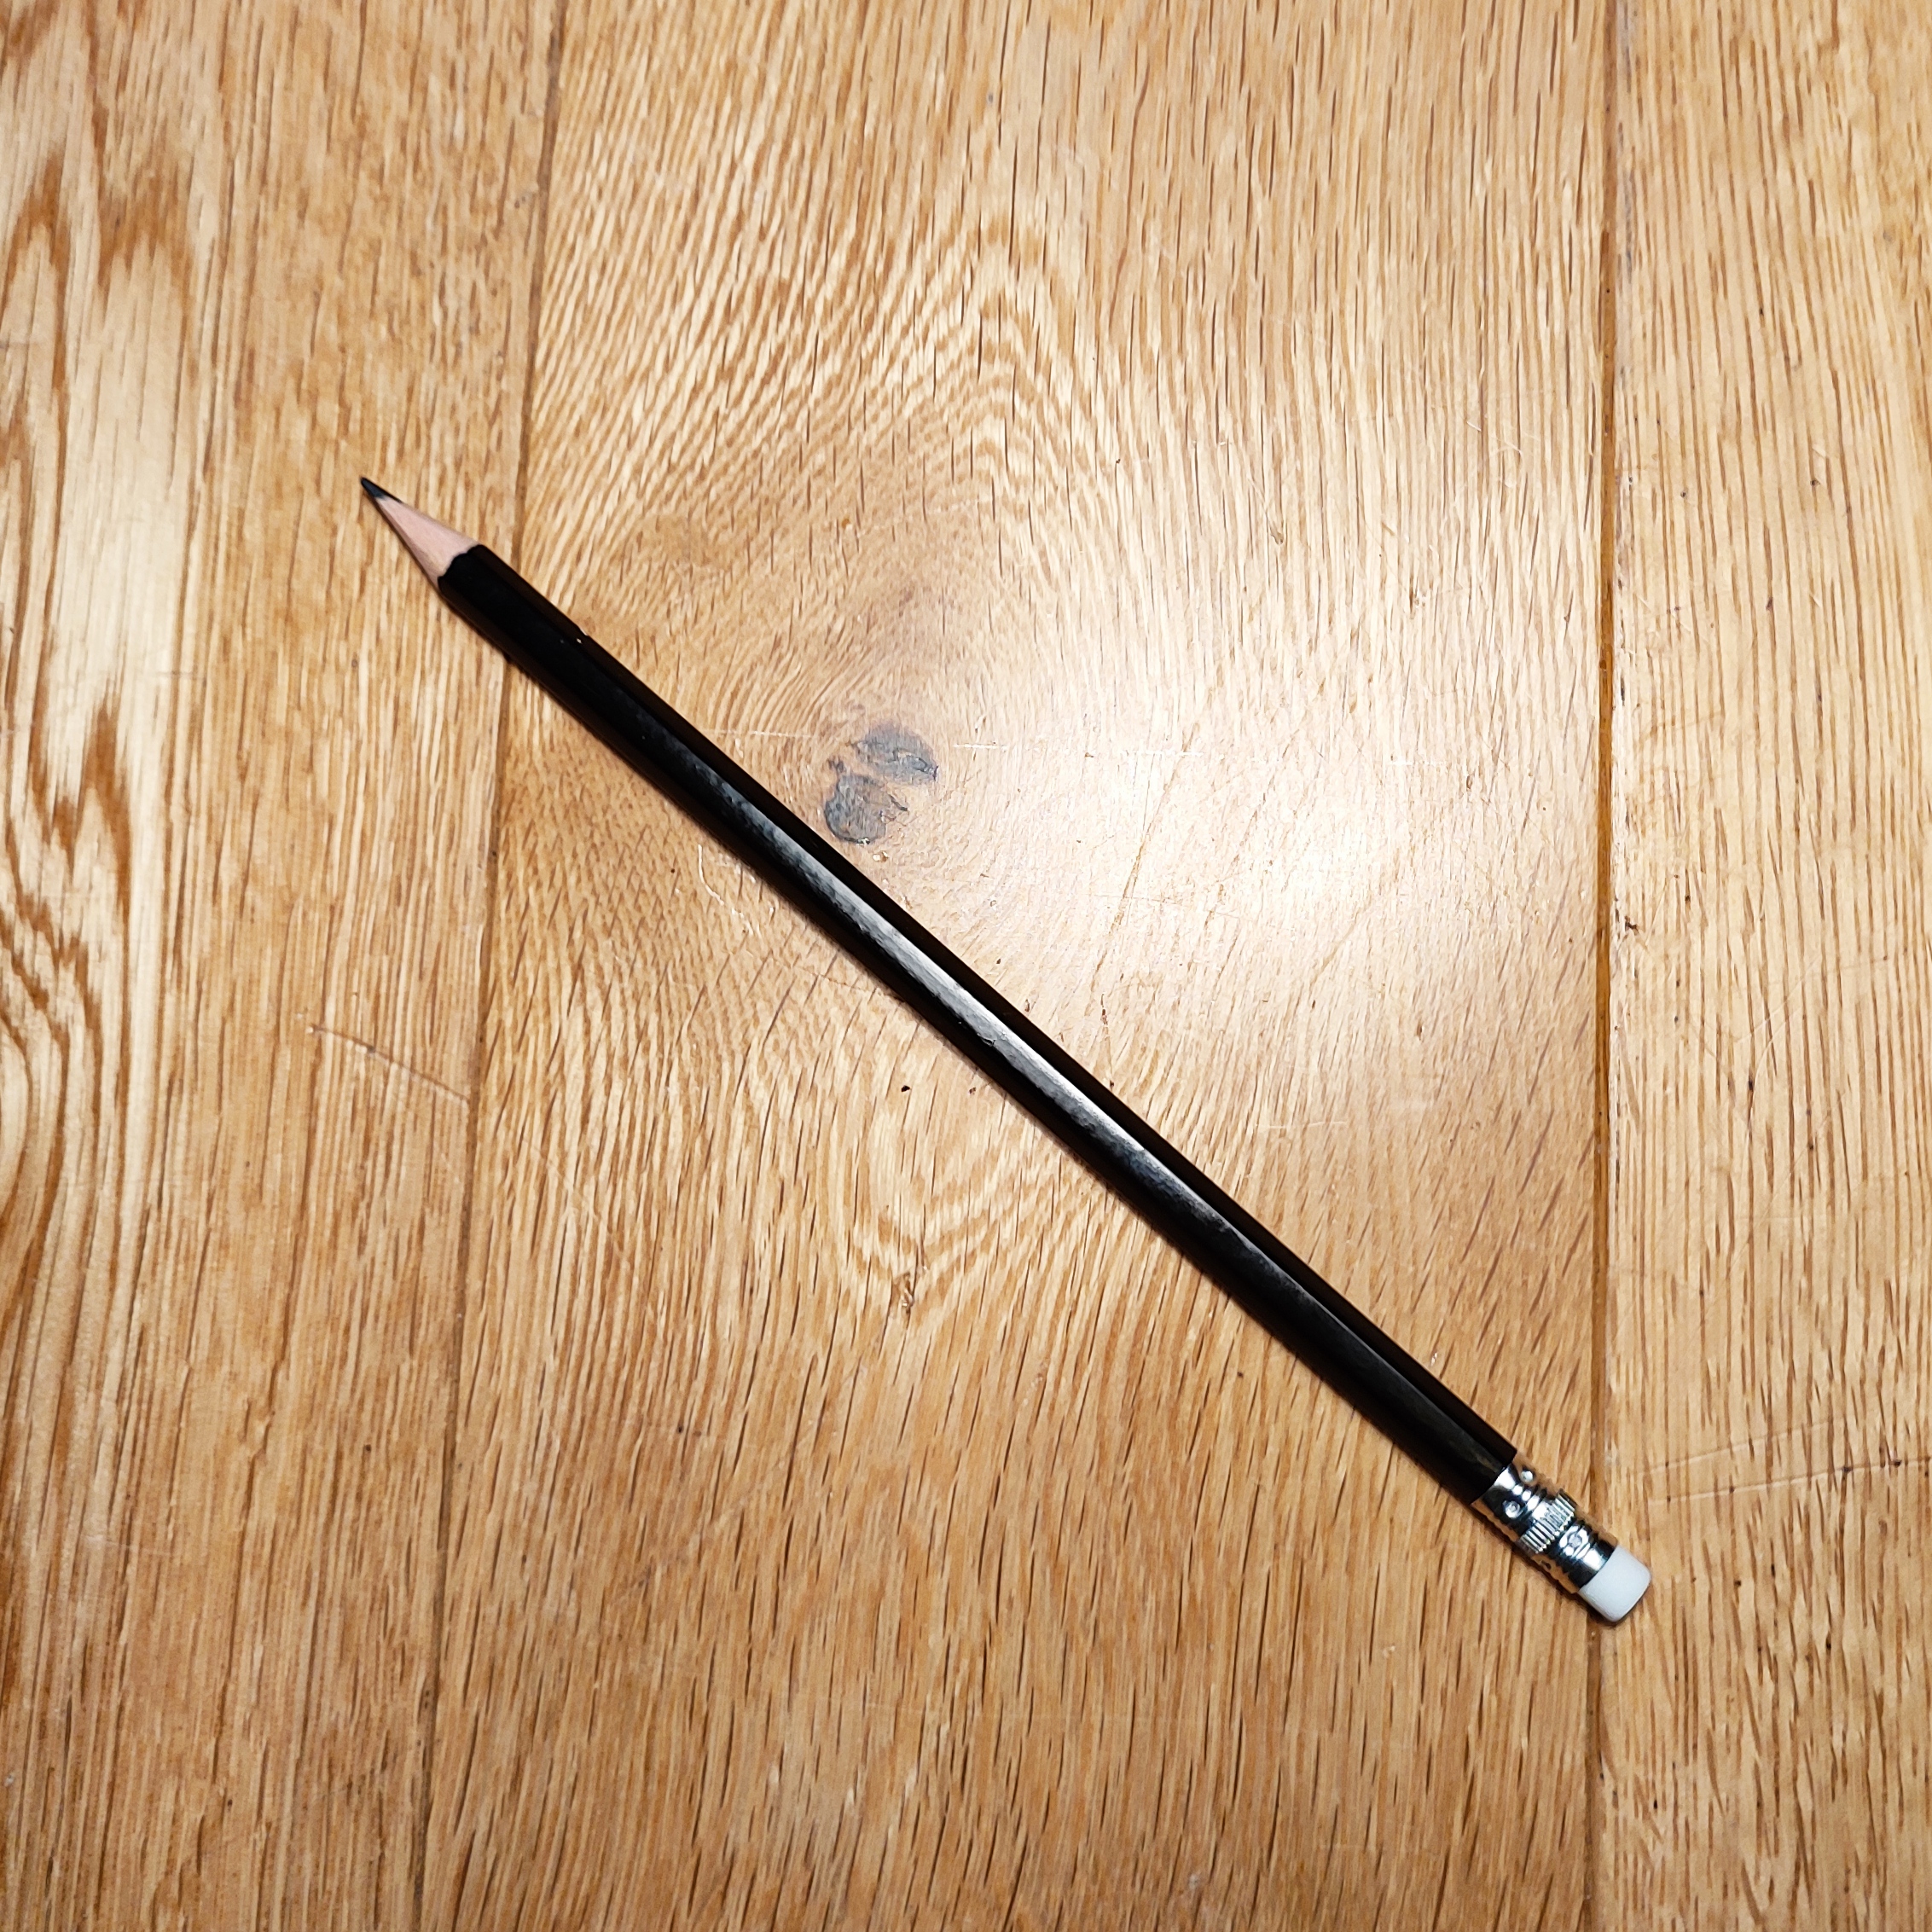
Pencil
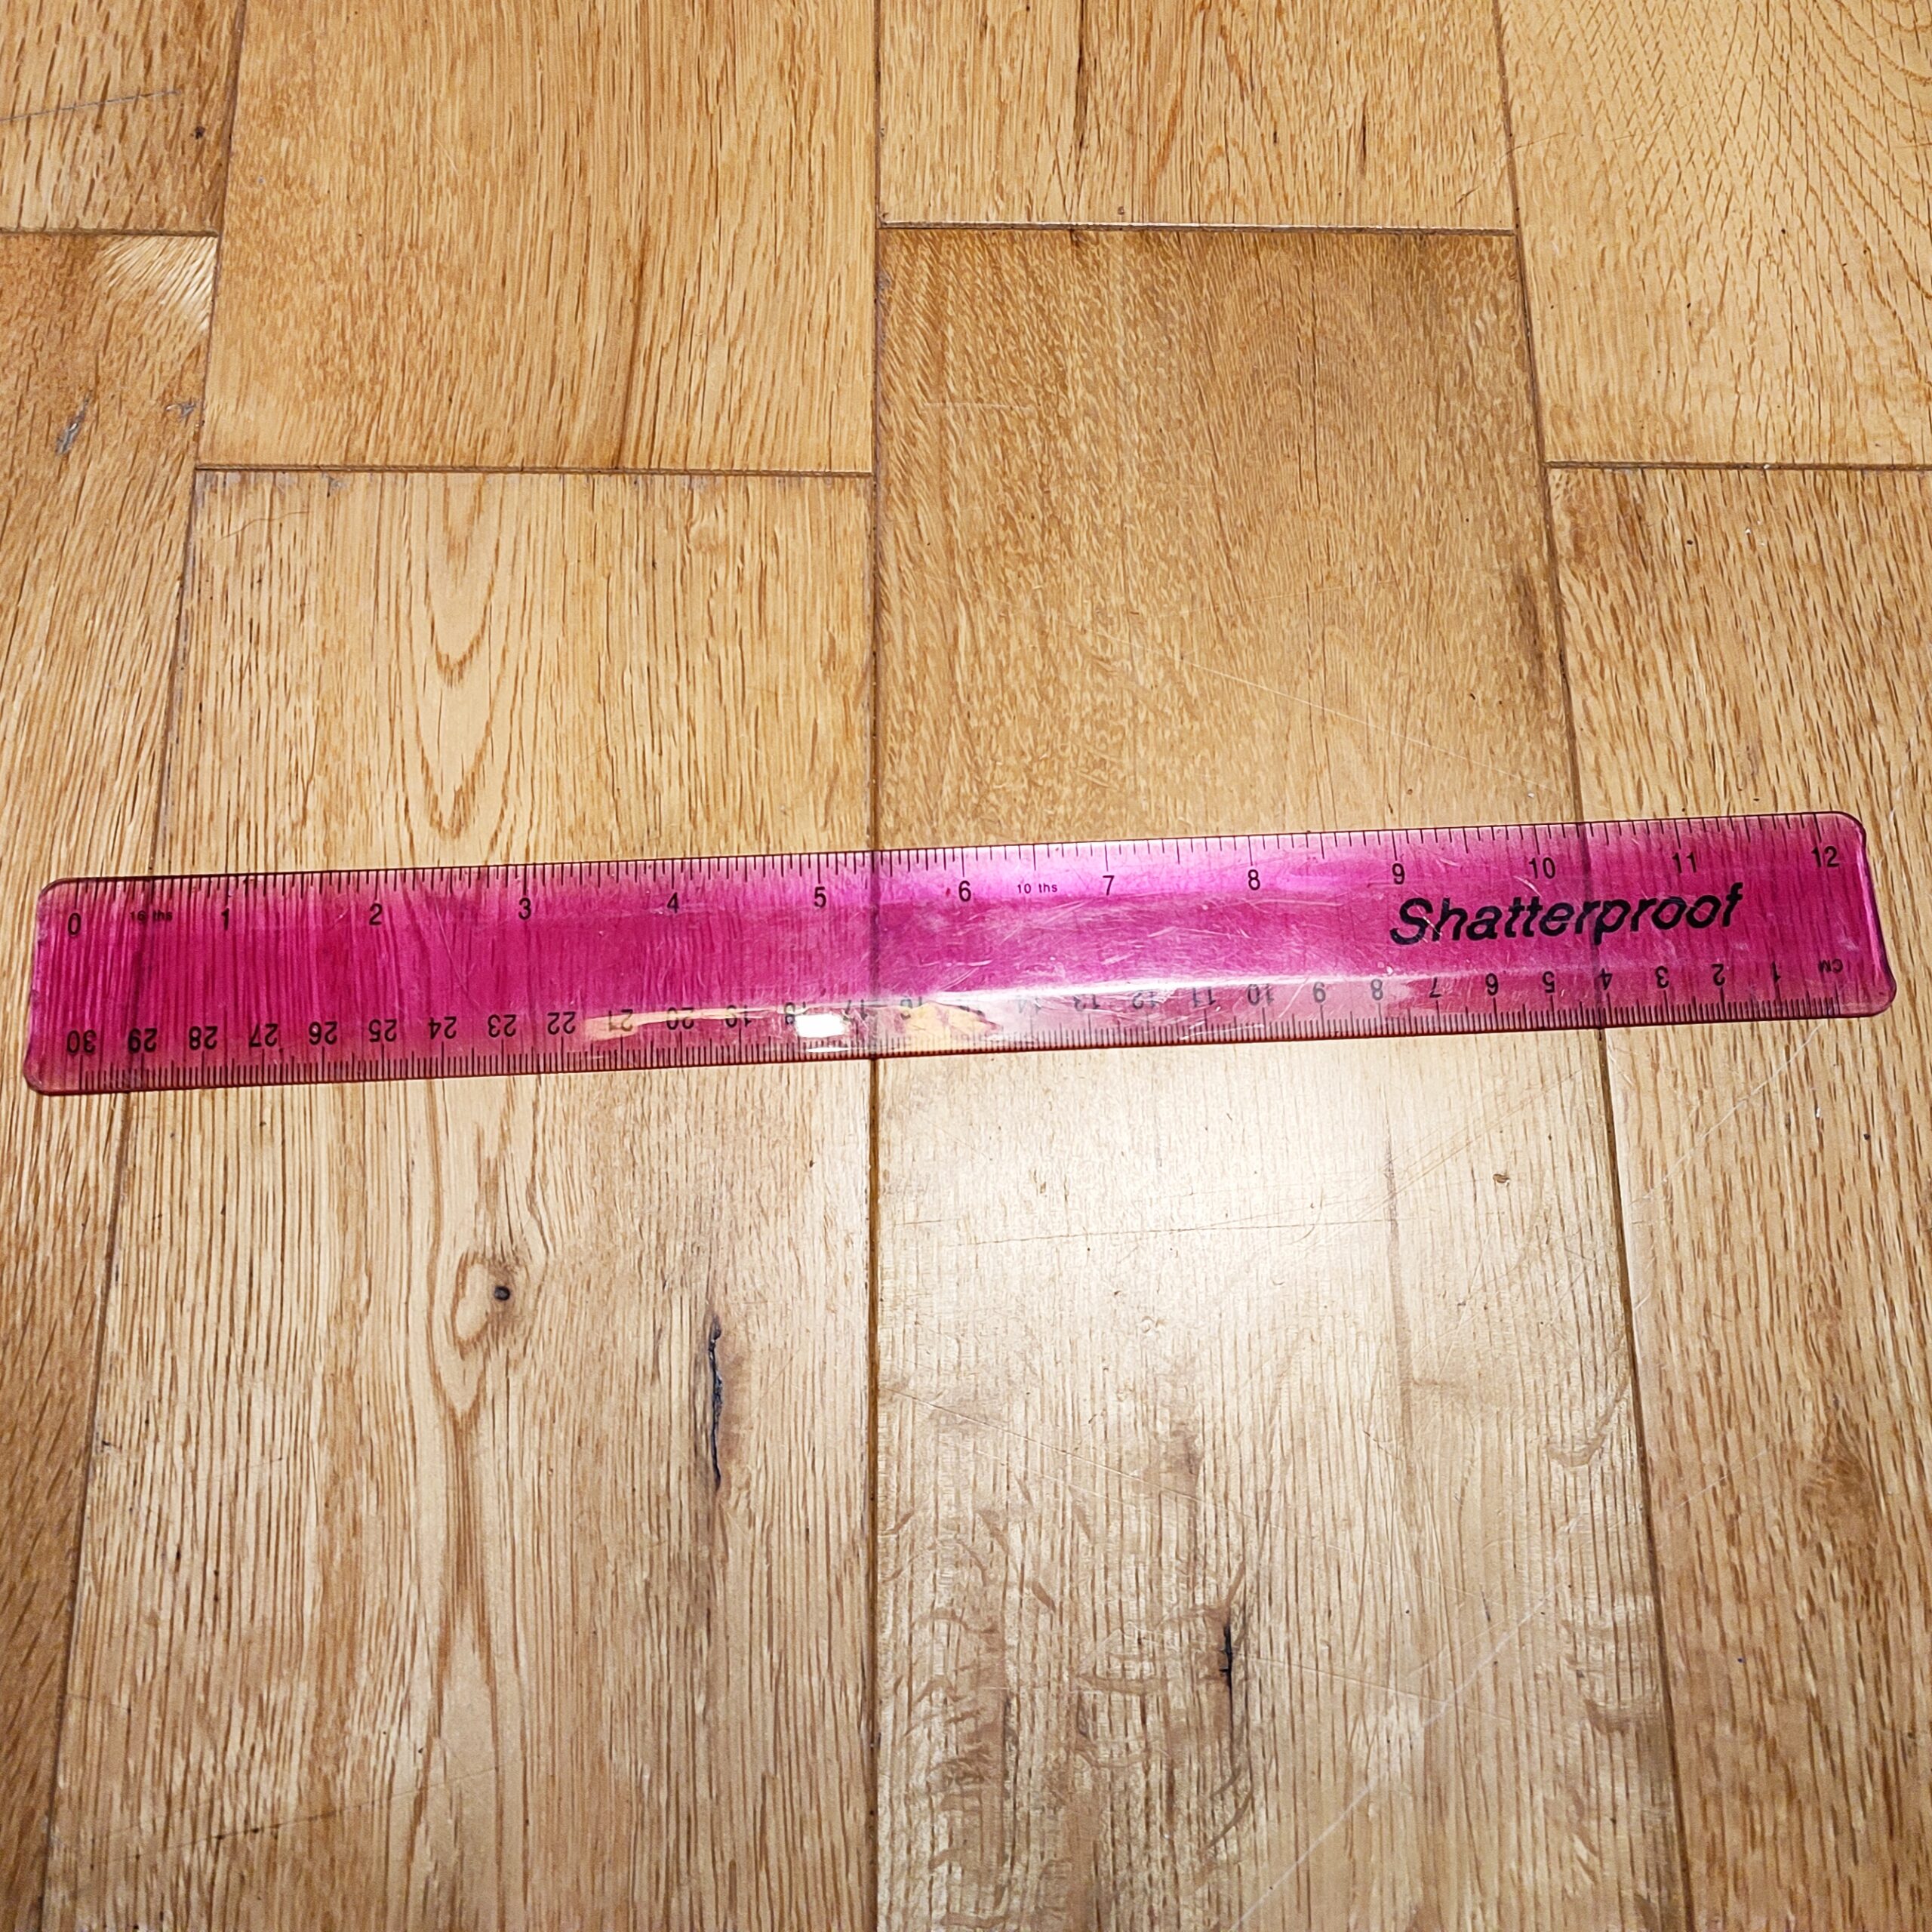
ruler
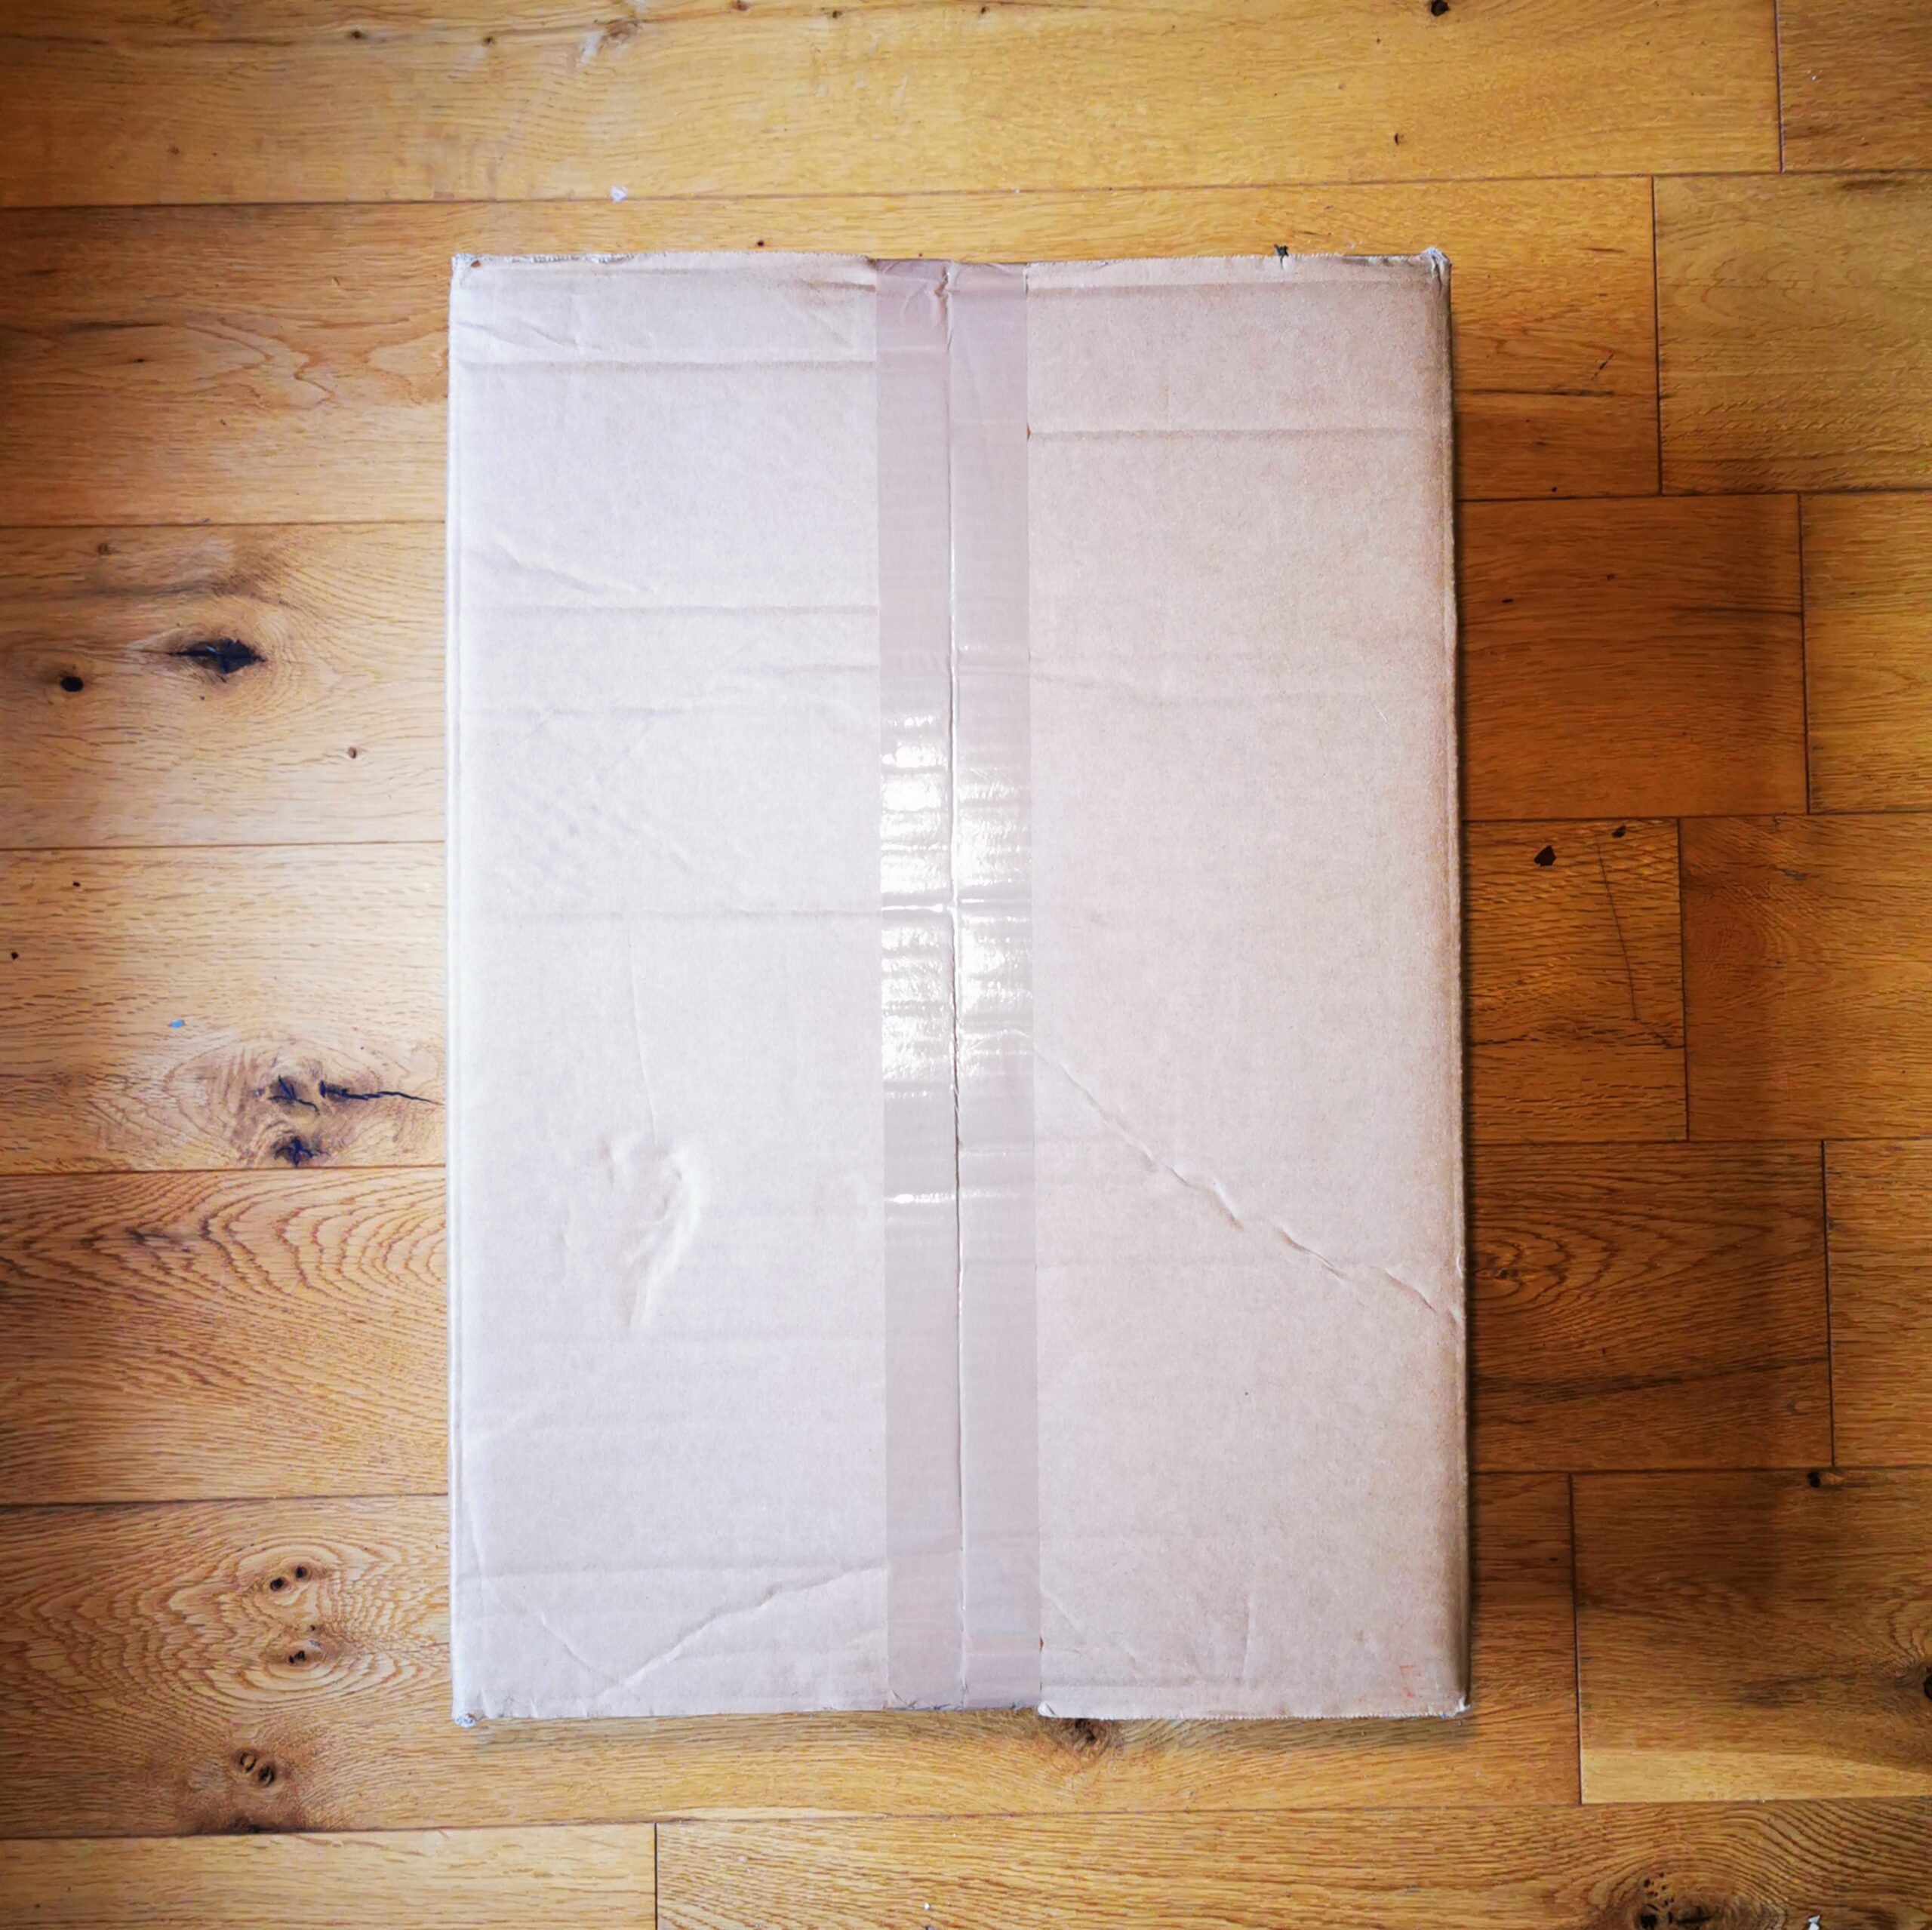
Piece of strong cardboard or cardboard box
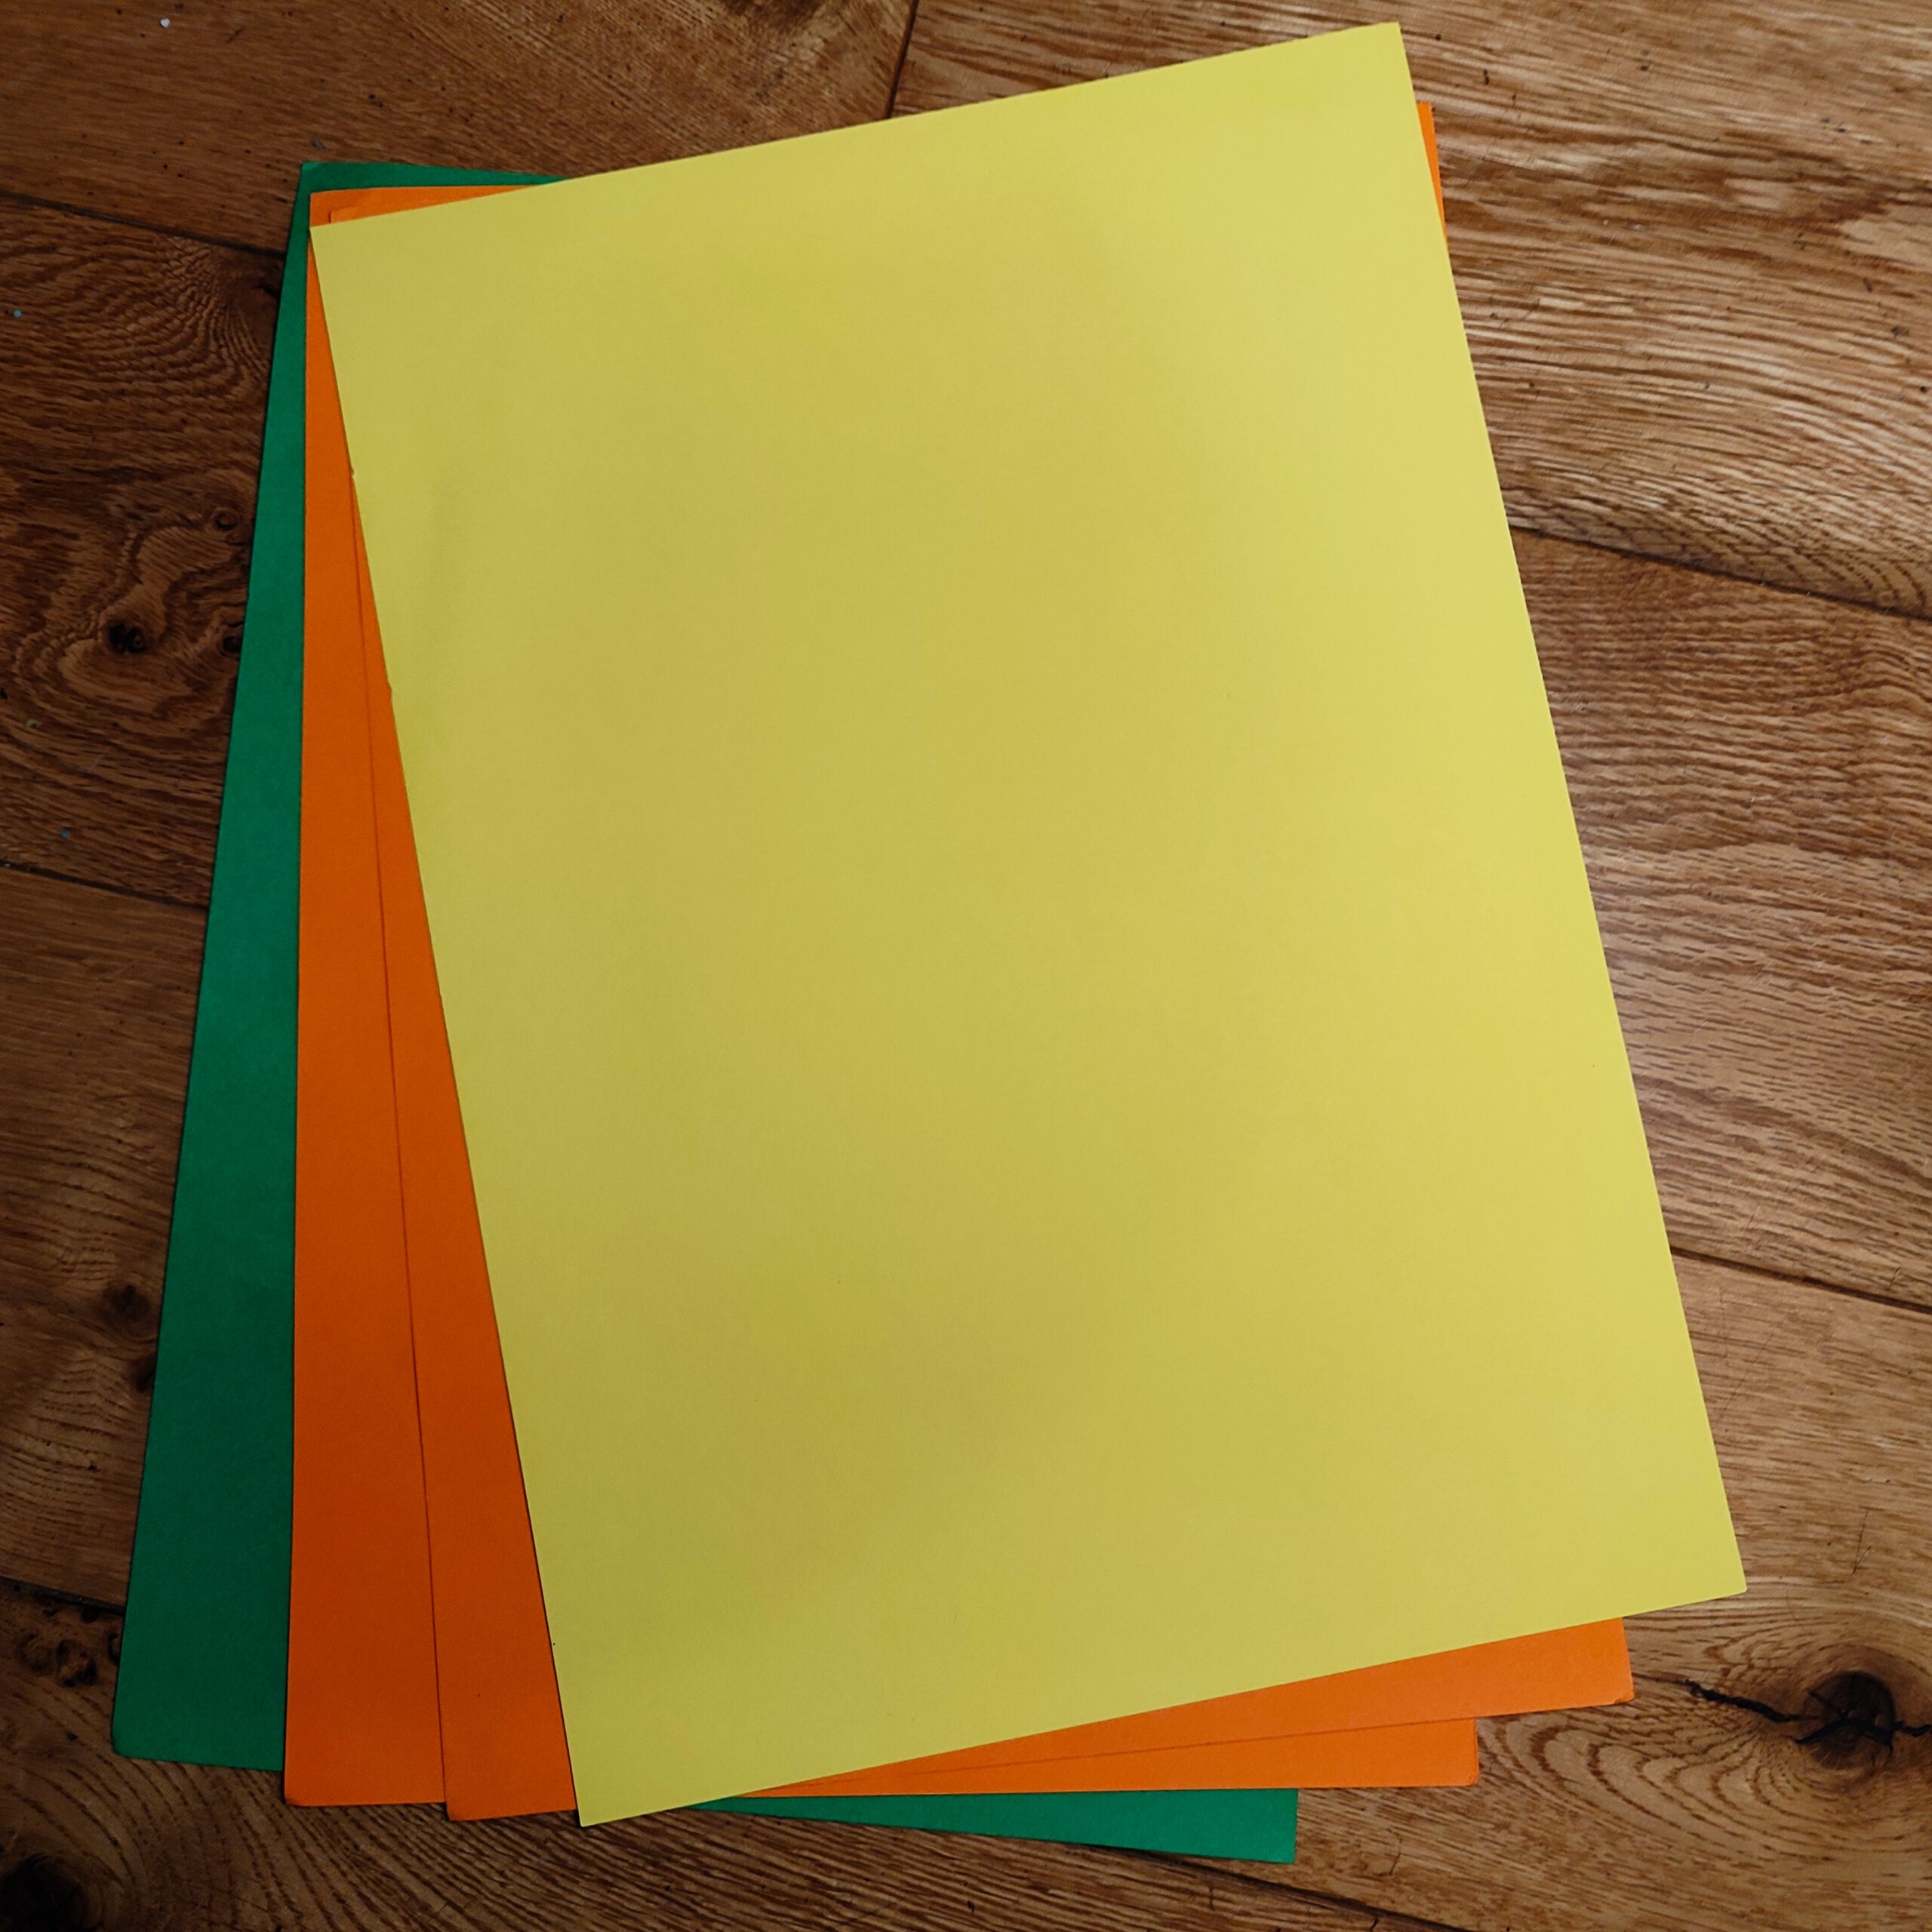
Card
Card
Piece of strong cardboard or cardboard box
Glue gun (or other strong glue)
Ruler
Paper plates (best to use stronger ones with raised sides)
Pencil
Scissors
Sellotape
Cardboard tube (e.g. a poster tube)
Method:
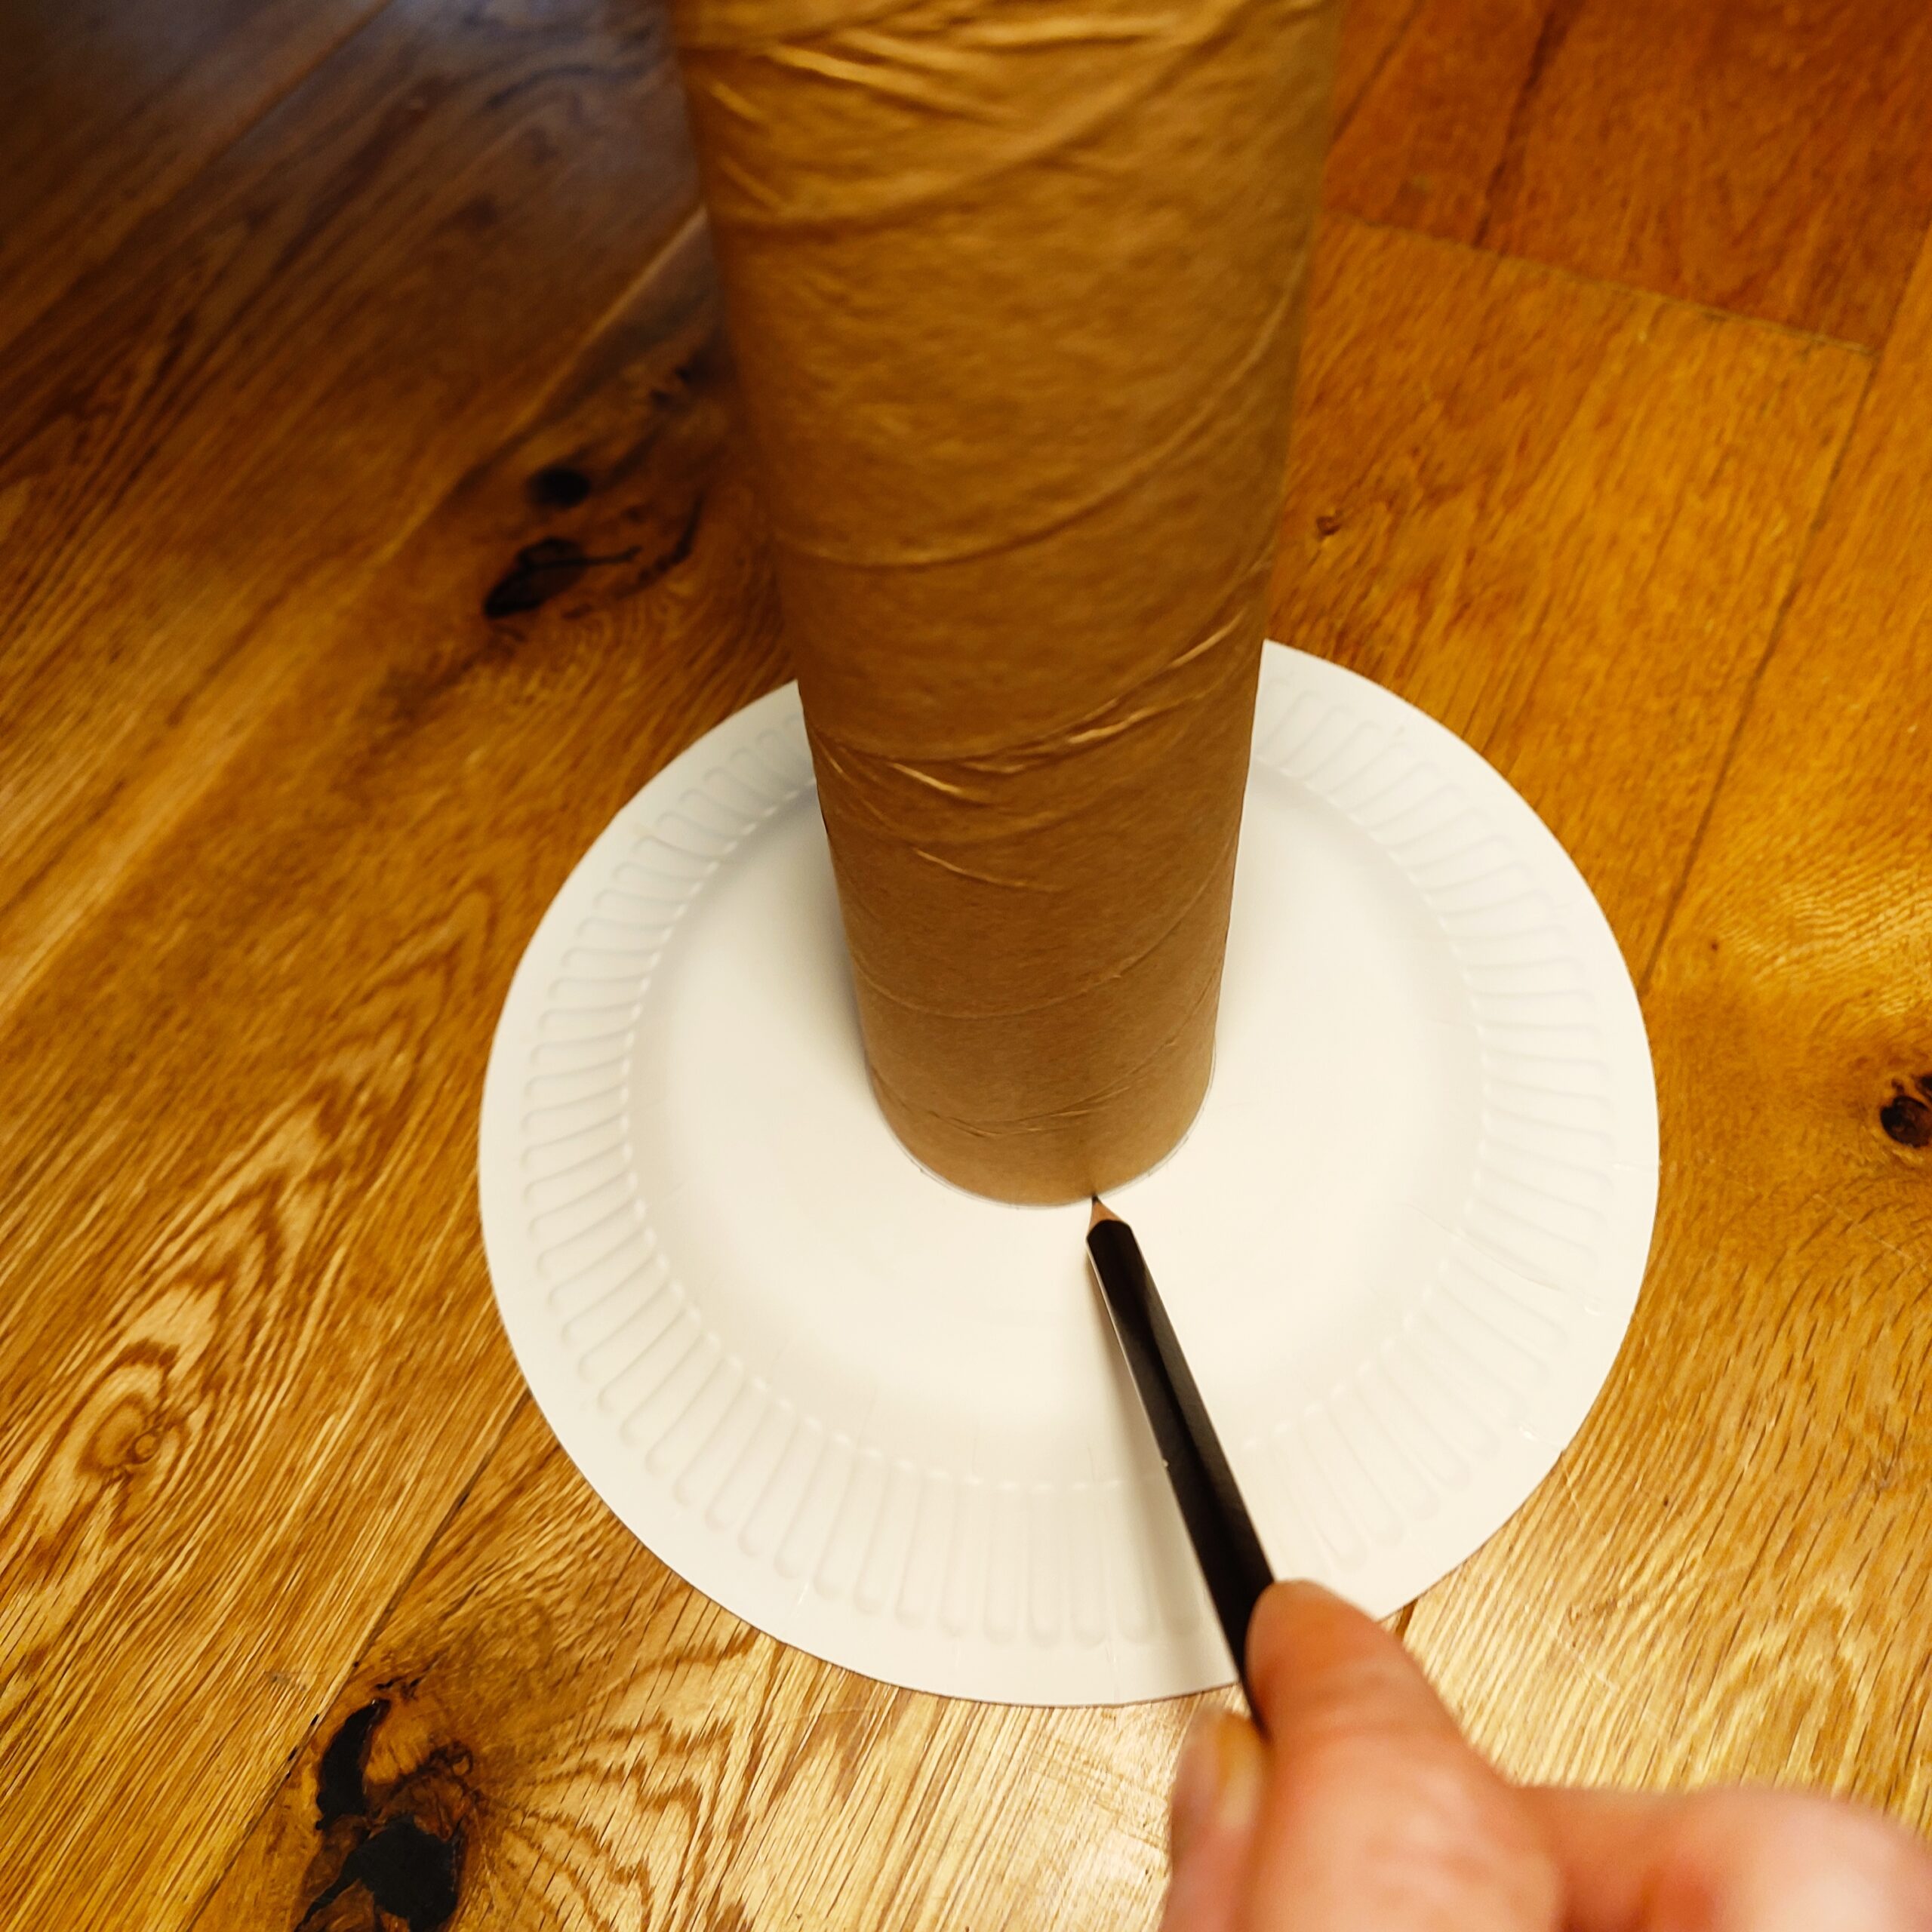
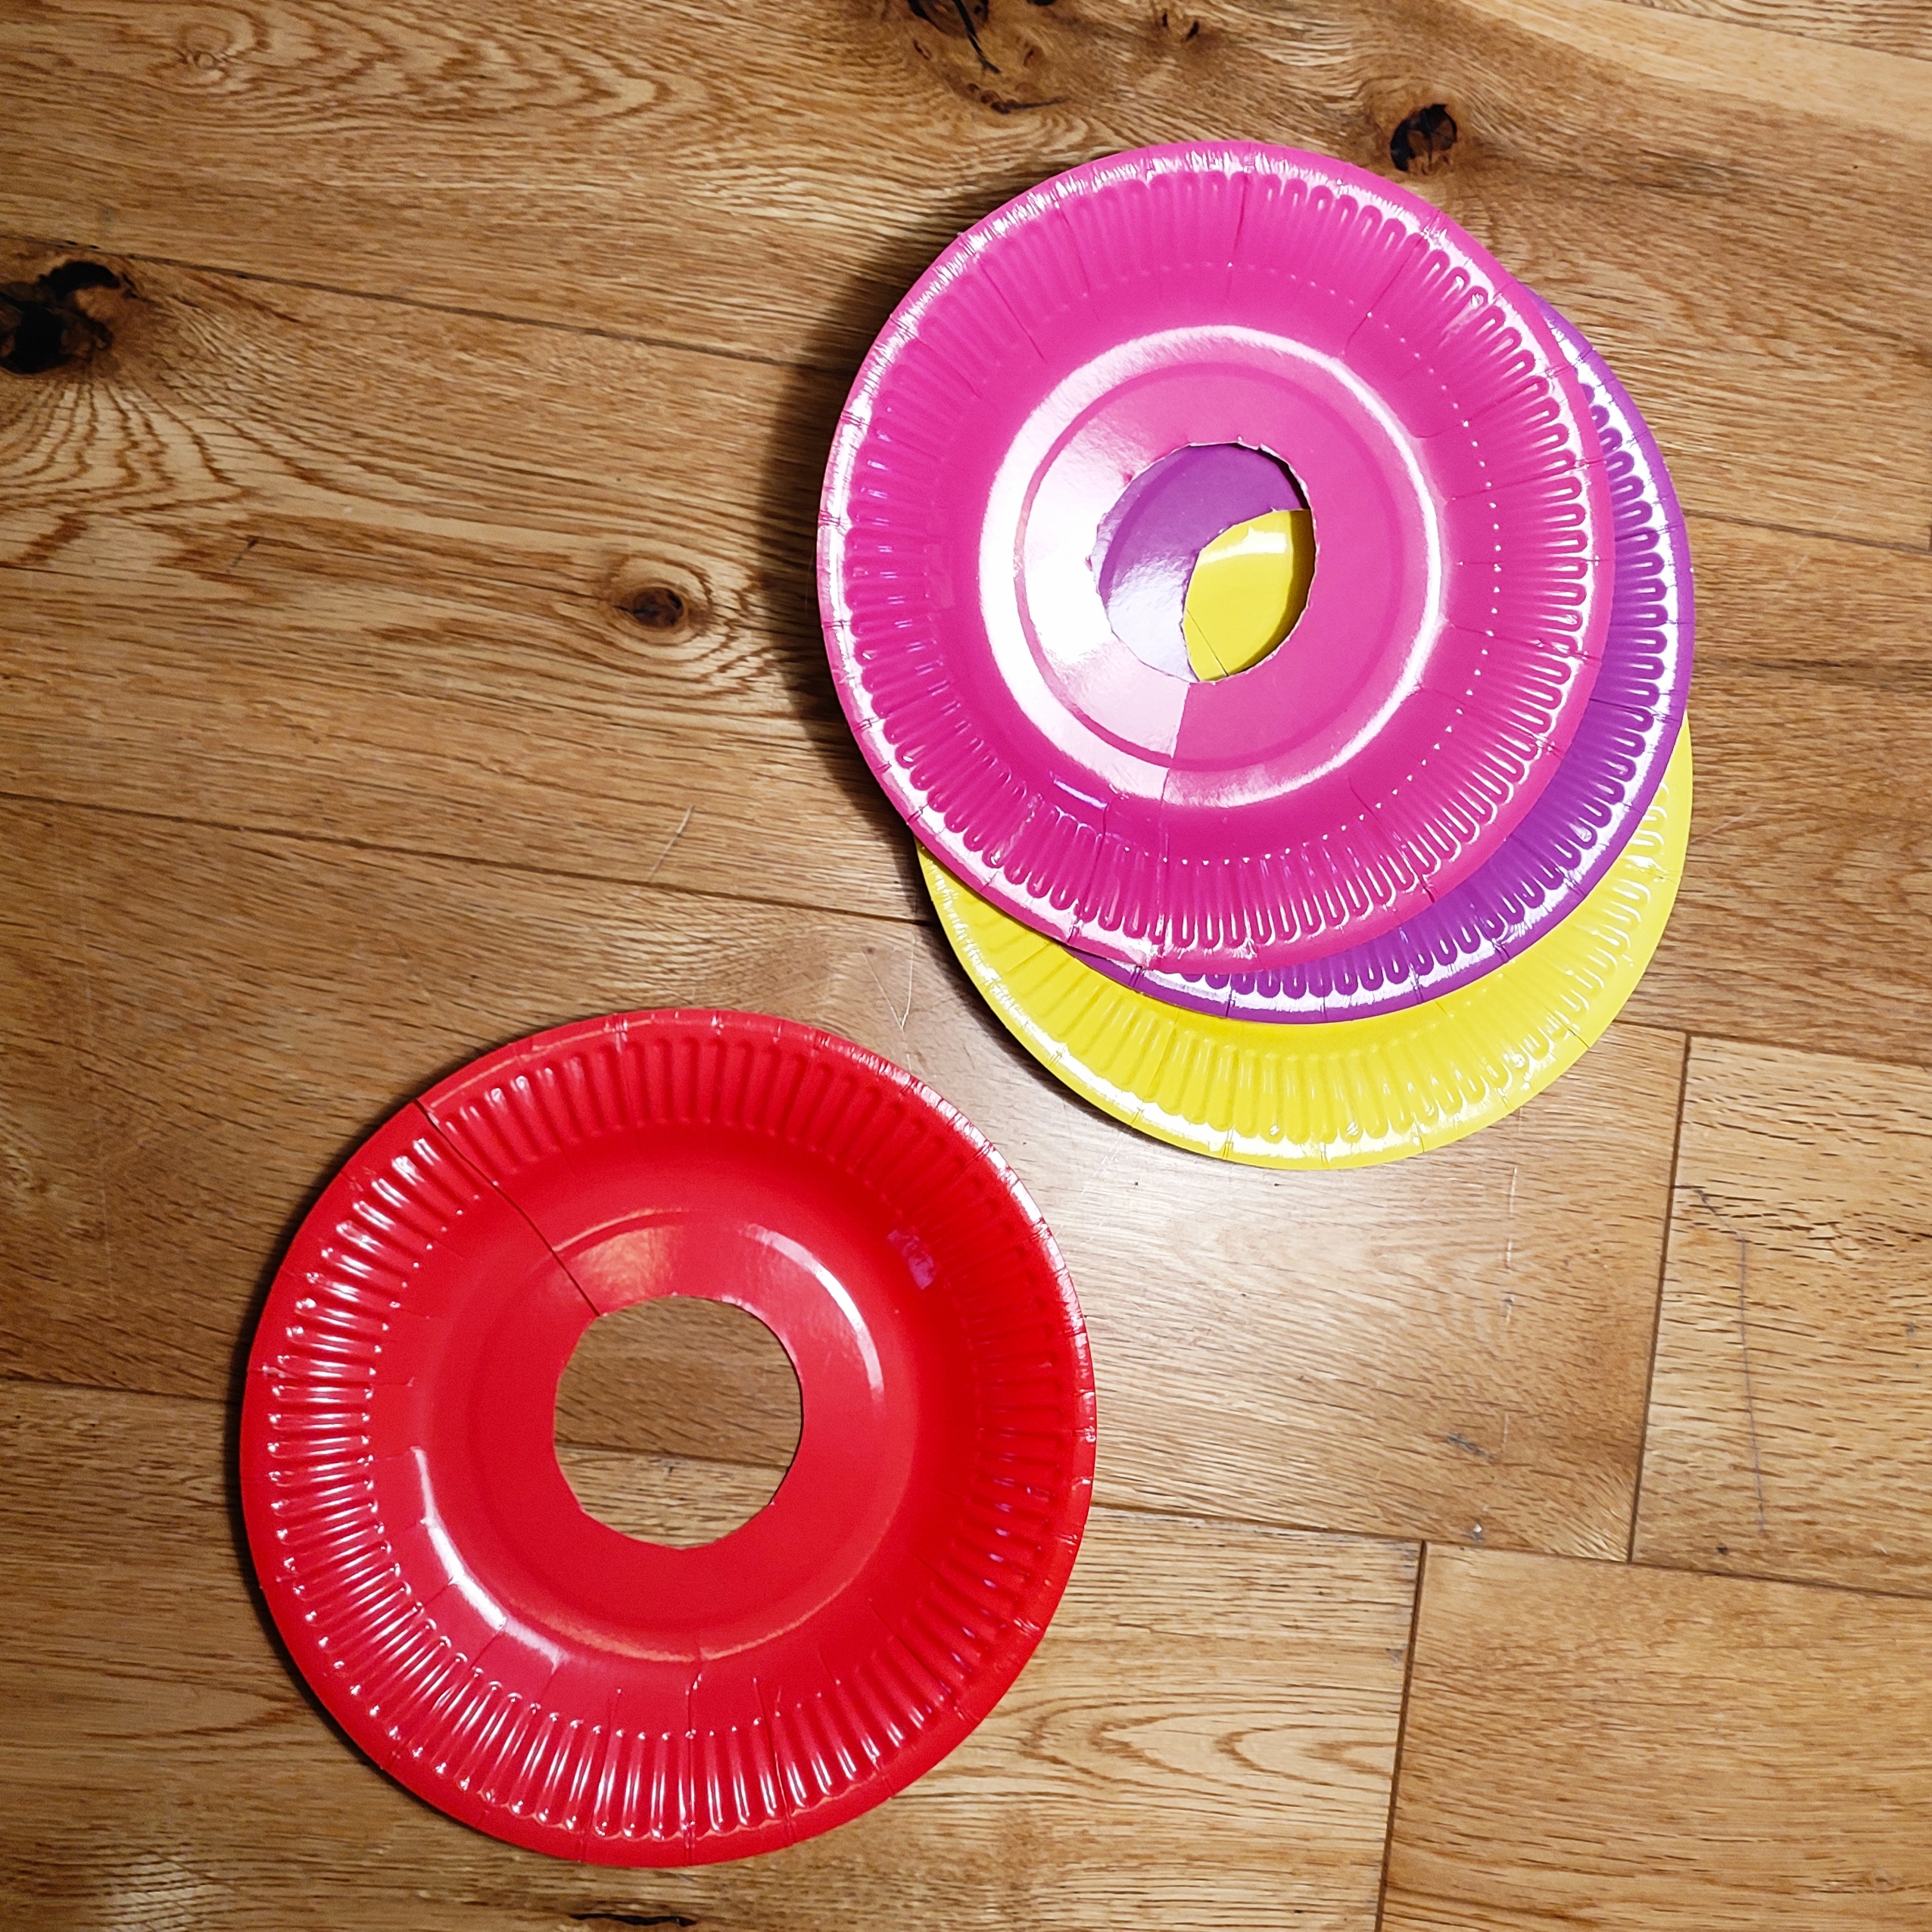
Trace the end of the cardboard tube onto the centre of a paper plate.
You should now have a circle in the middle of the plate.
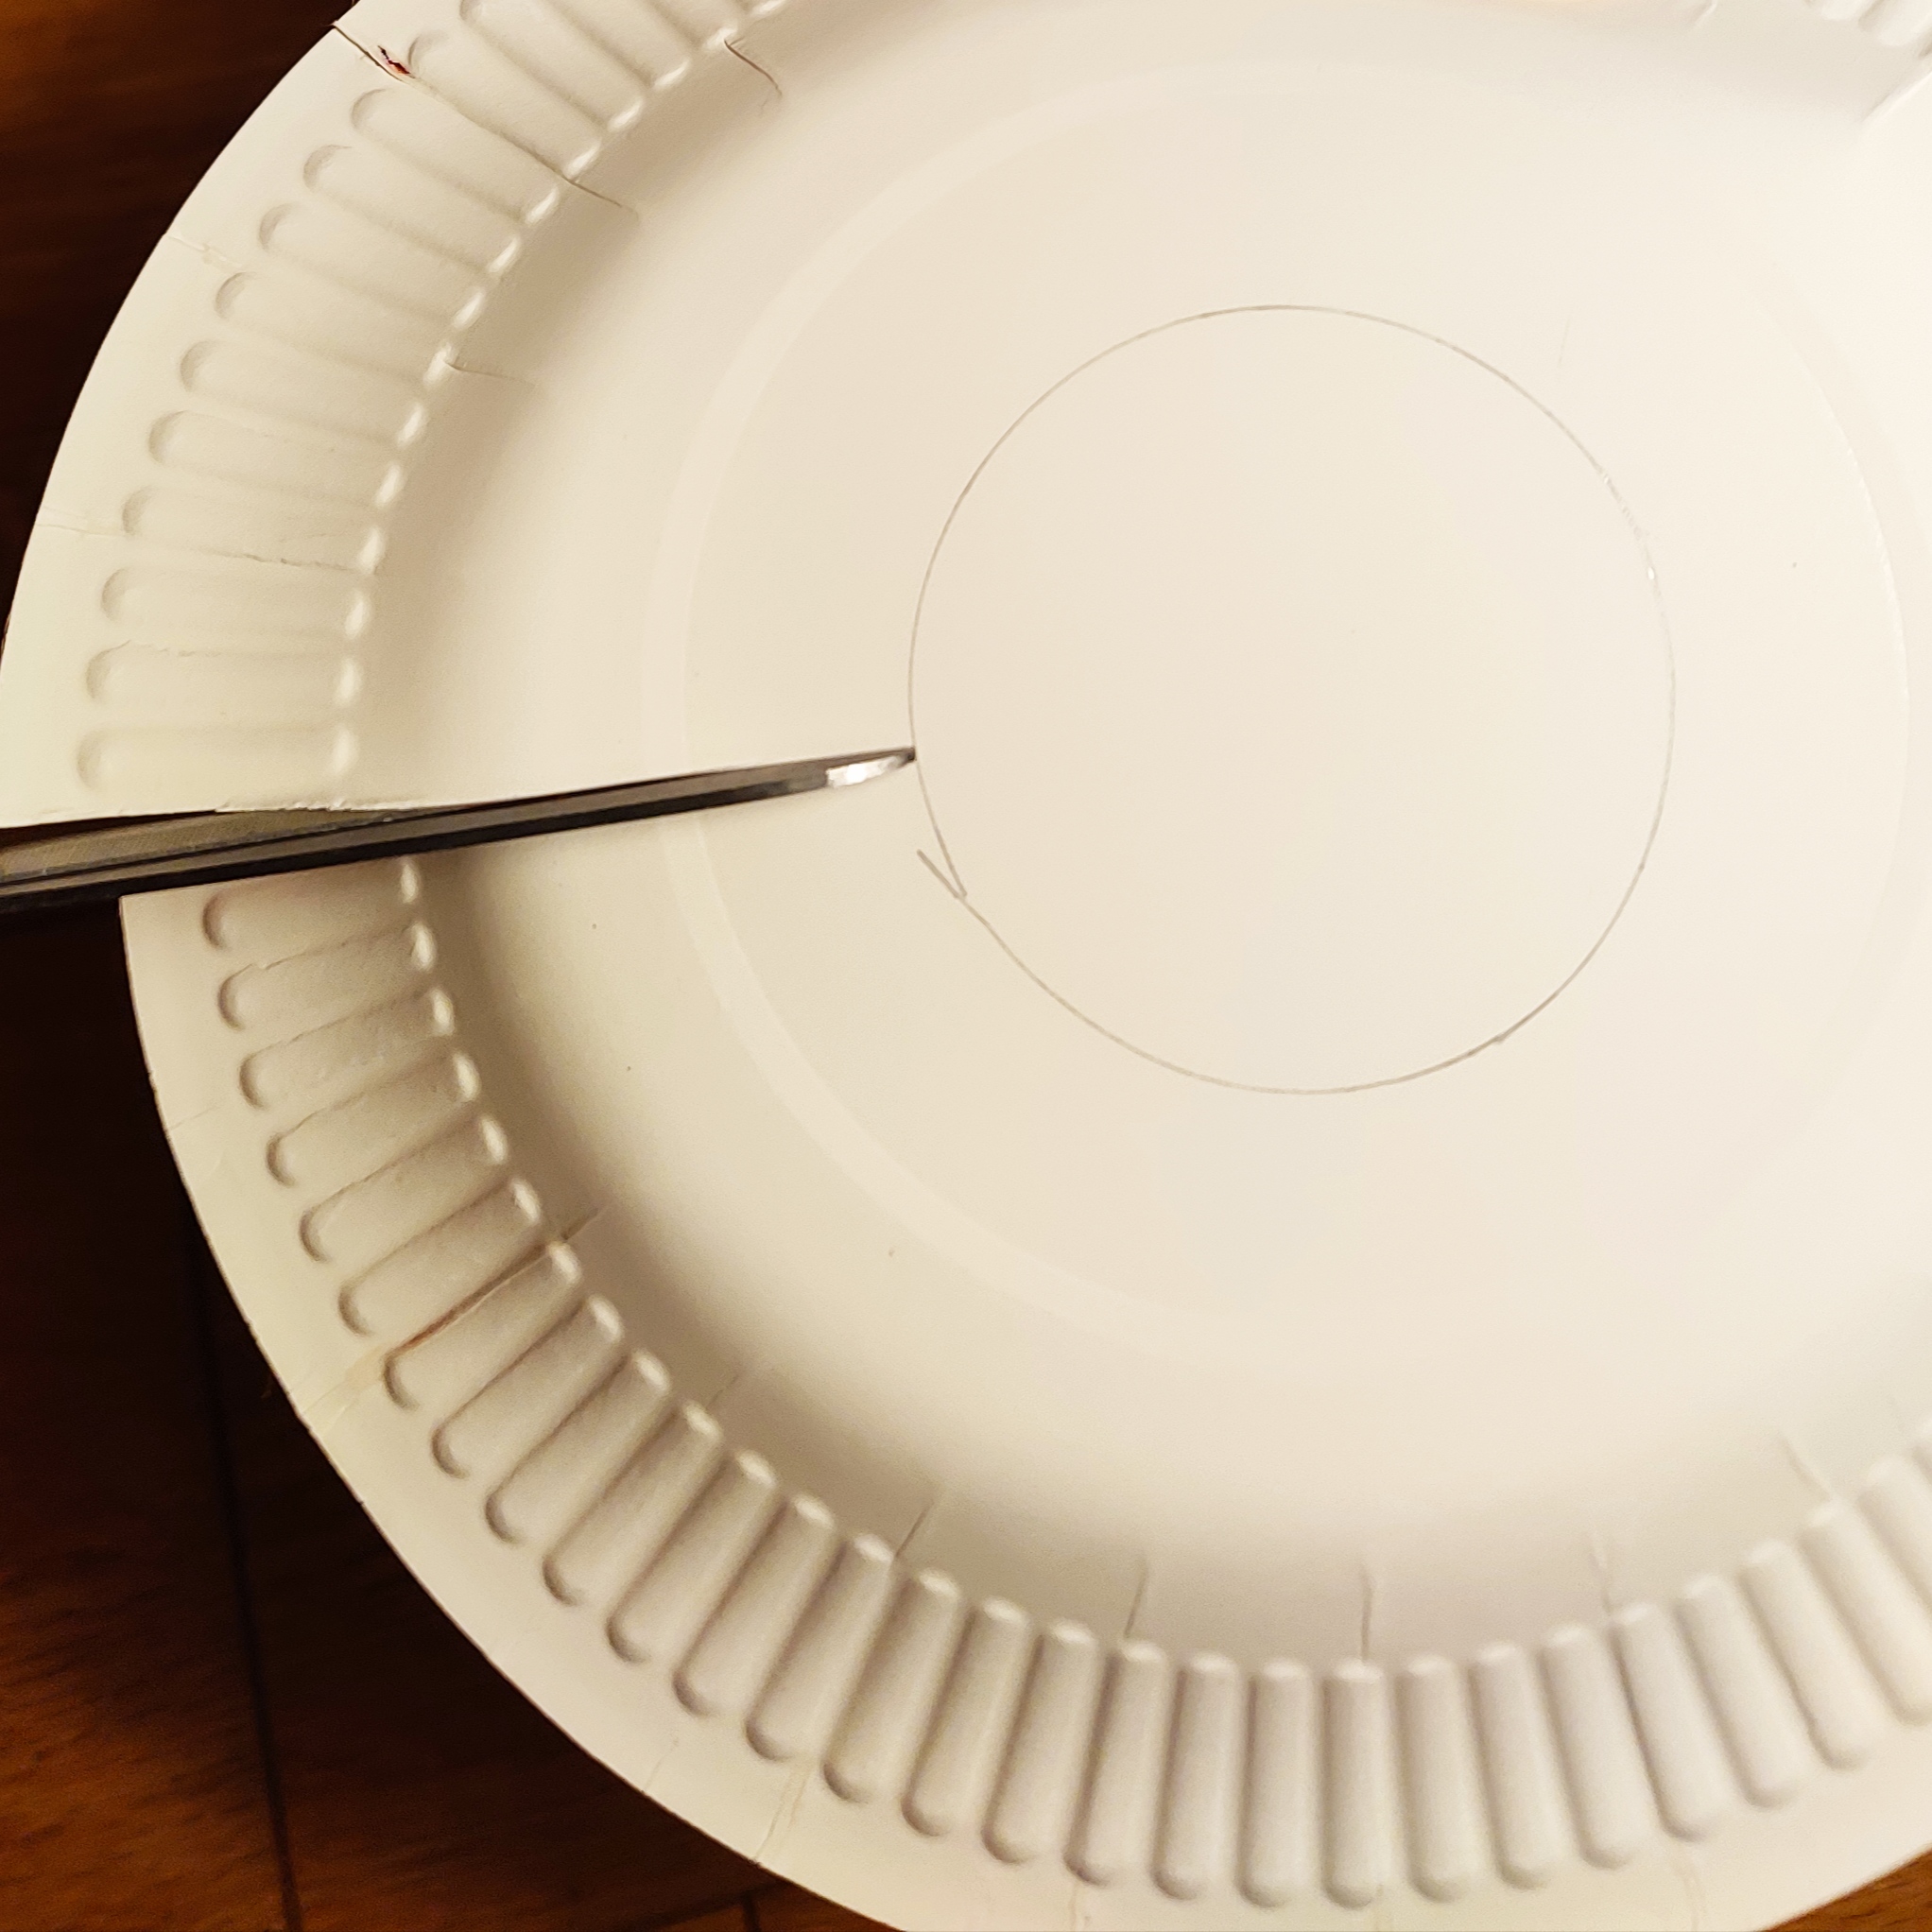
Cut a straight line from a point at the edge of the plate to the drawn out circle.
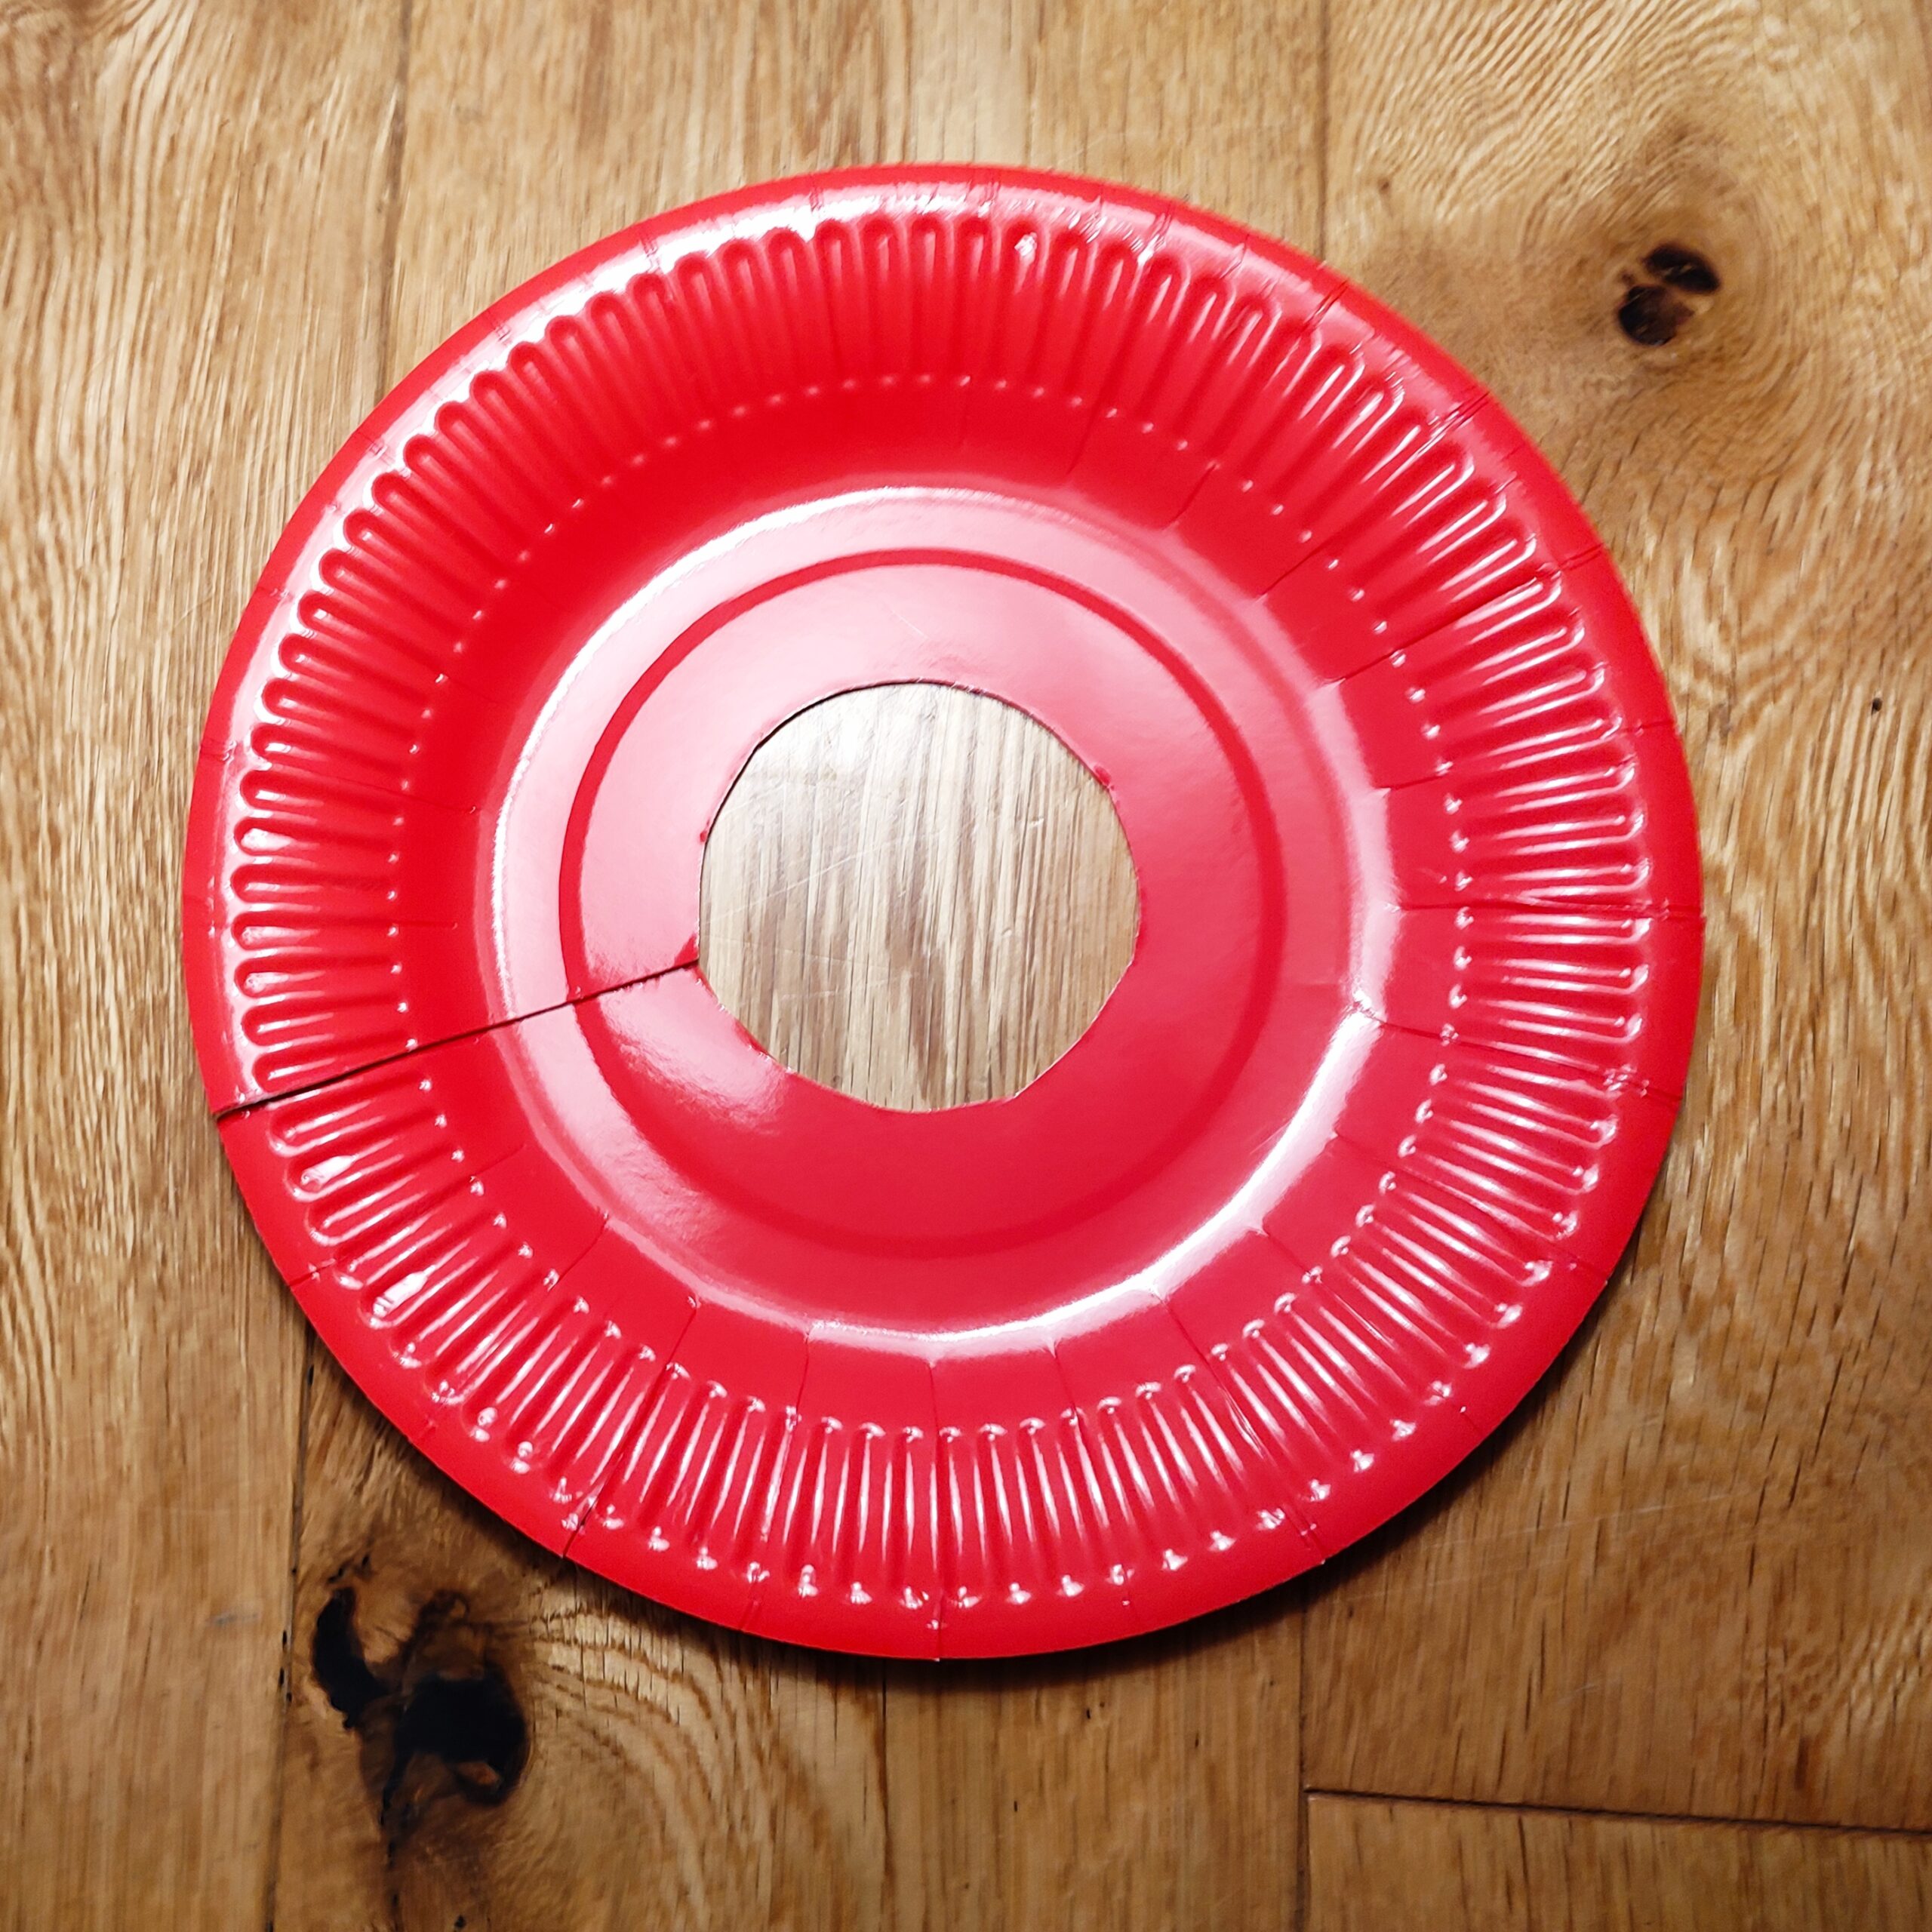
Now cut out the circle in the middle of the plate. Check the tube can fit through it.
Repeat steps 1-3 so you have at least 6 paper plates with circles cut out in the middle.
Step 1
Step 2
Step 3
Step 4
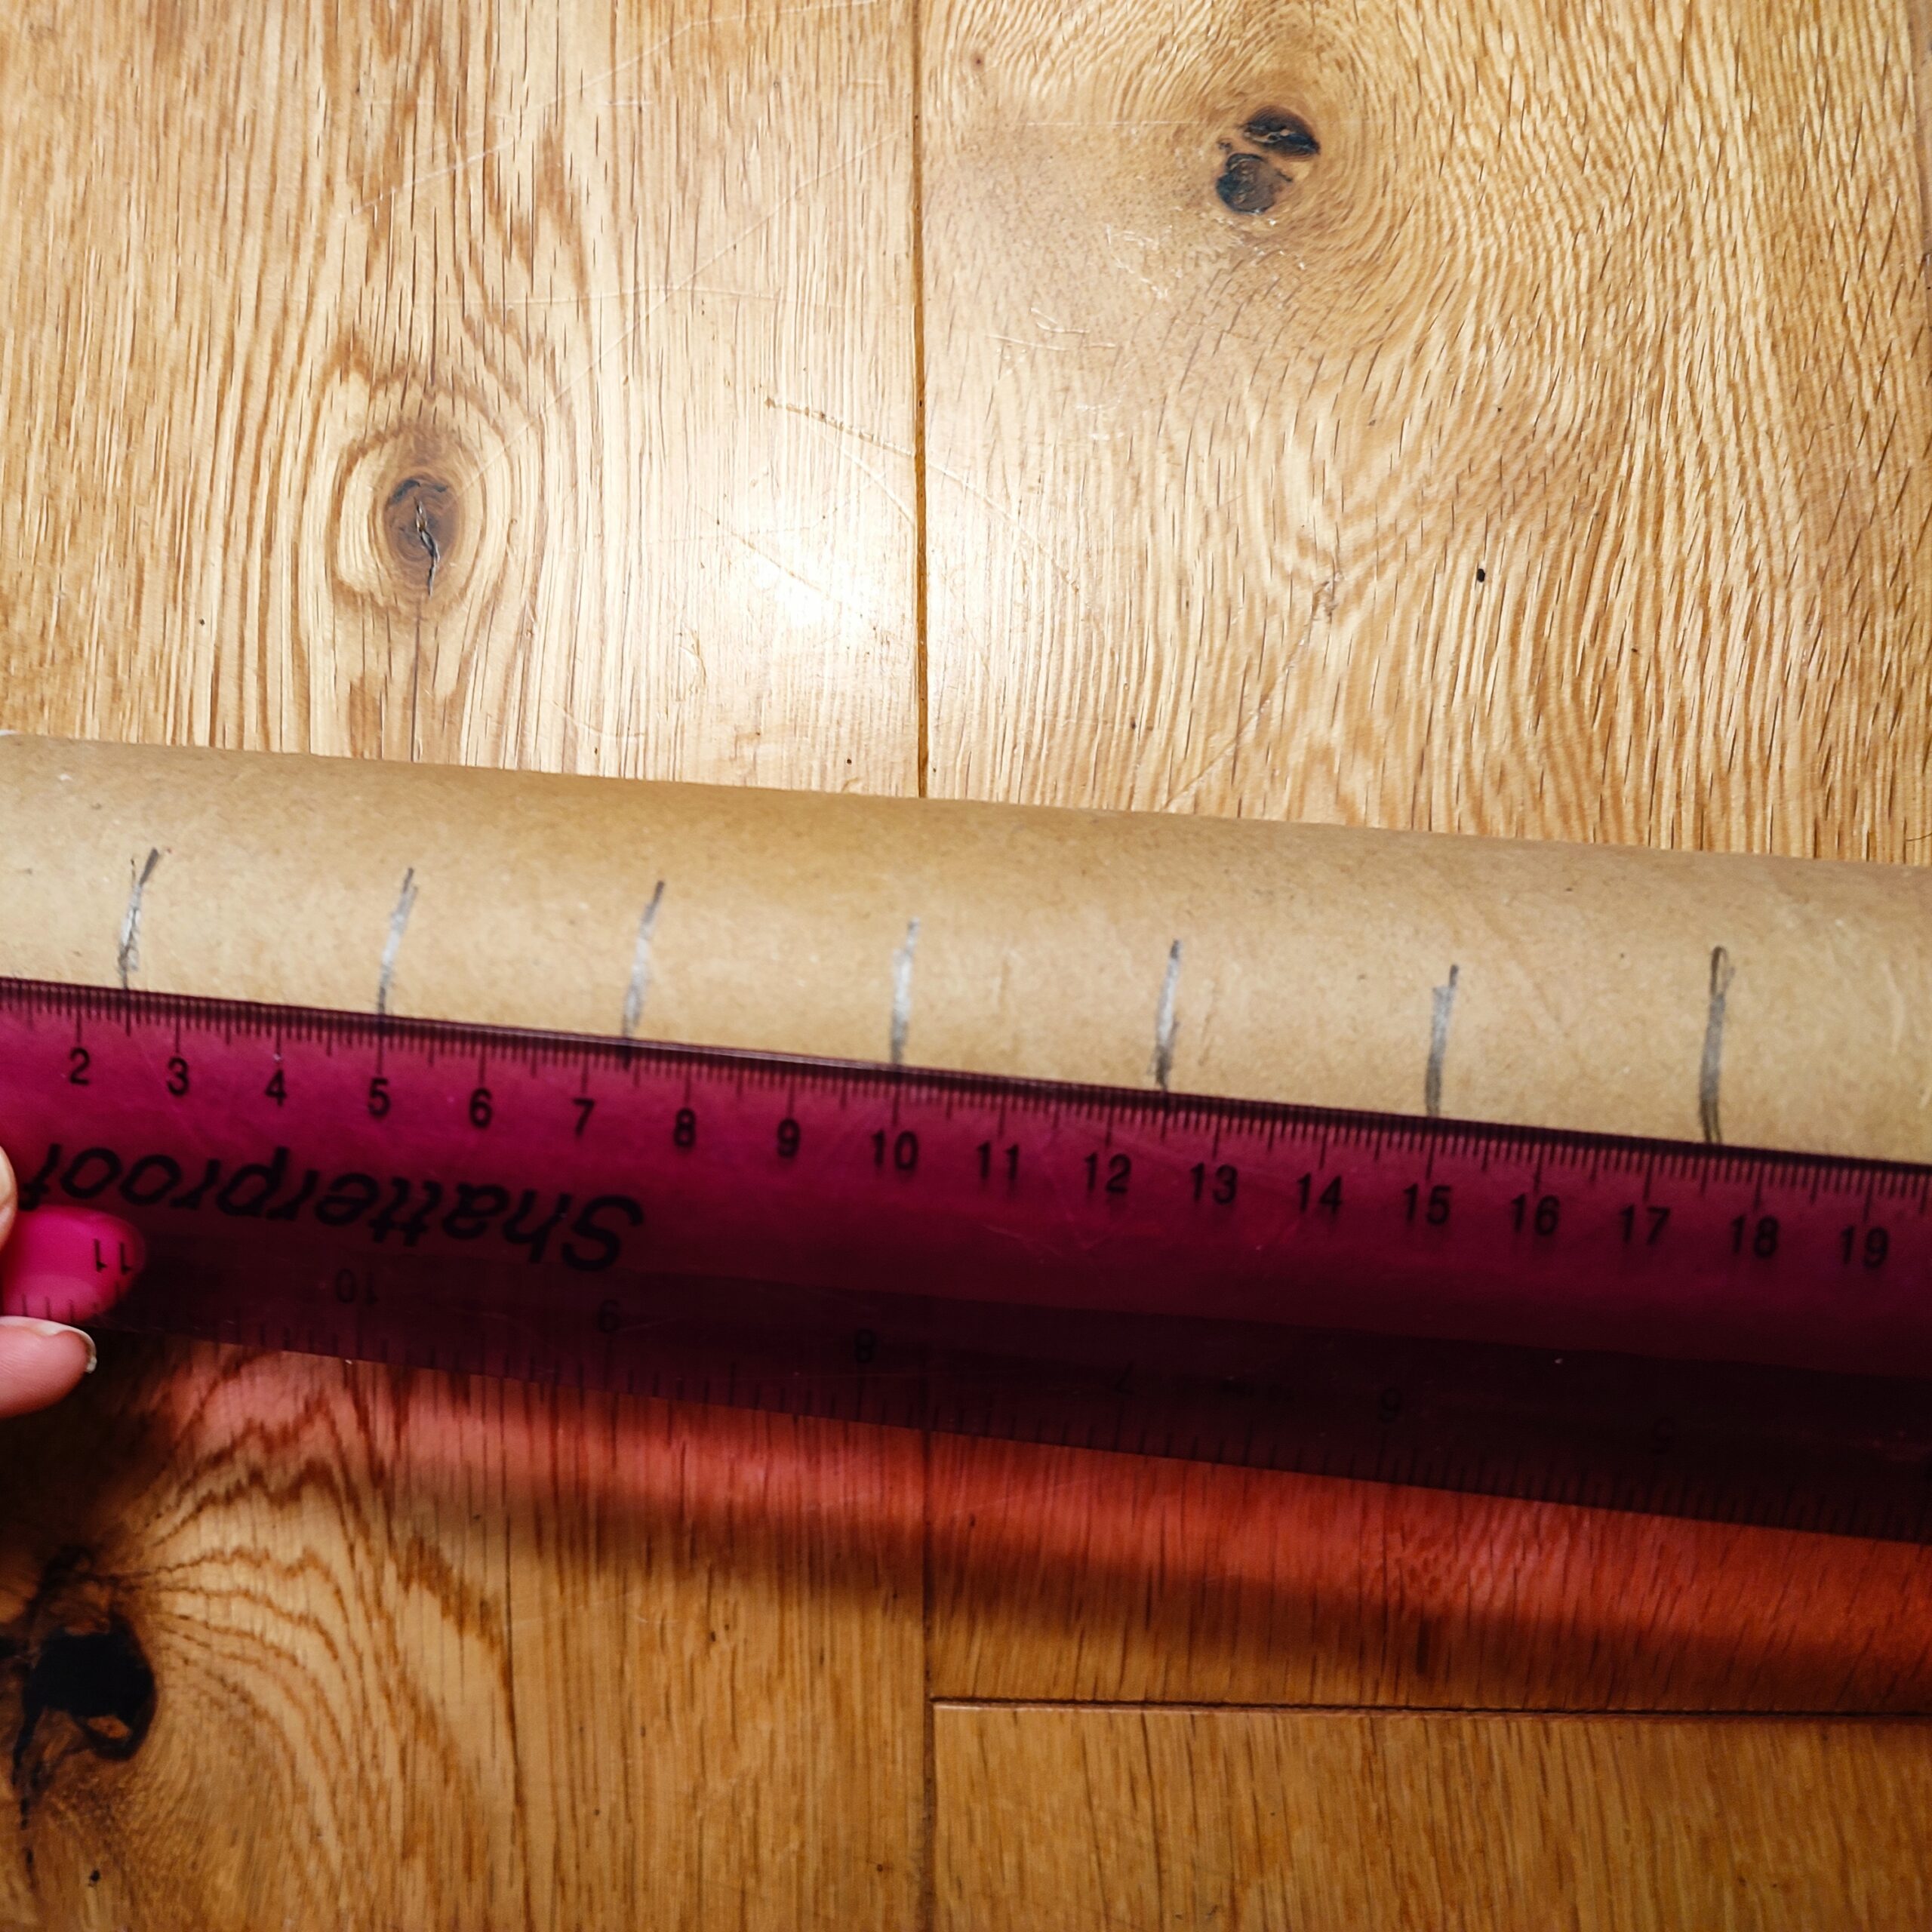
Make marks on the tube to show how far apart the plates should be. We suggest 2-3cm apart. We have chosen to do 2.5 cm.
Hint: There may be some trial and error here. If you make the plates too far apart, the slopes could be too steep and the marbles may fly off the sides of the plates because they had too much speed.
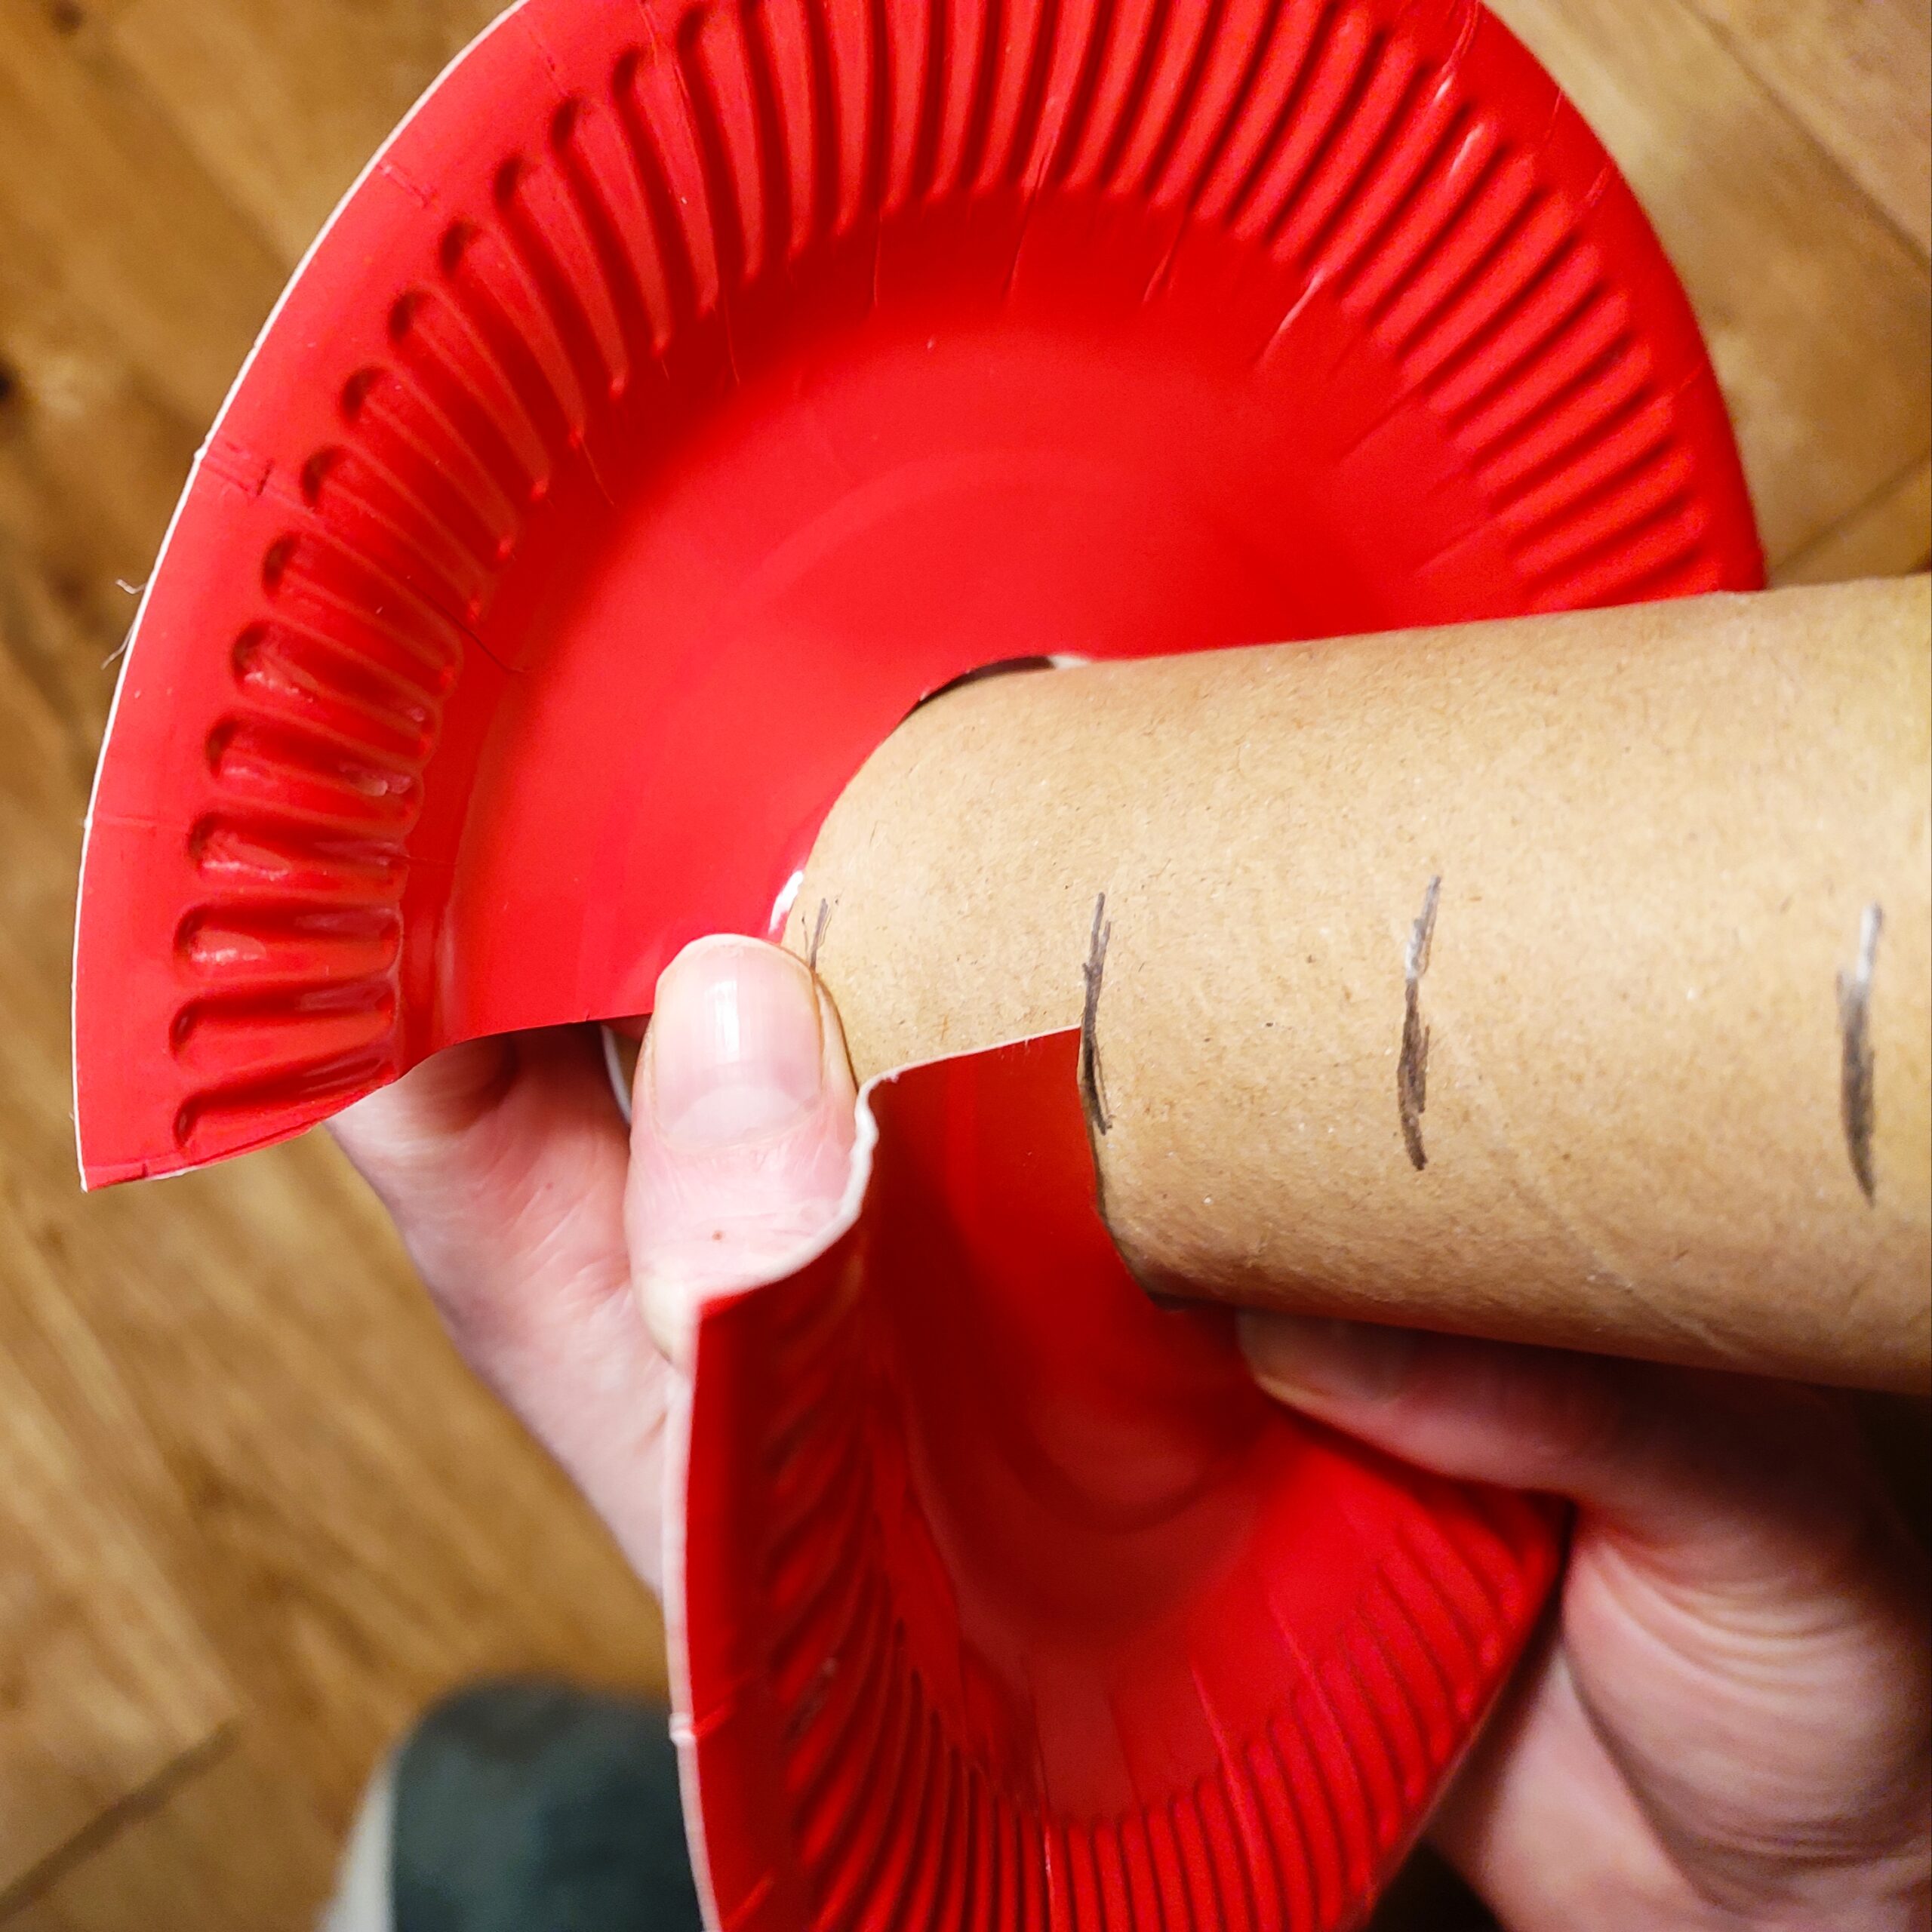
Twist a paper plate around the tube, starting from the bottom mark and ending at the next one above. Use a pencil to go over this to show where the plate should go.
Hint: You may need to cut the circle a little bigger if it doesn’t quite fit.
Tip: You will probably need someone to help hold the plate in place while you draw the line.
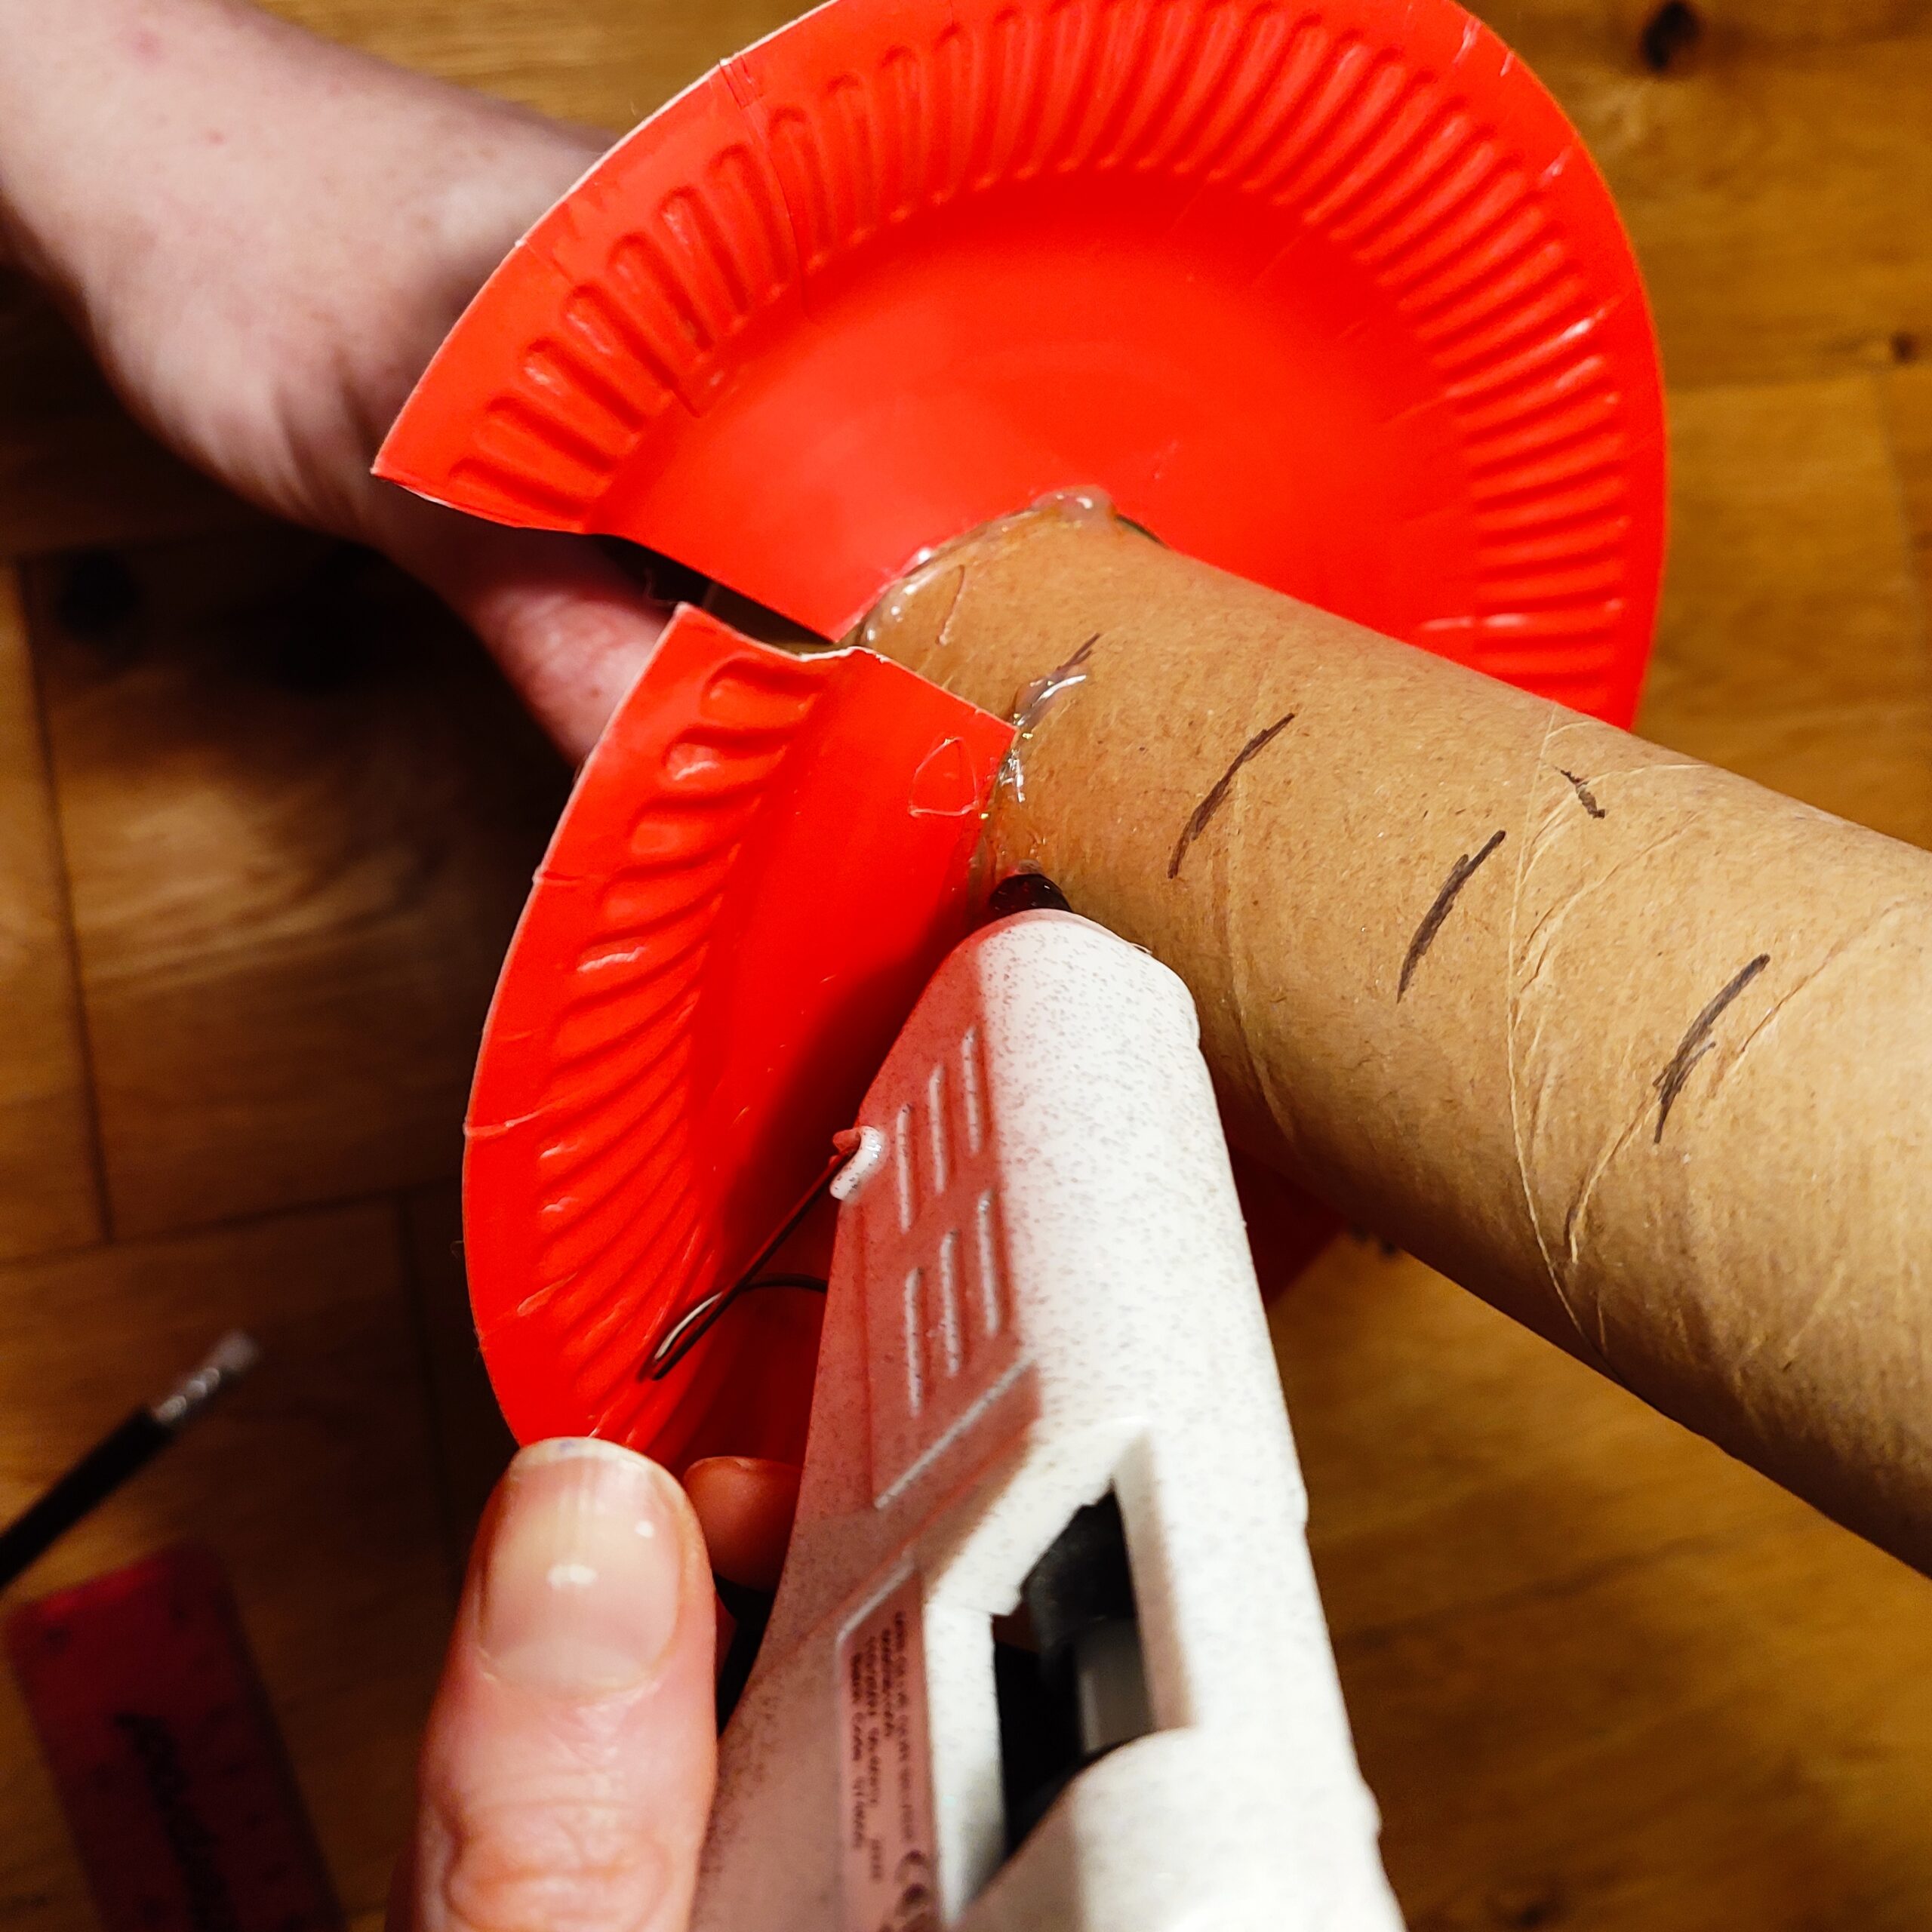
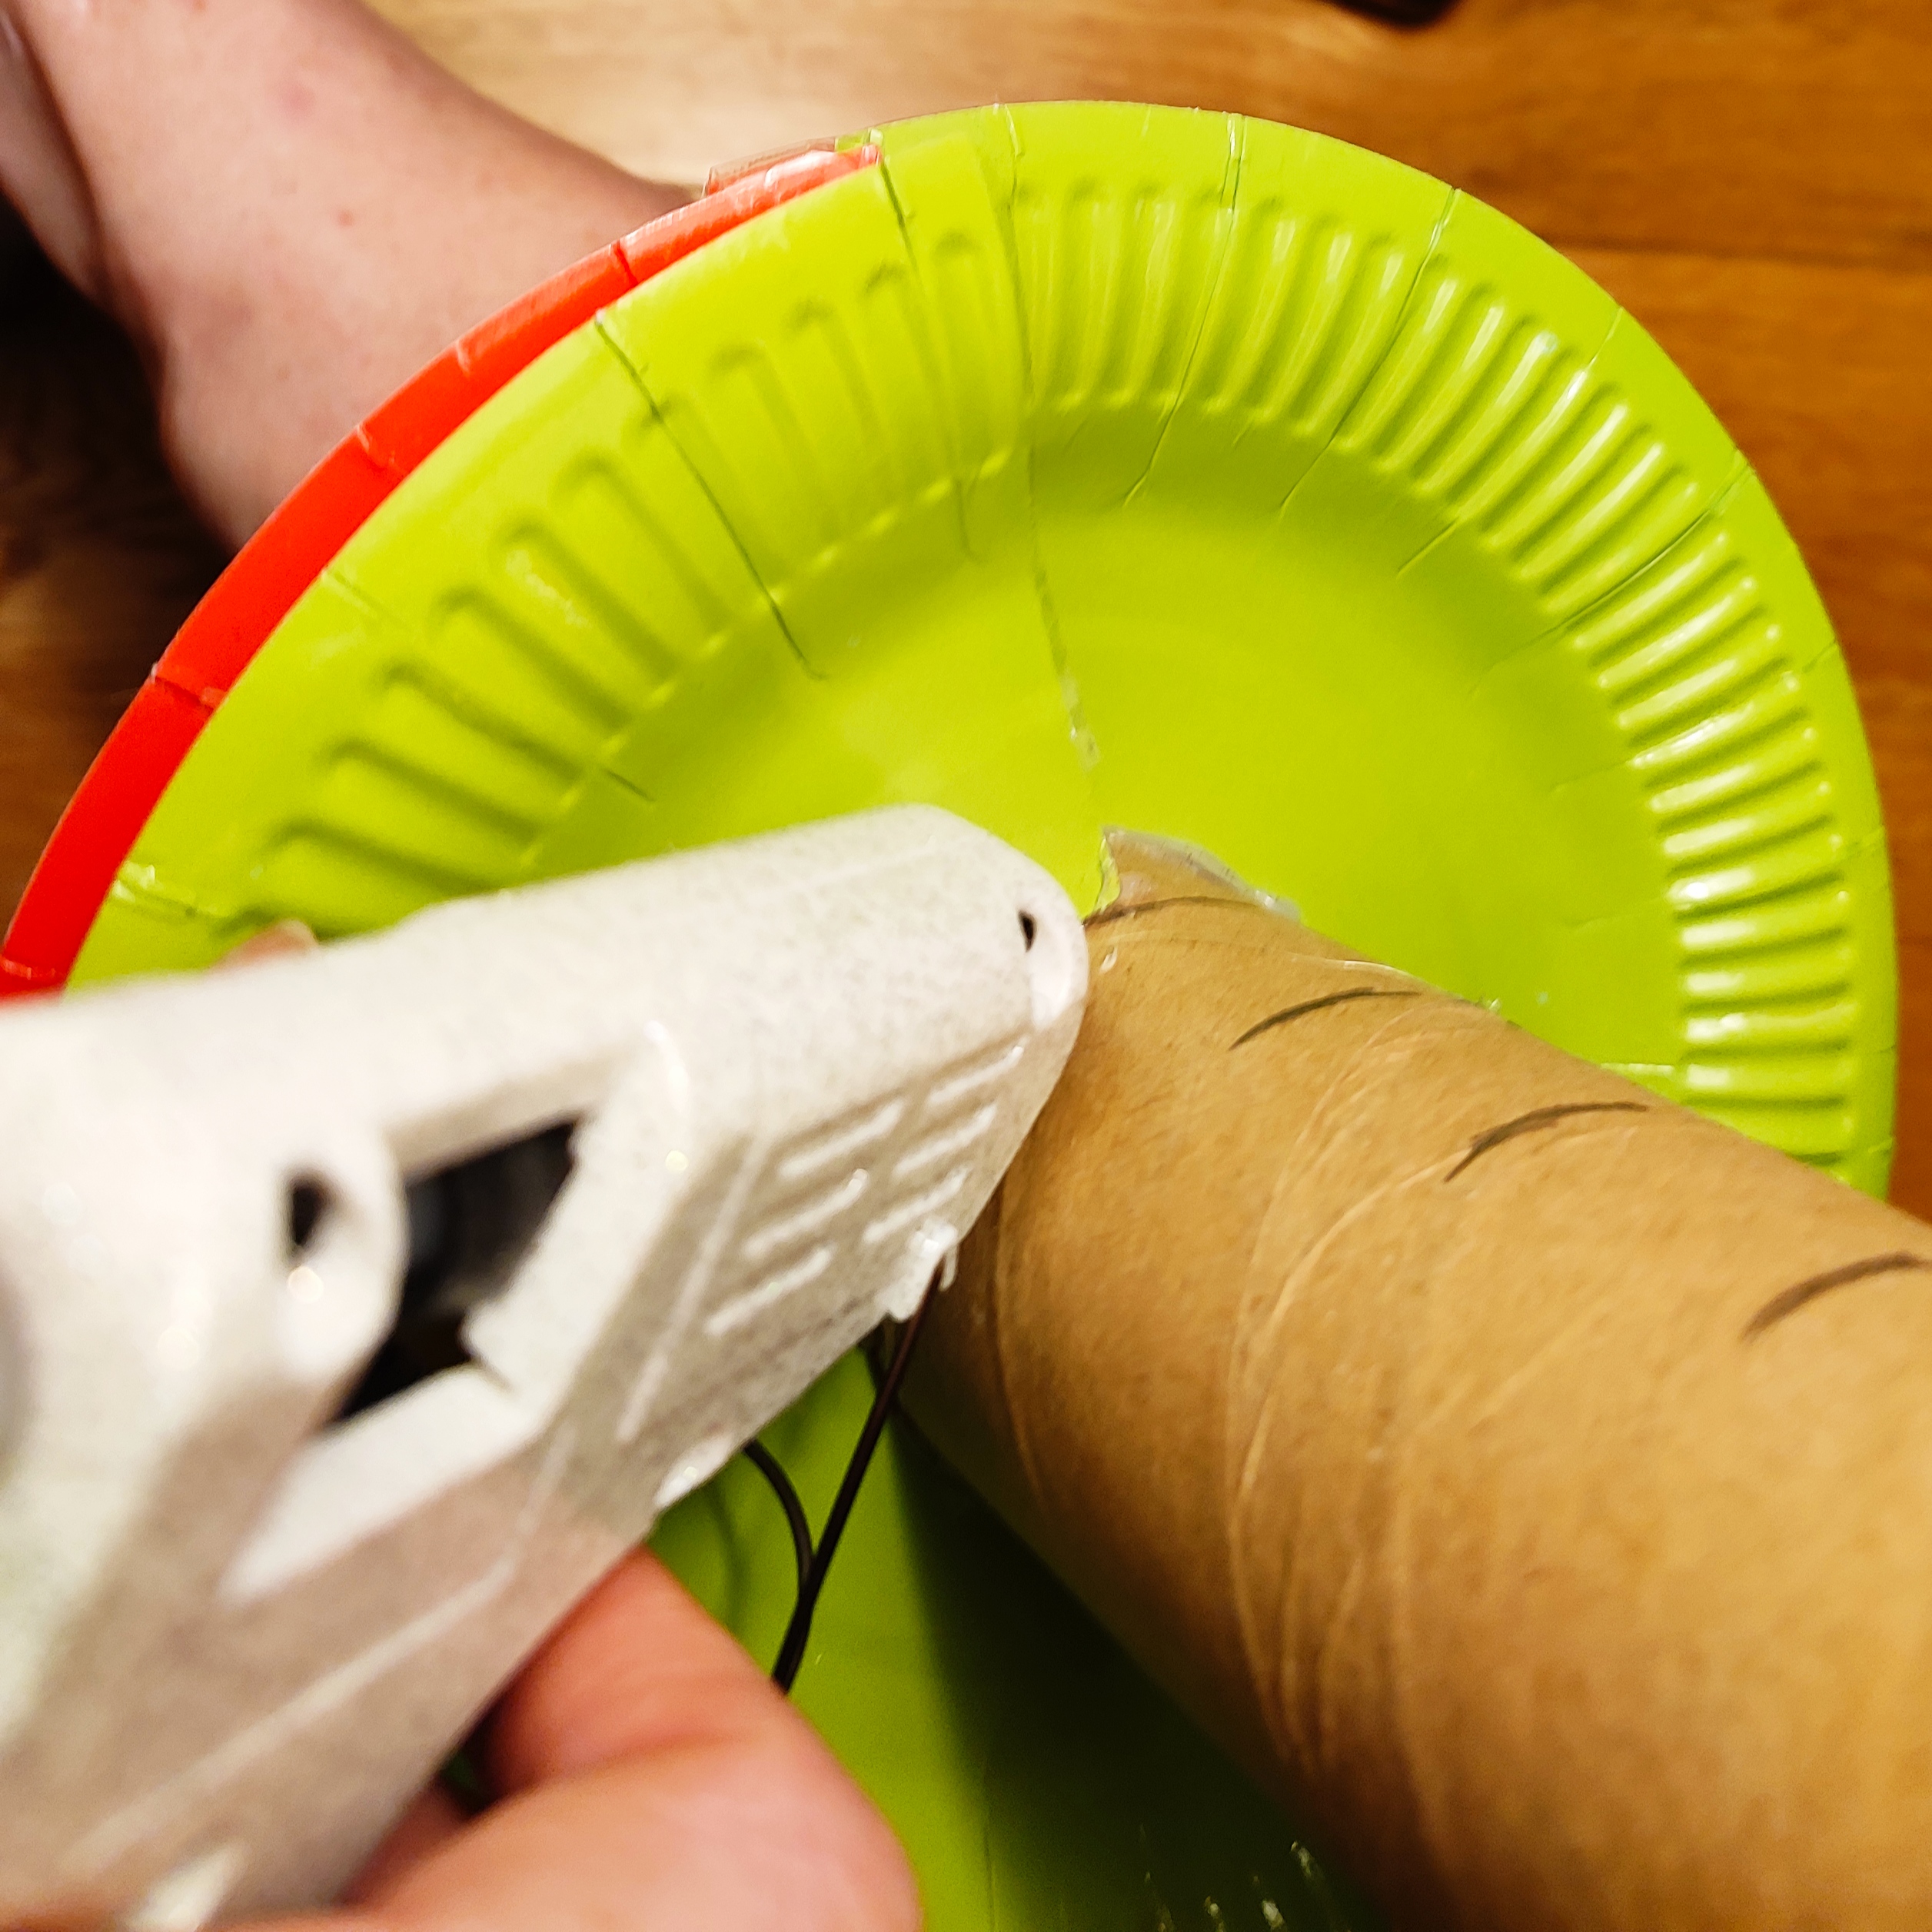
Glue the paper plate to the tube, by putting glue along your pencil line using a glue gun or other strong glue. You will need help doing this.
Tip: You may need to add the glue in stages if it dries fast.
Repeat steps 6-7 using another plate, this time going from your second mark from the bottom (where the first plate ends) to the one above.
Step 5
Step 6
Step 7
Step 8
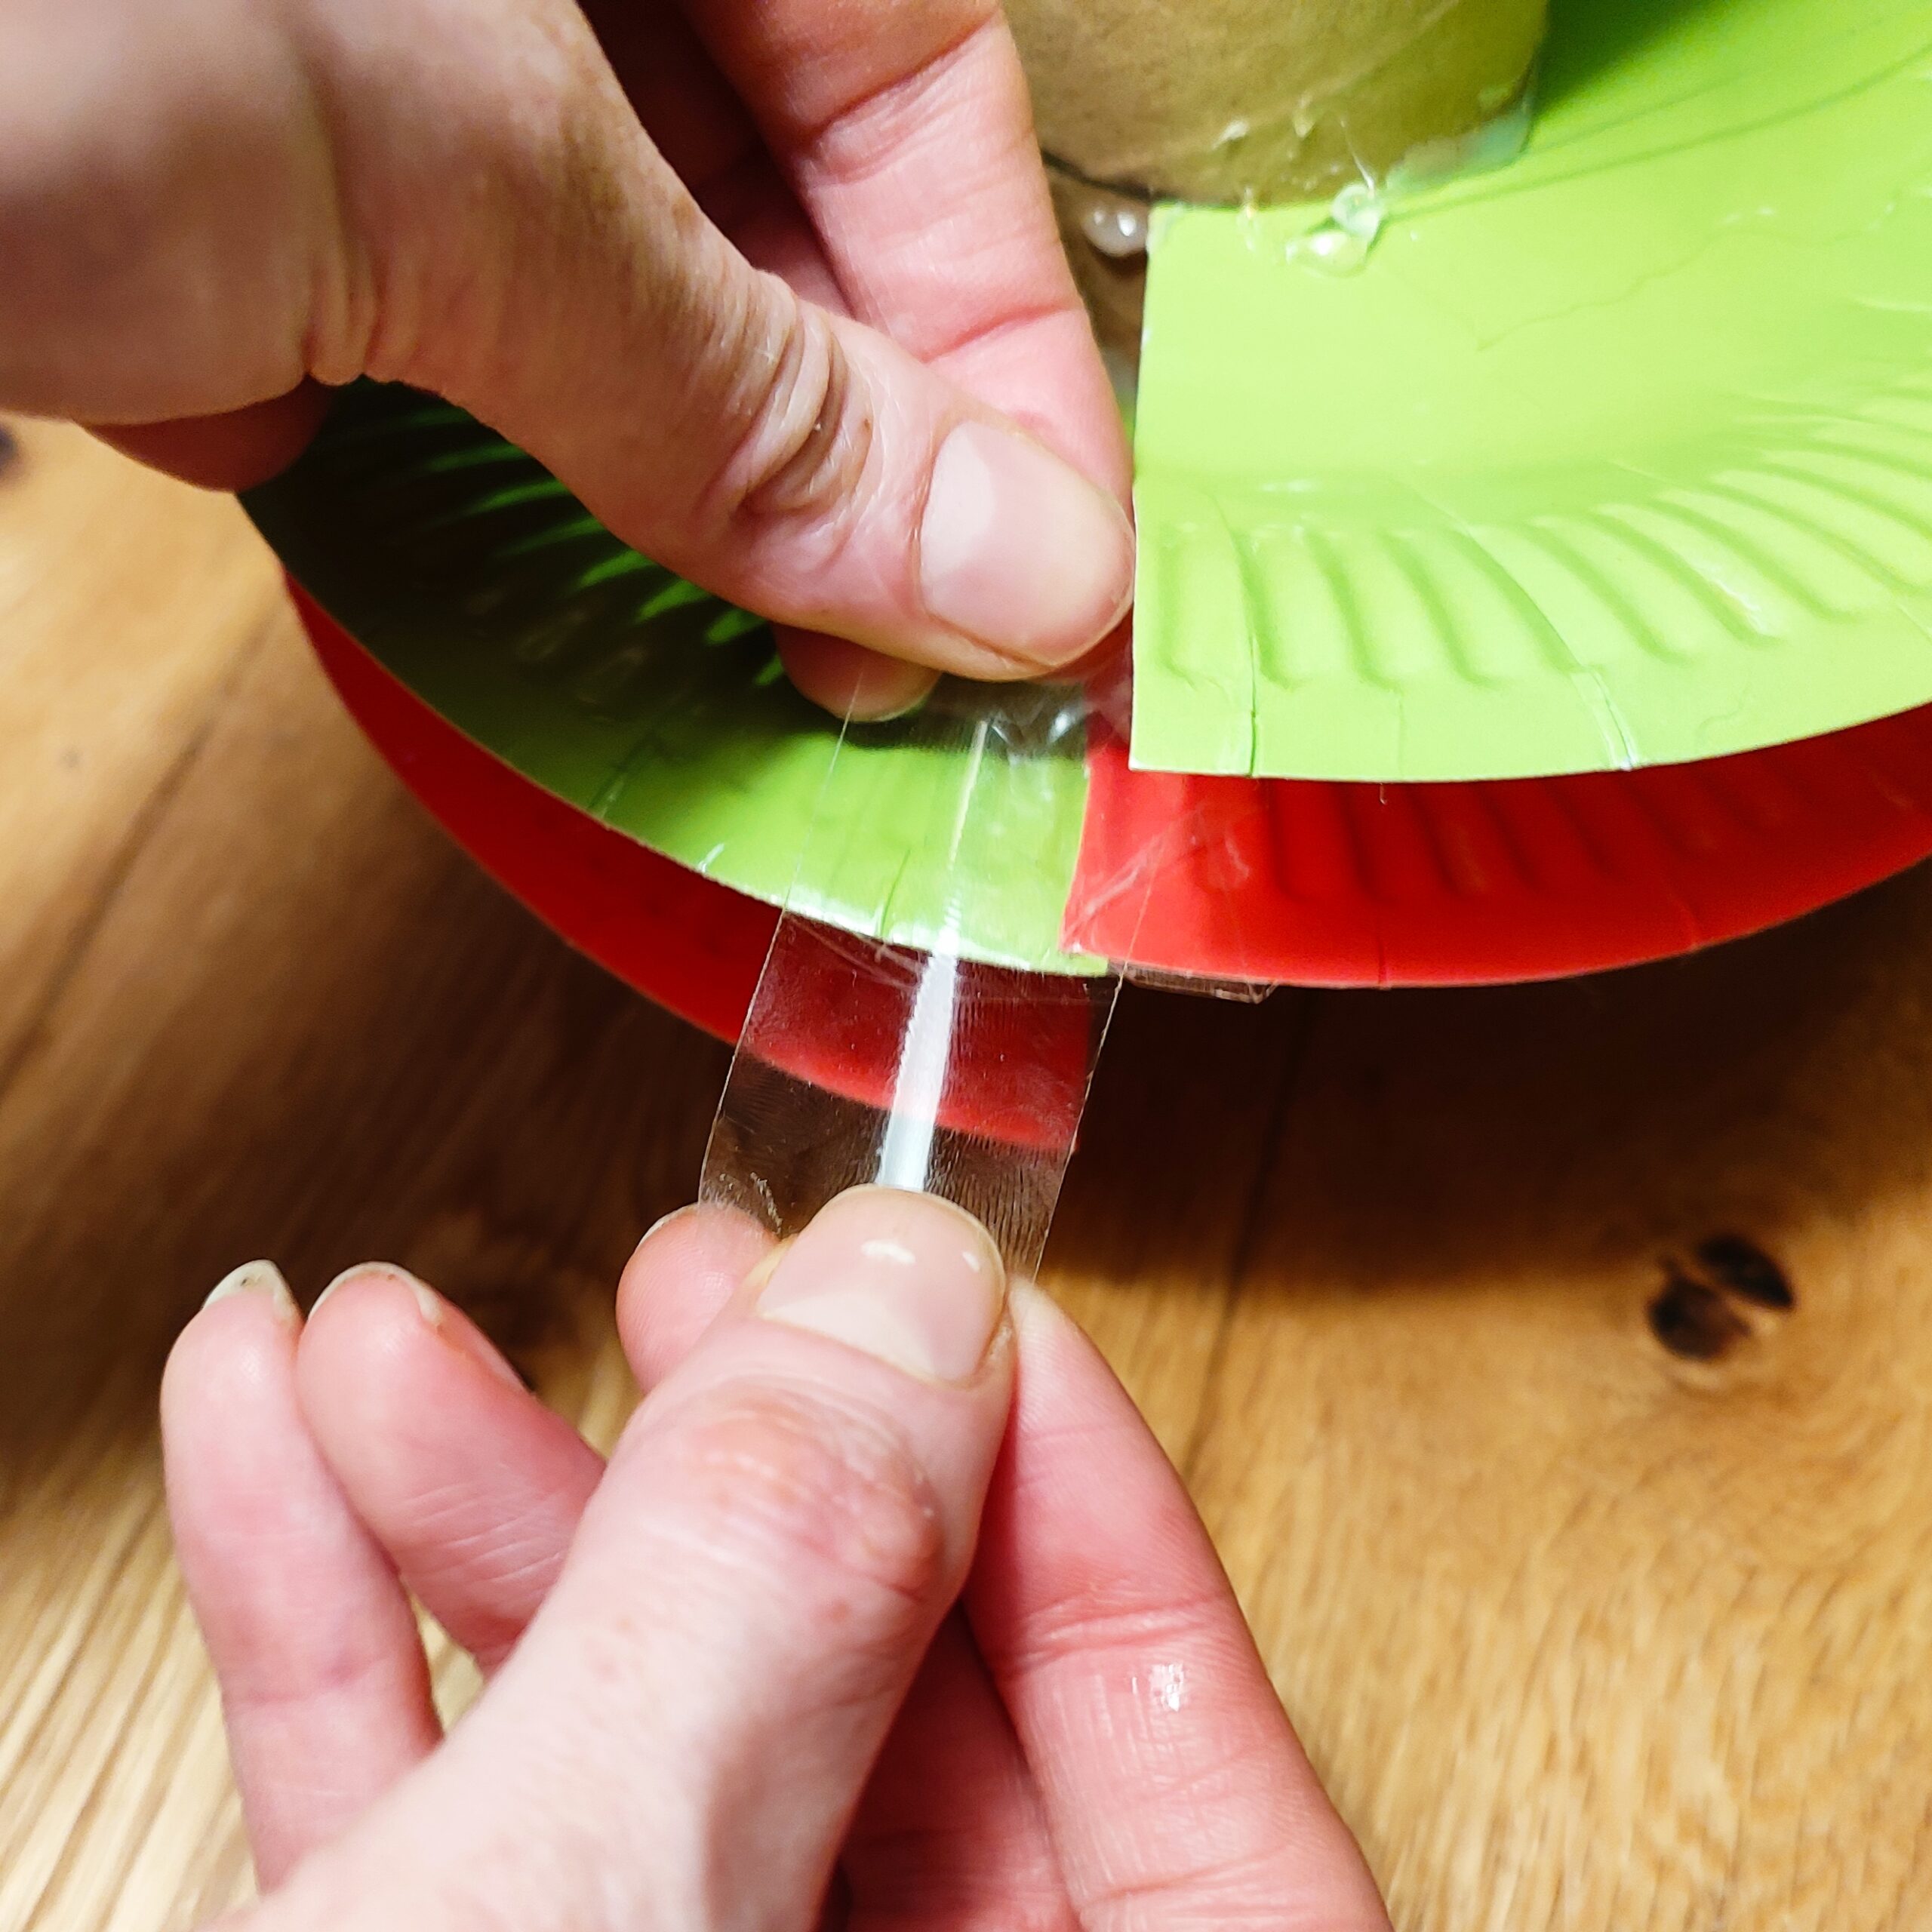
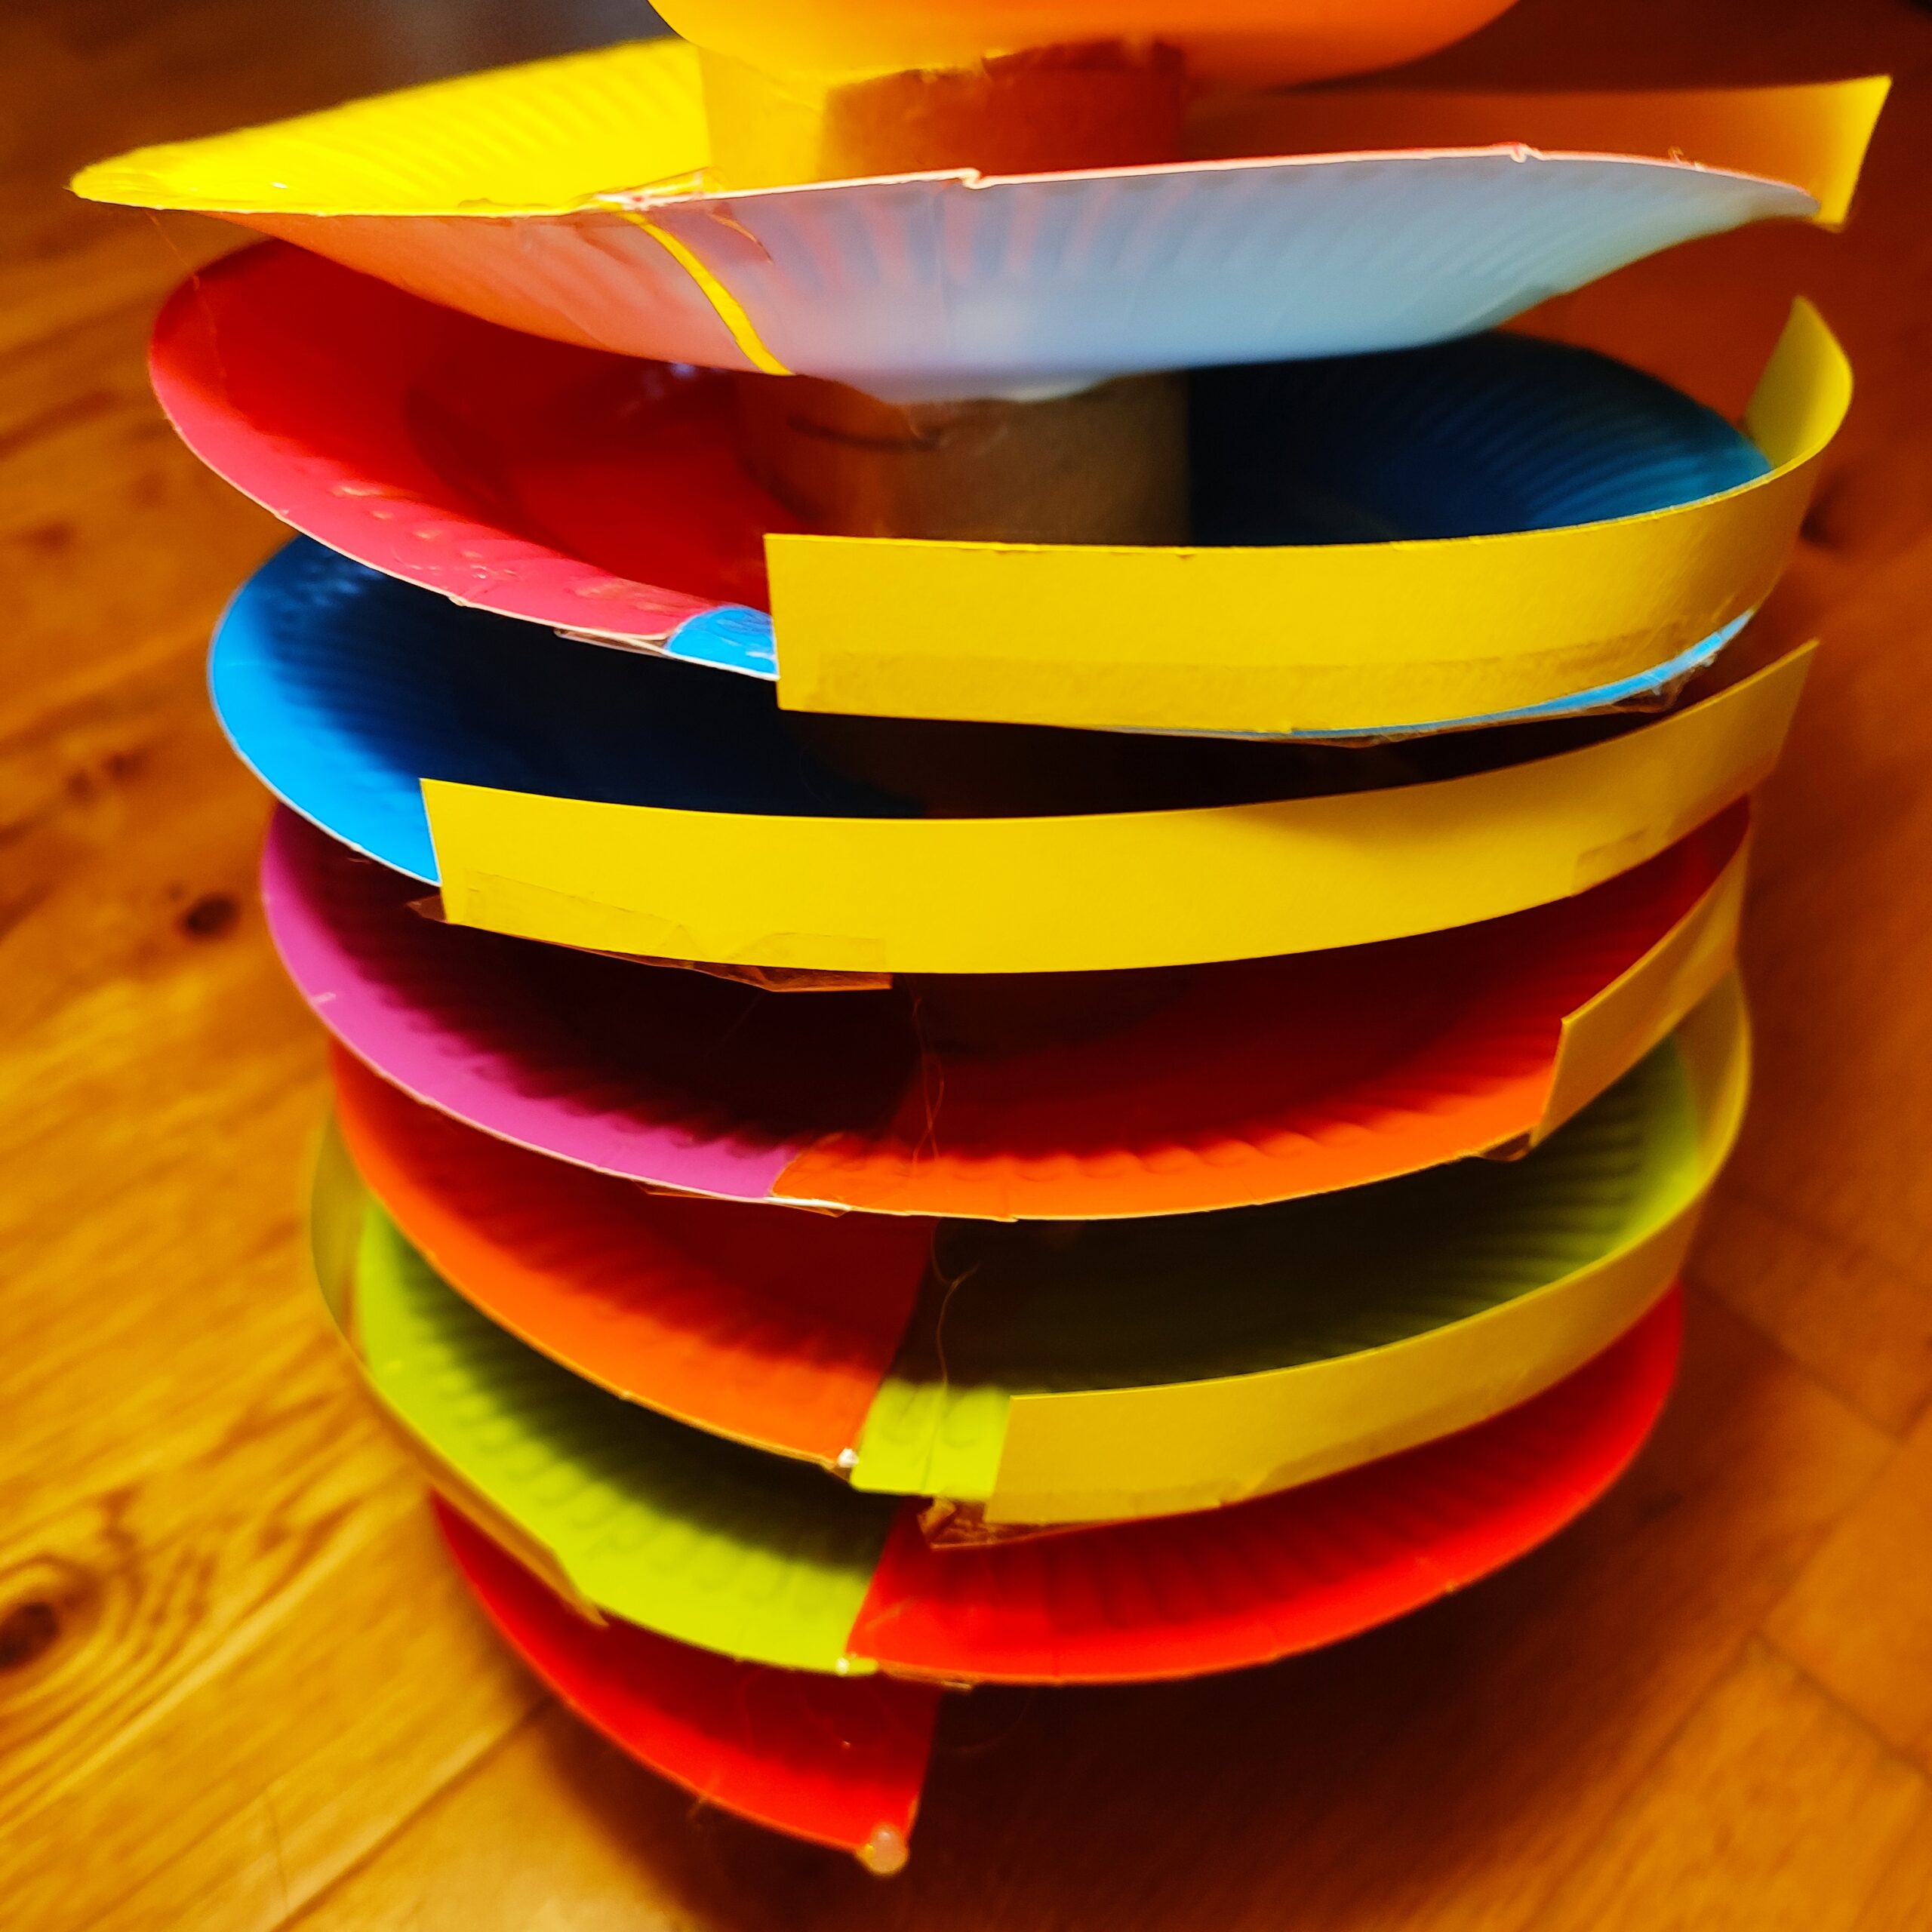
Attach the joints between the paper plates with sellotape.
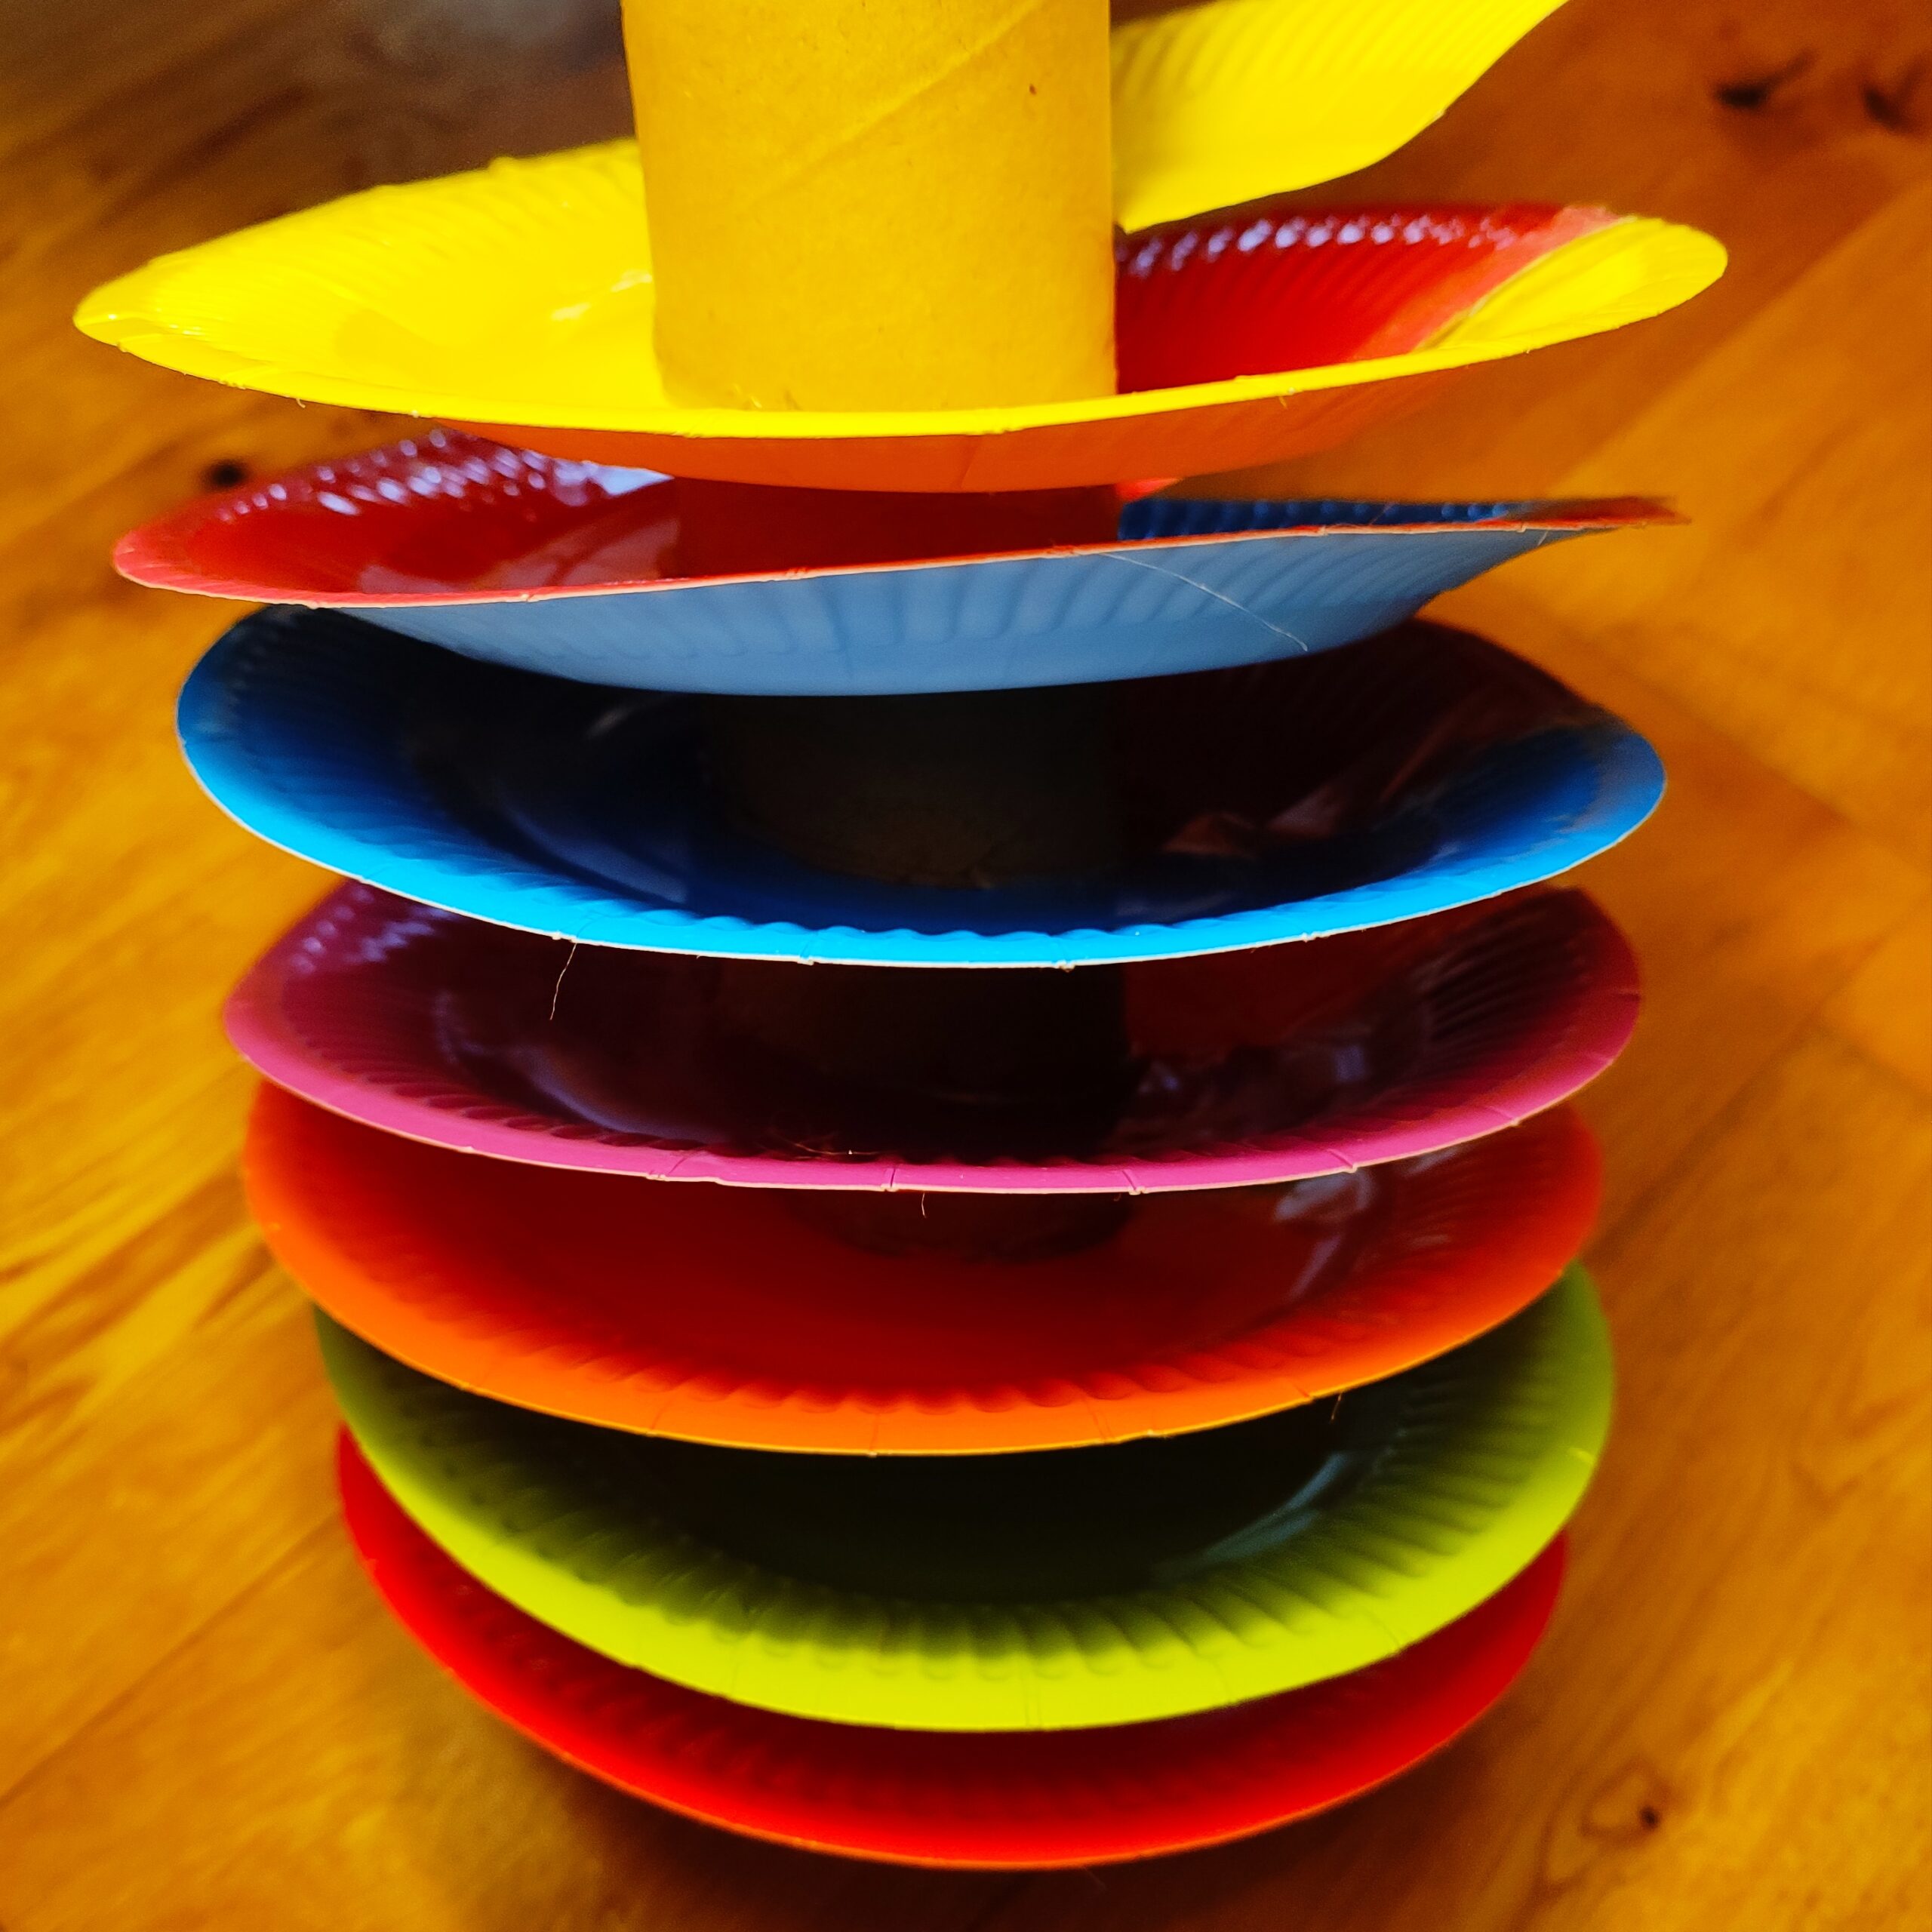
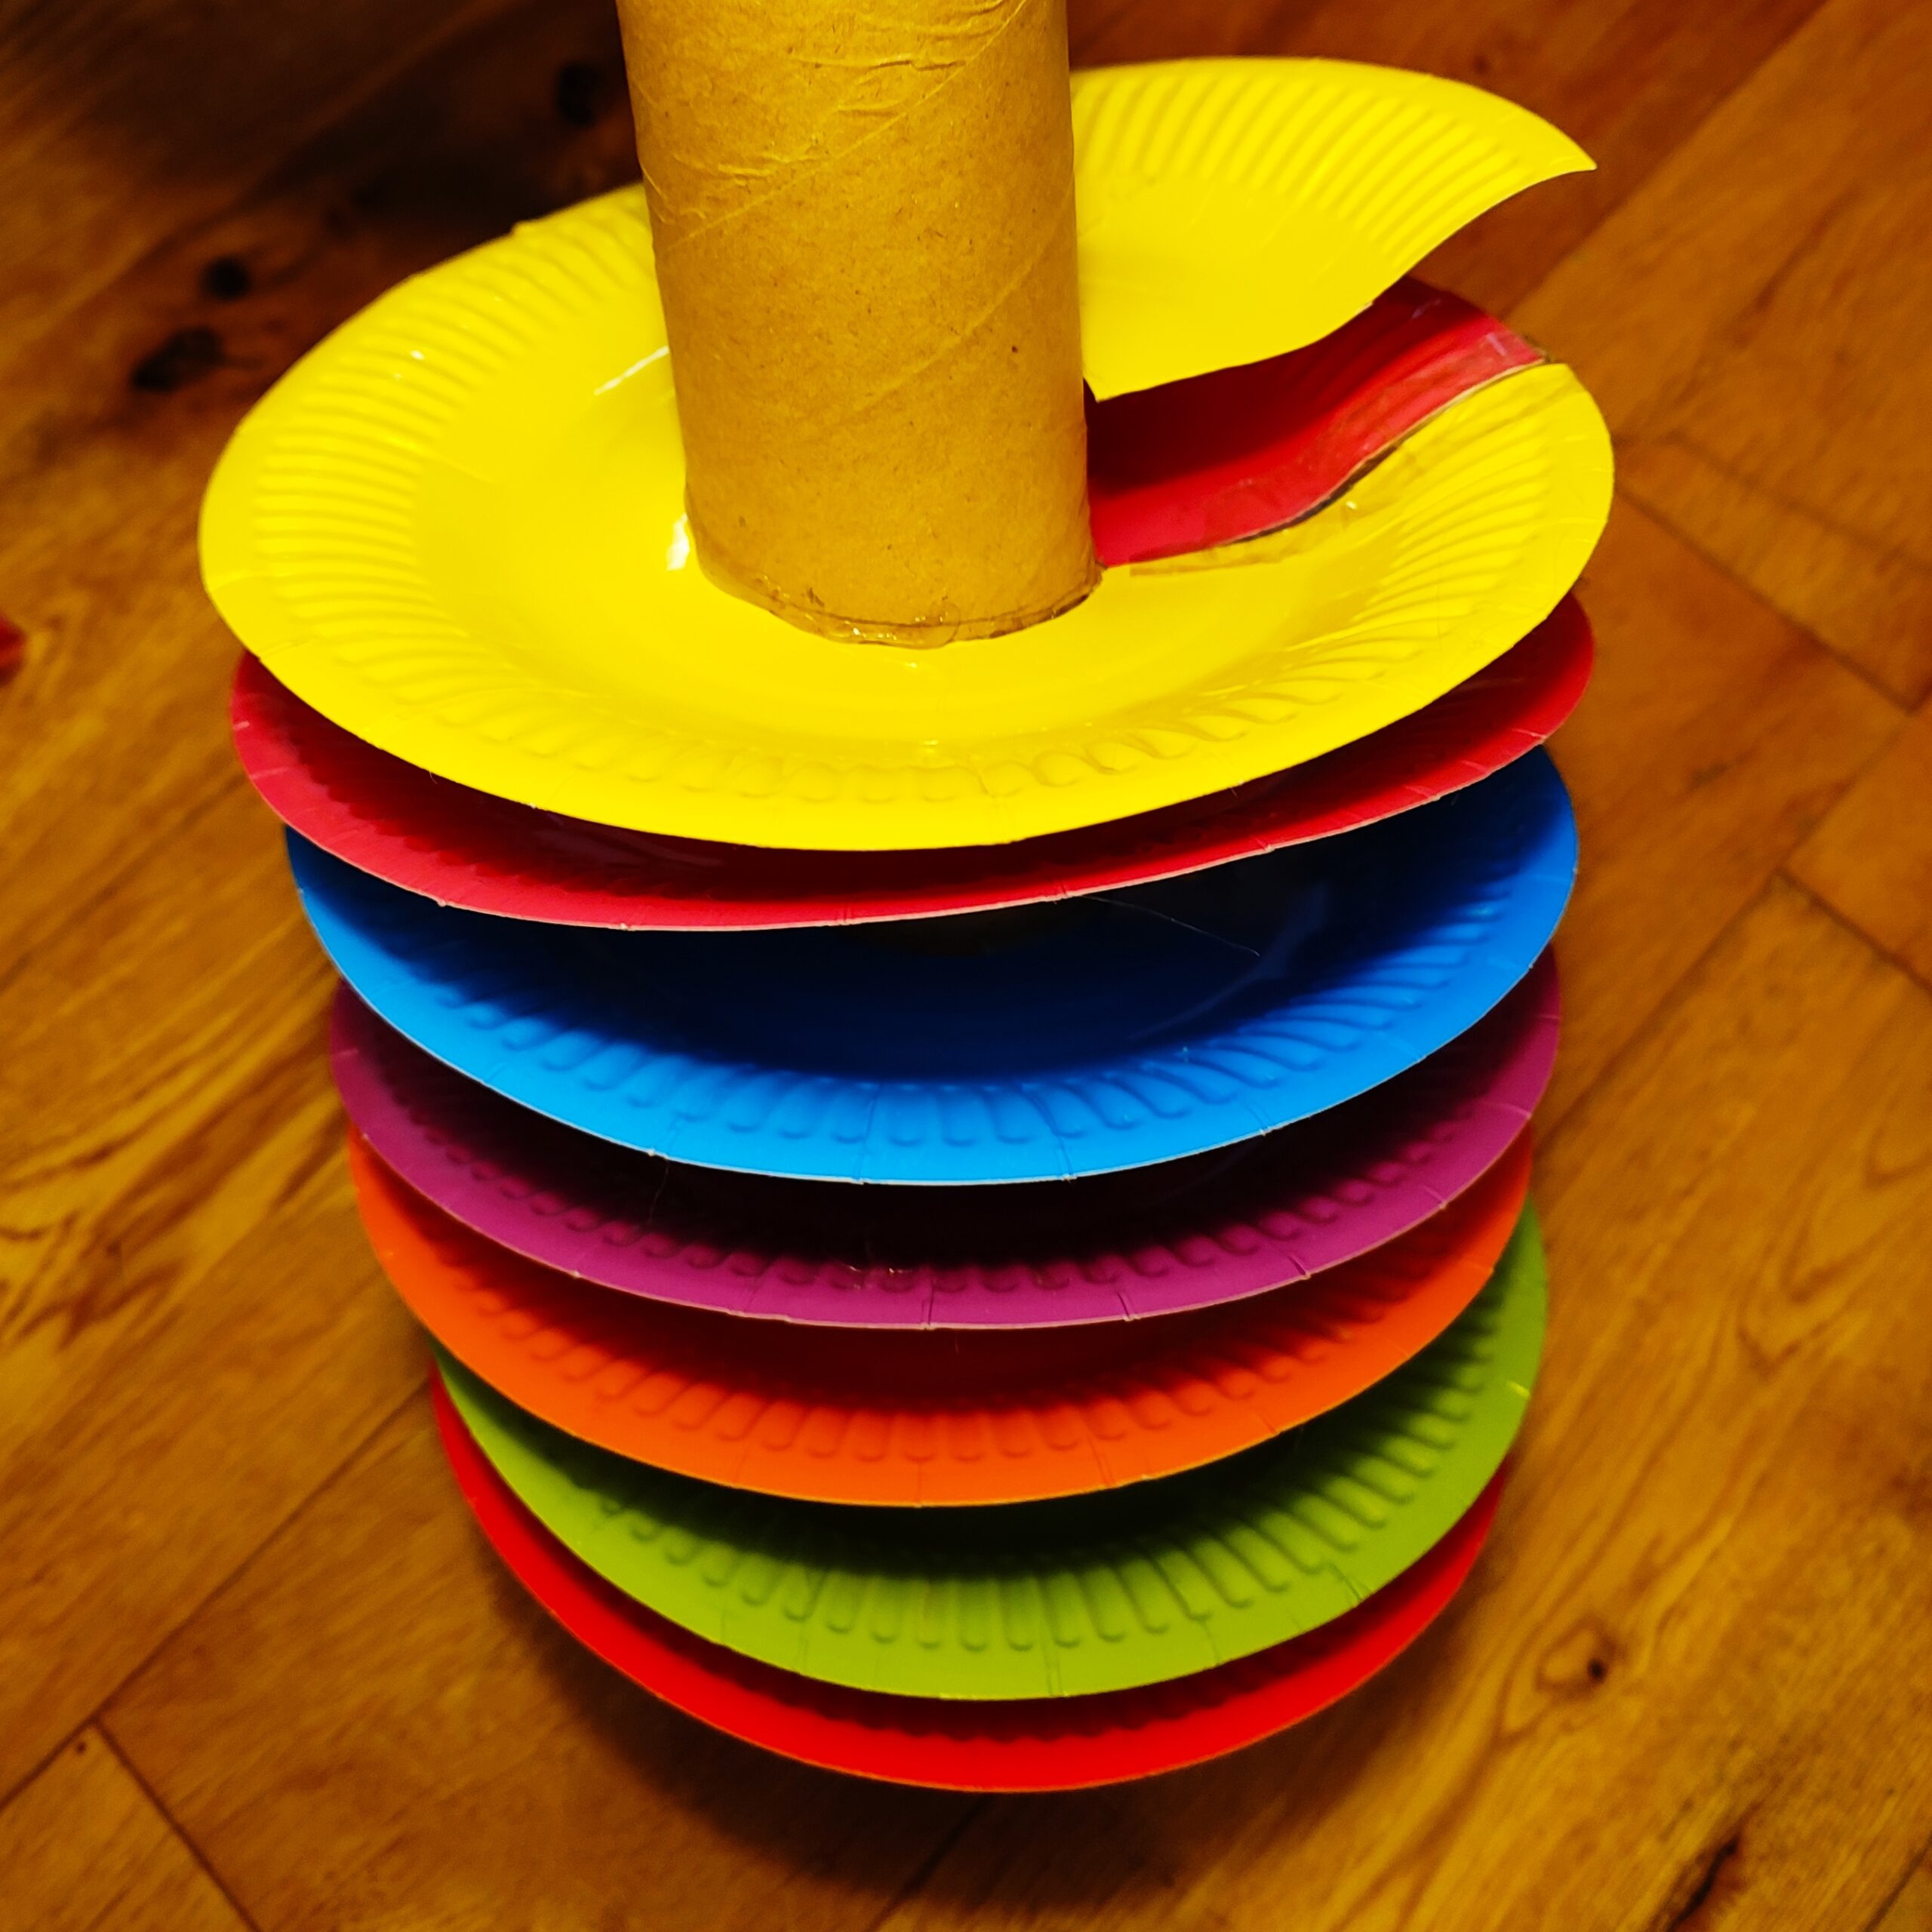
Repeat with the rest of your plates going up the tube. You may need to enlarge some of your circles to help them spiral up properly.
Test with a marble. If there are points in your ramp where the marble comes off then you need to tape on some card edges so follow steps 11 and 12. Otherwise move on to step 13. This happens because the marbles speed up as they move down the track.
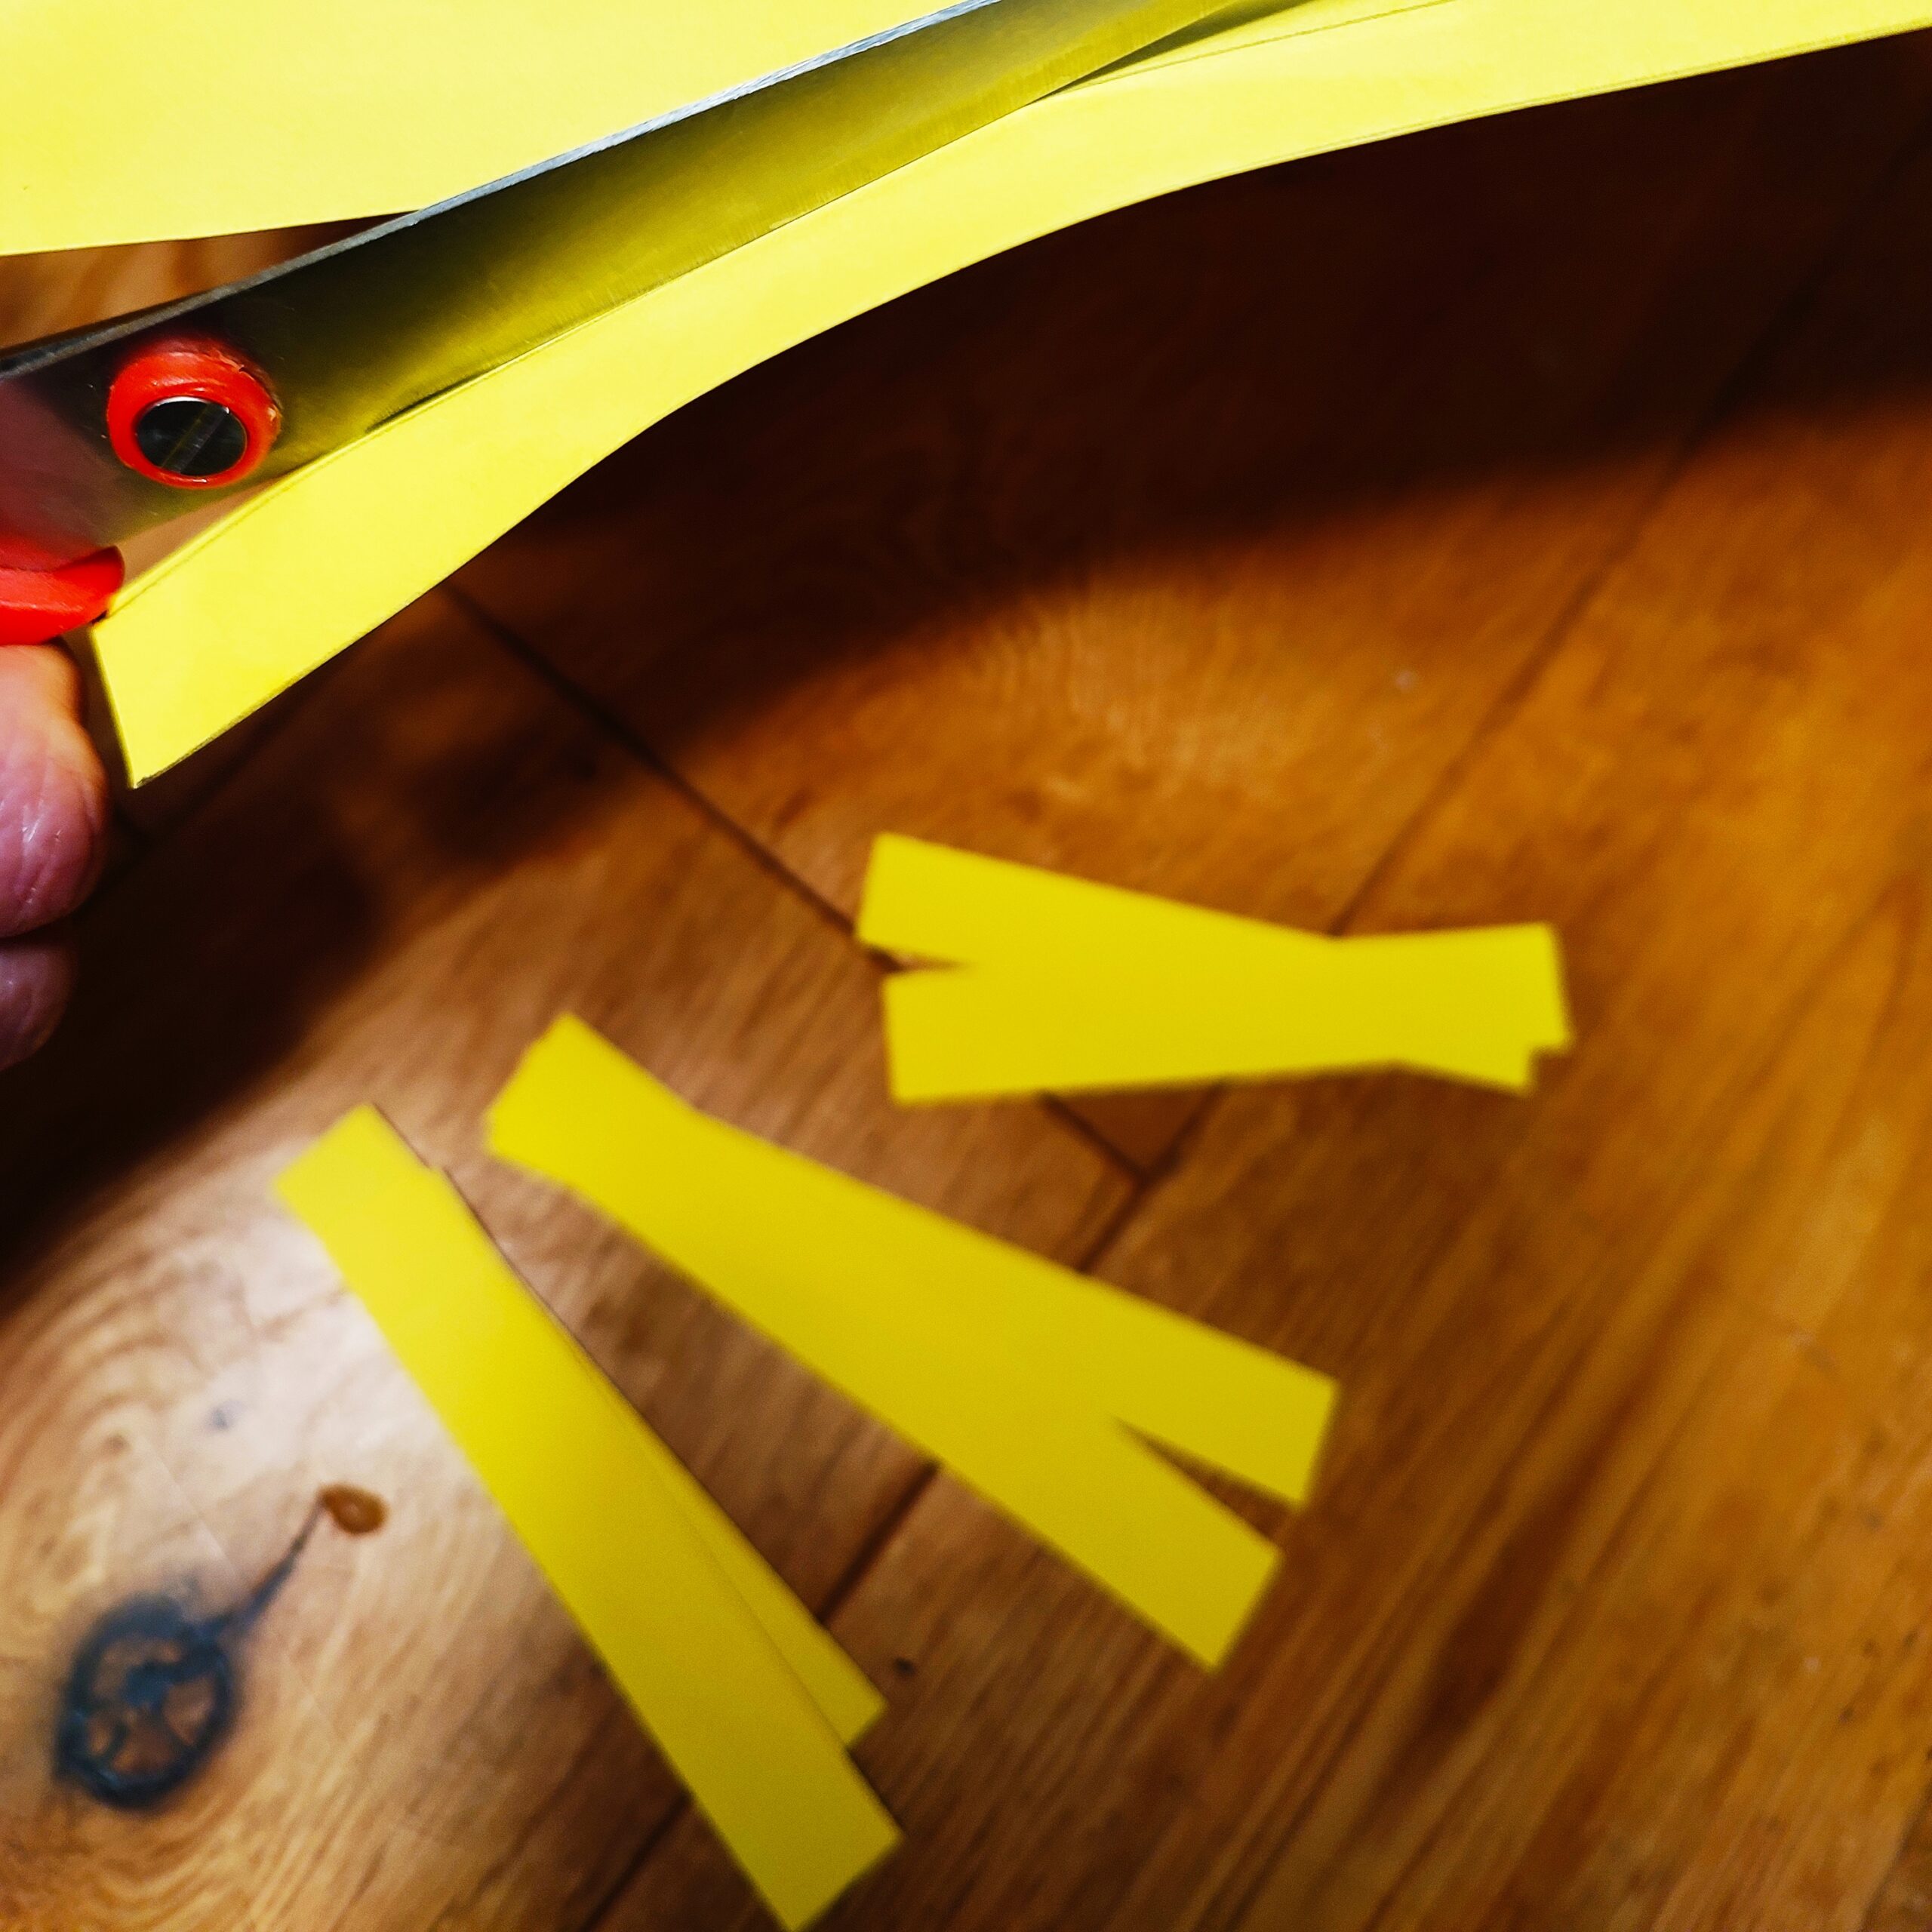
Cut strips from card about 1-2cm wide.
Step 9
Step 10 (i)
Step 10 (ii)
Step 11
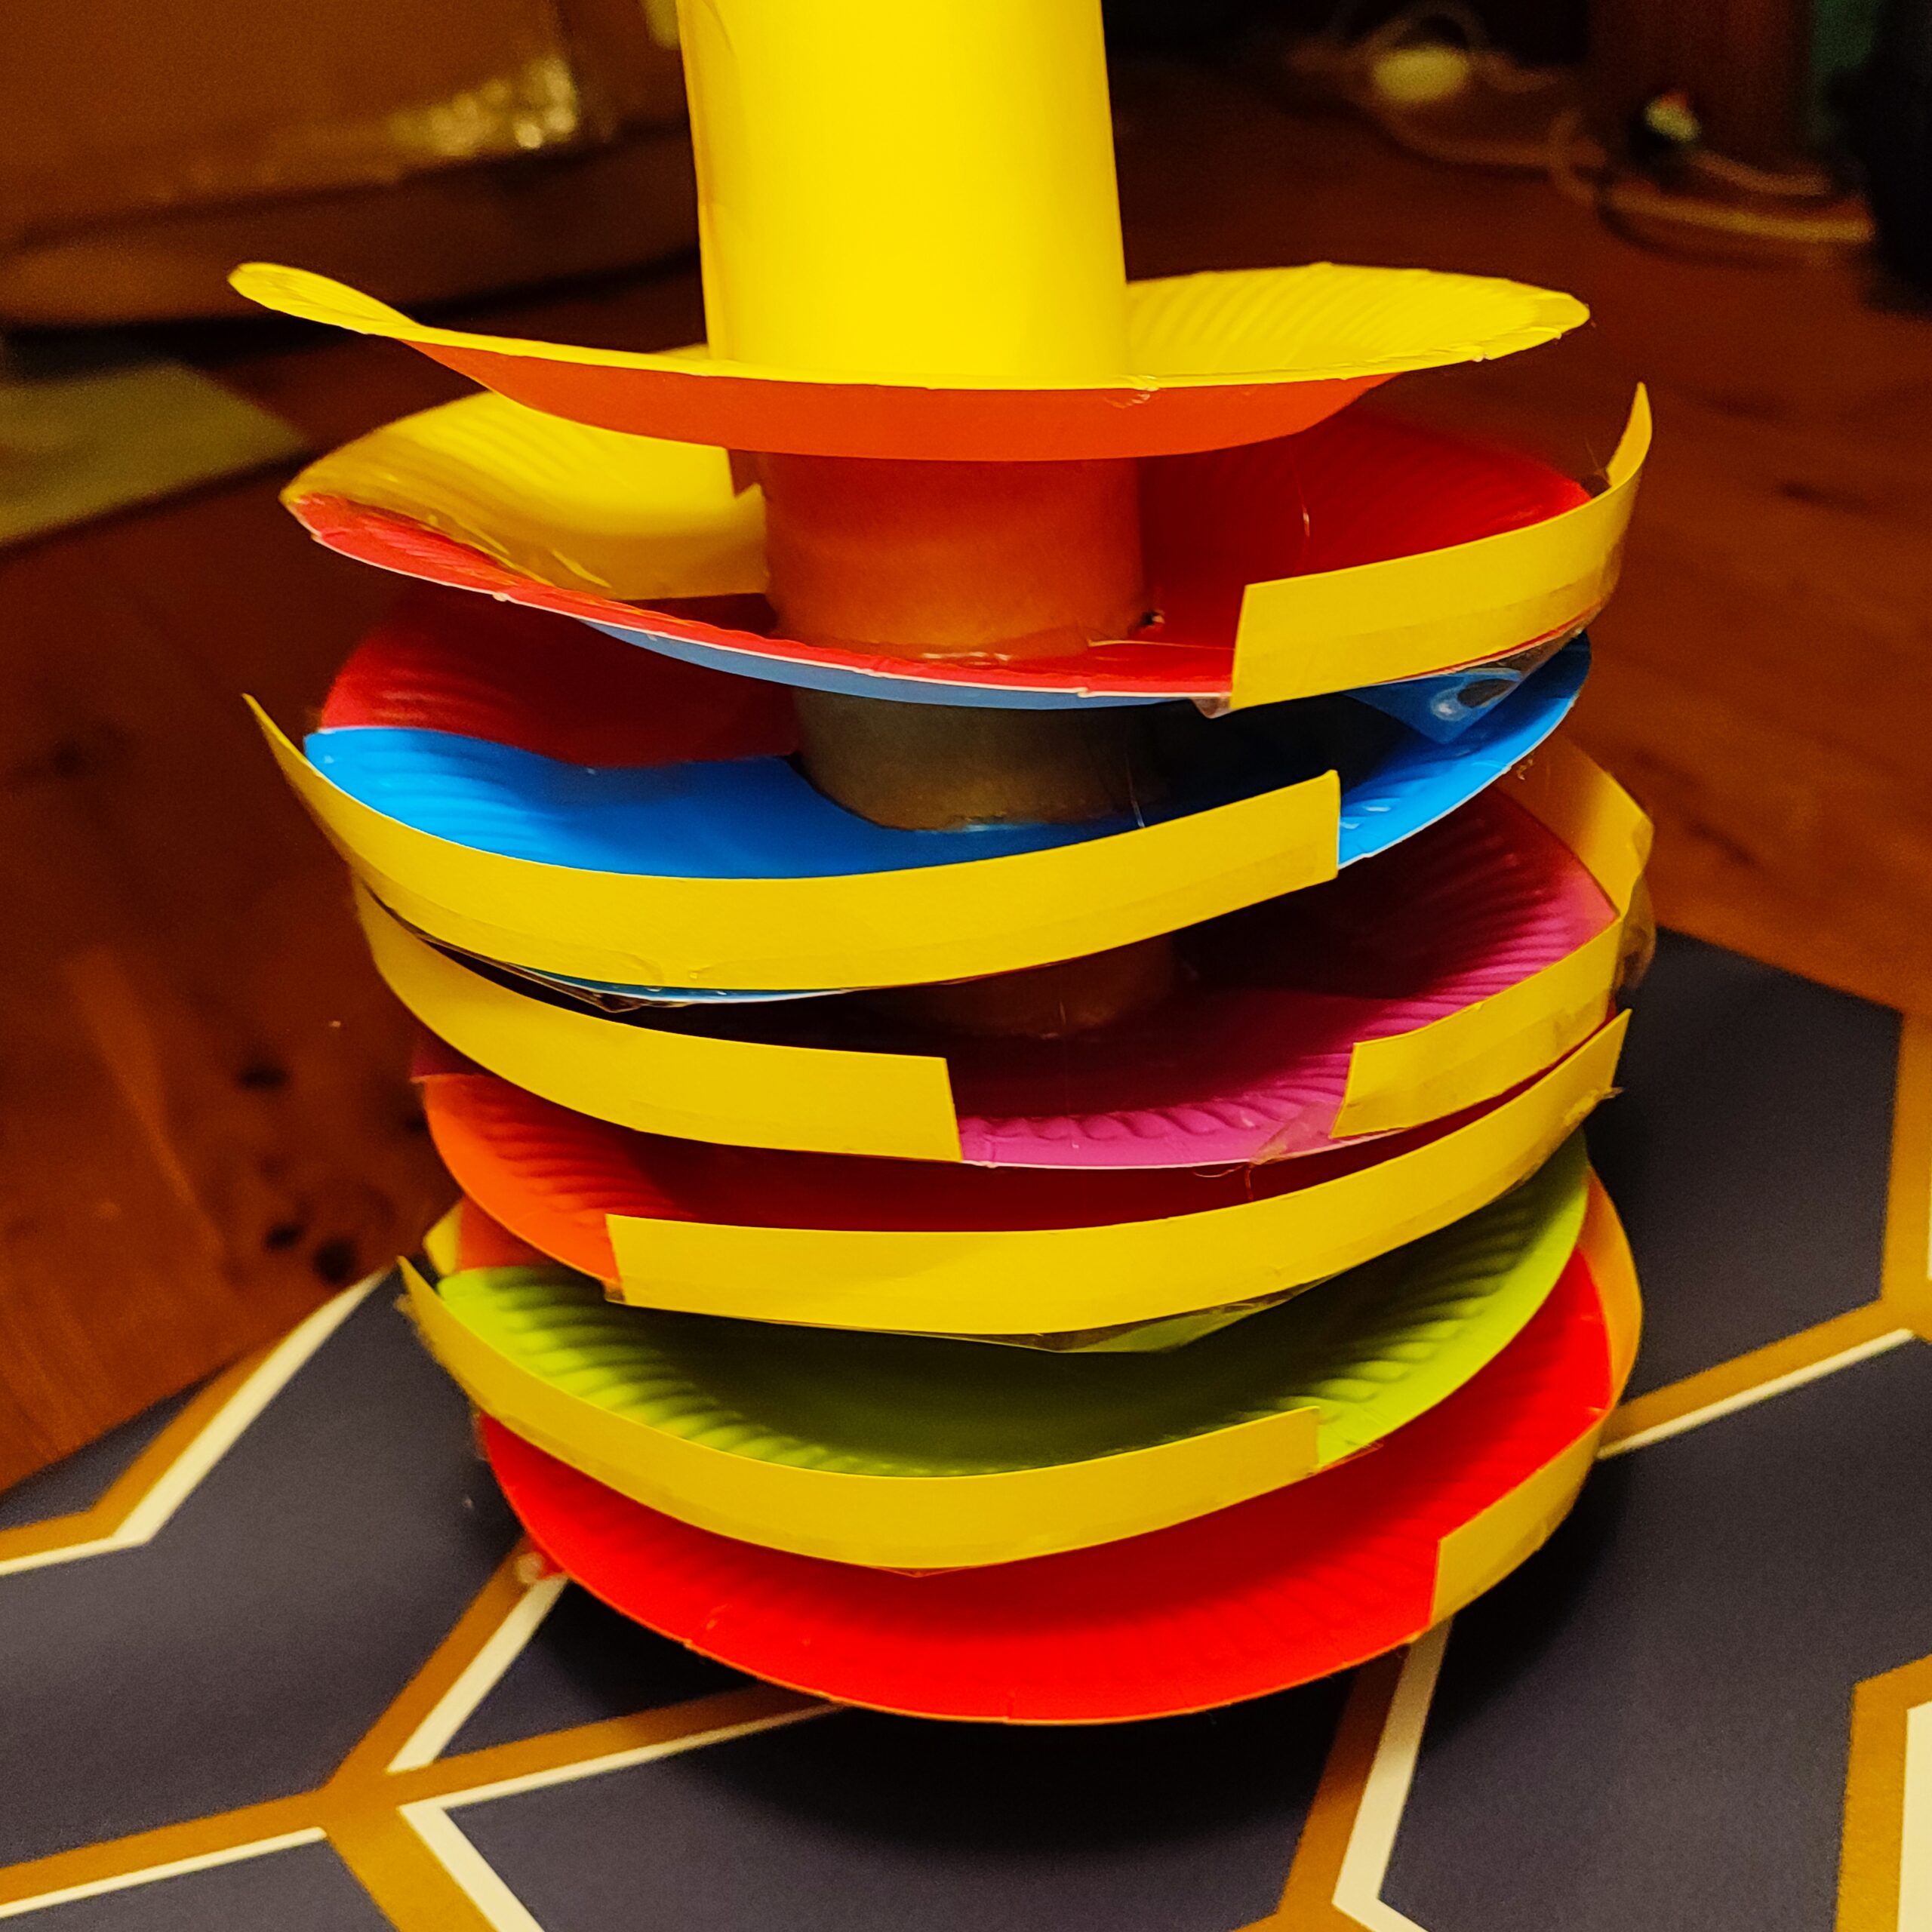
Stick these strips onto your ramp using sellotape.
Hint: You can either stick these strips along all the edges of your marble ramp, or just at specific points like we have.
If you want to do it at specific points, start from the first point where the marble flies off. Then try rolling a marble again and add an edge where it next flies off. Keep doing this down the whole of the map.
Glue the finished marble track to a square of cardboard or cardboard box, using a glue gun, for stability. Hint: We covered our box and top of our ramp with nice paper for style, but that’s up to you!