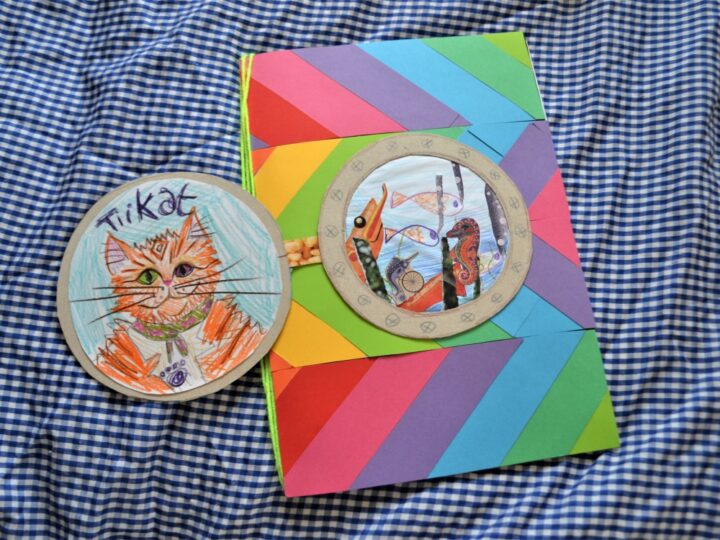
Are you inspired by Tiikat to create your own journal? This is how to make a journal cover like his.
Tiikat was happy to share his ideas because he would love it if you wrote about some of your own adventures just like he has!
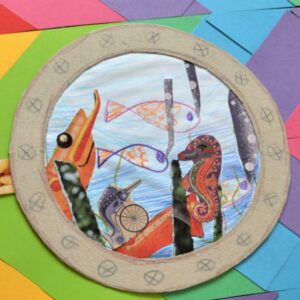
Did you know that Tiikat’s journal looks like the inside of one of his bedroom walls on The Purrpoise? The background looks like the planks of wood on his wall and then there is a porthole of course.
Fun Fact – Diagonal planks of wood are also used in lots of Finnish buildings and we think that they look great!
Hint – You could choose to personalise your journal differently to look like the inside of your own bedroom. You could be inspired by Tiikat’s journal to create a porthole picture on a different style of background, or use the striped background without a porthole picture.
If you want you could just cover your journal with pictures of your favourite things! There are no rules, this journal is just for you and your ideas…
Difficulty Level:
Porthole – 
Rainbow striped background – 
What you need:
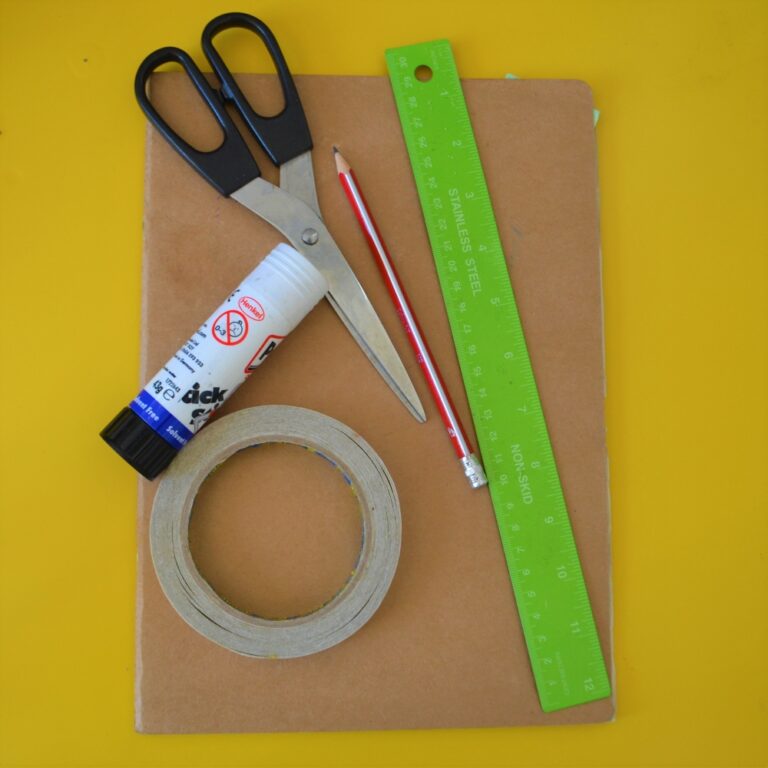
Tools:
- Pencil
- Ruler
- Circular things to draw around
- Scissors
- Glue stick
- Double sided tape (optional)
- A4 Sketchbook or Notebook (A5 would also work)
Decorating Materials:
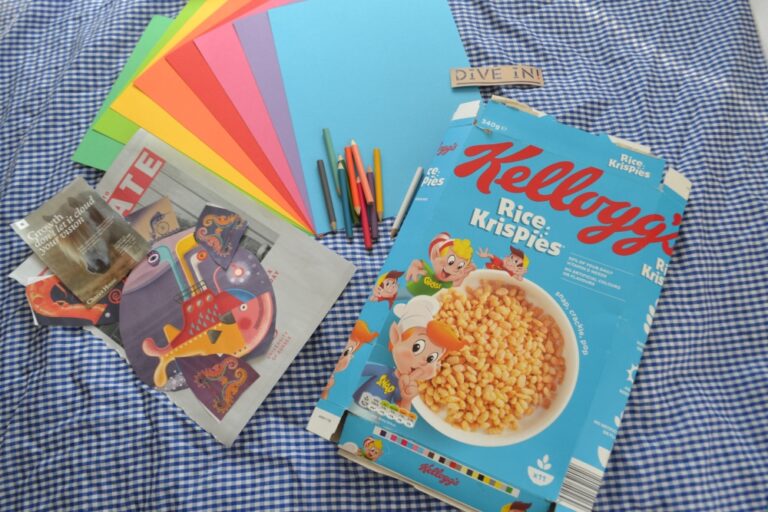
- Multicoloured paper or card
- White paper
- Old cereal box or card
- Colouring pencils/pens/paints/crayons
- Magazines or newspaper clippings for collage (optional)
Method:
For the special porthole flap:
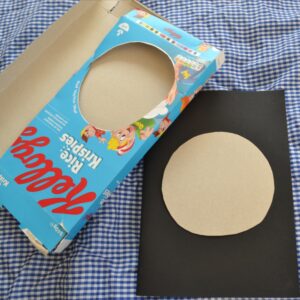
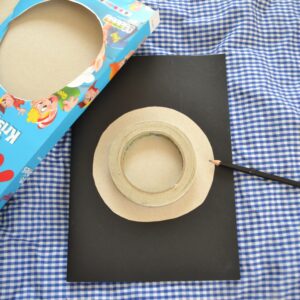
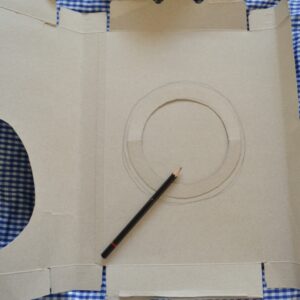
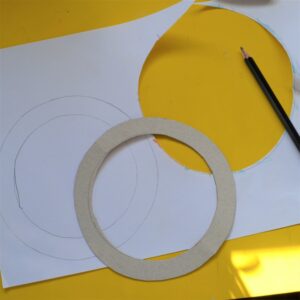
- Draw a large circle in a corner of your cereal box or card and cut it out. Draw around a circular object to help you. Remember, it needs to be able to fit on your notebook.
Hint: You will need to cut out another two circles from this cereal box so it’s a good idea to draw your circle near the corner of the box to make sure there’s enough card. - Draw a smaller circle in the centre of this piece.
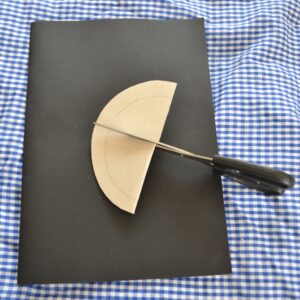
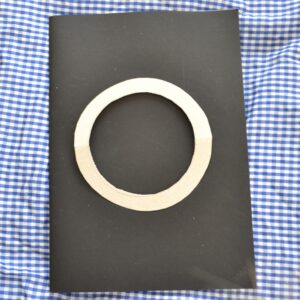
- Carefully fold the card circle in half and cut out the semicircle at the centre. Unfold the card and you should have a ring.
- This ring will be a porthole just like the ones on The Purrpoise, can you imagine what you might see through the window?
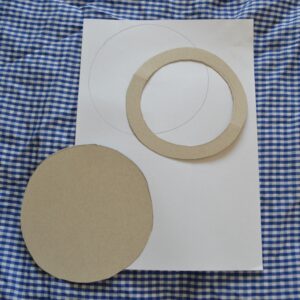
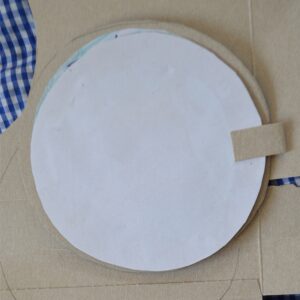
- Draw around this ring onto more card or your cereal box, leaving a little space around the outside to get another slightly bigger circle. Cut this circle out.
- On a white piece of paper draw around the ring, this time not leaving any space around.
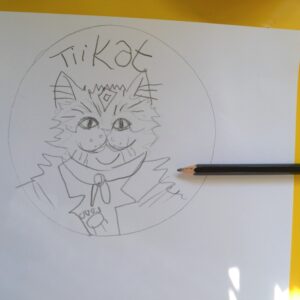
- On your paper circle, draw a picture of whoever you want to be looking out of the window. Perhaps it could be a picture of you since it is for your journal! Colour it in. You could also use a photograph.
- Cut this circular picture out and stick it onto the circle (not ring) of card, leaving the space around the sides.
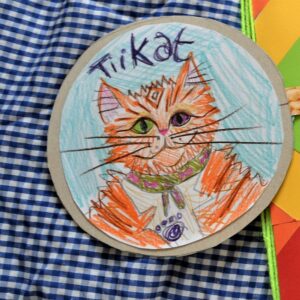
- Draw around the ring again but this time draw around the inside too.
- Decorate inside the middle circle to show what you would see outside the window. Tiikat has stuck in pictures as well as drawing, but it is up to you. Then cut out the outer circle and stick it onto the card ring so you see your picture in the middle.
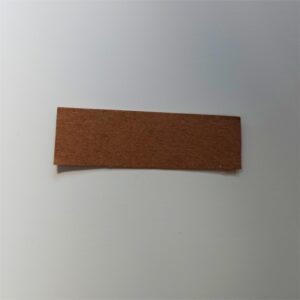
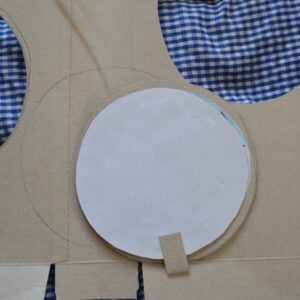
Tip: You may want to make some markings on the front of the card to make it look more like a porthole. - Cut out a small strip of the cereal box and fold it in half. This will be the windows hinge.
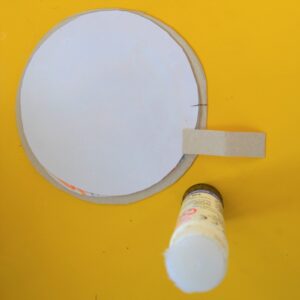
- Line up the two pictures so that when you open them they will be straight and then draw a little line in pencil at the back of each to mark where the hinge should go.
- Turn the paper circle (with the picture of the view outside) around, so you see the back. Stick the hinge on the right where you made a mark, so that it opens on the left when flipped over.
Tip – To make it really secure use double sided tape, but glue is fine. - Draw around the porthole to create another circle for the front where you will add the title to your journal. You can use the cereal box for this or you can use another kind of cardboard, paper or even collage.
- Add a title to the front of this new circle and stick the back of the circle containing a picture of you (or Tiikat) to the back.
For the rainbow striped cover:
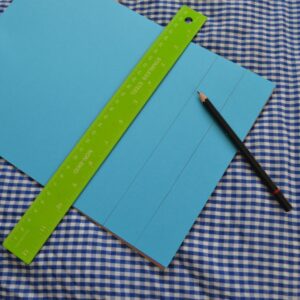
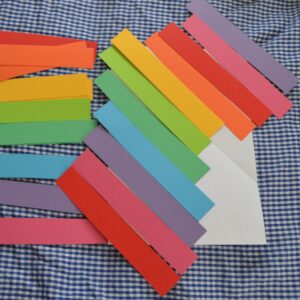
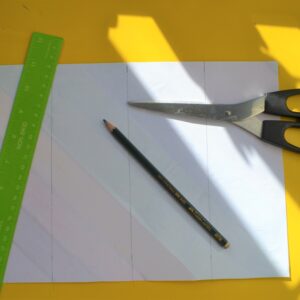
- Get your ruler and draw lines on your coloured paper the width of the ruler apart from each other.
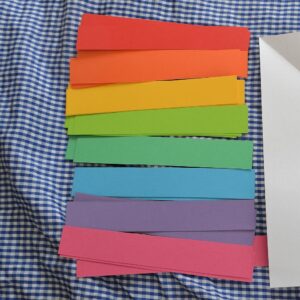
Hint: It’s very important that these lines are all the same width, which is why it is good to use the width of a ruler to make sure of this. - Cut out the strips of paper and line them up in the order you would want the stripes in. Tiikat chose the order of the rainbow!
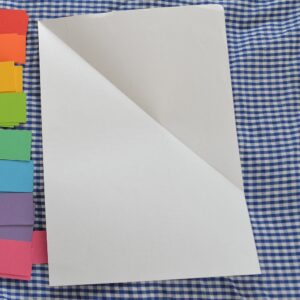
- Fold one corner of a piece of A4 paper diagonally down so that it lines up with the long edge of the page. Then open up the paper.
- Lay the stripes out on the paper, first putting 2 along the diagonal fold line and then put the rest down next to it.
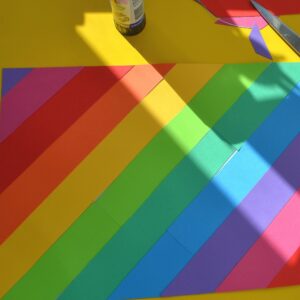
- Glue them down and add more stripes until you cover all of the white paper.
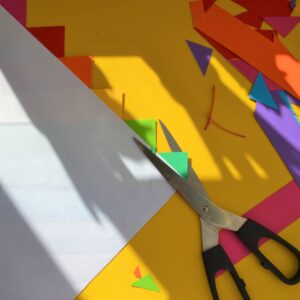
- Trim the edges of the paper so that it is once again A4 sized.
- On the white side of the paper carefully measure with your ruler and mark a point at 7.5cm, 15cm and 22.5cm down one of the long sides.
Do the same on the other long side and then join the points with a ruler and pencil. This should divide the page into quarters. Cut down the lines. - You are going to do repeat steps 1-7 on another piece of paper (you may have some paper stripes left so you won’t need to do steps 1-2 again). Now this is a very important bit! You must make sure that your diagonal fold on your paper goes the other way this time, so that the stripes also go the other way.
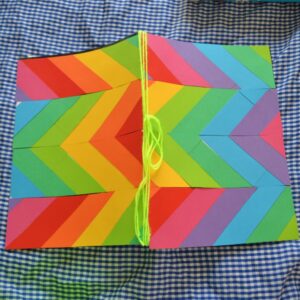
- To get the V shapes Tiikat has on his journal on your book too, you will have to mix the strips around before sticking them on the journal. Play around with arranging your strips before sticking them down to your book to decide which pattern of colours you like the most. Then stick them down on your front and back cover.Fun Fact – This V shape created is called a ‘right angle’. Right angles are 90° and can be found at the corners of books and paper, on buildings, at the corner of your computer screen, in furniture and so many other places! Can you see any around you now?
- Stick your porthole onto the front cover of the book.
Finished! We are excited that you are starting your own journal and can write some of your own stories down just like Tiikat has.
Tiikat would love to hear about your journal and see what you have done with your cover.
By showing off your journal in the gallery it can inspire other children to make their own journal! How cool is that?
Send pictures to tiikat@tiikat.com and you will receive stickers to say thank you!
