Isn’t it great to get something new from something old?
In this activity we are going to ‘upcycle’ something material you don’t use anymore and turn it into an accessory!
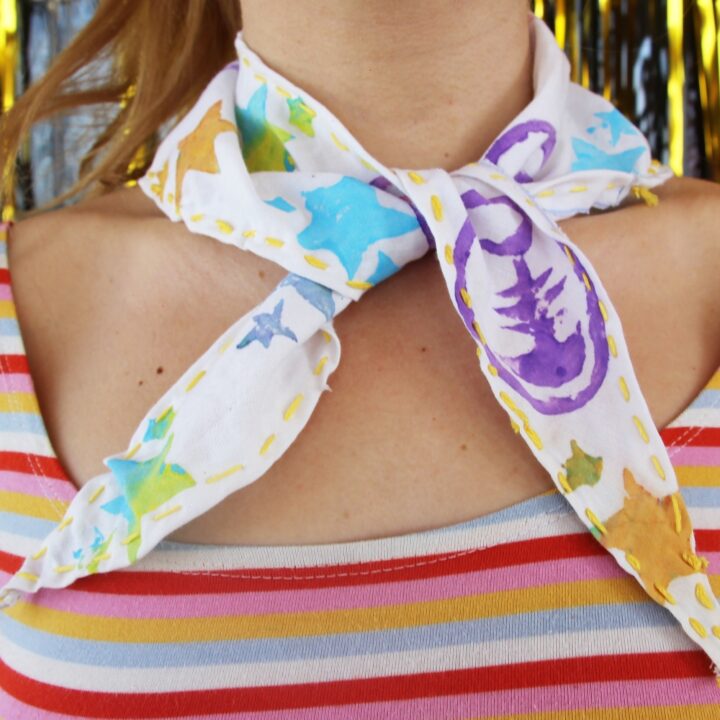
Which accessory you ask? Well, as Tiikat is a dear friend of ours, and this section is really all about him, we’re going to make …. a neckerchief!
The neckerchief is also very versatile and doesn’t need to only be worn around your neck!
There are a few different ideas here for creating a range of styles.
If you already have a patterned fabric and don’t need to decorate it yourself, you can skip the decorating section.
Don’t forget to get permission to use the fabric for the neckerchief, you wouldn’t want to accidentally cut up a family heirloom now would you?
Difficulty Level:
What you need:
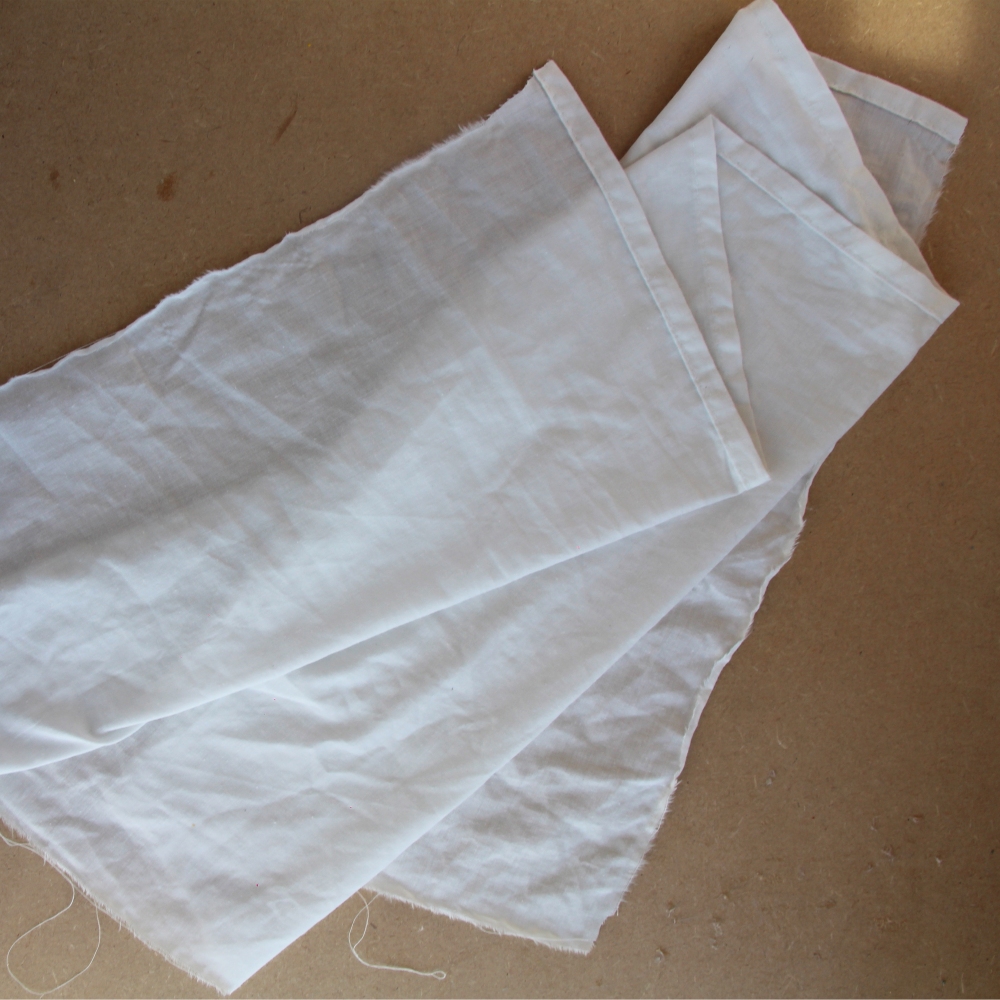
Material (for example an old sheet, pillowcase or t shirt)
Craft knife or sharp kitchen blade
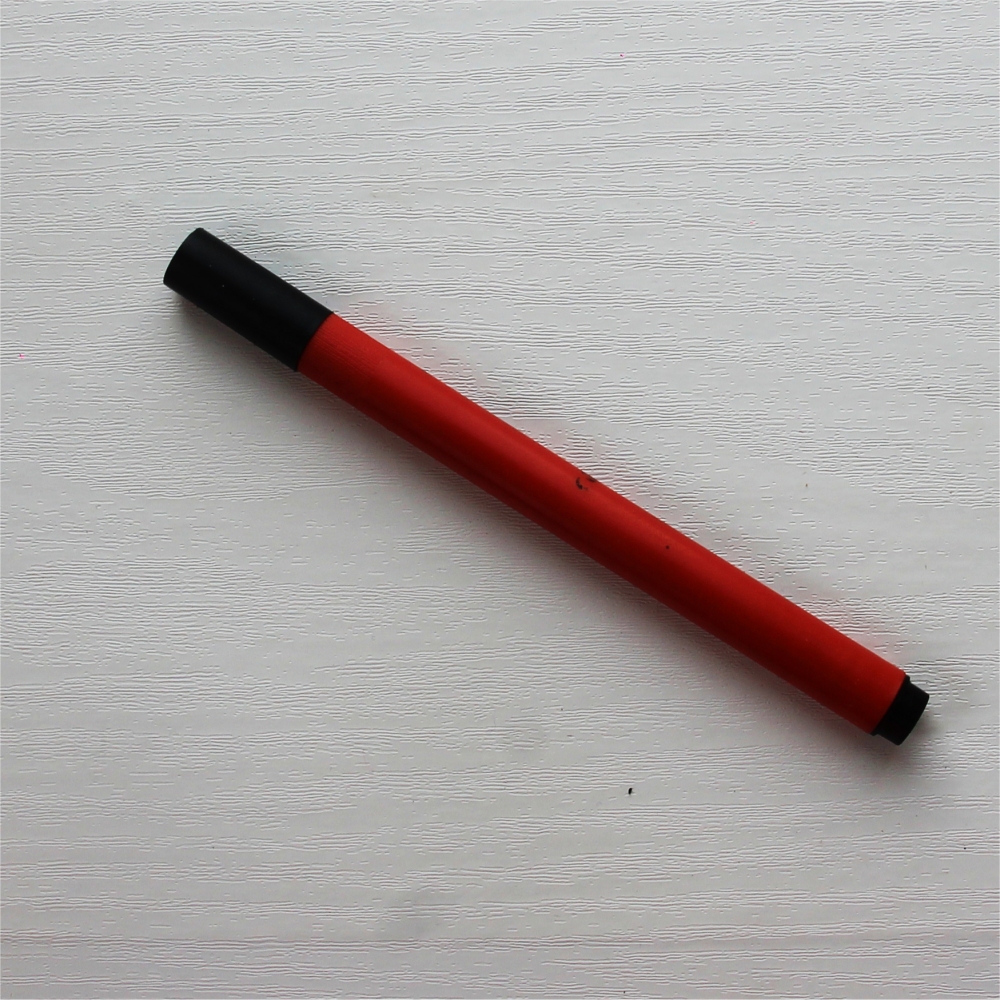
Marker pen
Needle & thread
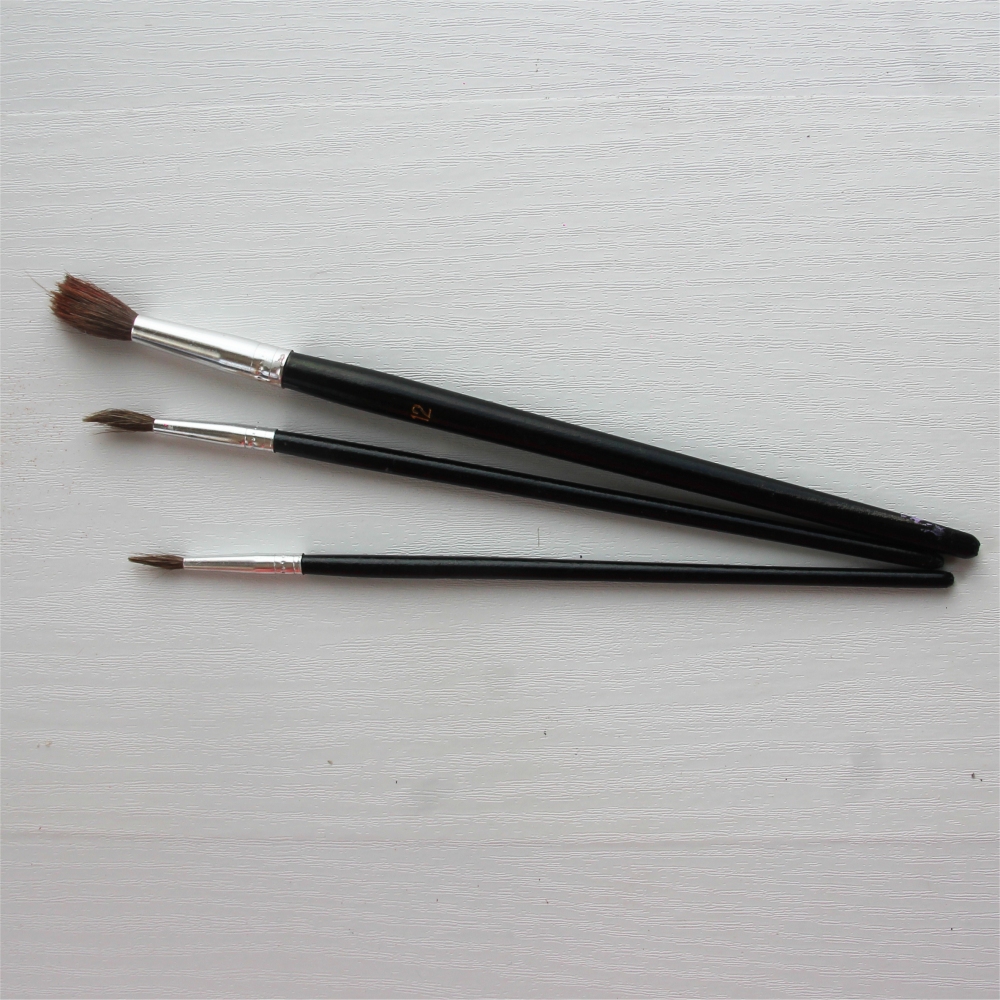
Paint brushes
Paints (we used poster paints)
Potatoes
String
Ruler
Did you know? Don’t eat raw potatoes as they can be toxic! These root vegetables are for artistic purposes only here.
Method:
Preparing the neckerchief
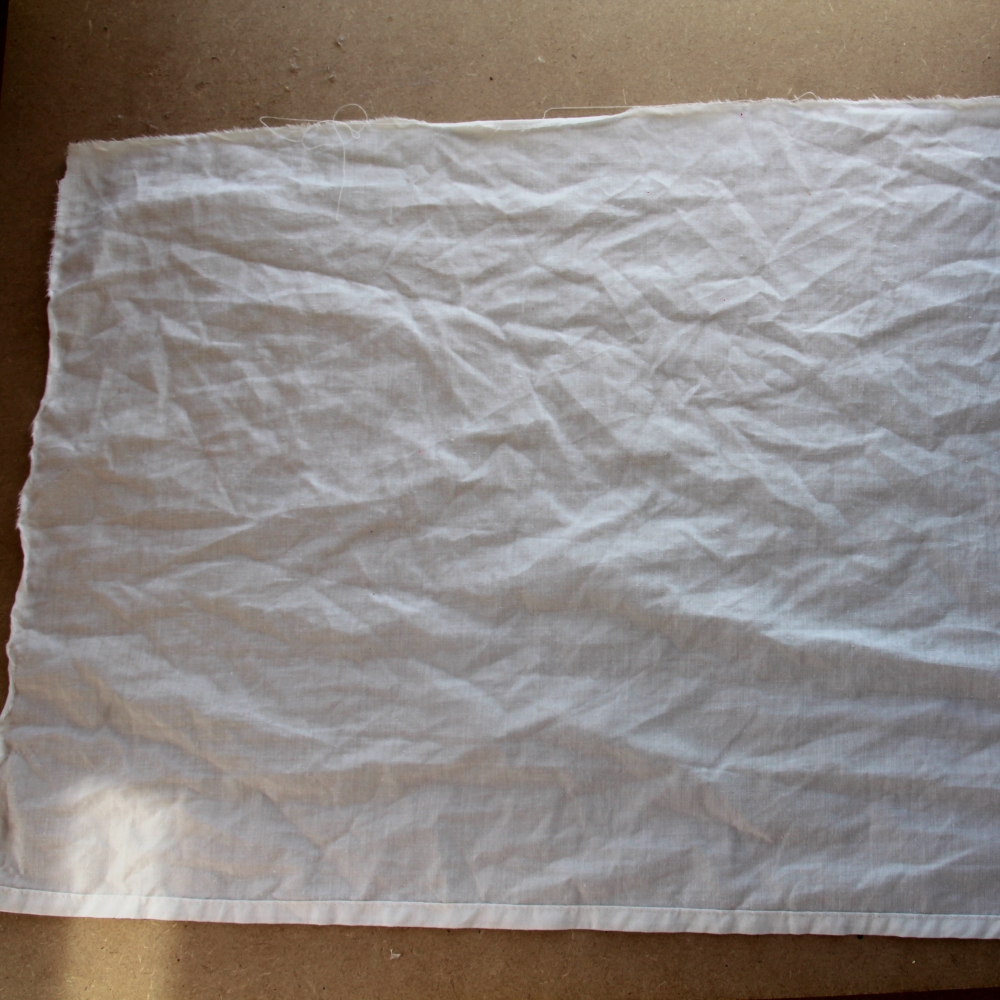
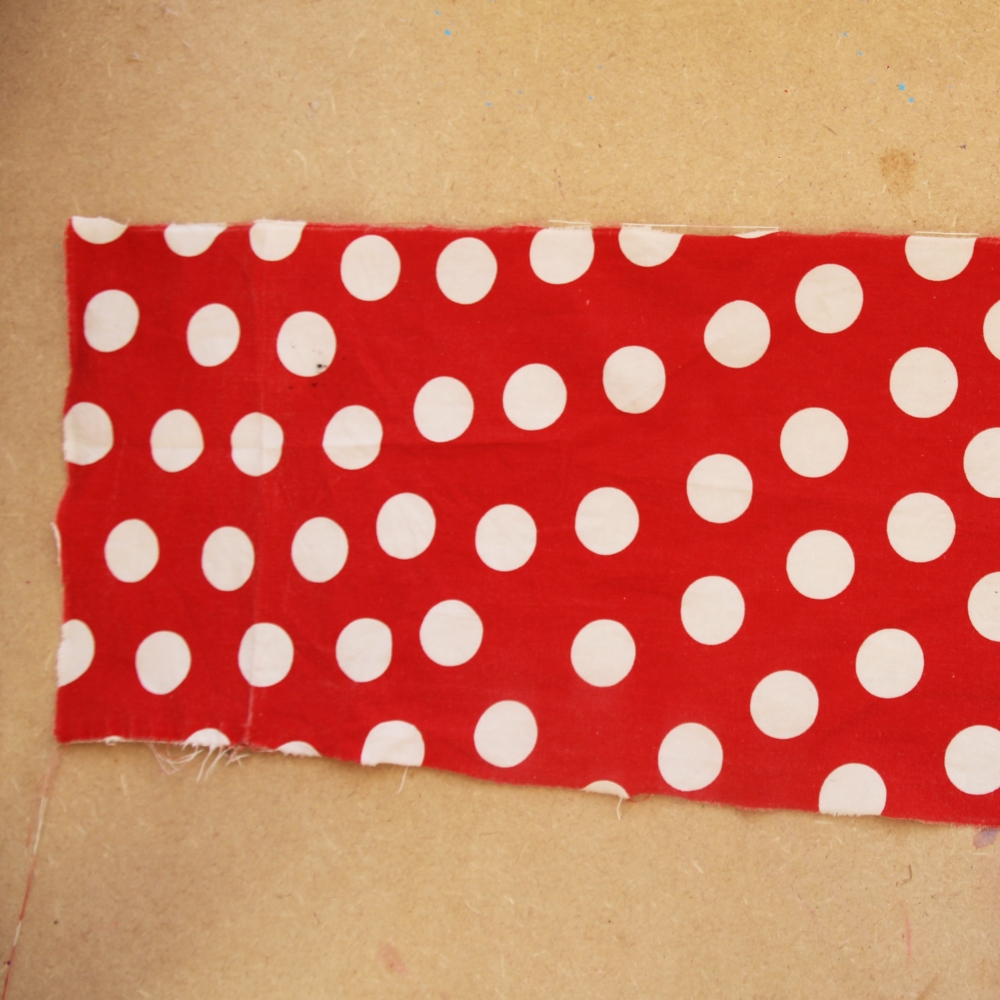
Cut your material into a rectangle measuring about 65cm on the long side, and 40 cm on the short side.
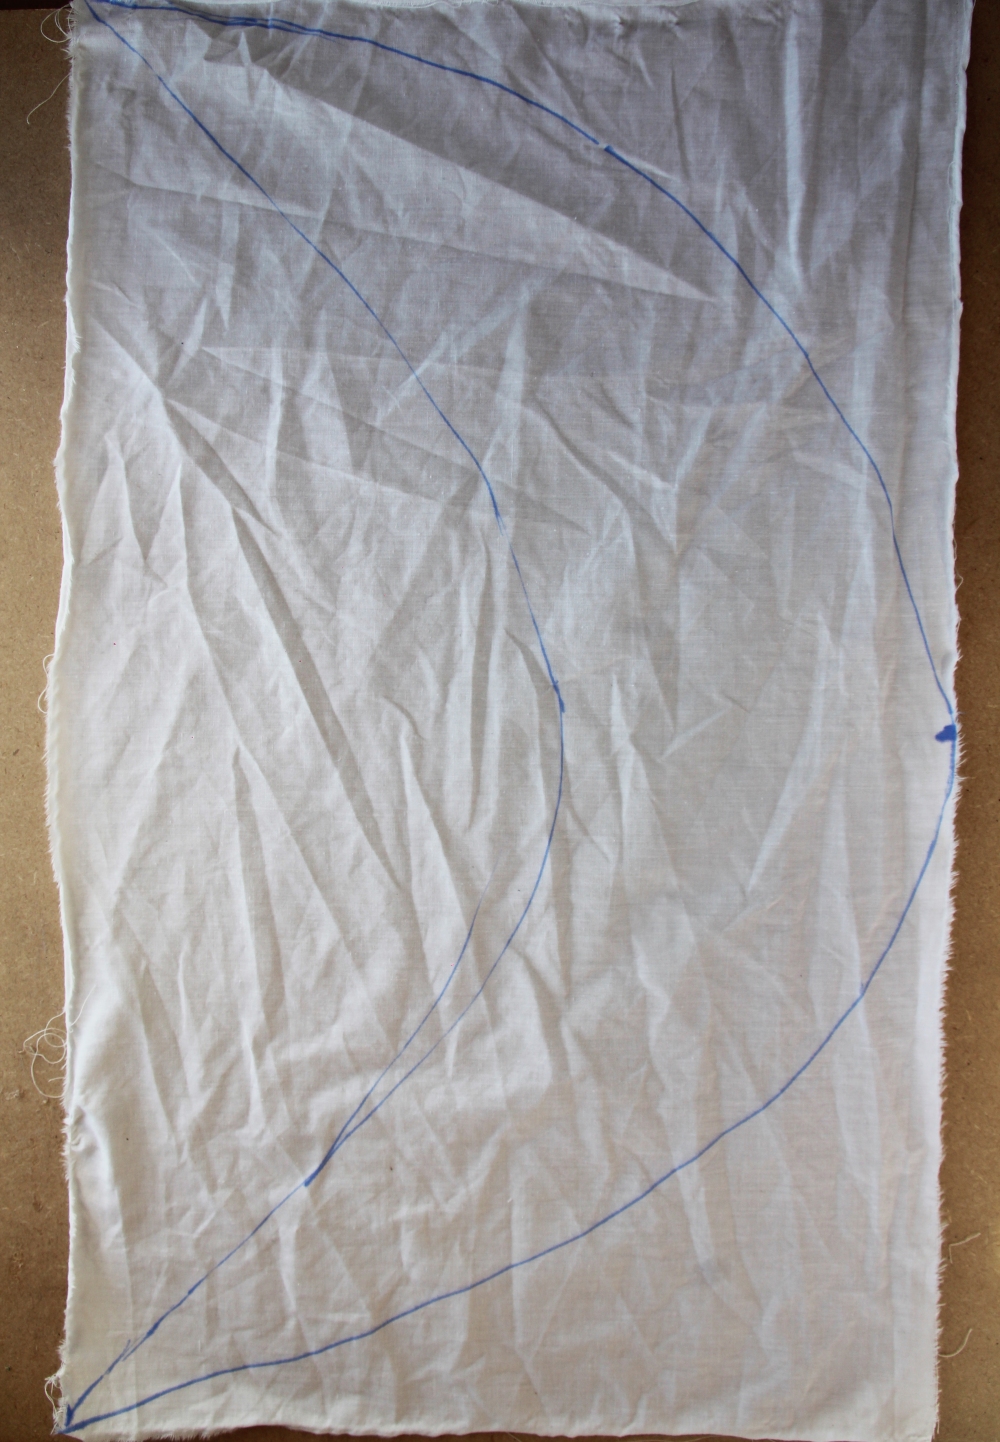
Draw a crescent moon shape going from one bottom corner all the way to the opposite. Don’t worry if it isn’t too neat as we’re going to do something special later to neaten it up!
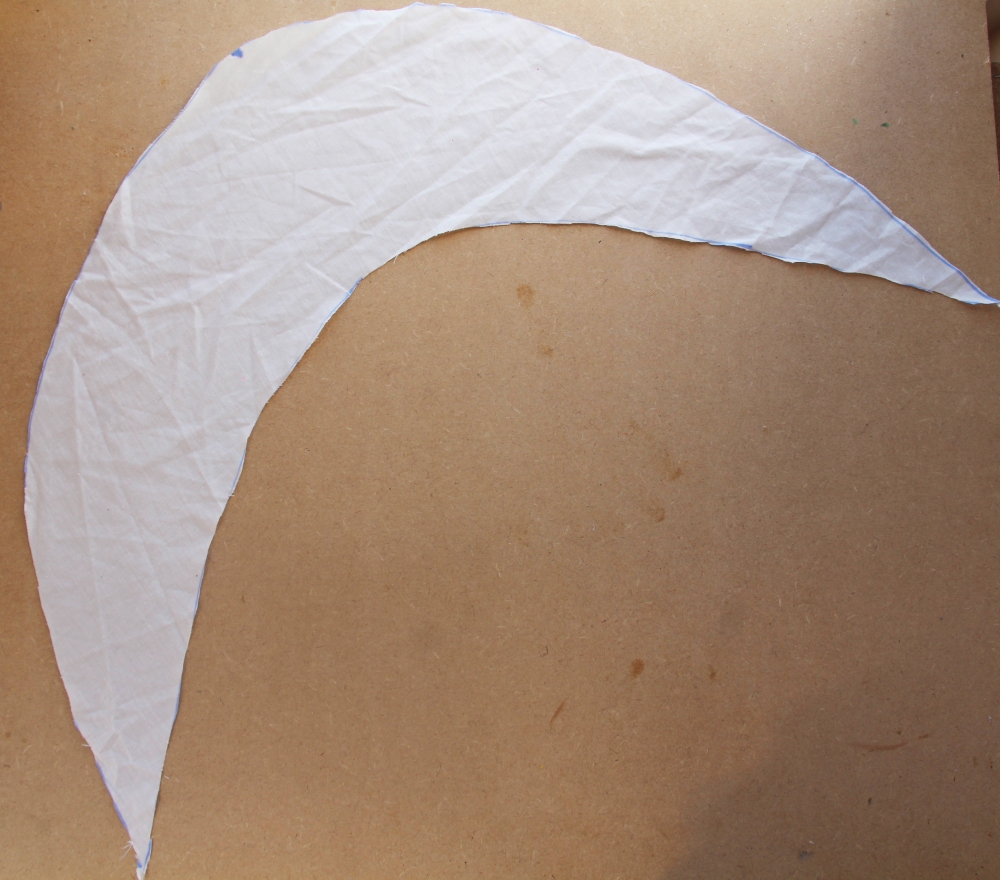
Cut out your shape along the lines. You now have the base for your neckerchief!
Step 1
Step 2
Step 3
Decorating the fabric
We’re now going to show you a few different printing and mark making methods to decorate your fabric. You might have tried some before, or none. Either way make sure you lay down some old newspaper or fabric when using paints so we don’t make a big old mess!
Potato Printing
Potato printing is great if you want lots of exactly the same designs on your neckerchief. We are going to use potatoes to create a stamp by cutting out shapes into them.
Cut a potato in half.
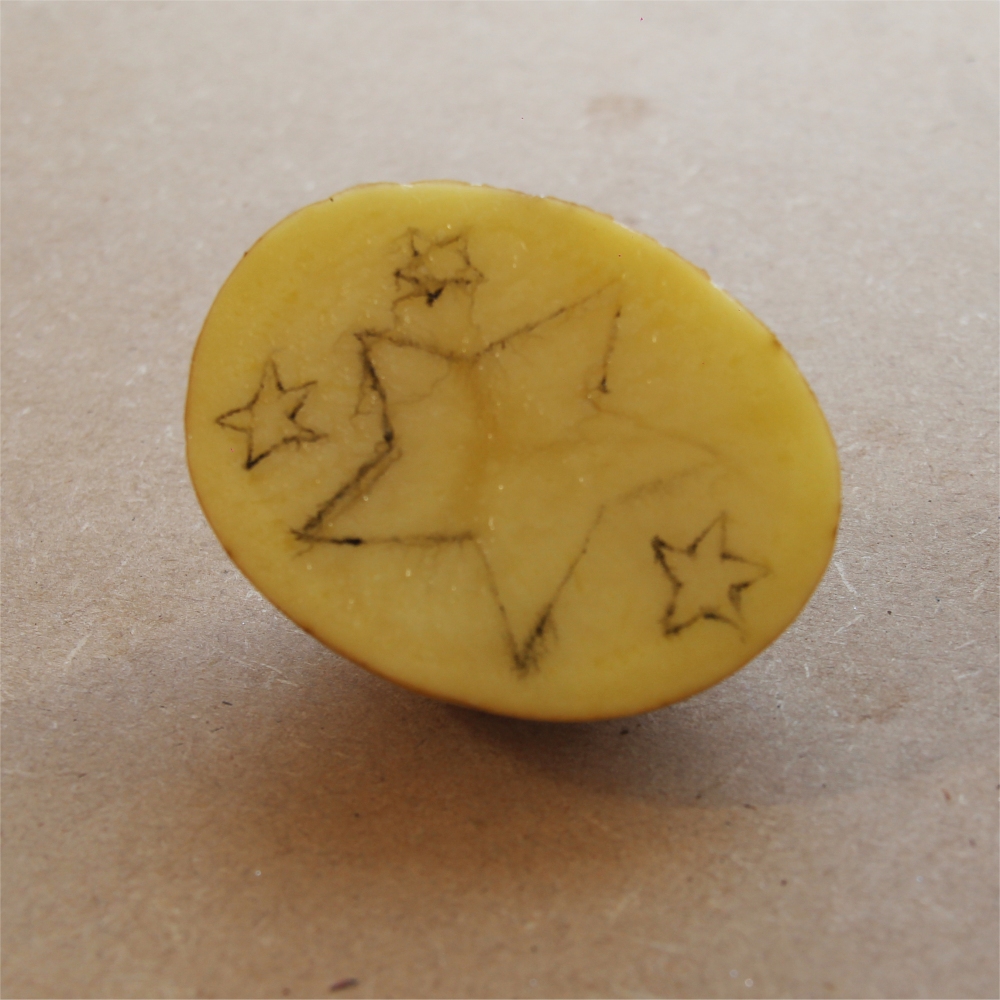
If you like you could draw your design onto the potato first.
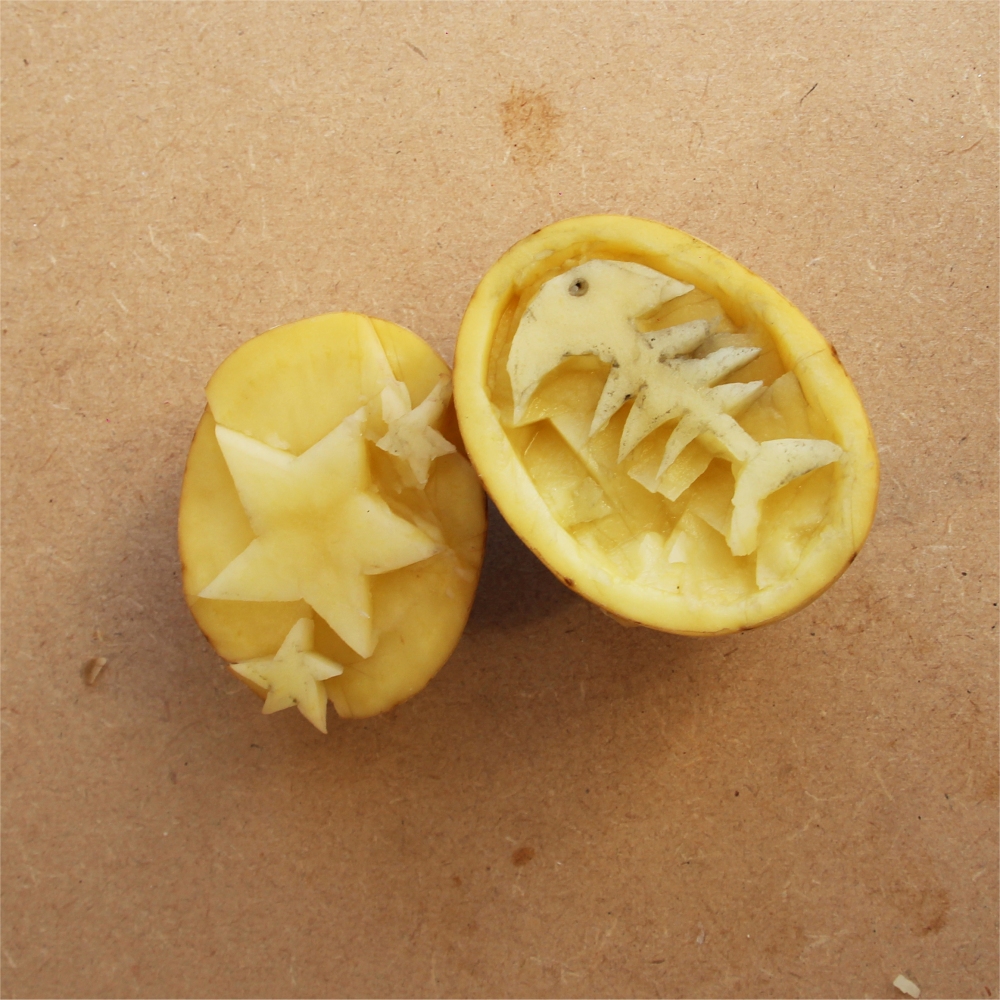
Find your nearest adult and get them to help you carefully cut out your design using a craft knife or kitchen knife.
Step 1
Step 2
Step 3
When you’re happy with your designs, apply paint to your potato designs.
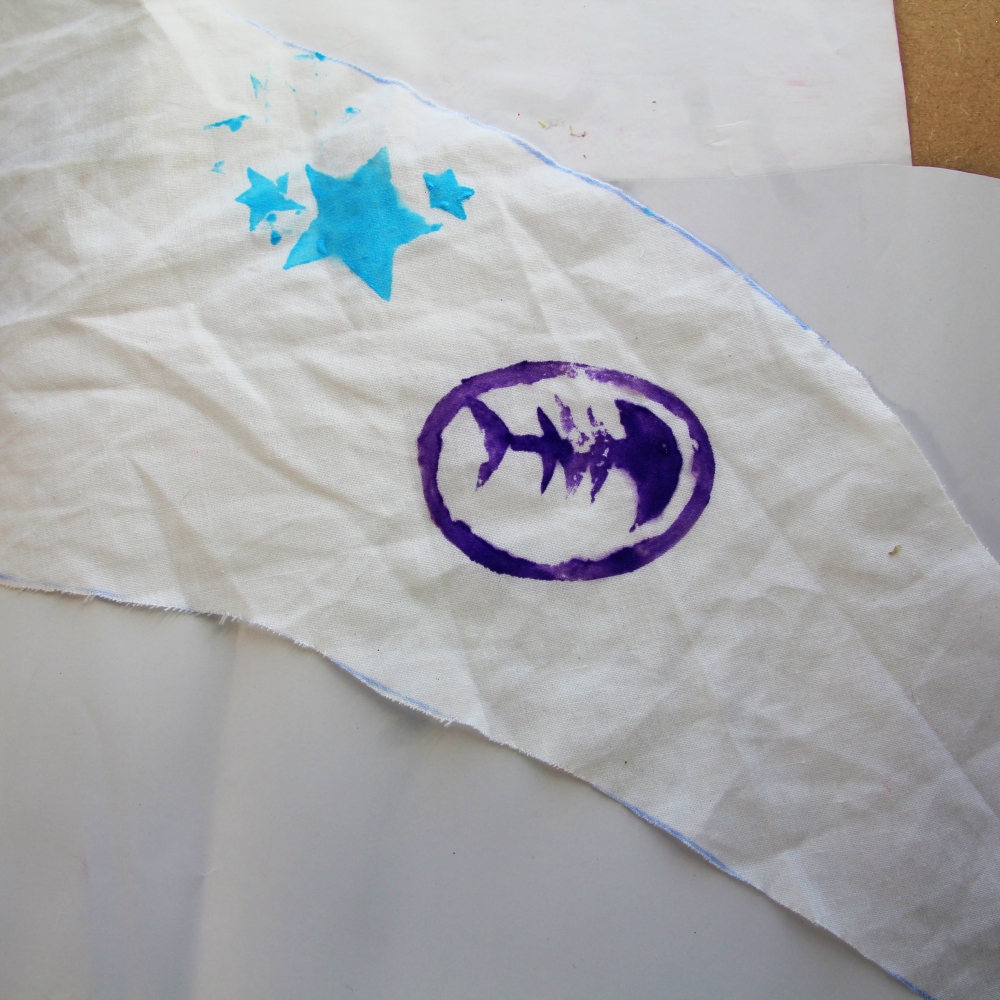
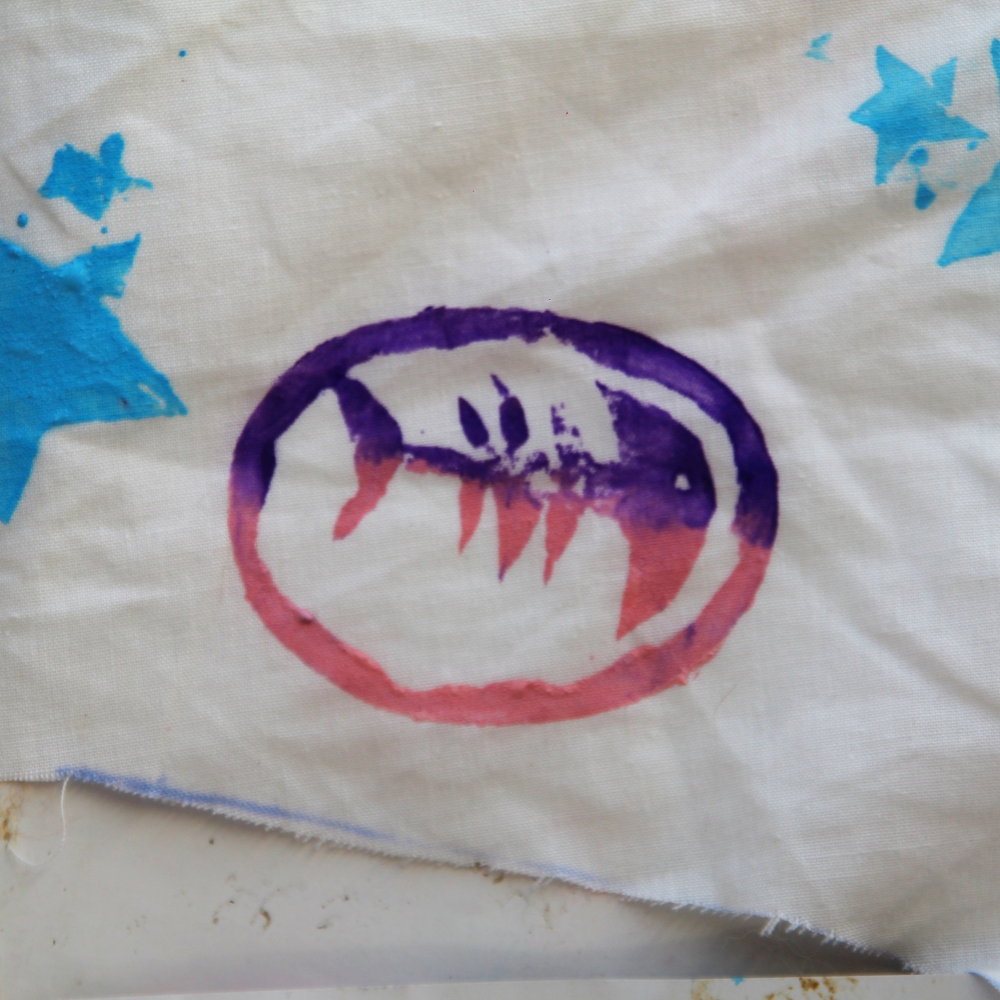
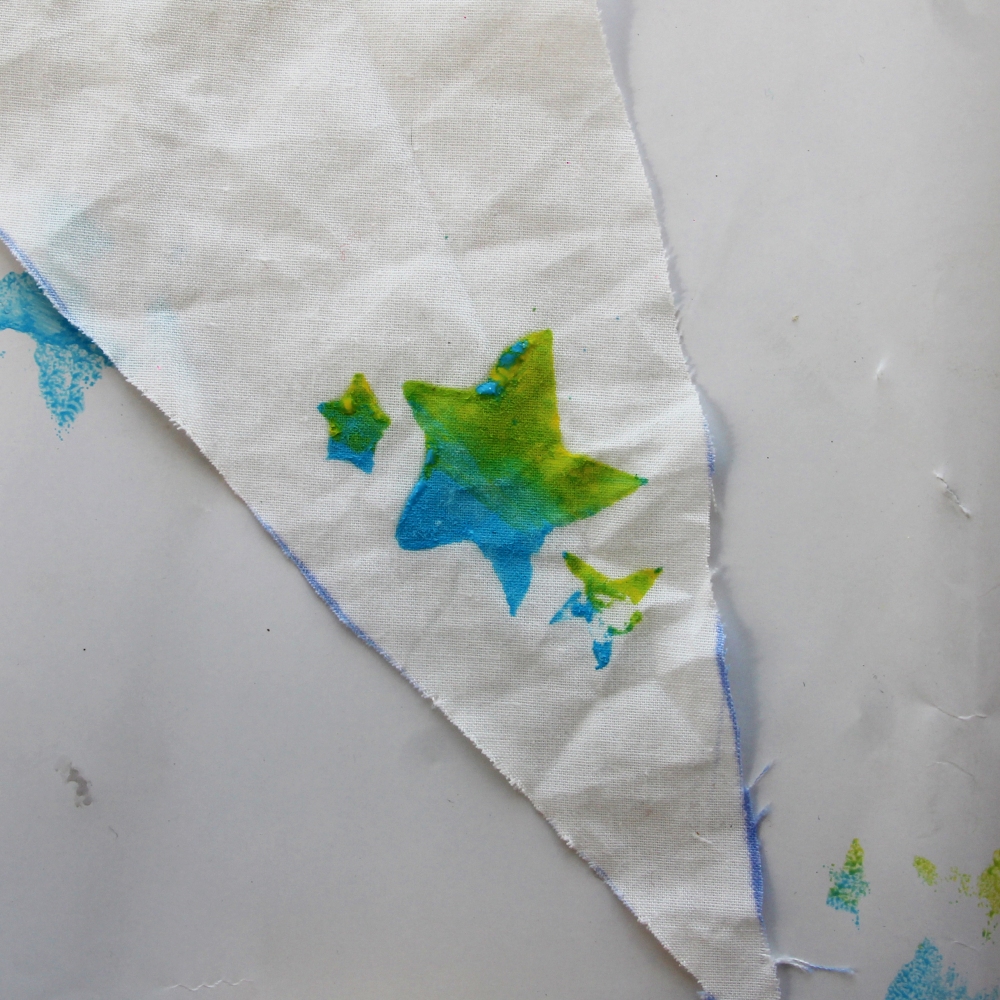
Print your design onto the neckerchief by placing the potato paint side down onto the fabric, then firmly pressing down.
Tip: You could try using the same potato again without applying more paint, this might create a more subtle design.
Tip 2: you’re done with using one colour, wash the potato. Then you can add a different colour and it won’t become murky.
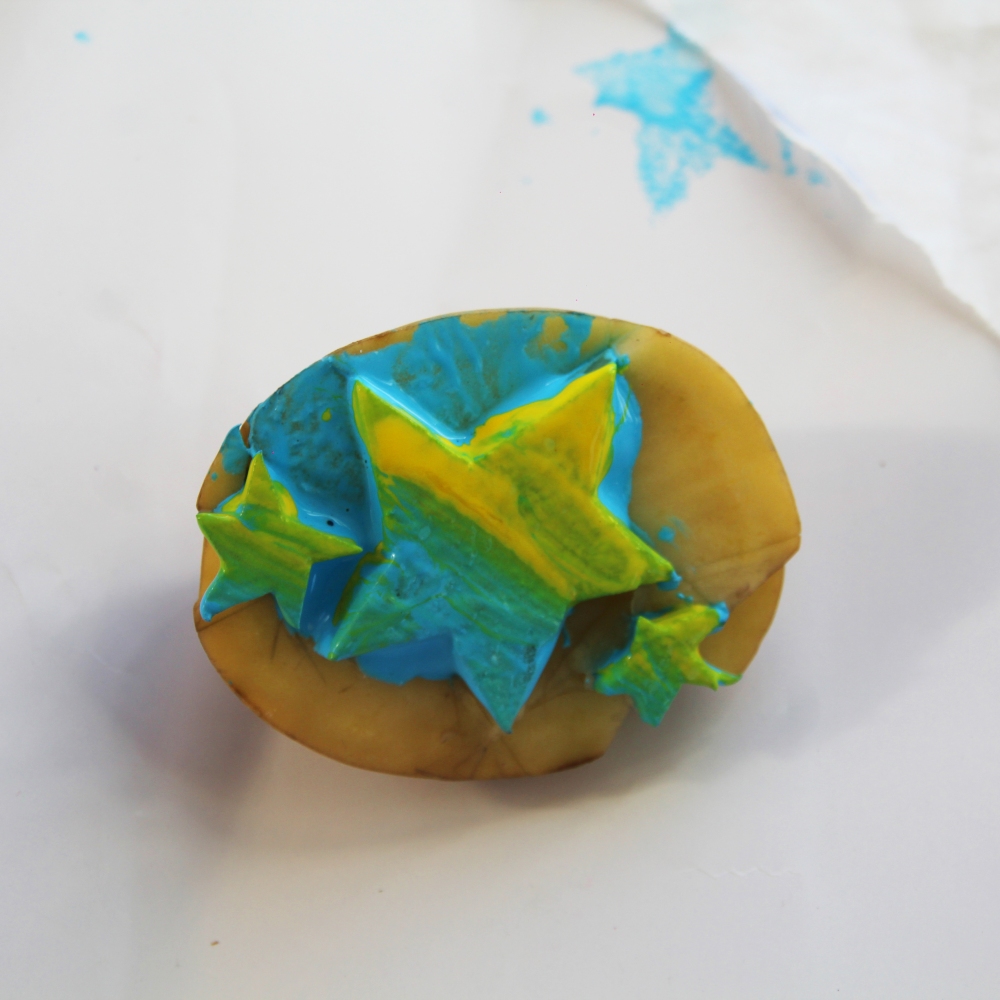
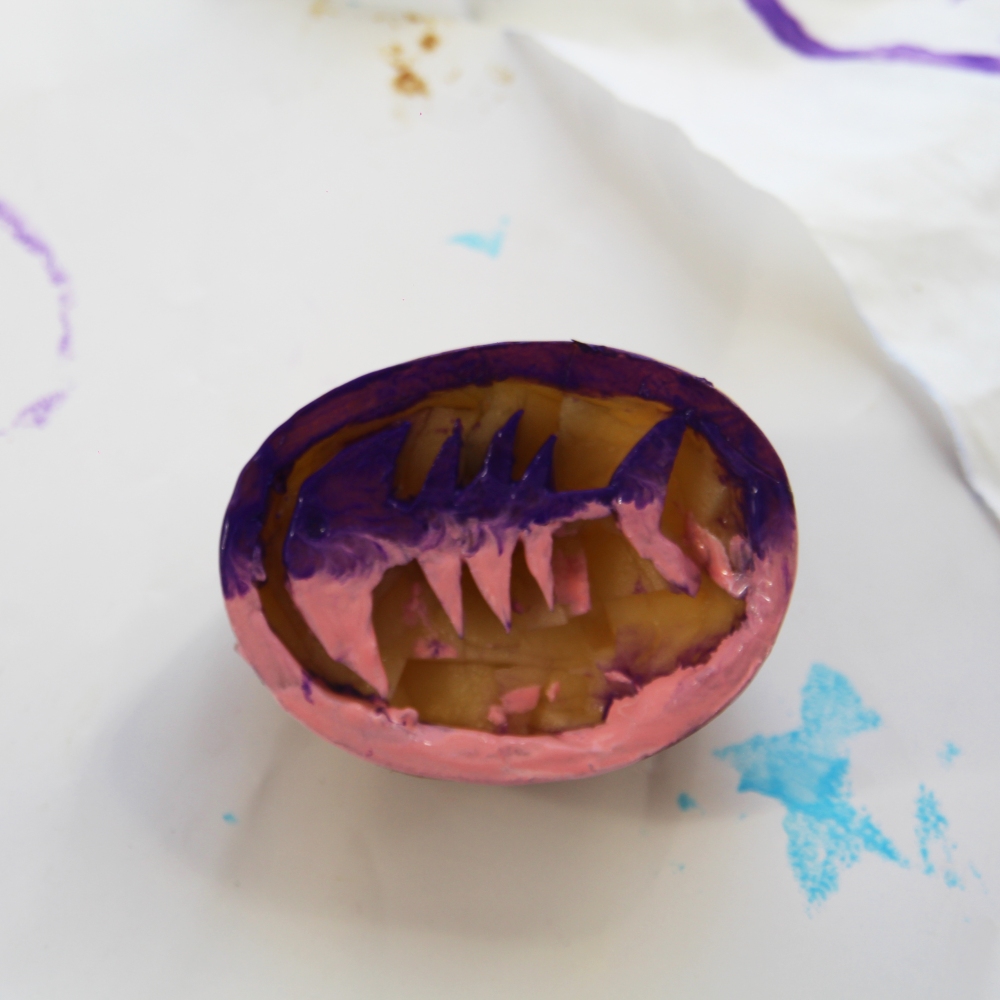
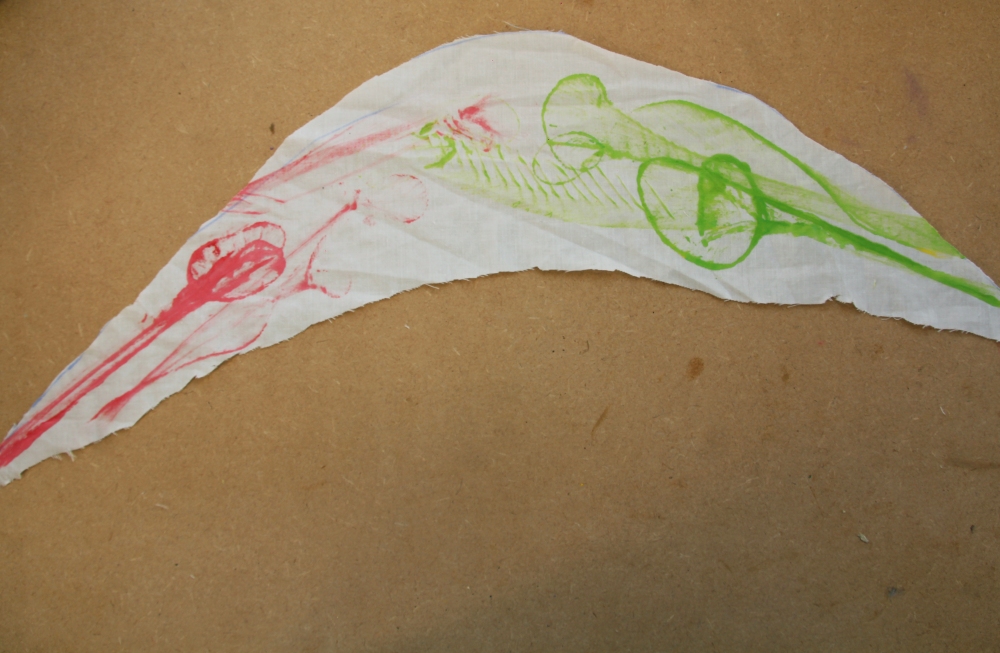
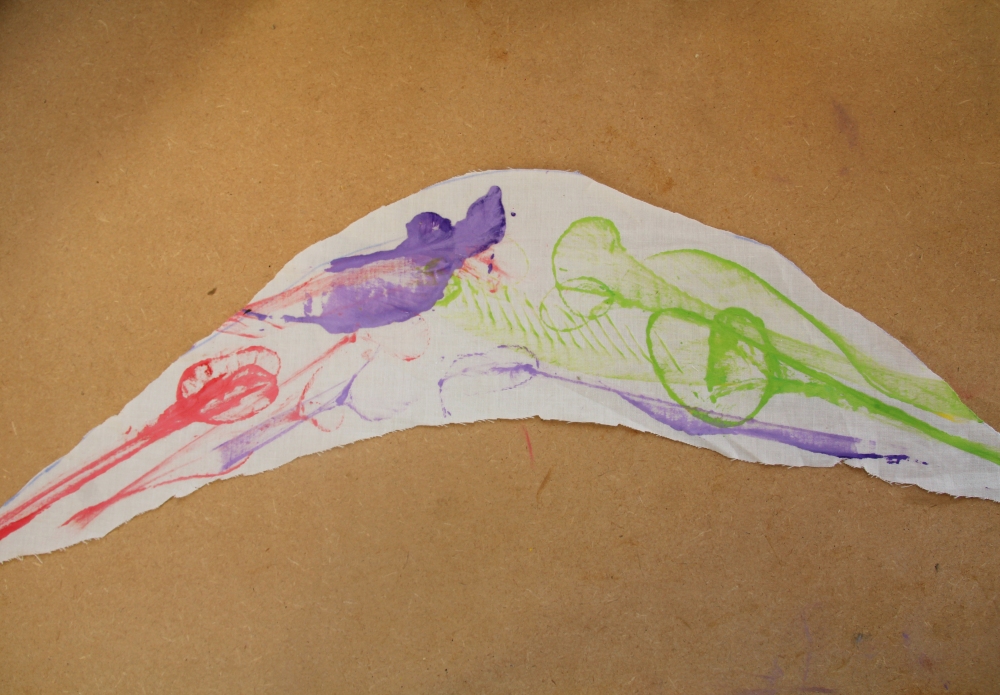
Try this! You could try painting half your potato one colour and half another colour then printing it to get a two colour print!
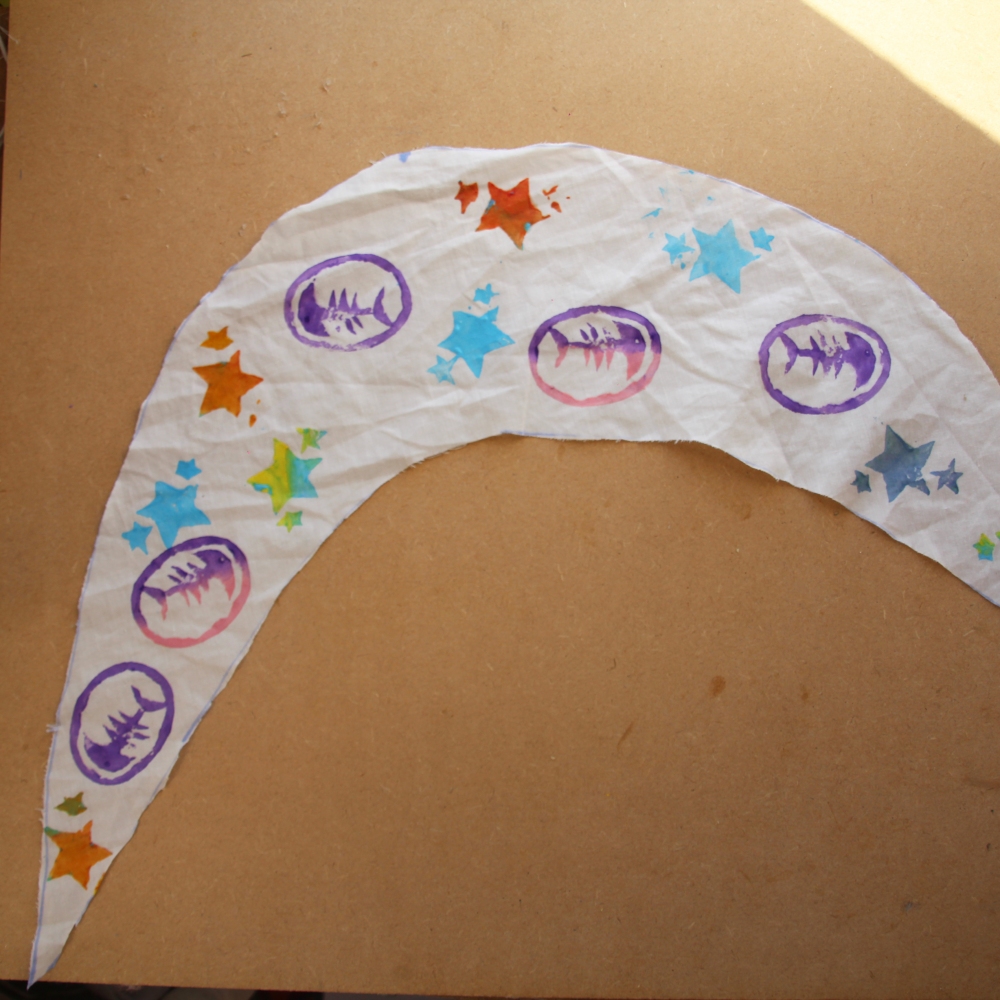
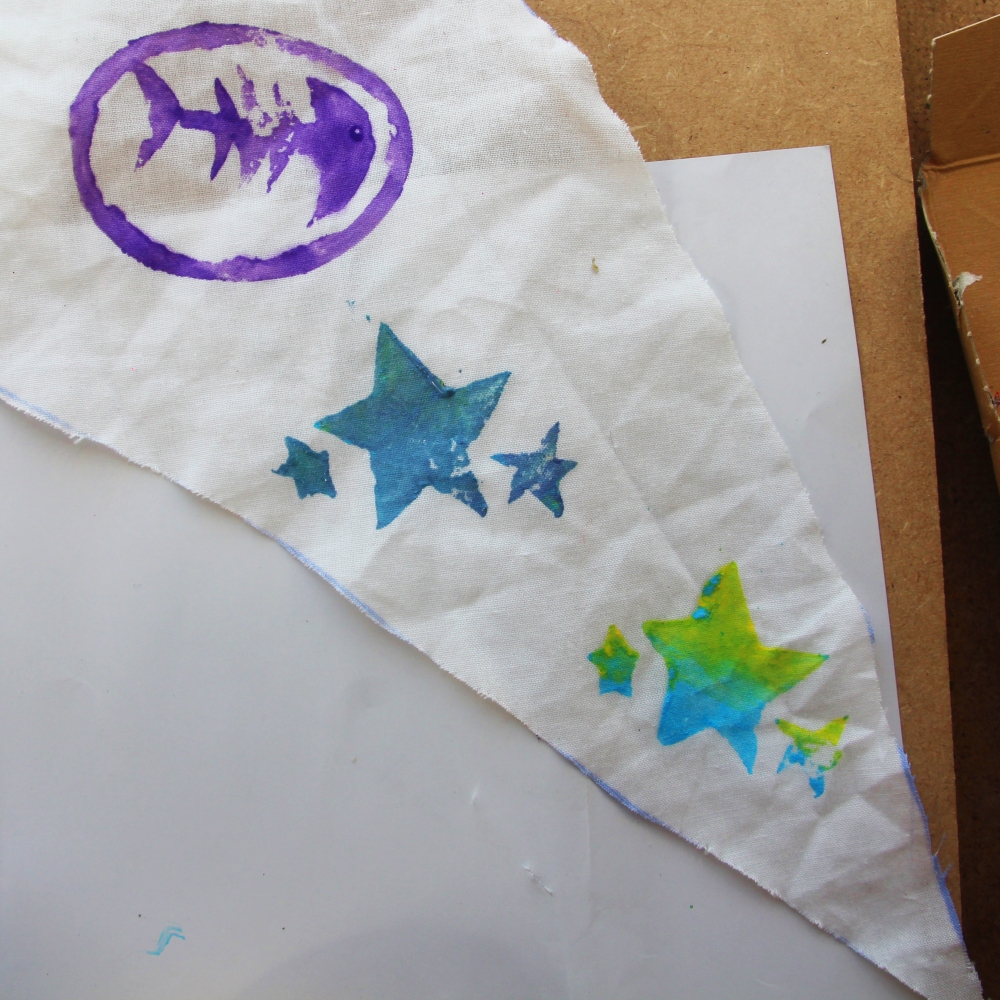
Take a look at our two colour prints. Don’t forget you can mix colours to make new ones too!
Did you know? You can make every single colour from the three primary colours red, yellow and blue! We made purple using blue and red here. Have a go at mixing them in different ways. You may want to add a bit of white or black to make the colour lighter or darker.
Once you are happy with the amount of designs on the neckerchief let the paint dry. You could do some tidying up while you wait, or try one of the other decorating methods!
Step 4
Step 5
Step 6
Try this 1
Try this 2
Try this 3
Try this 4
Did you know?
String Painting
String painting is great fun to try as you never know how it’s going to turn out! Tip: You may want to practice on other fabric before trying this out on your neckerchief.
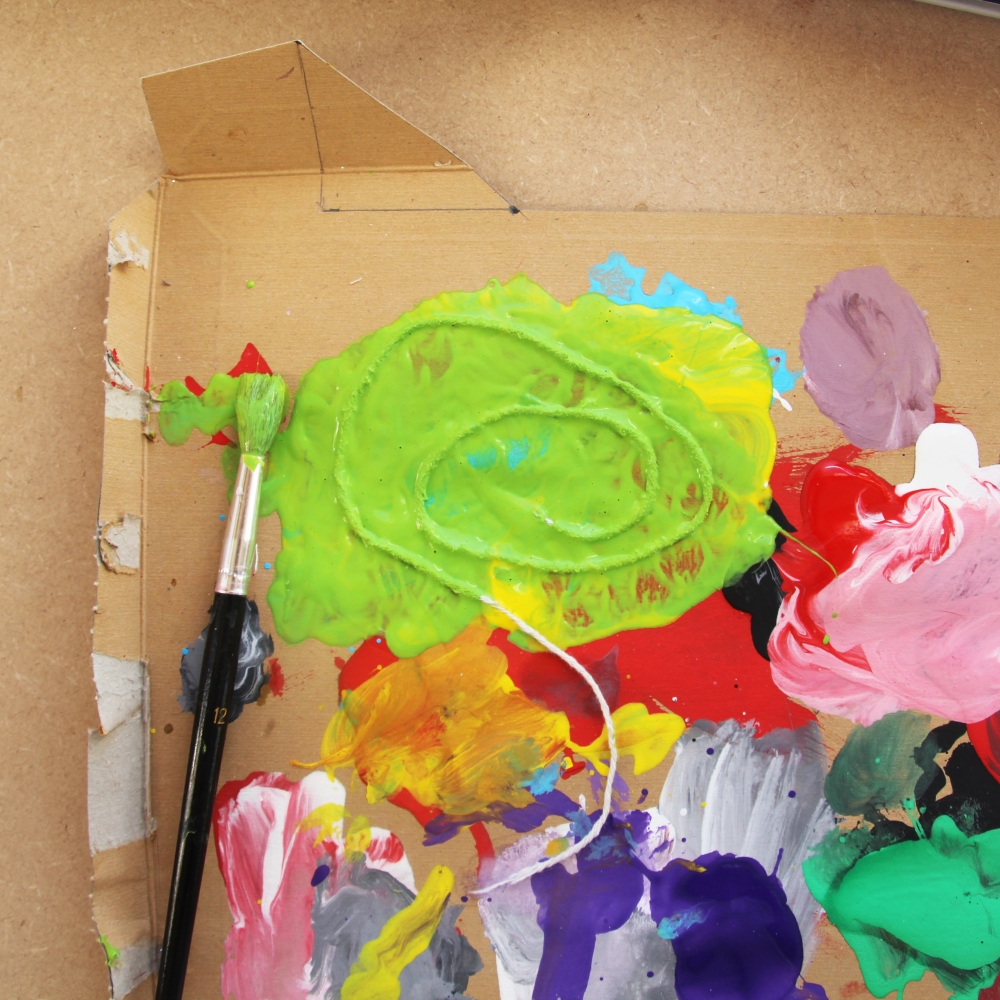
Cover your string (about 30 cm in length) in paint either by dipping it into a paint pot or by painting it with a brush.
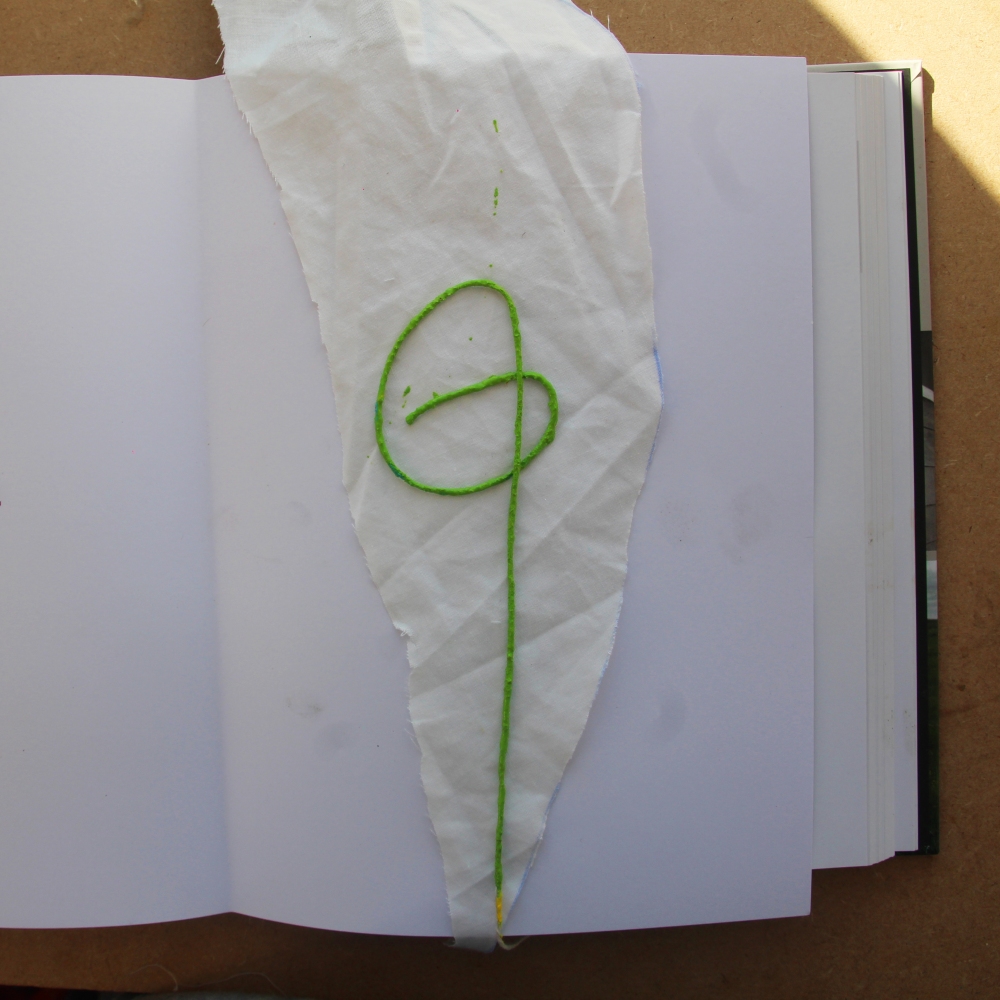
Get a heavy large book. Open it up in the middle and lay a large piece of spare card or newspaper across it , covering the whole inside of the book so it is safe from paint. Put your neckerchief fabric onto one side of the middle of the book. Now place your string onto the fabric and create a swirly design (it doesn’t need to look like the one in the picture!) leaving a little bit hanging out of the end of the book.
Making sure the other side of the book is still protected from paint, close the book and press down on it.
Step 1
Step 2
Step 3
Pull the string at the bottom carefully. You may want to put a little bit of pressure on the top of the book, but not too much. (This step is optional, as you may want to open the book before removing the string carefully. You can experiment with what works best for you!)
Open the book and check out your design. You never know quite what you’re going to get!
Tip: Experiment with using the same string again and again without extra paint, quite often the second print is the best as you have the perfect amount of paint, but it all depends so just give it a go!
Using a new piece of string, add in a different colour or two.
Once you’re happy with how many designs you have, leave your neckerchief to dry.
Step 4
Step 5
Step 6
Step 7
Experimenting with paint brushes
You can make some really cool marks by flicking or waving the end of a paintbrush with paint on it. We have experimented with a couple of ideas here, which you can try, or find your own way.
Tip: This can become messy so make sure you have precious things nearby covered!
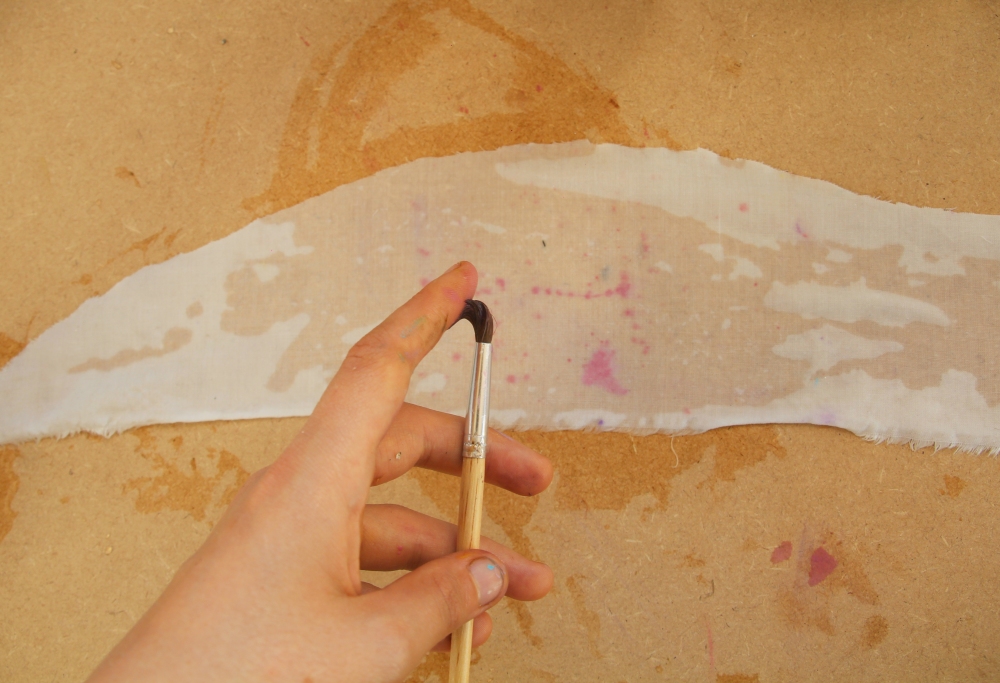
Idea 1 – We got our fabric wet, then used water colour paints to create a pastel, abstract design.
Once you have the paint on the brush, get close to the fabric and use the tip of your finger to flick paint straight onto the fabric.
Try this with as many colours as you like (cleaning the brush in between). You could try it on dry and wet fabric to see the difference it makes!
Idea 2 – For this method we just used poster paints. Get some paint on your brush, then flick paint on to the material again. This time don’t use your finger, just move the paintbrush in a forward jab motion from a small distance above the fabric. Remember to aim the brush at your fabric!
Check out all your awesome finished paint designs!
Experimenting with paint – idea 1
Experimenting with paint – idea 2
Finsihed paint designs
Hemming the neckerchief
Hemming your neckerchief using a needle and thread will make the edges neater and stop them fraying.
Choose one of your designs to finish first, making sure it is completely dry. Flip it over so that the design is facing down.
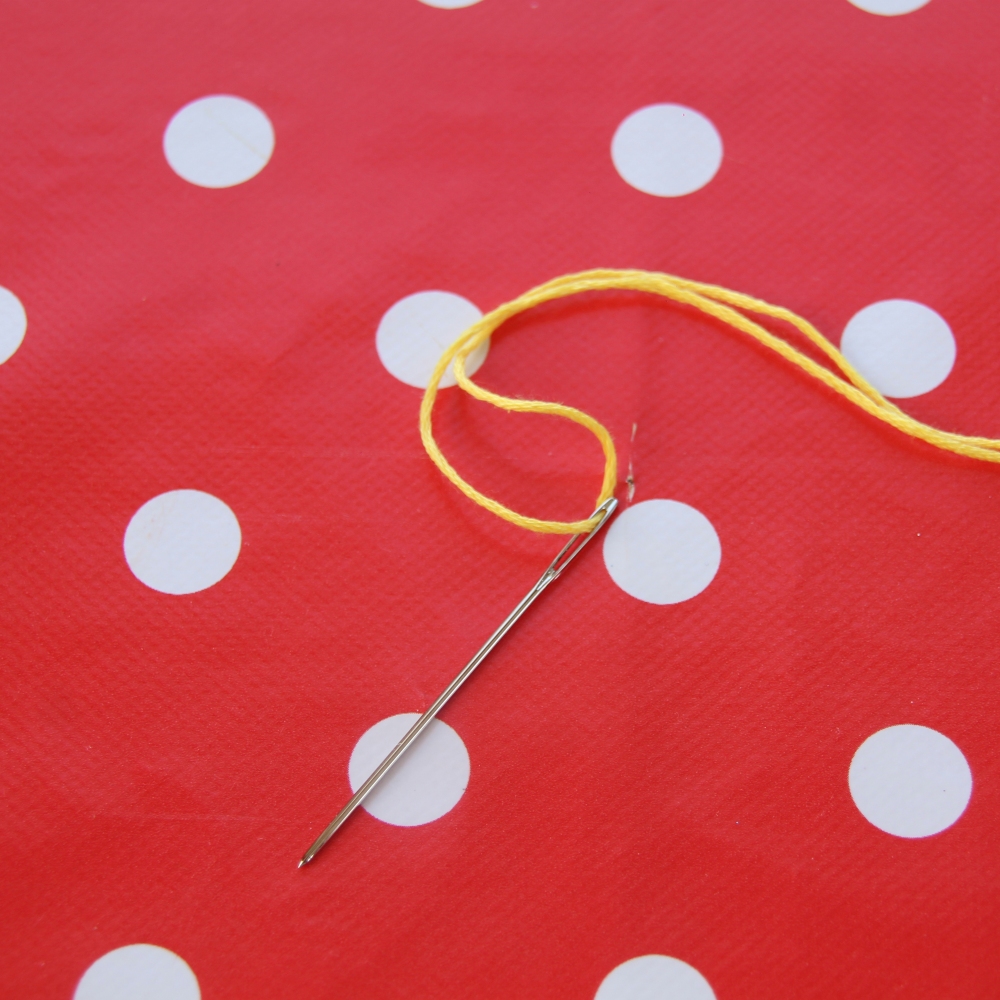
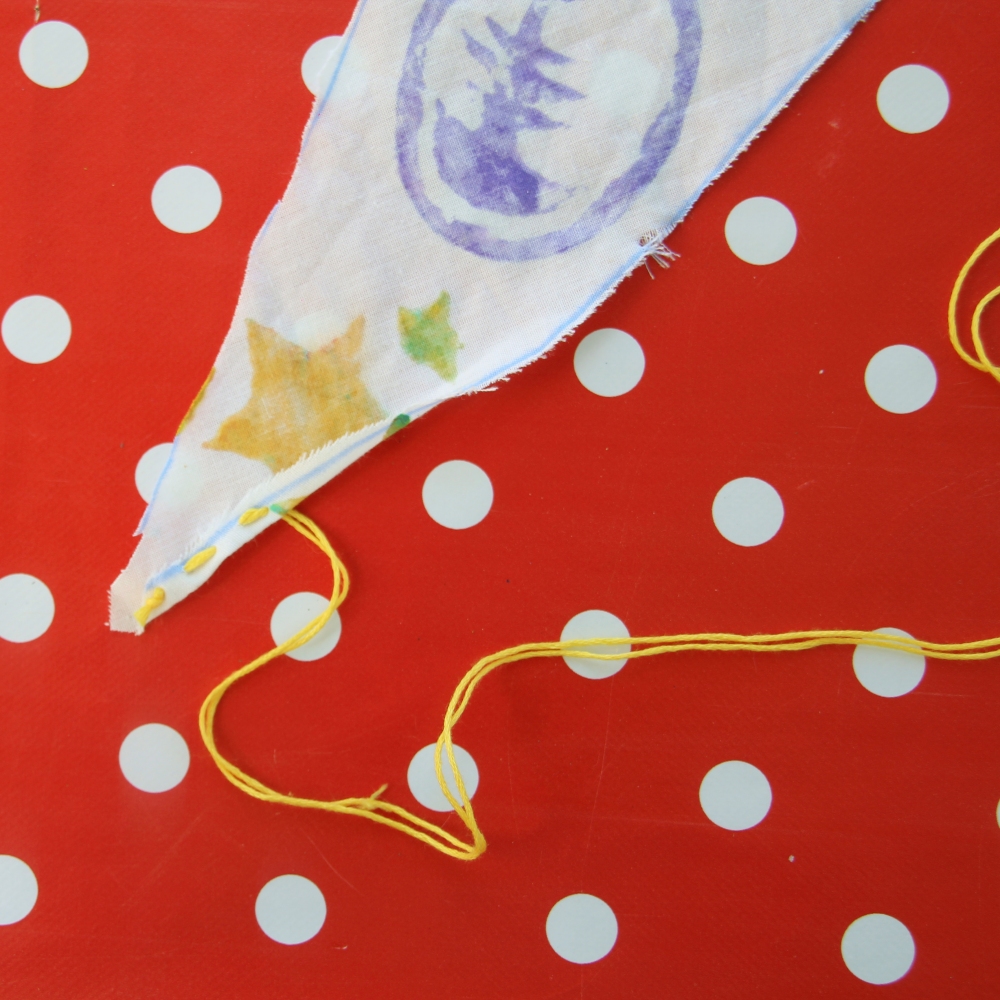
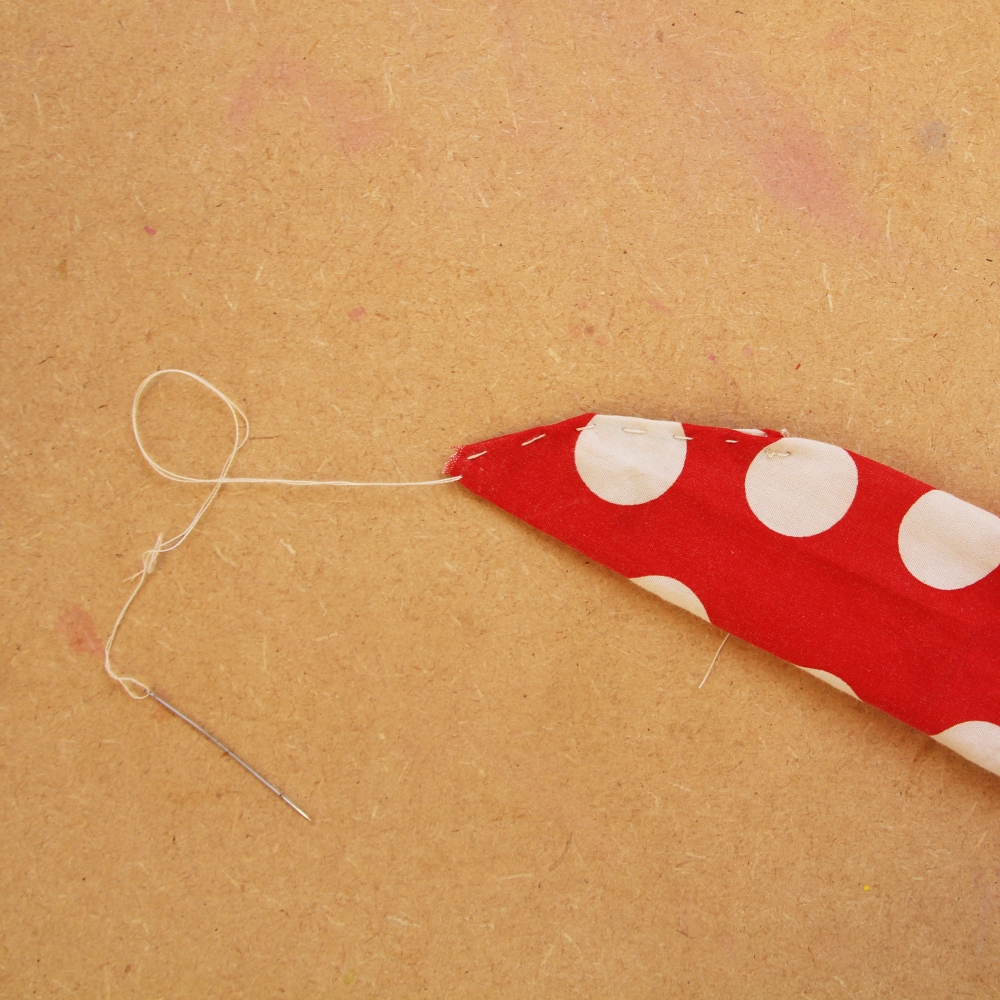
Thread your needle carefully by putting the string through the hole in the non pointy side. Once it is in, pull it through so that you have about 30 cm of thread on either side, then tie a small knot in the end. You might need an adult to help with this bit as it can be tricky! Don’t worry though, practise makes perfect!
Fold about a cm of the edge of your fabric over on one edge. It is best to start near the pointy end. Put in the first few stitches by sewing into the folded edge then through to the other side, then do the same back again and keep going, you’re sewing!
Make sure you pull the thread through between stitches (except for the knotted end).
Step 1
Step 2
Step 3
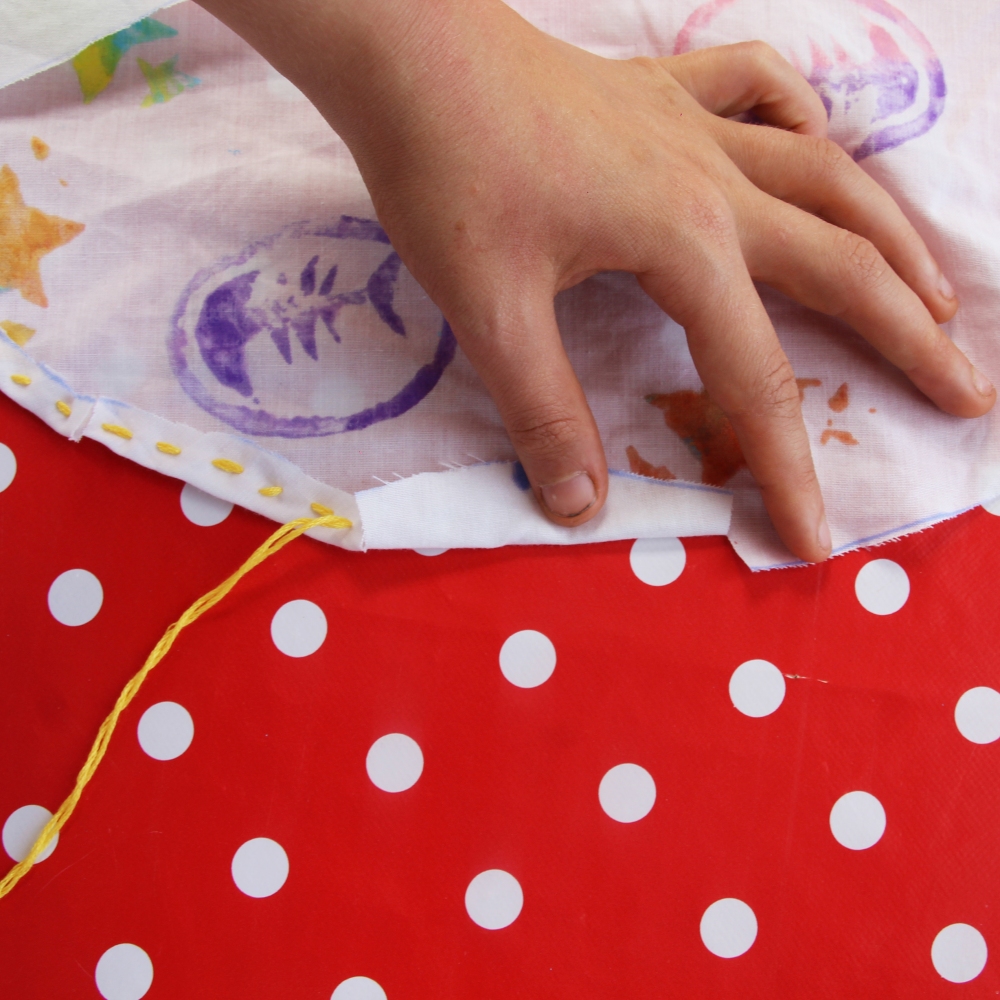
Continue sewing your hem around the edge of the fabric. When the fabric is at a curvy part it will help if you carefully cut a slit about 1cm long into the side of the fabric ahead of you before folding and sewing towards the slit. This will mean it wont get all bunched up! Make a slit about every 5cm and sew as normal.
Continue folding your hems and sewing all the way around the edge. Tip: when you reach the corners, you may need to fold the edge in a little then sew as normal.
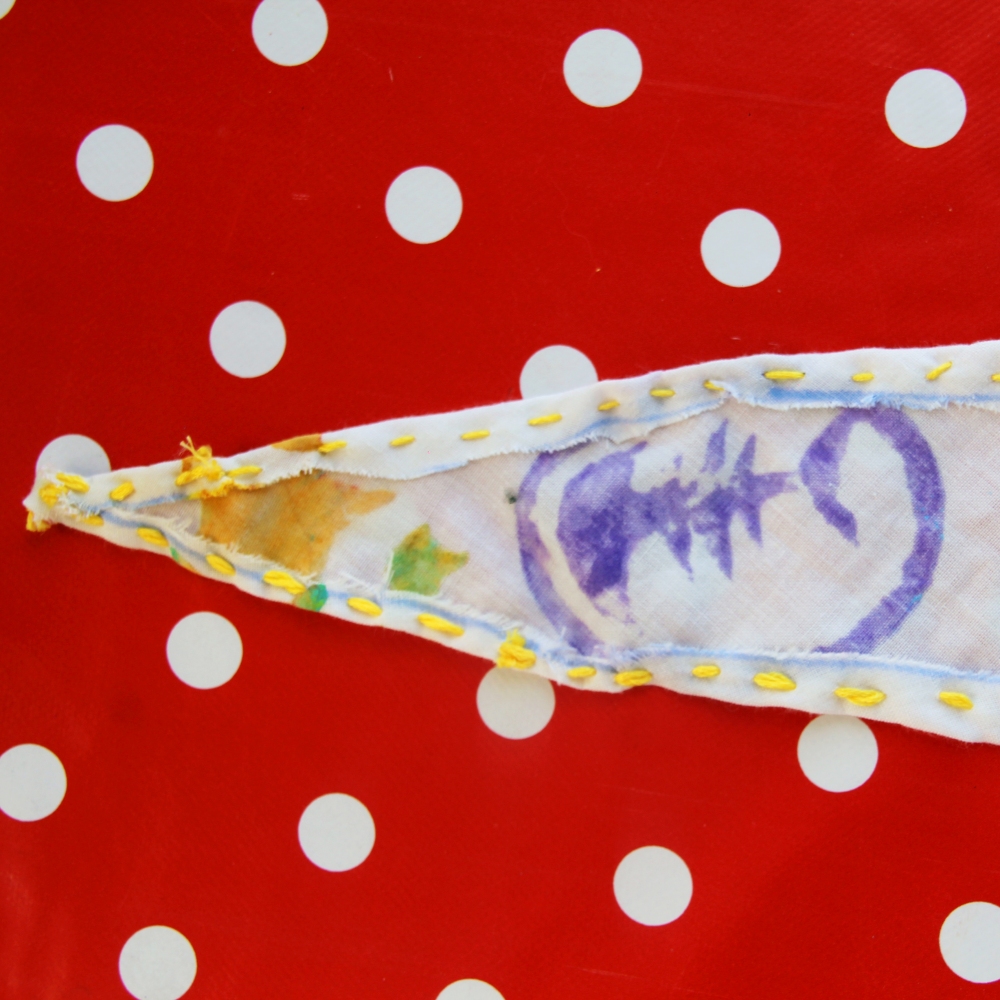
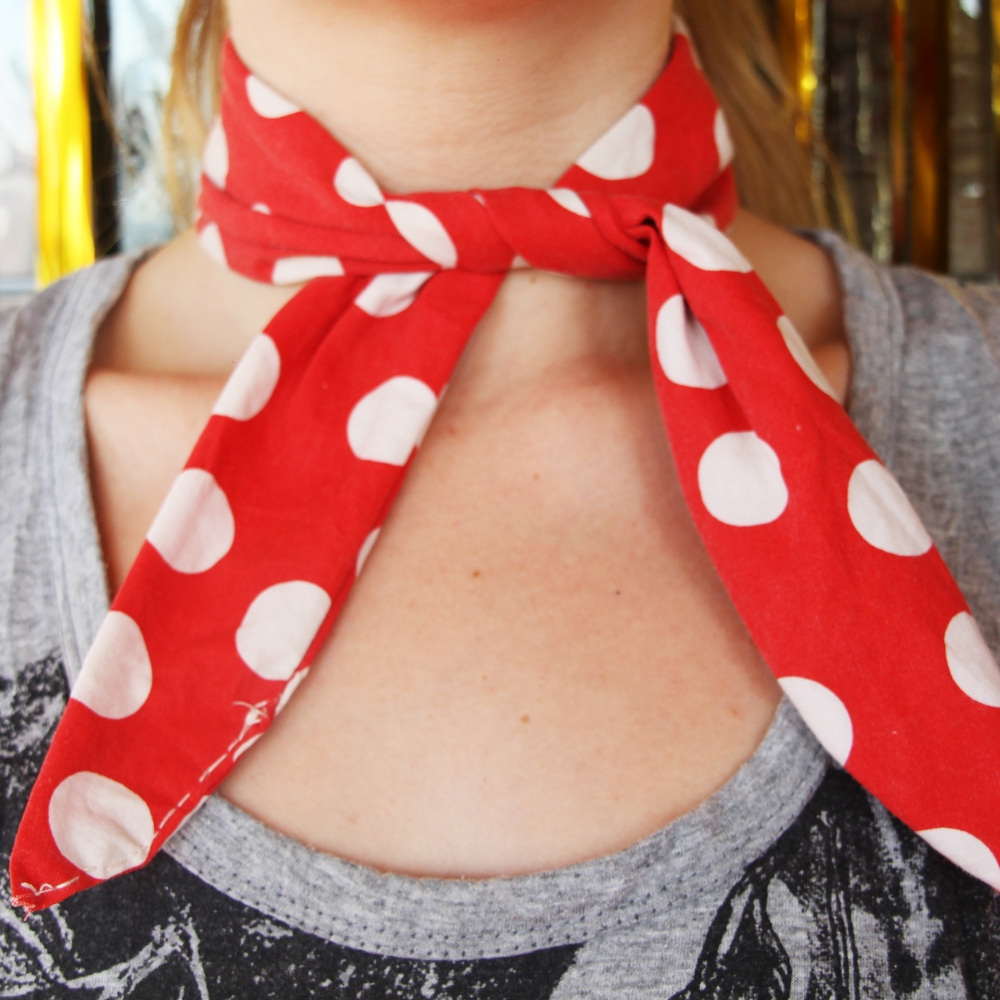
Once it is all hemmed, tie off the end and flip it over, now you can see your finished neckerchief!
You must remove the needle and tie a knot (tie off) the end of your thread to fix it in place. There should now be knots at both ends of your thread.
Try your finished neckerchief on!
Now try hemming your other neckerchief designs.
You can also try tying your neckerchiefs at the side rather than the front, or even wearing them in your hair! Tiikat won’t mind!
Step 4
Step 5
Step 6
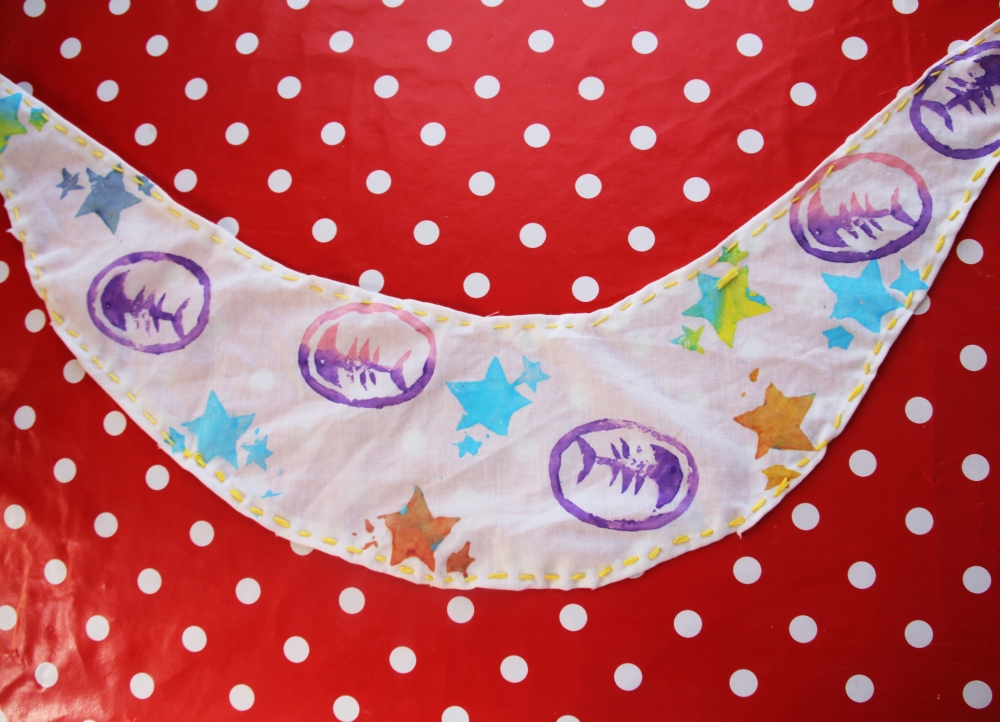
Finished neckerchief
Further Activities
Sewing Challenge
If you really enjoyed that bit of sewing and you think youre ready for something a little harder this is for you! For this you might want to use a piece of fabric you really like. Again you could upcycle something old or maybe even see if you could get a piece of new fabric as it is so special.
Cut out a rectangle in your fabric measuring 70cm on the long sides and 20 cm on the short sides.
Thread your needle with thread, pulling most of it through and adding a knot at the end (just like you did when hemming before).
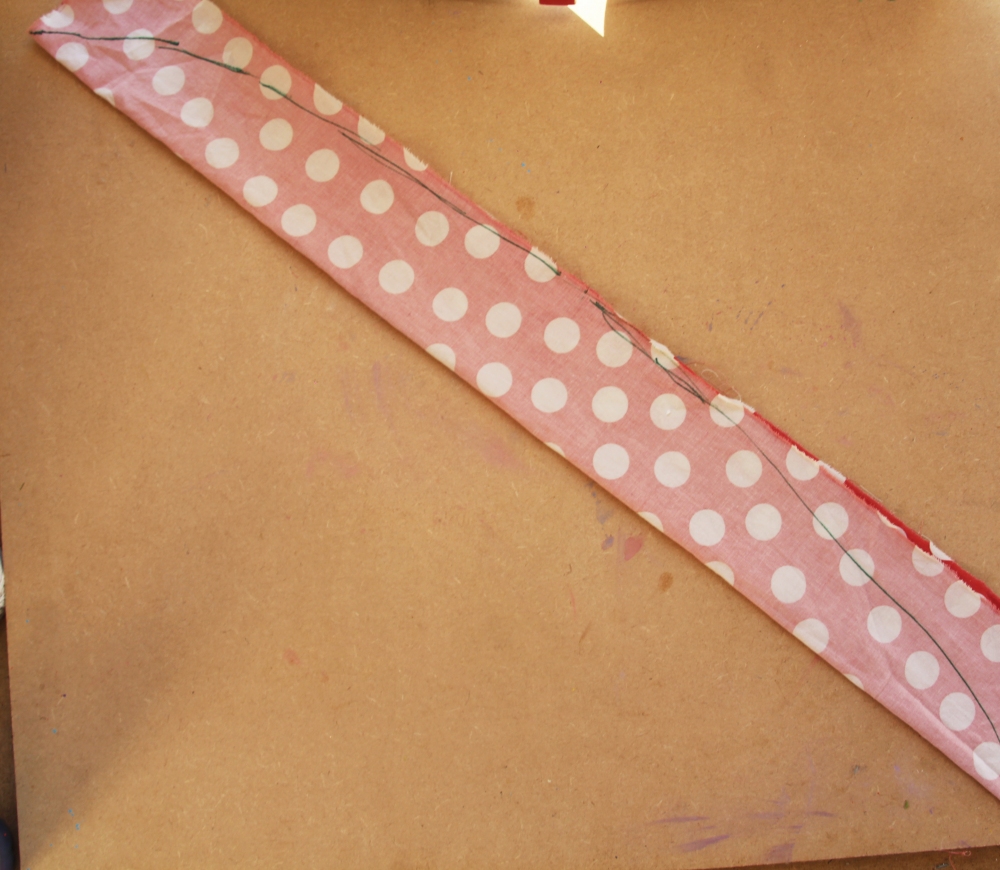
Fold the fabric in half lengthways so that the design is on the inside. Draw a curved arc going from one bottom corner to the other, going through the middle at the top.
As this is the underside, if you go wrong it won’t be able to be seen, so you can correct it if you need to. Don’t move onto the next step until you’re happy that it is as neat as you can get it.
Step 1
Step 2
Step 3
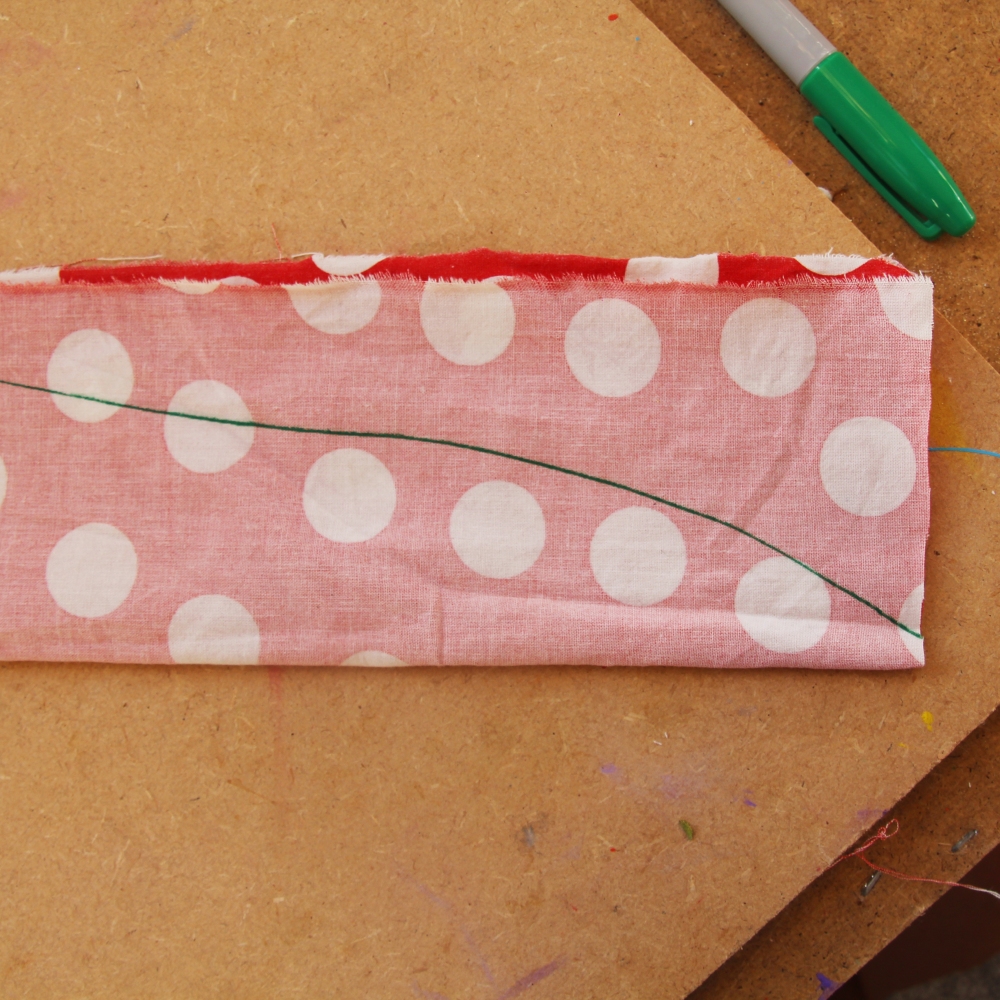
Once you are happy with your arc, go over it using a colour felt pen so that it is easy to see.
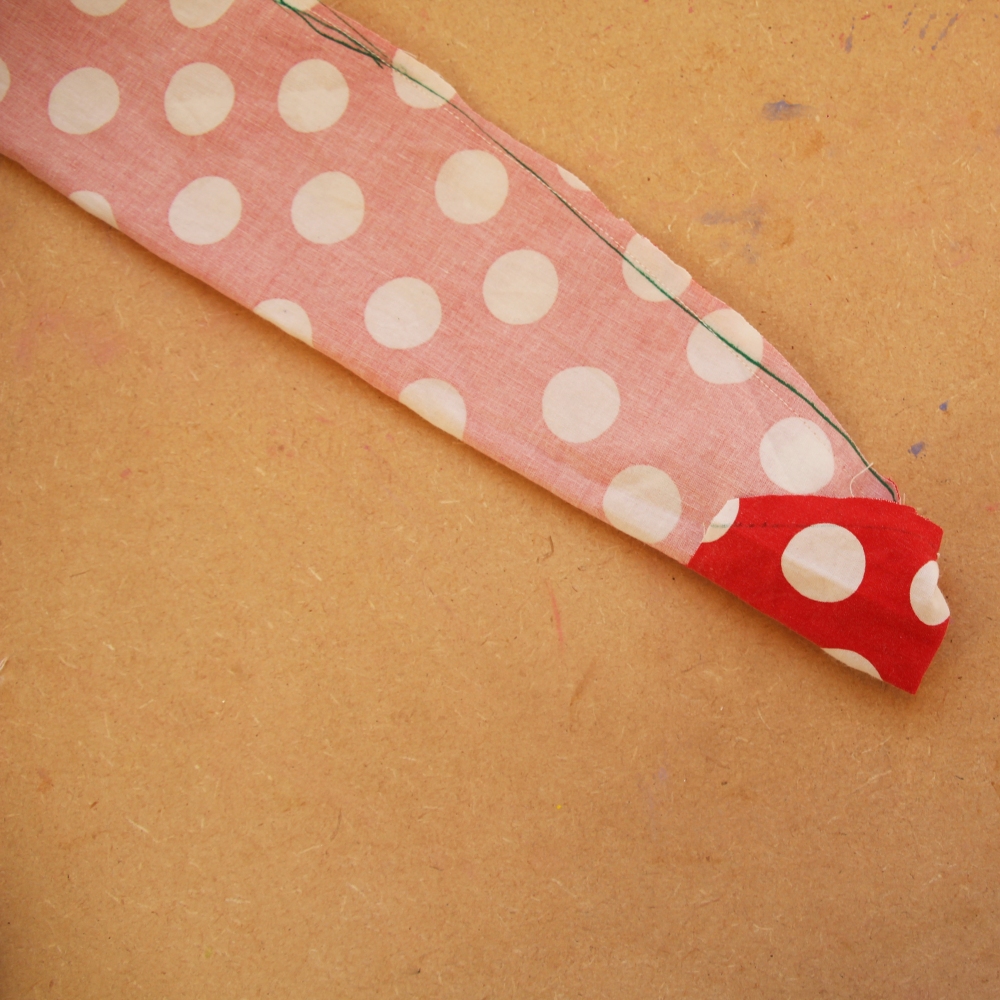
Just like when you were hemming, make some stitches with your needle and thread. They should be directly on top of the line you have drawn, starting from one end of your arc and going through both sides of your folded fabric (making sure both sides are flat next to each other at all times). Don’t forget to pull through the thread up to the knot!
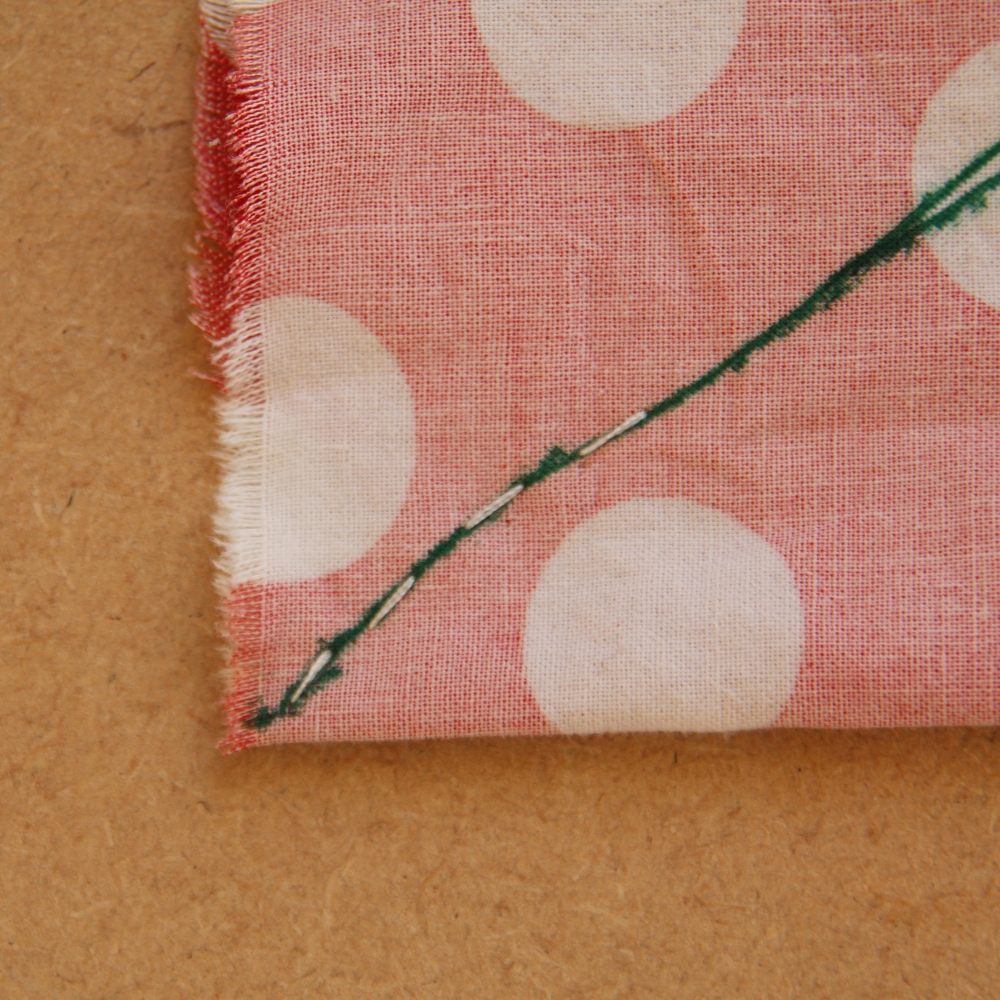
Keep stitching around the curved side, but STOP about 3 cm from the end (shown here folded). You must remove the needle and tie a knot (tie off) the end of your thread to fix it in place. There should now be knots at both ends of your thread.
Trim excess fabric from around the arc, a few mm from the edge of your sewn line.
Step 4
Step 5
Step 6
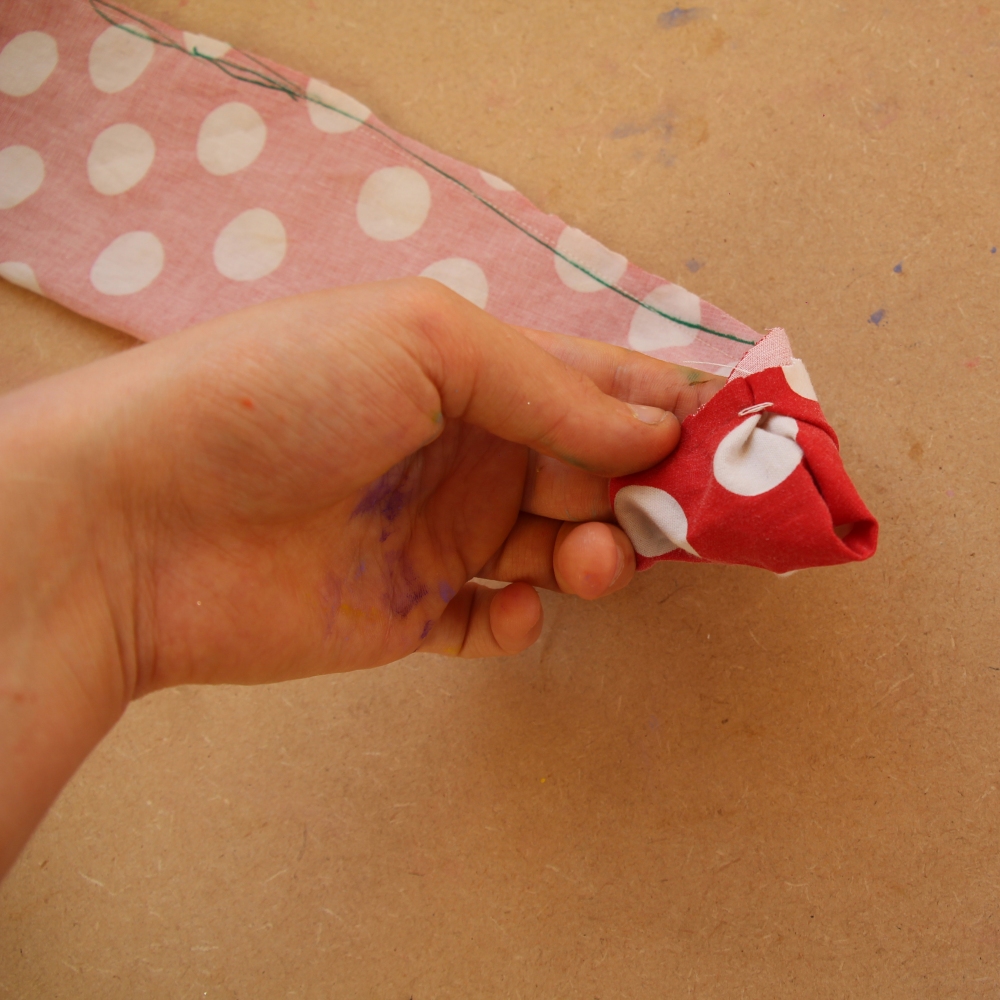
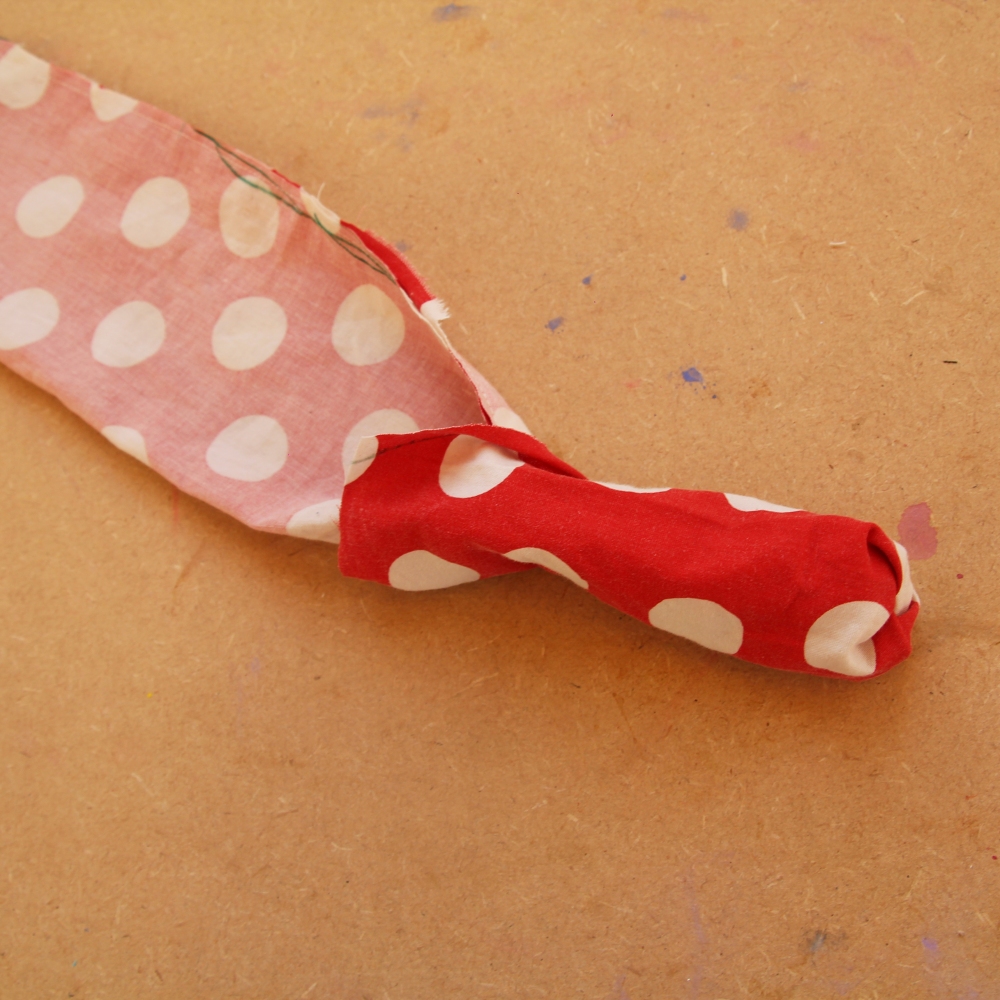
You should now have a sewn arc with a hole between the two sides of fabric at one end. Now you need to start poking the inside of the fabric out of the hole, turning everything inside out. You should start seeing the right side of the design.
Keep poking it through, until the fabric is fully inside out with the right side of the design fully visible. Hint: It might get tighter as you are pulling more through. If it does, you could use a blunt pencil or knitting needle to help you carefully poke it through.
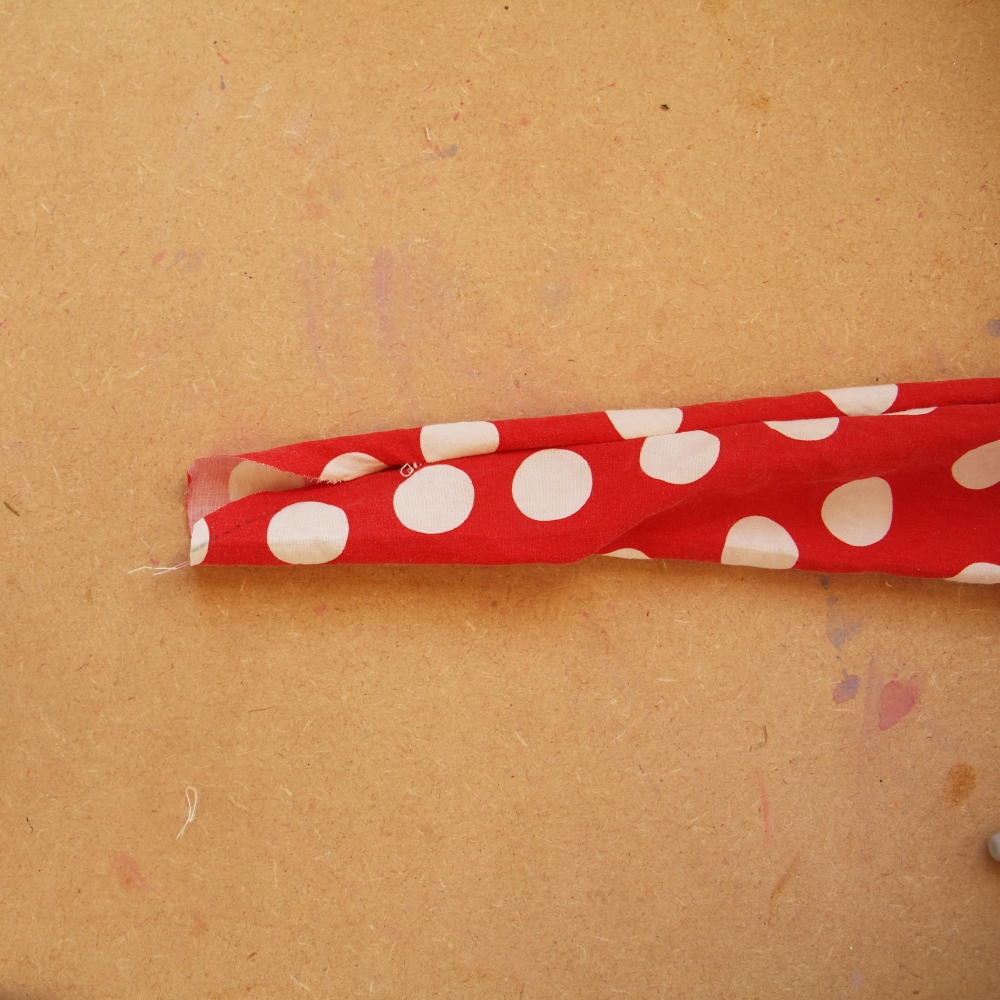
Once it is all the right way round, prepare a needle with some more thread (don’t forget to knot the end!) and get ready to sew up the hole at the end.
Sew up the hole in the same way as all the other sewing, tying off the end when you have finished.
Behold your epic neckerchief! Tiikat is even more proud!