Ever wondered what a bird’s room would look like? Not just a nest, a proper room!
We’re going to build a mini living room for our favourite little bird friends right now so wonder no more. This bird’s room will require lots of miniature things, so get collecting and don’t get in a flap!
Difficulty Level:
What you need:
Many of these are optional, because it is your choice what accessories you want to make for your room. Have a look at the instructions for each to see what you need for them individually.
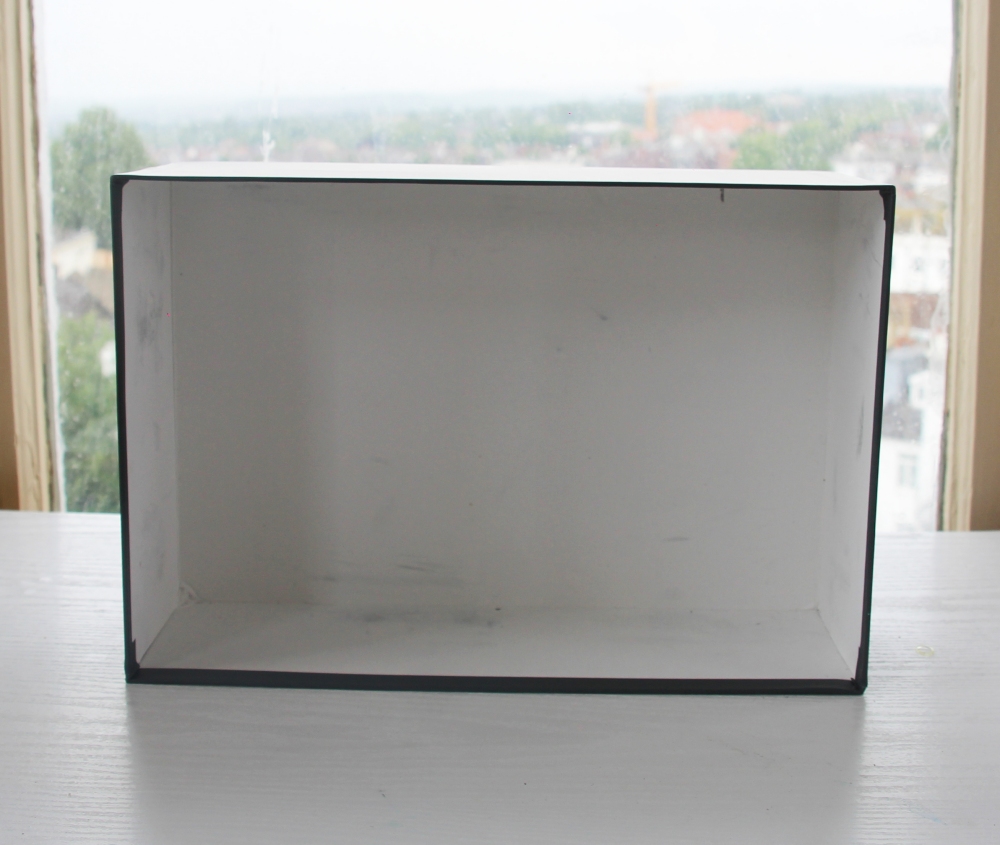
Shoe box (or similar sized box)
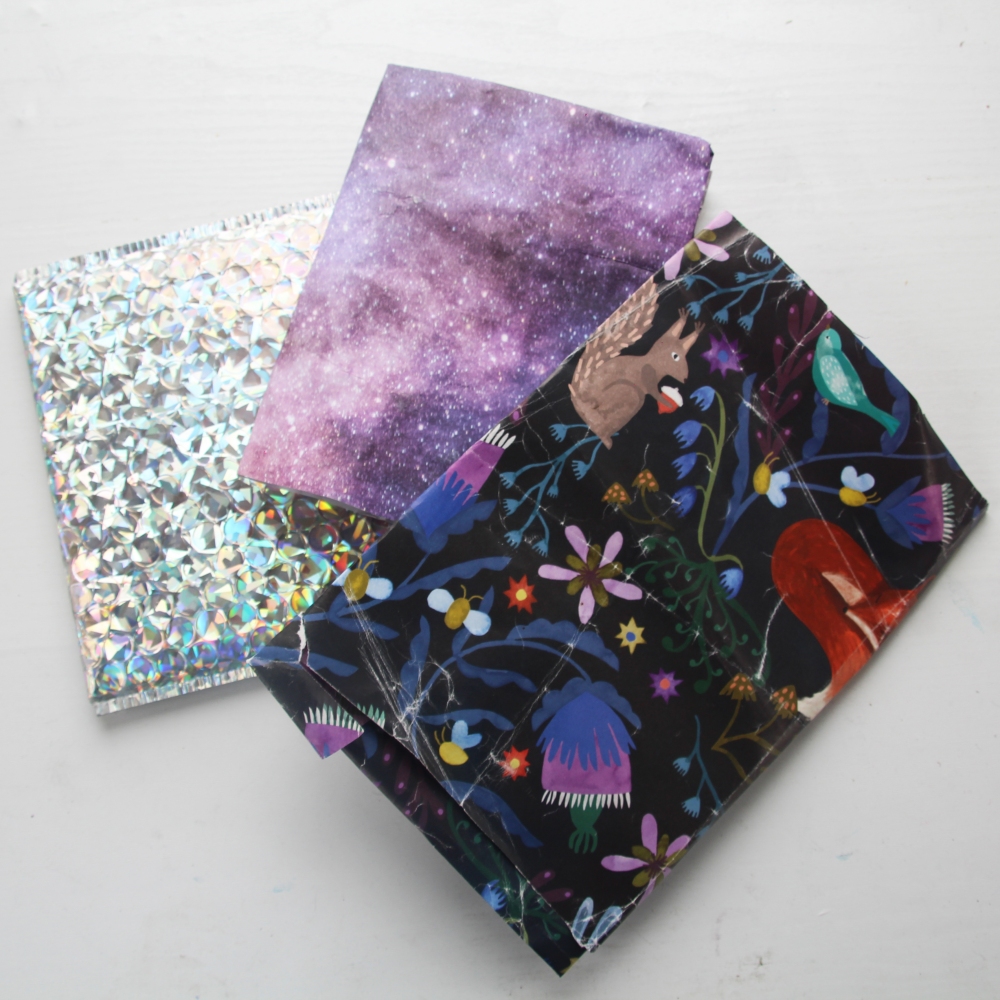
Colourful paper (we used recycled wrapping paper)
Fabric (scrap material, for example taken from old clothes works well)
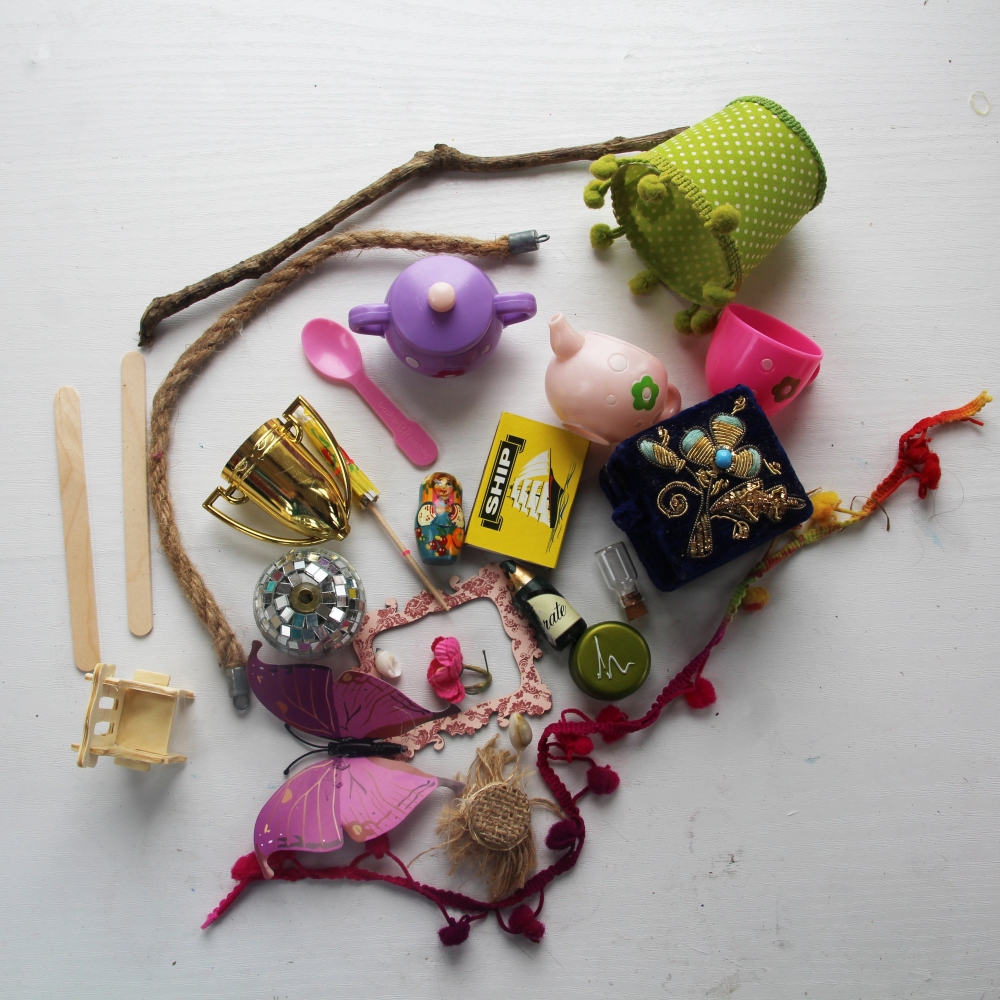
Random recycled small bits and bobs
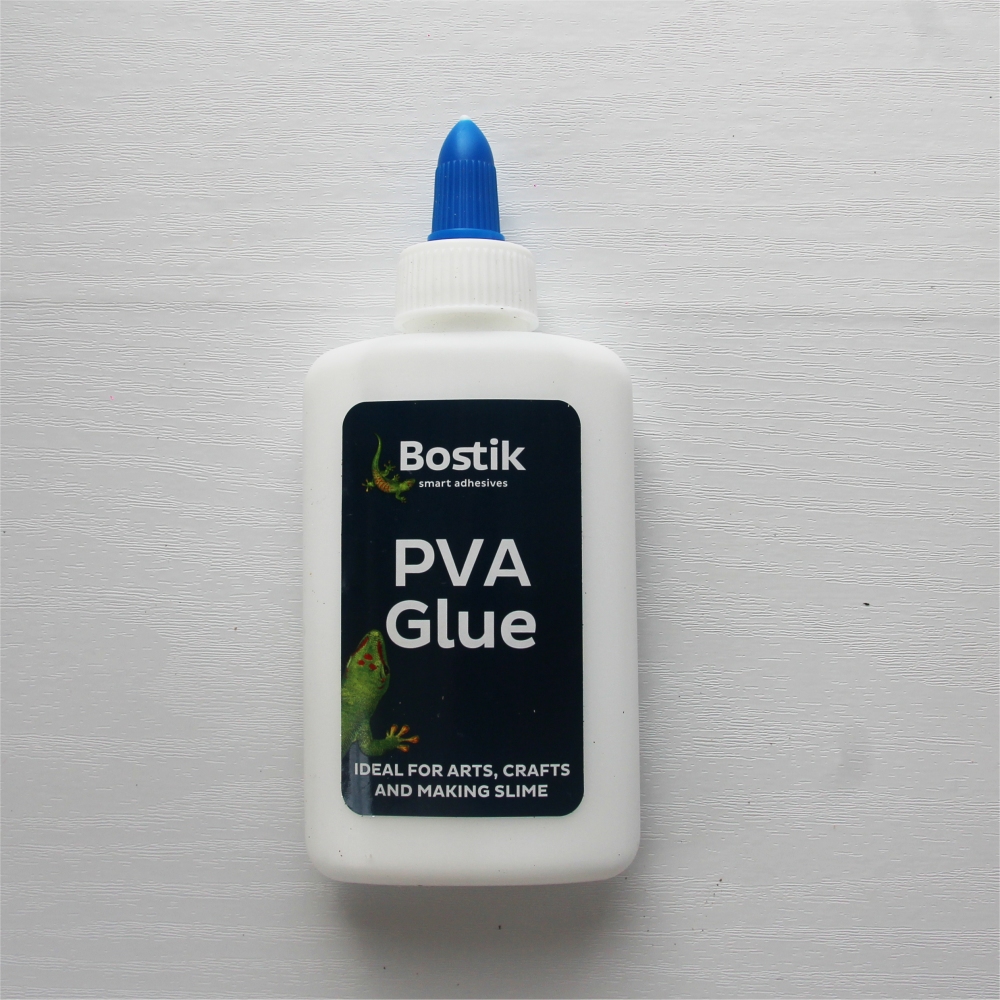
PVA glue
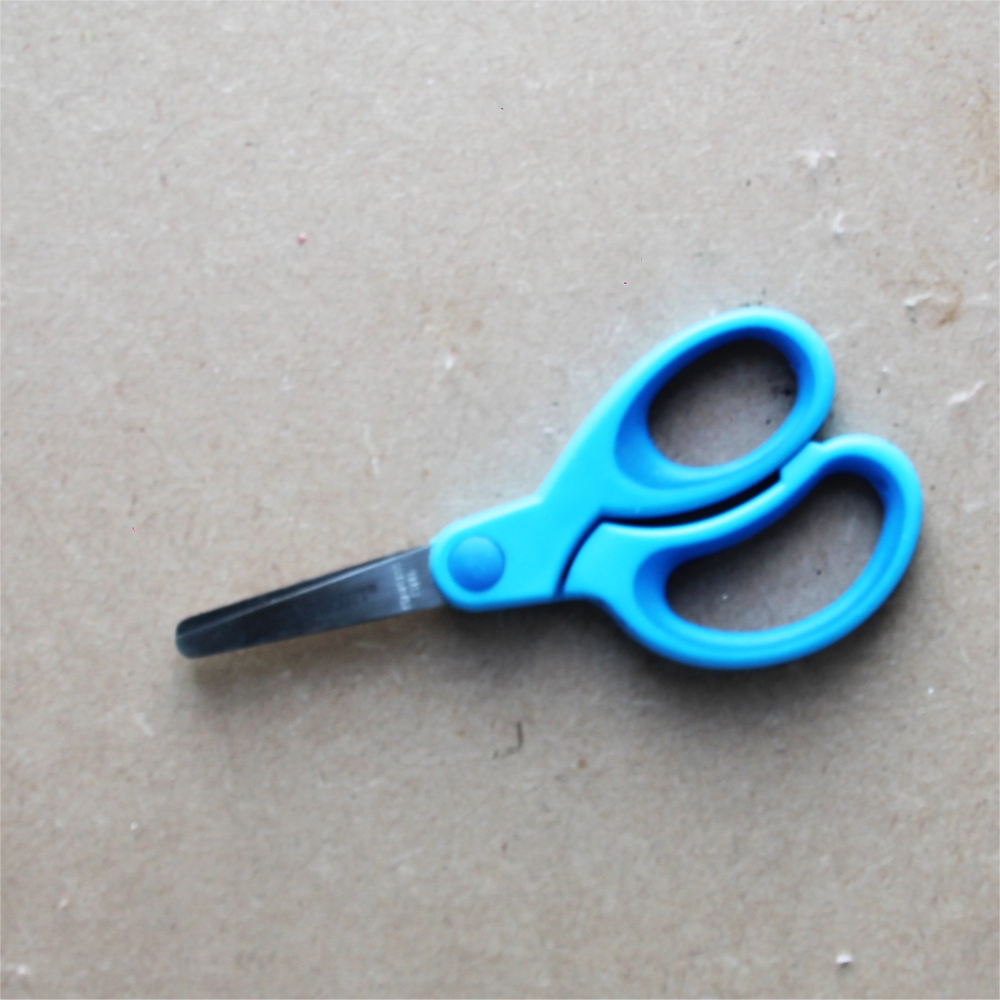
Scissors
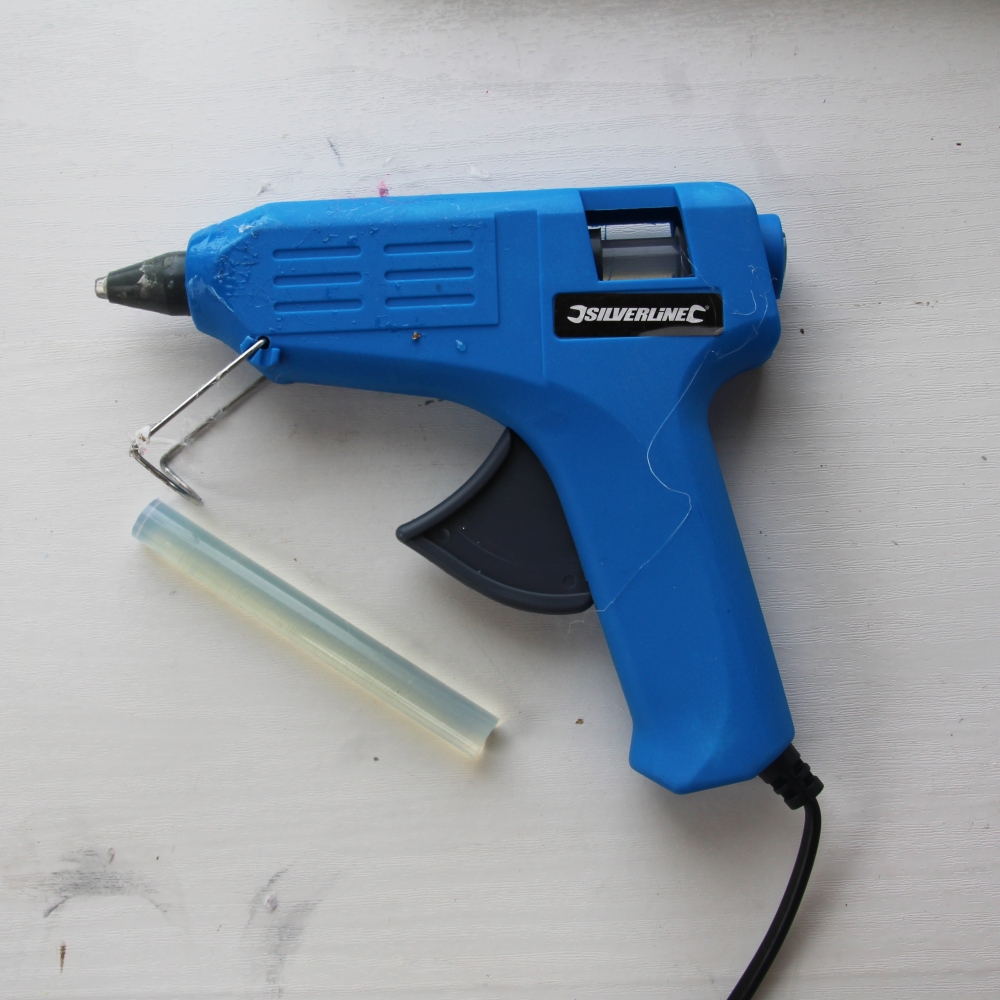
Hot glue gun (optional)
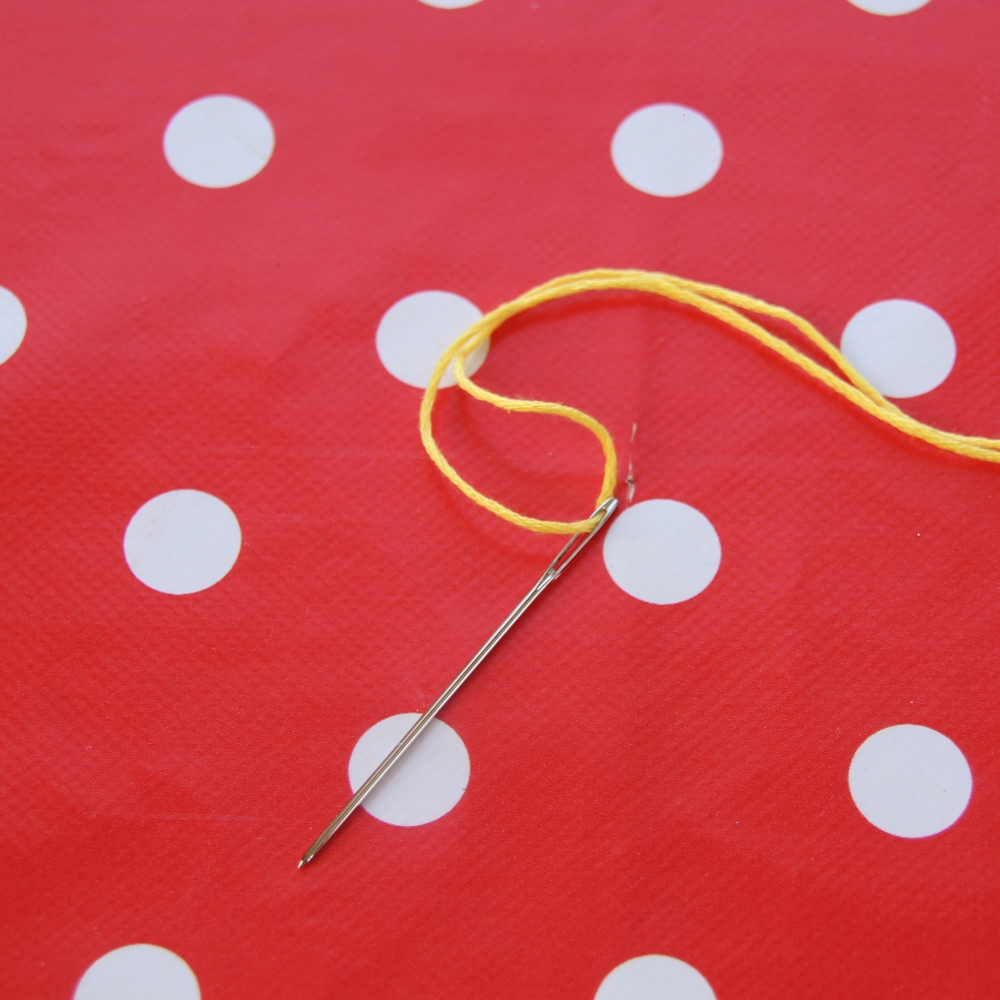
Needle and thread (optional)
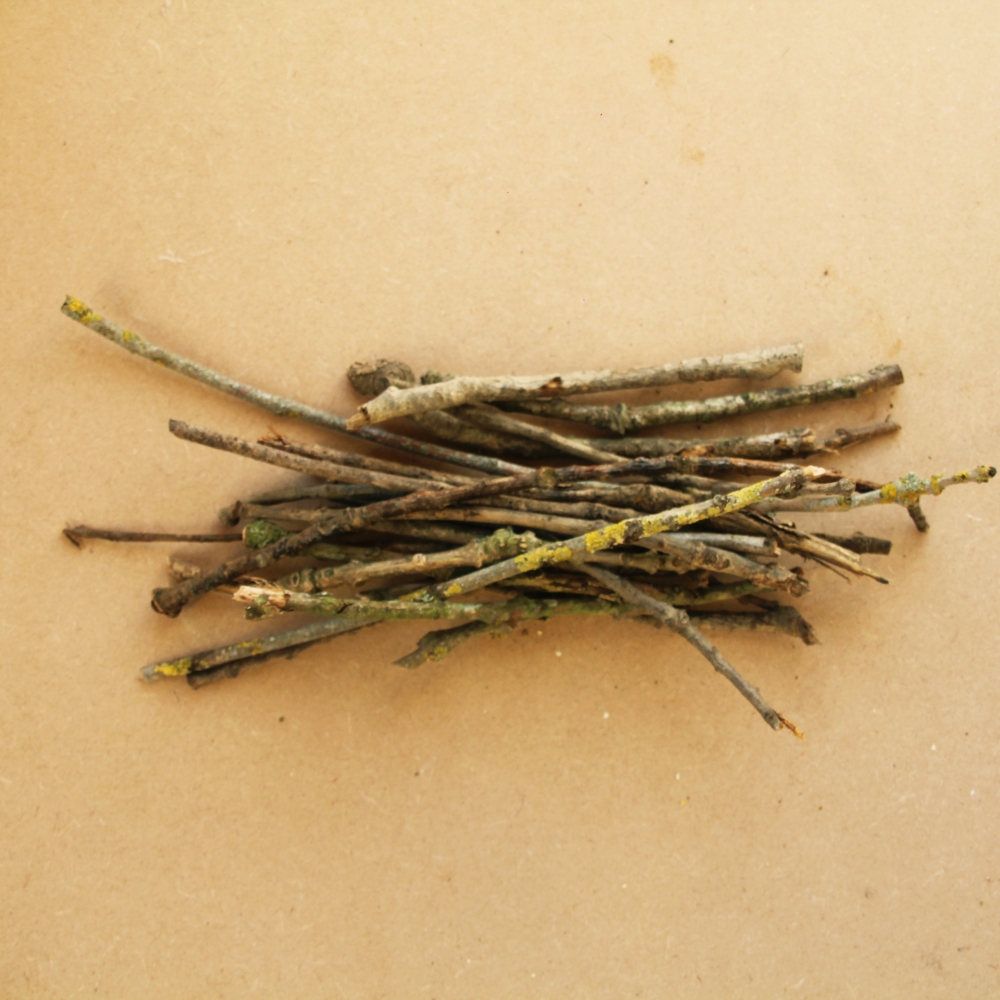
Twigs (optional)
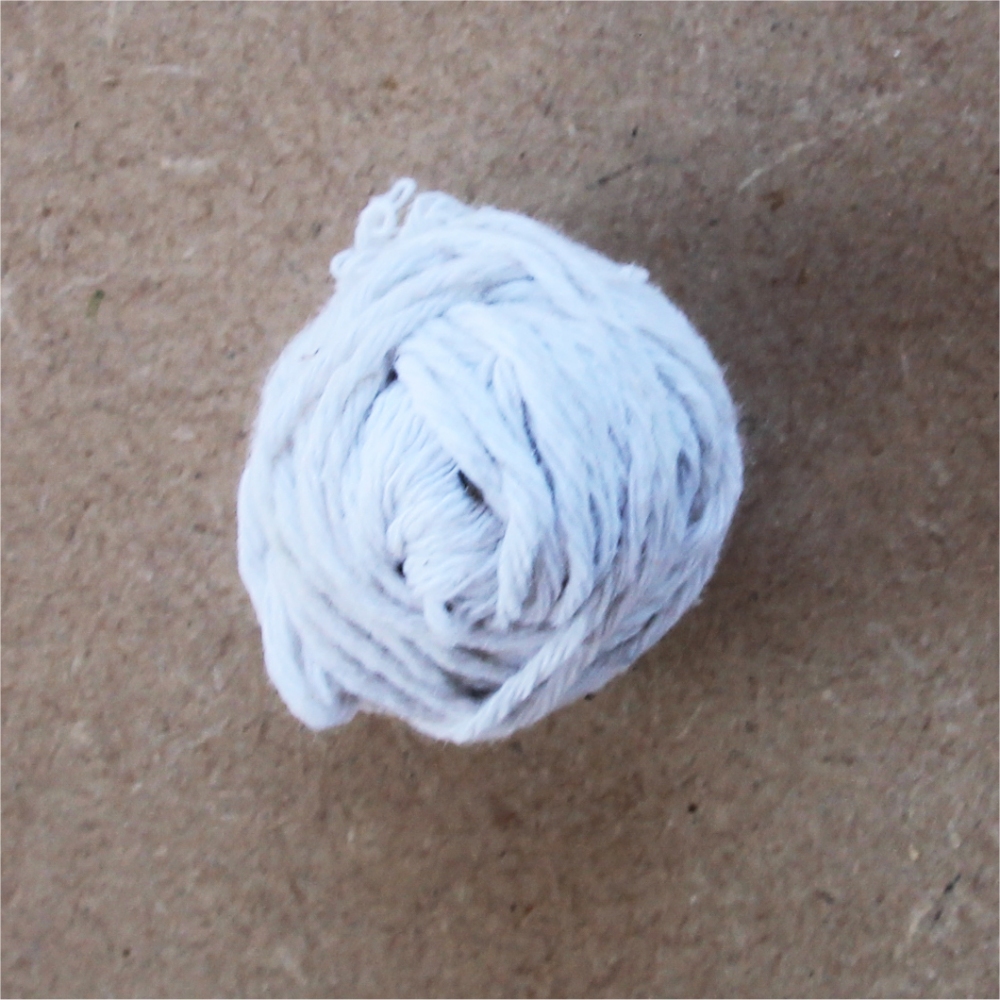
Thin rope or string (optional)
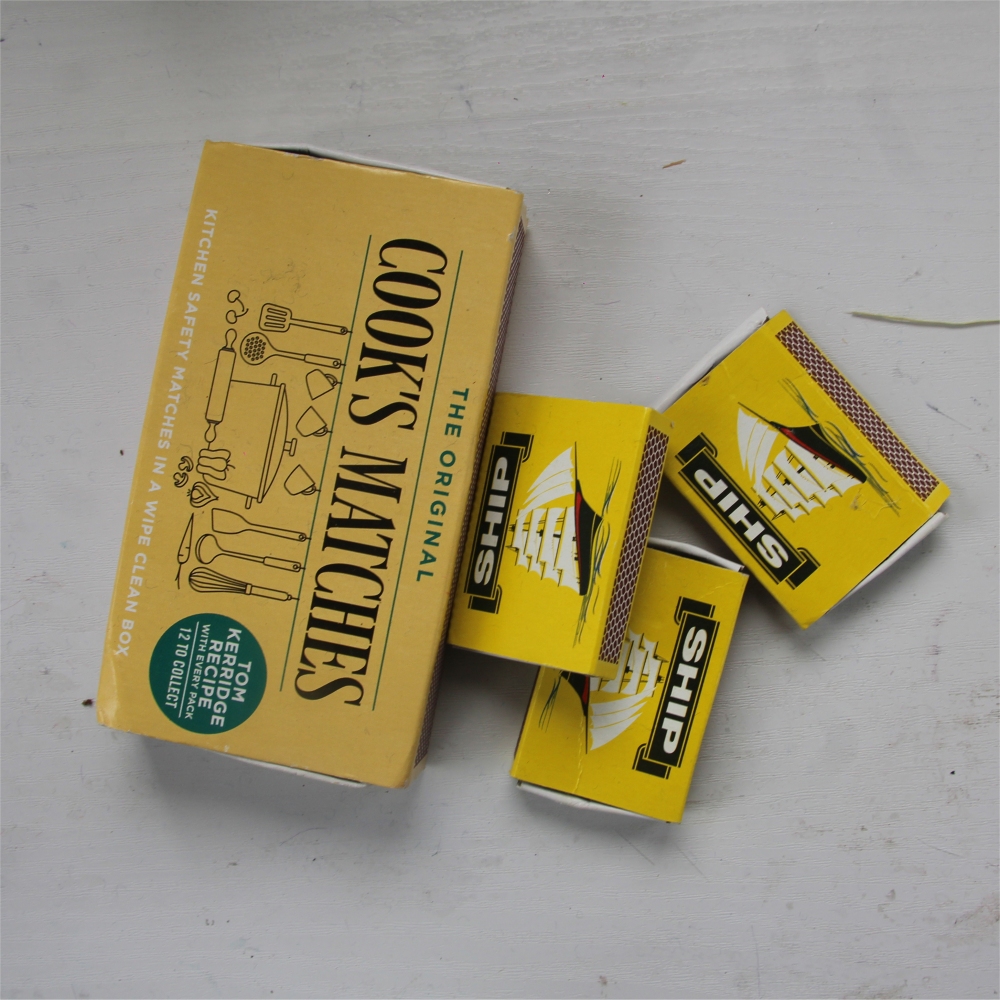
Matchboxes or similar sized boxes (optional)
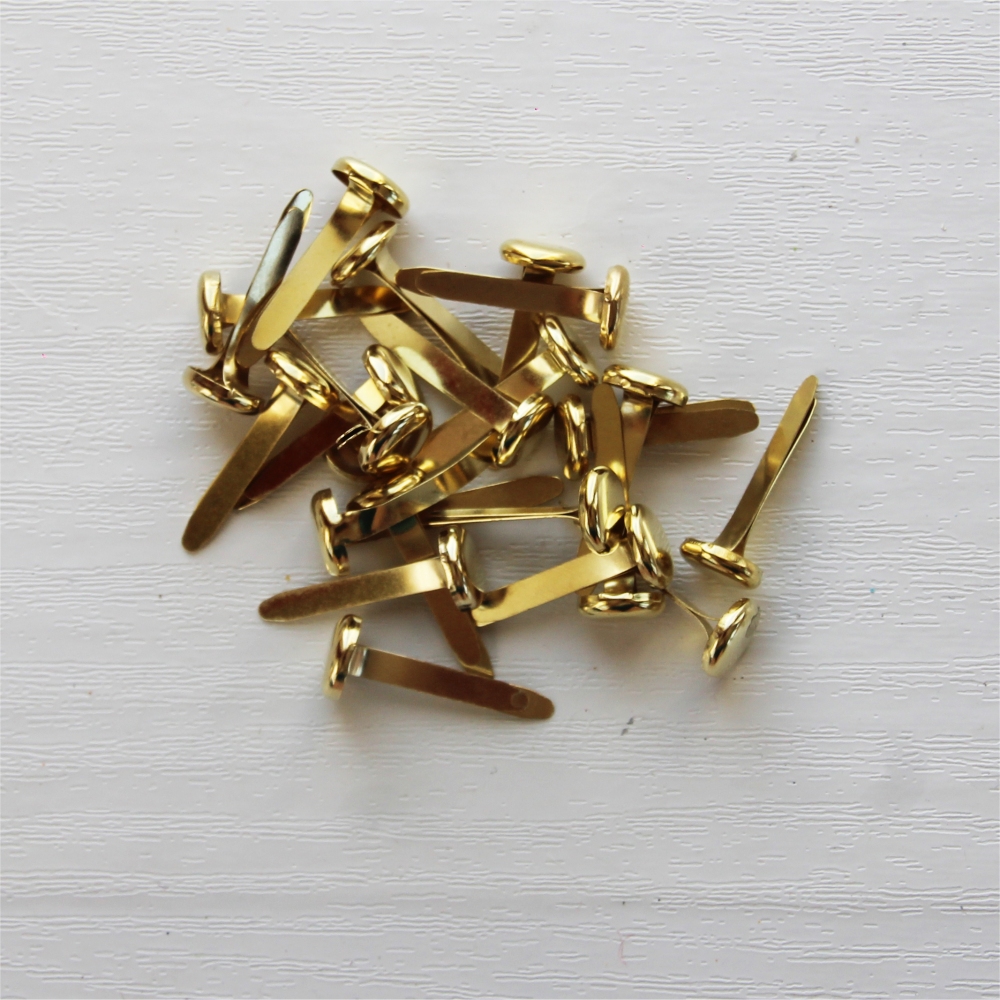
Split pins (optional)
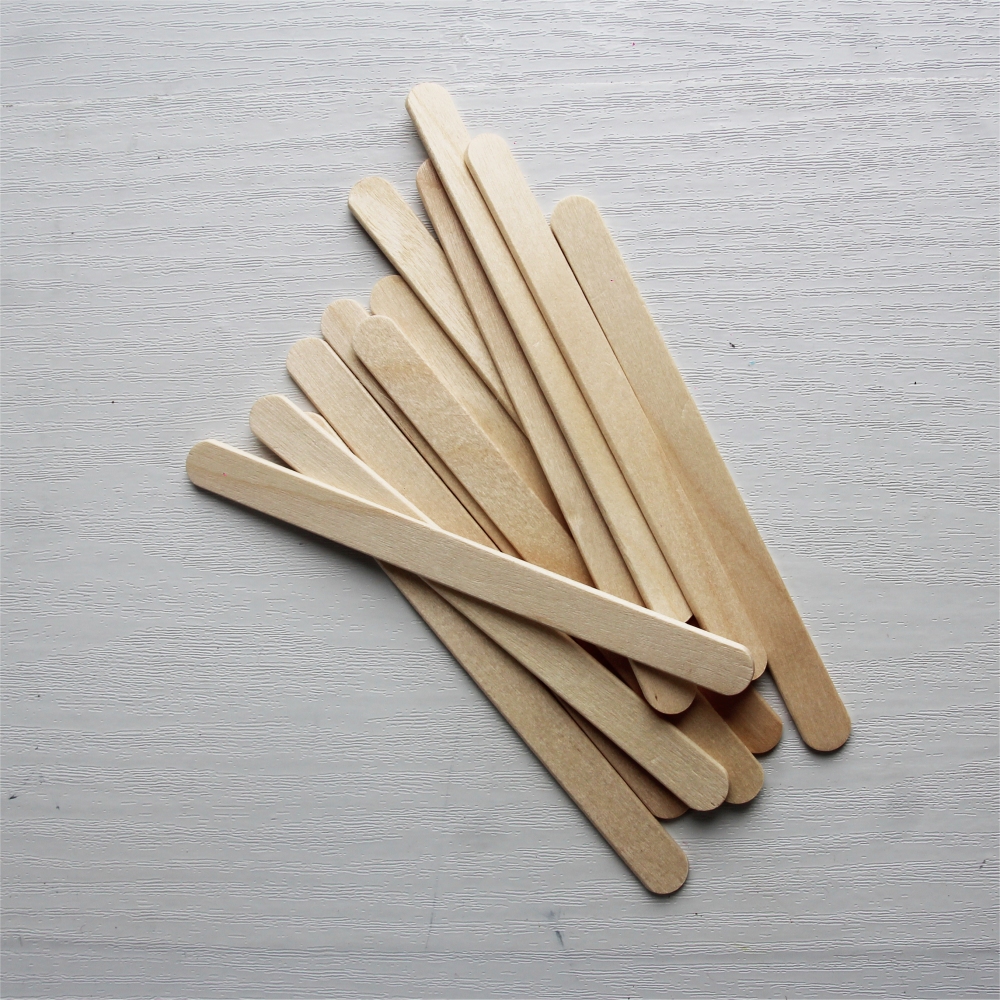
Lollipop sticks (optional)
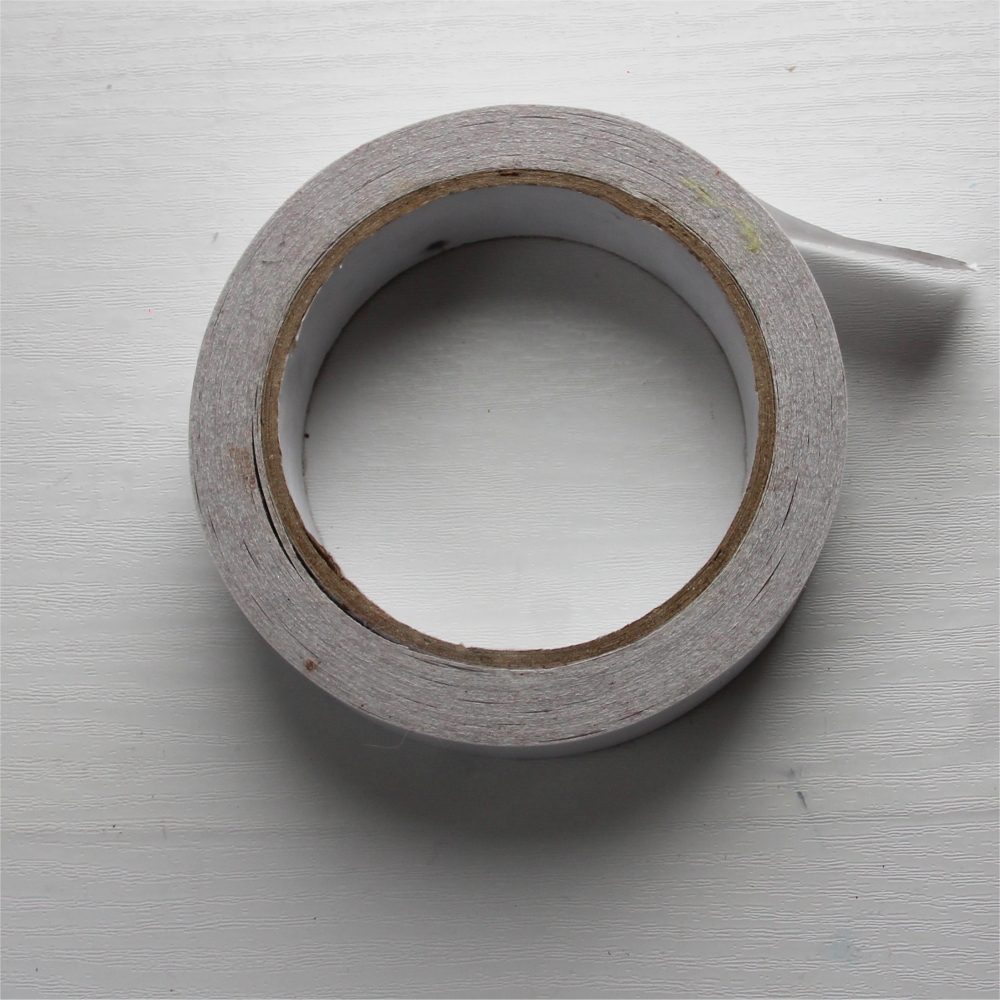
Double-sided tape (optional)
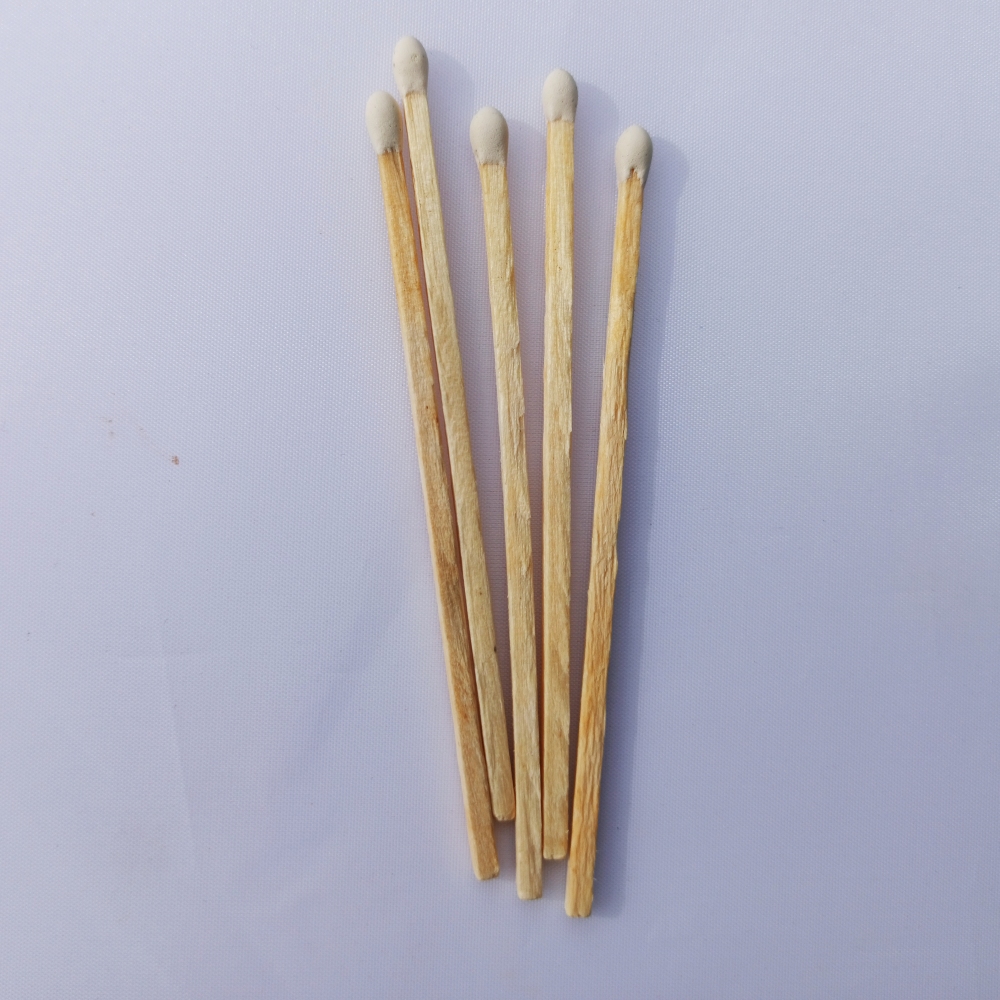
Matchsticks or cocktail sticks (optional)
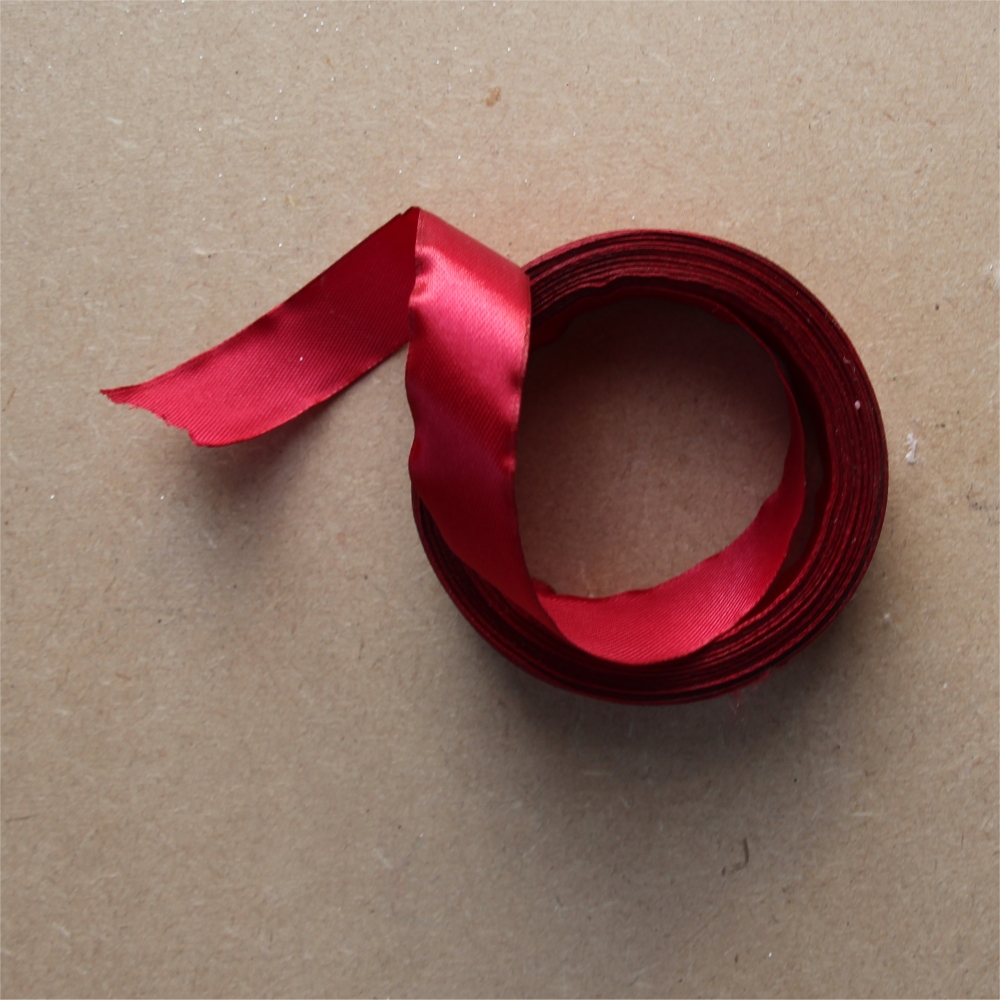
Ribbon (optional)
Method:
Remove the lid of your shoe box.
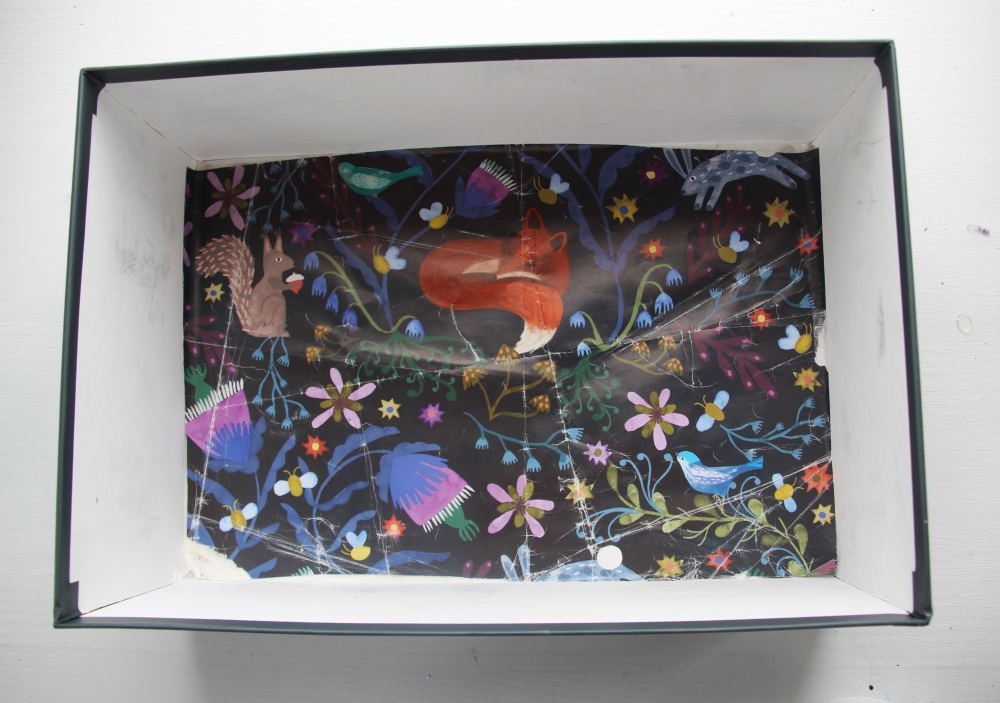
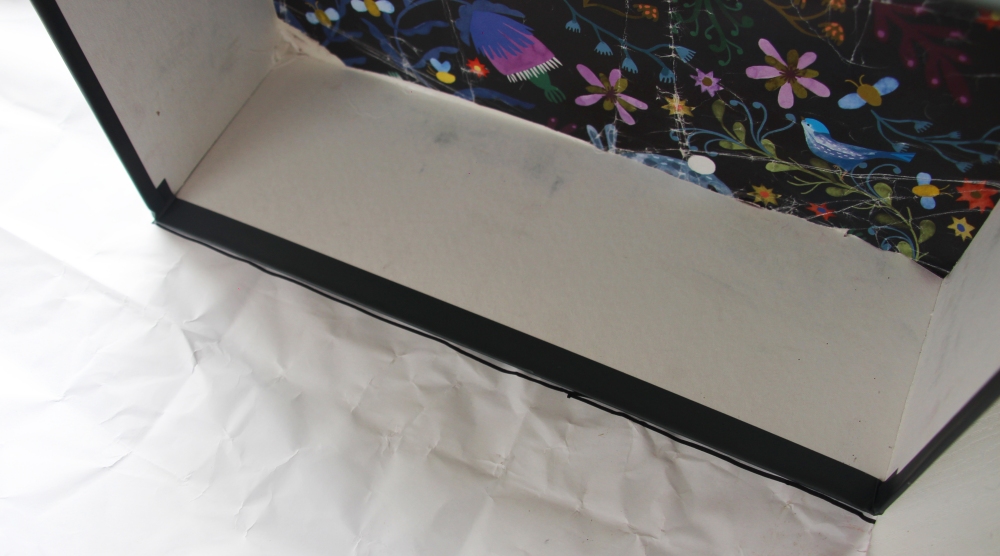
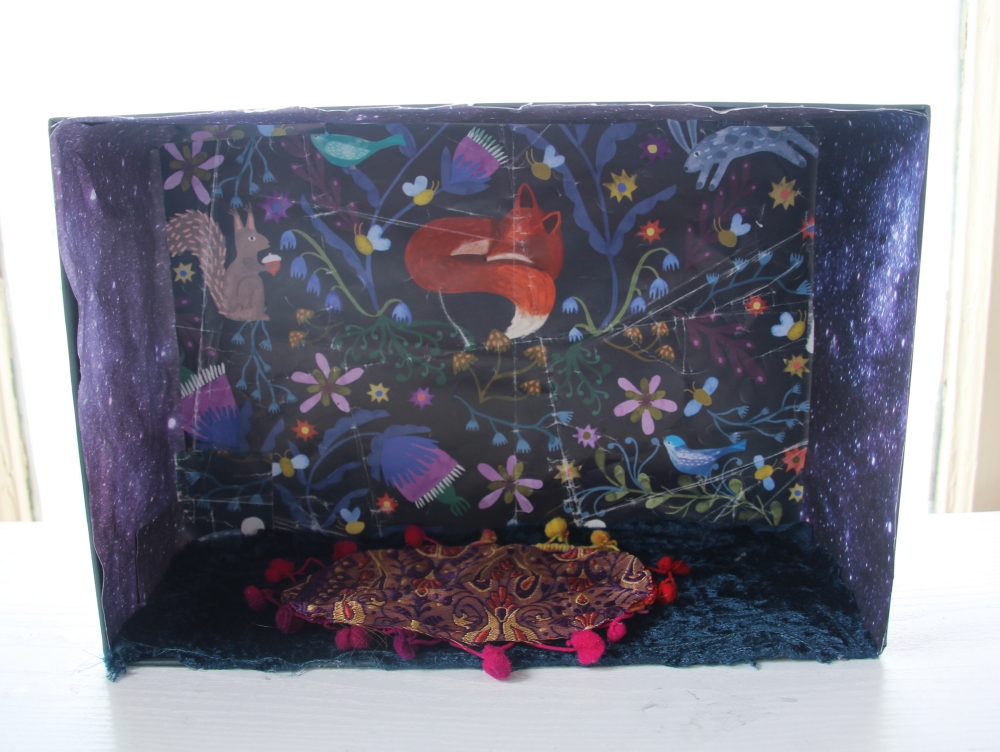
Cut out a piece of colourful paper to be your wallpaper, approximately the size of the base of your box. Stick it to the back “wall” of the box (the bottom of your box on the inside).
Hint: You could use a ruler and pencil to cut the perfect size out or do it roughly as we have.
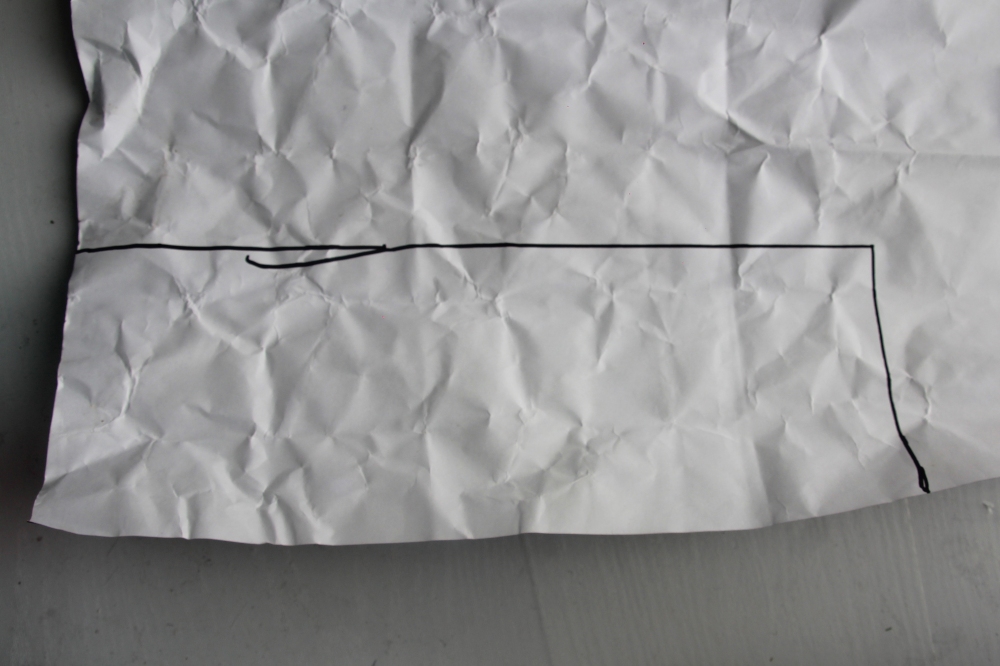
Draw around the top edge of the box on the back of more paper you want to use for the ceiling.
Step 1
Step 2
Step 3
Cut out this rectangle.
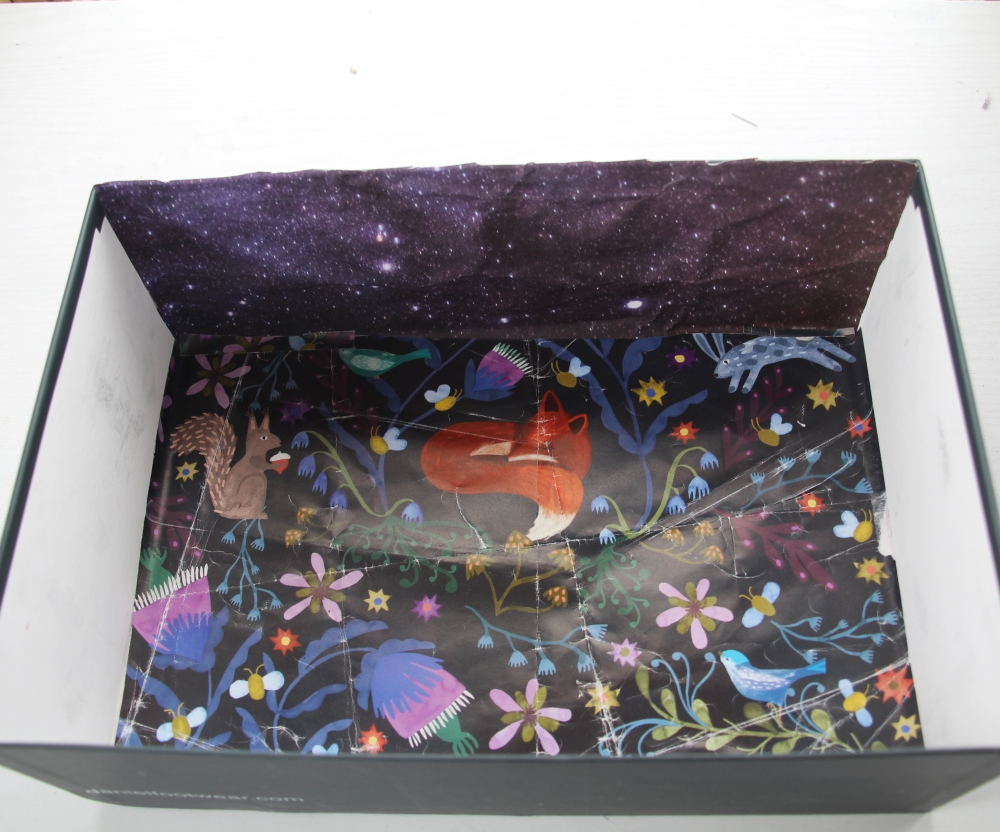
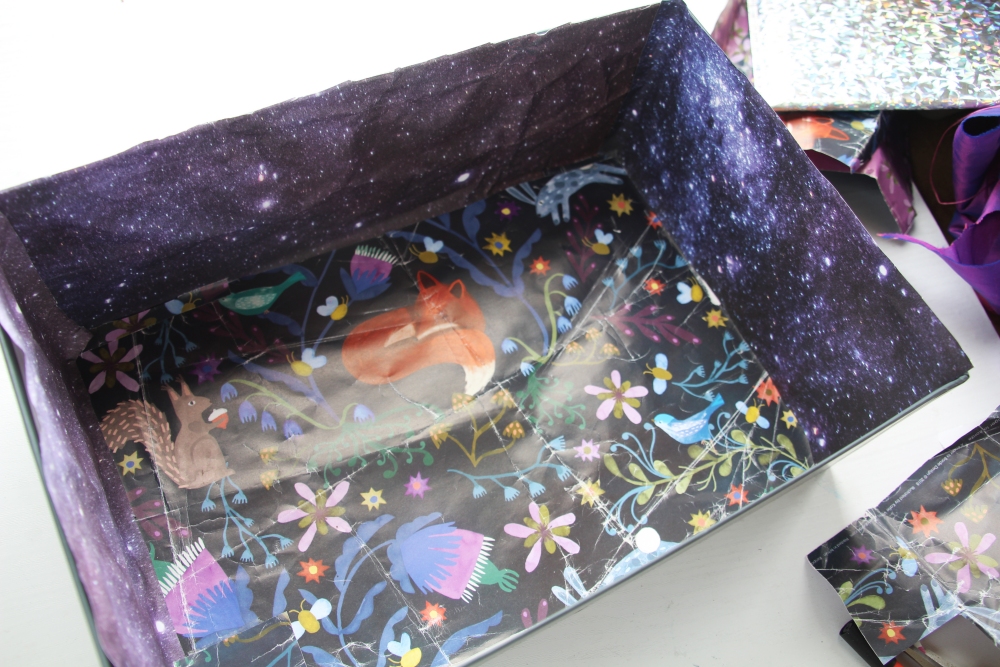
Stick this piece to the top of your box to become the ceiling.
Using the same method, cover the side walls with paper.
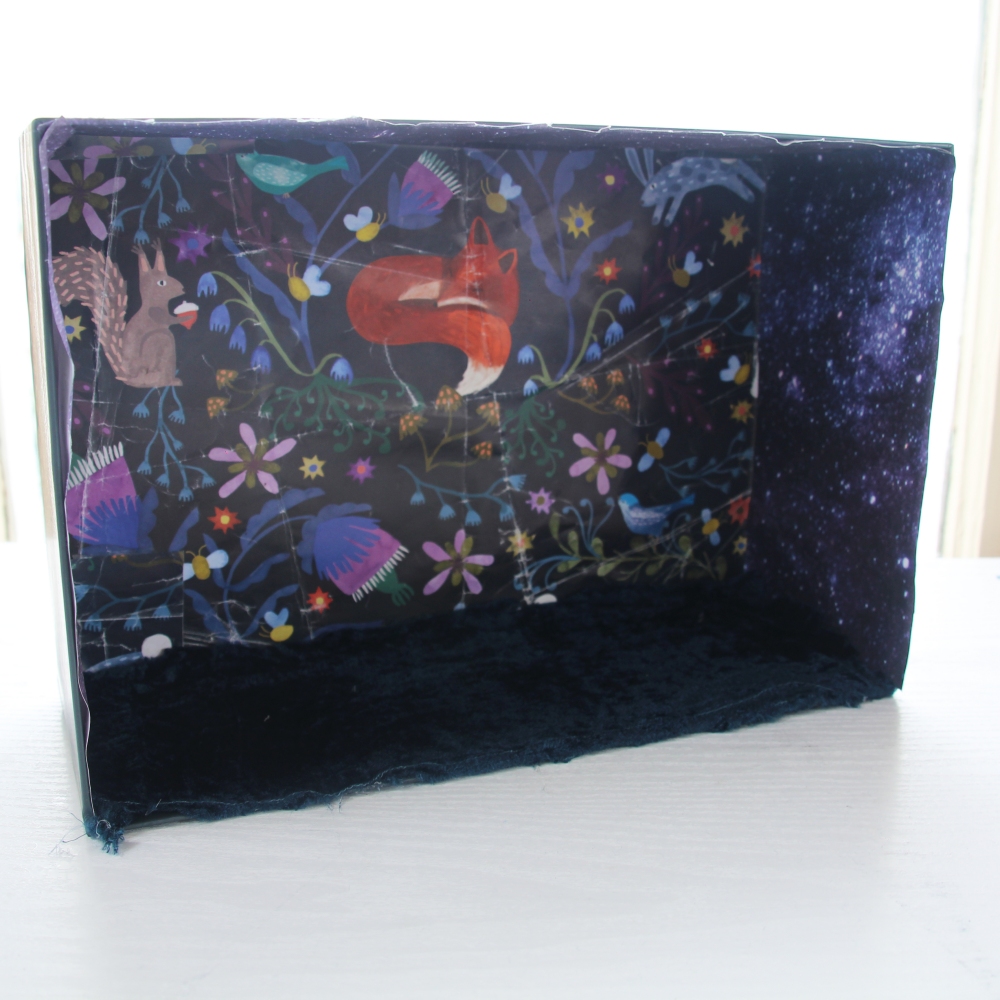
Now cut a piece of fabric to use as a carpet. We’ve gone for a green velvet carpet, but yours could be anything you have or want! Stick this down. As it is fabric you may need to use a hot glue gun or stronger glue to get it to stick.
Step 4
Step 5
Step 6
Step 7
Now it is time to decorate the inside of your room, you can make all of the following elements, just choose a few or make up your own!
Rug
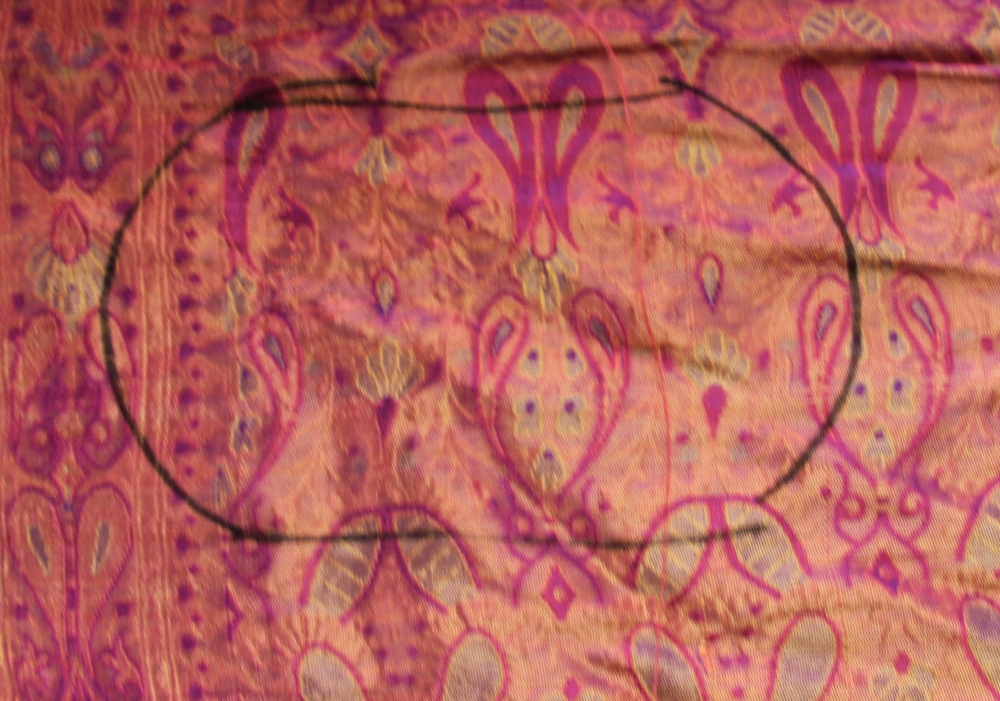
Draw a rug shape on the back of a piece of material of your choosing.
Tip: We have used the circular edges of a sellotape roll to make the rounded edges then drawn two lines in between them both.
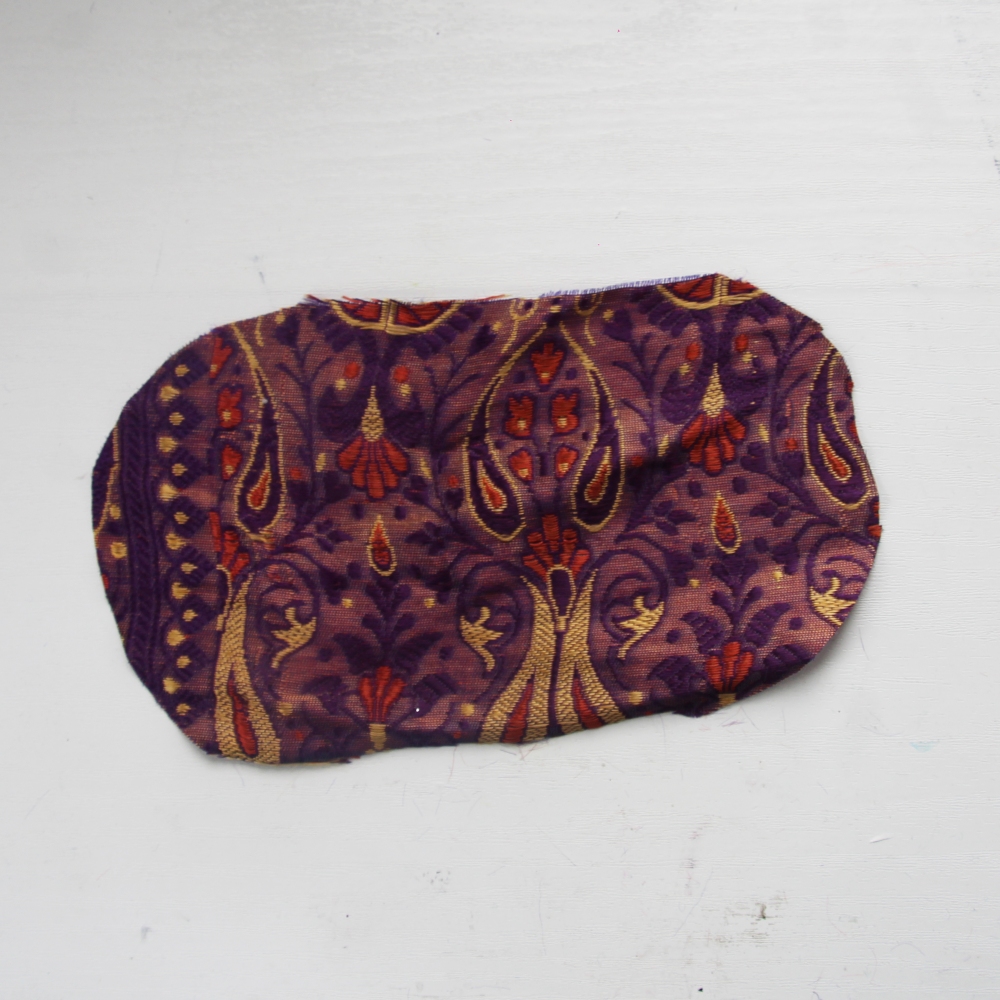
Cut out your rug.
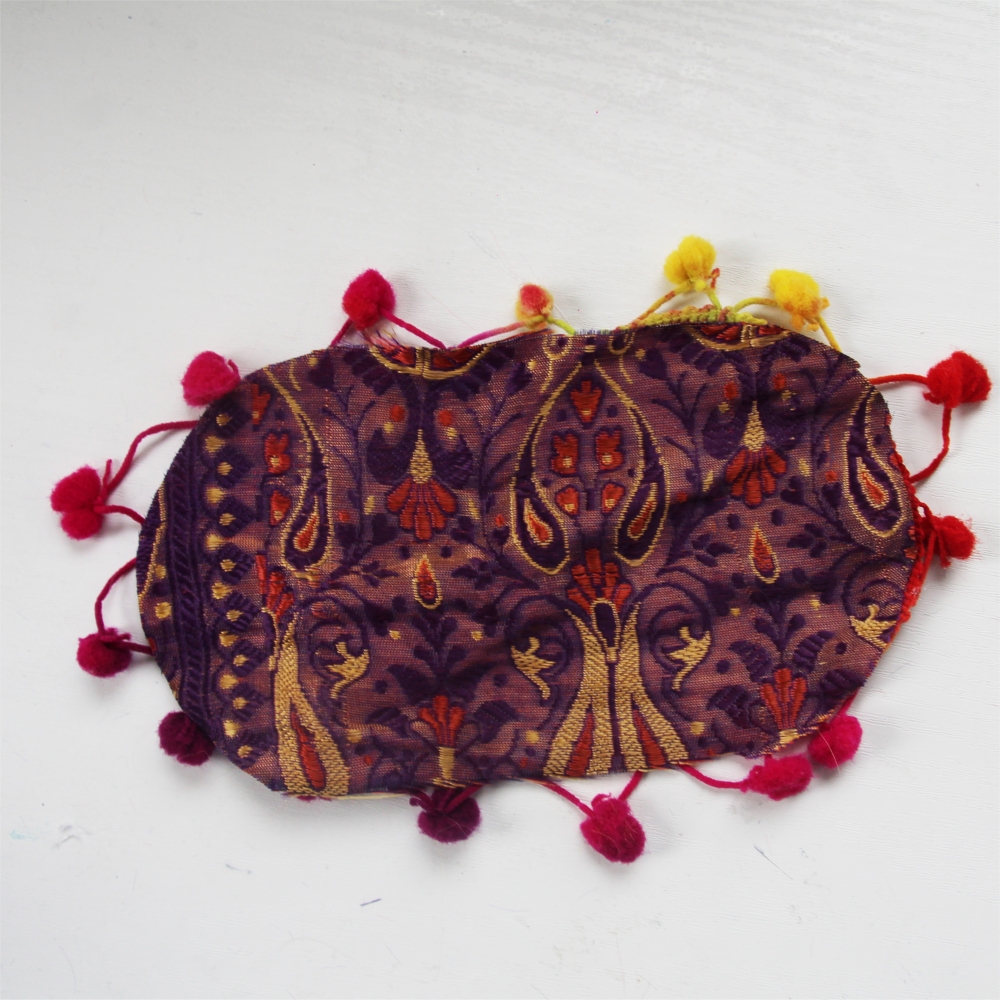
Using a hot glue gun or needle and thread, attach a border to your rug, e.g. some pom poms or tassels. You can make it go all the way around or just put it on the smaller sides.
You now have your finished rug!
Now put your rug in your room. You can choose whether you want to glue it down or not.
Rug – Step 1
Rug – Step 2
Rug – Step 3
Rug – Step 4
Rug – Step 5
Bird Perch/Swing
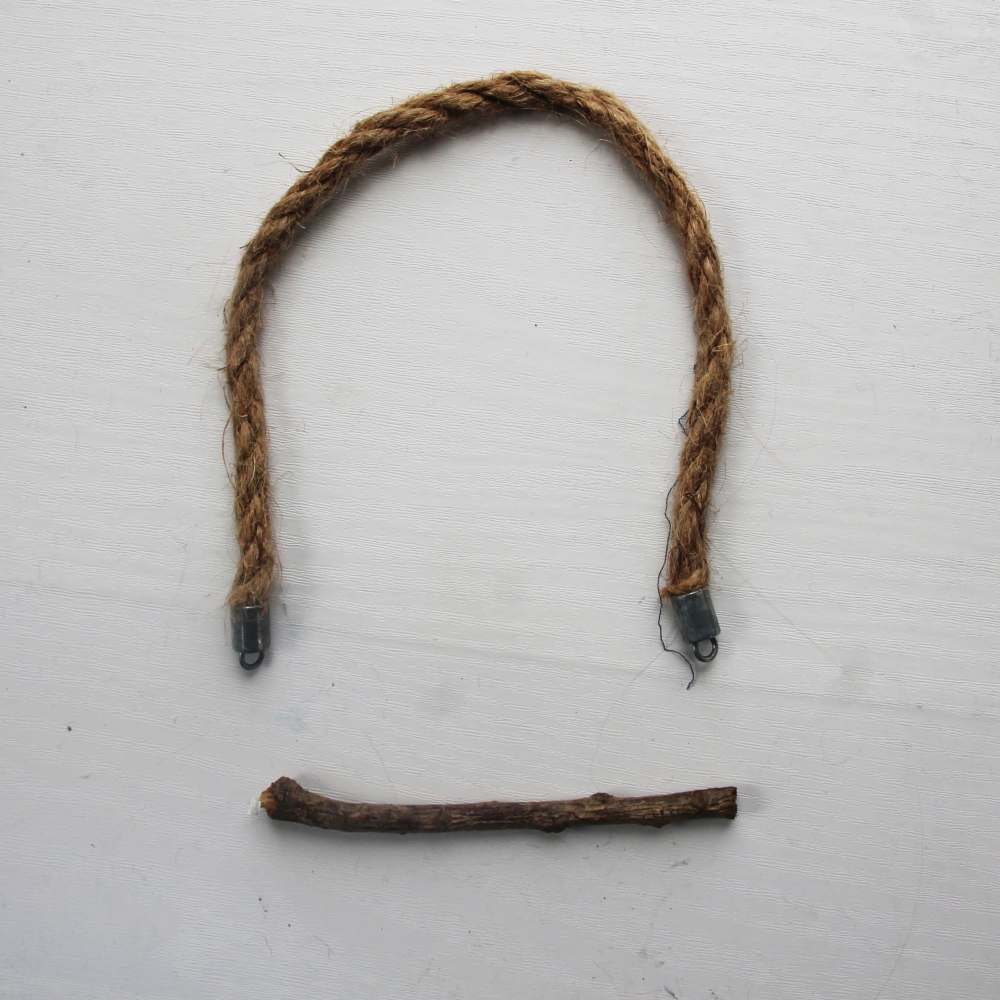
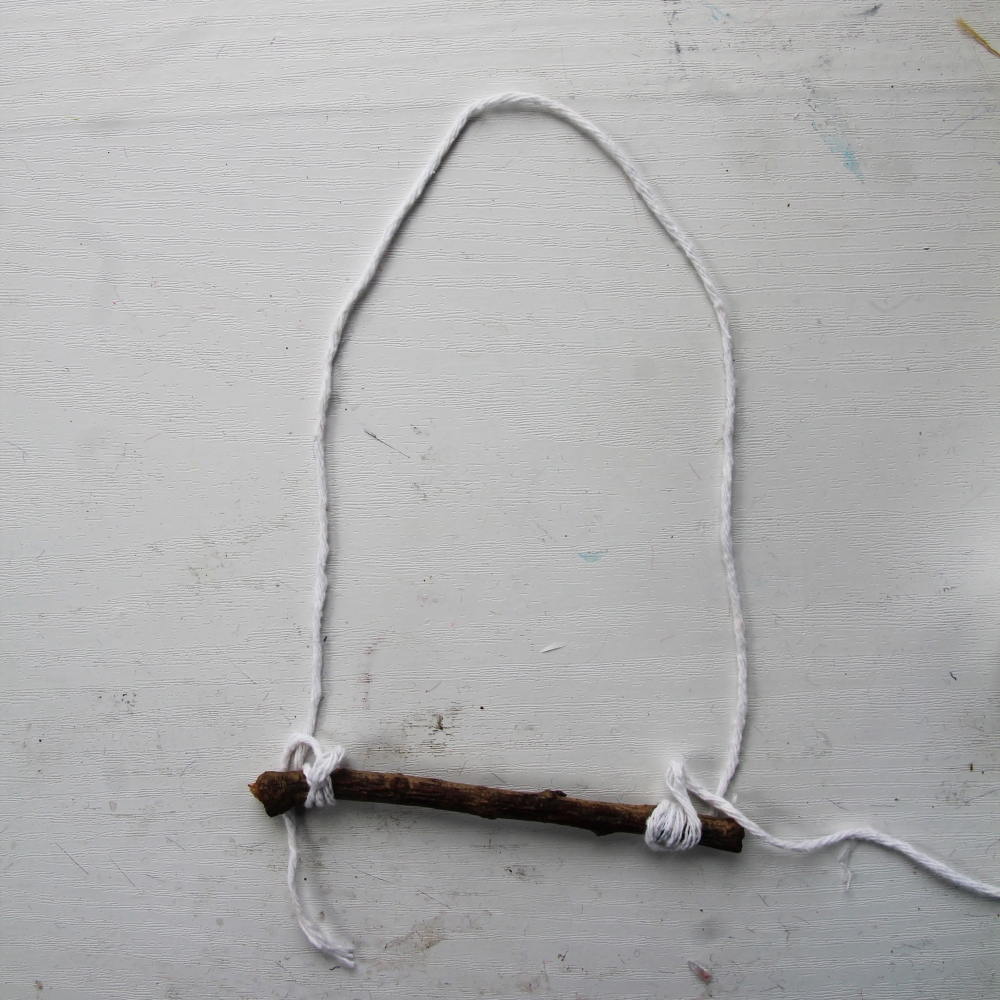
You will need a stick and a piece of string or rope. We used rope, but have also made one out of string to show you.
Wrap your string around one end of the stick and tie it. Then leave a longer piece of string (about 20cm) and wrap then tie it to the other side of the stick.
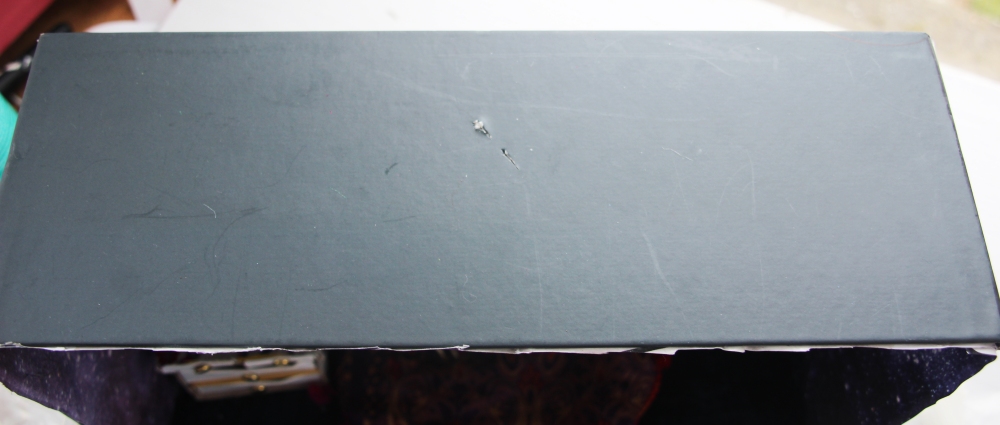
Decide where you would like your perch to hang, then put two small holes in the top of the box.
Using a cable tie, or another piece of string going through these holes, tie the perch so it hangs from the top.
Bird Perch – Step 1
Bird Perch – Step 2
Bird Perch – Step 3
Bird Perch – Step 4
Broom
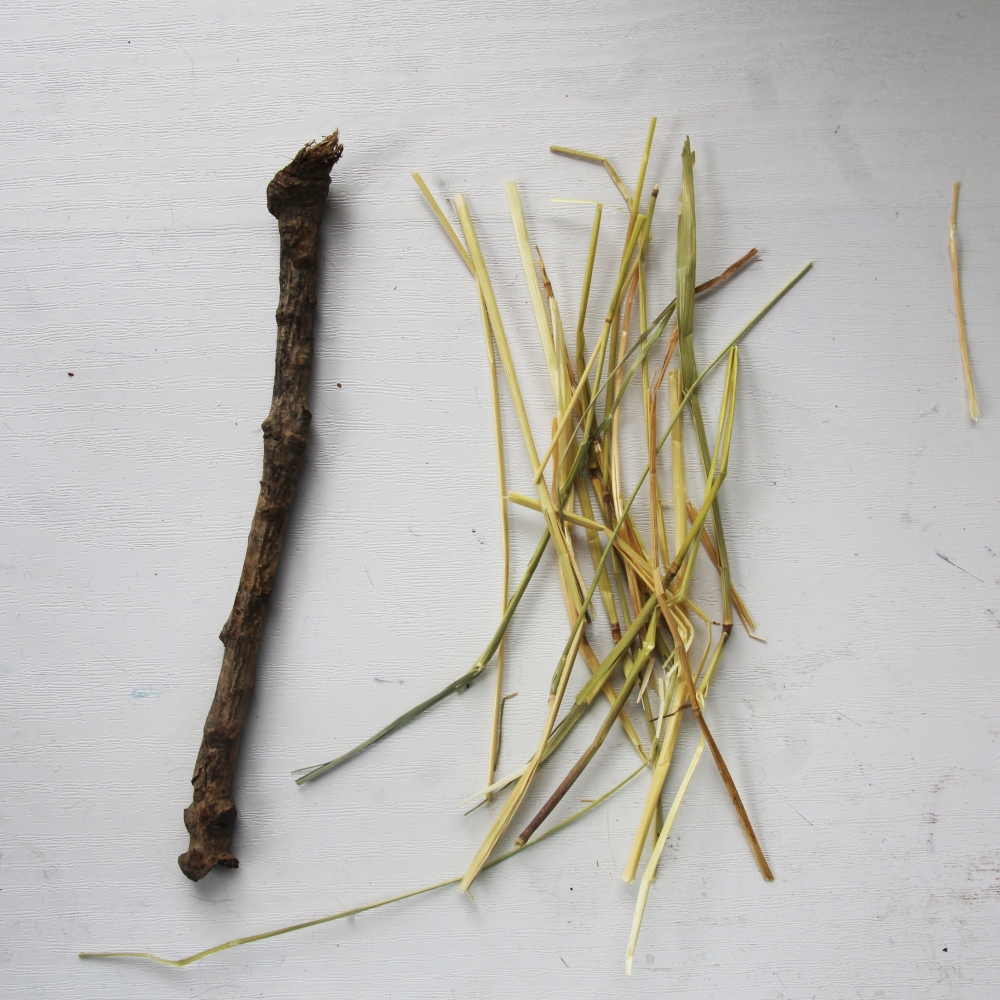
Get another stick and some smaller thin twigs or hay.
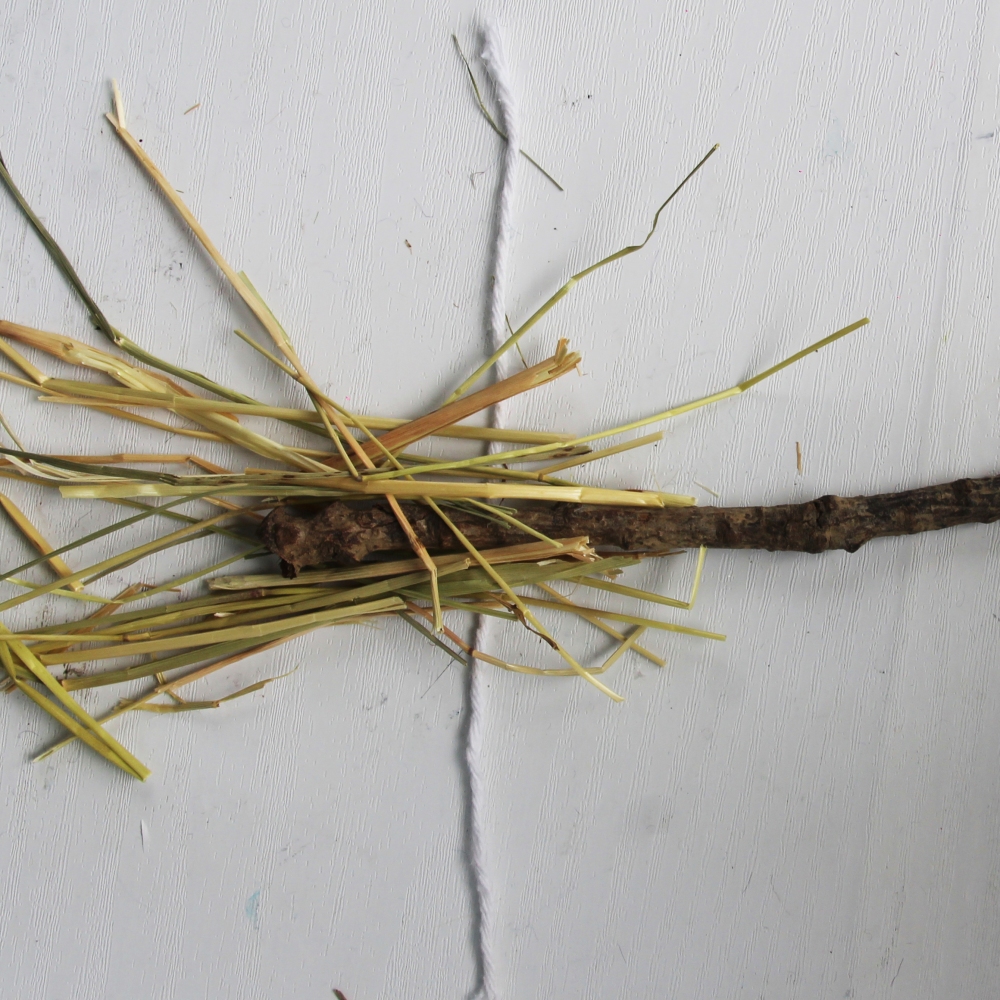
Place the hay (or smaller twigs) and a stick on a piece of string. The hay should start near one end of the stick, overlapping over the string.
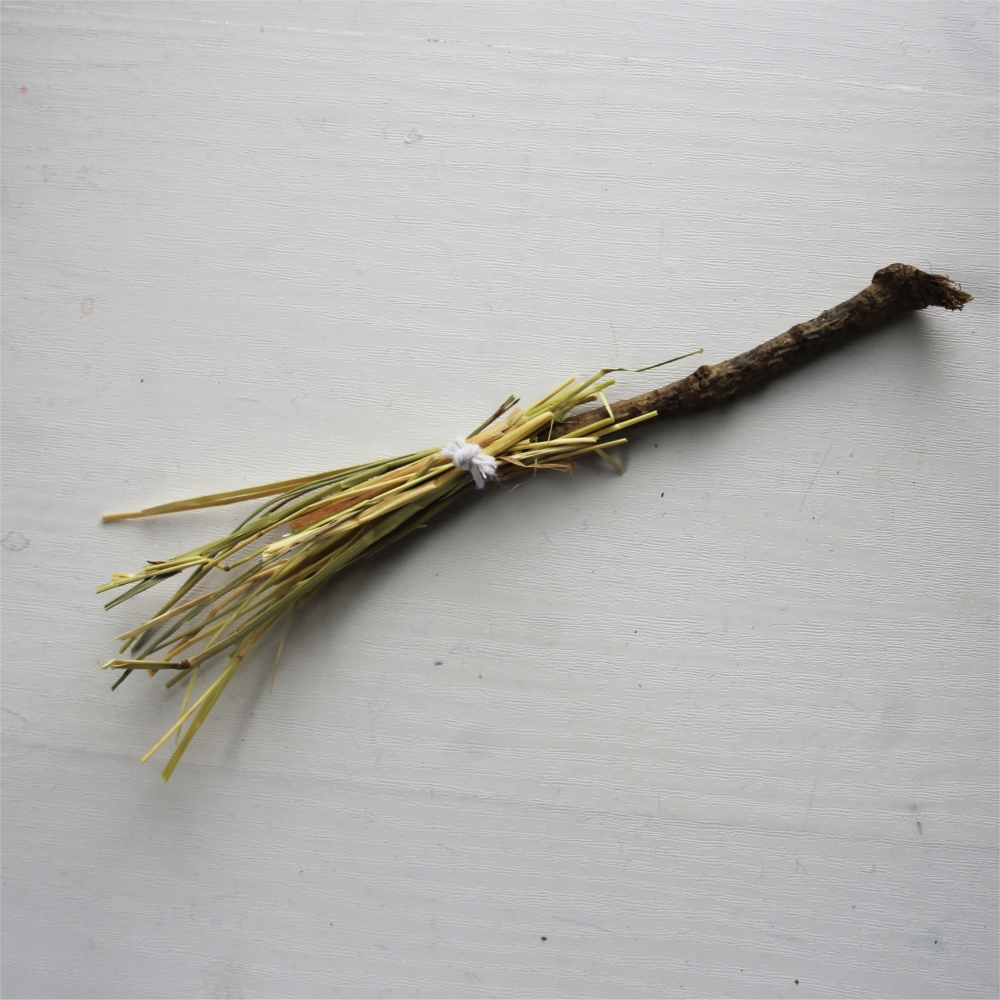
Tie the string tightly to secure the hay.
You now have a little broom to clean up all the bird seeds!
Place it in the bird room.
Broom – Step 1
Broom – Step 2
Broom – Step 3
Broom – Step 4
Broom – Step 5
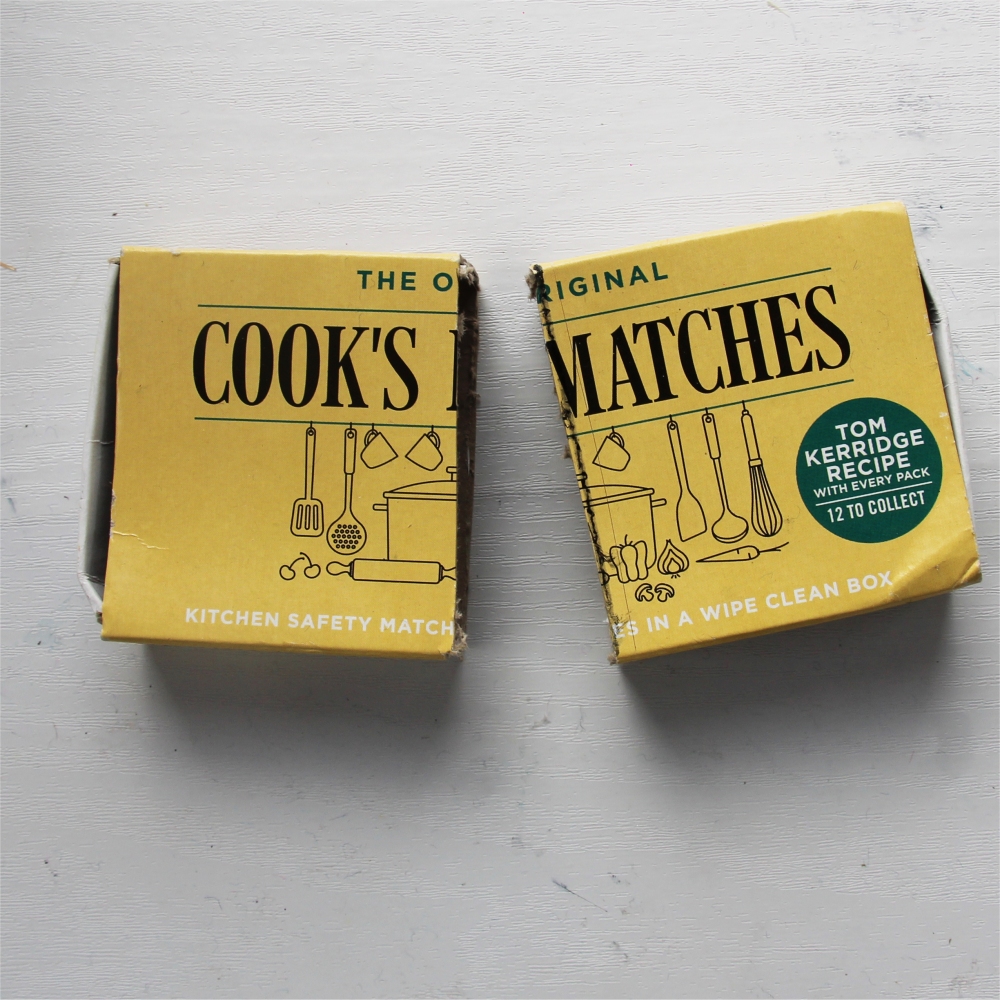
Chest of Drawers
Cut a large matchbox, or a similar sized box, in half.
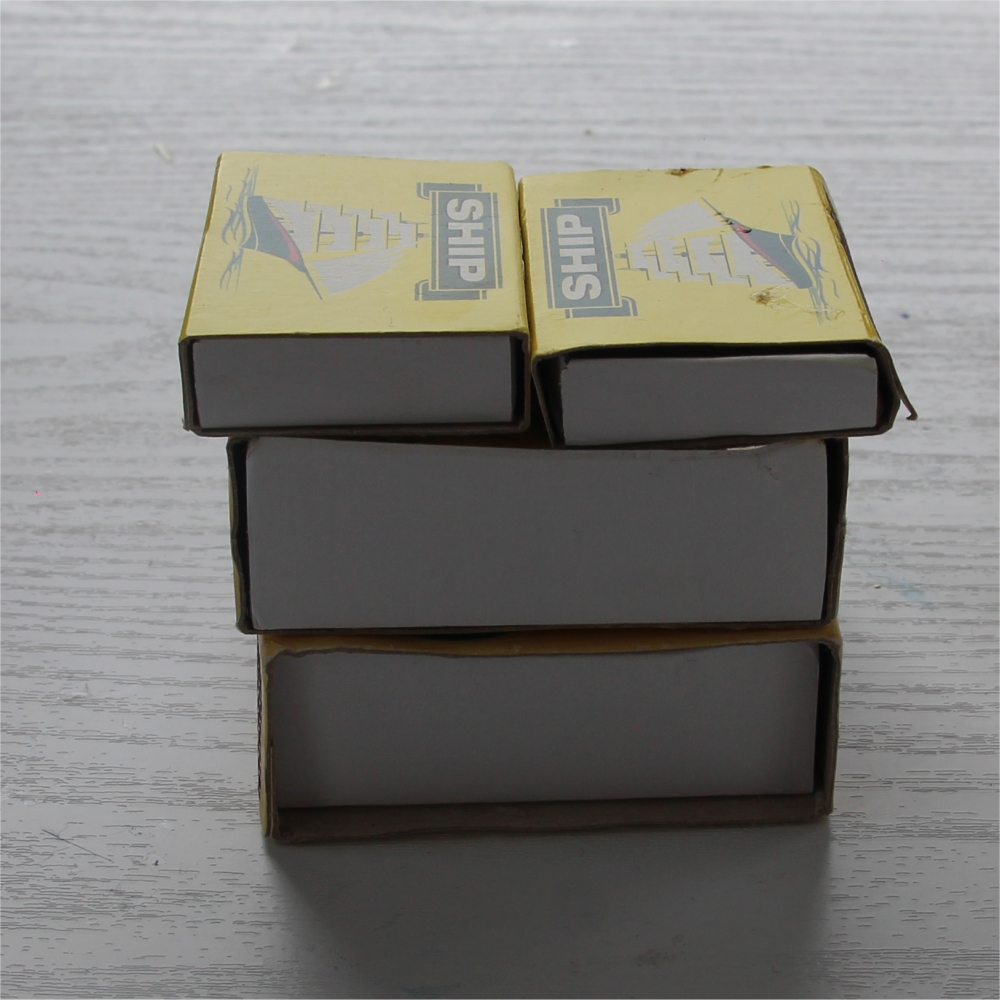
Put these two halves on top of each other, plus two more mini match boxes on top. Your chest of drawers can be bigger or smaller depending on what you like and how many match boxes you have.
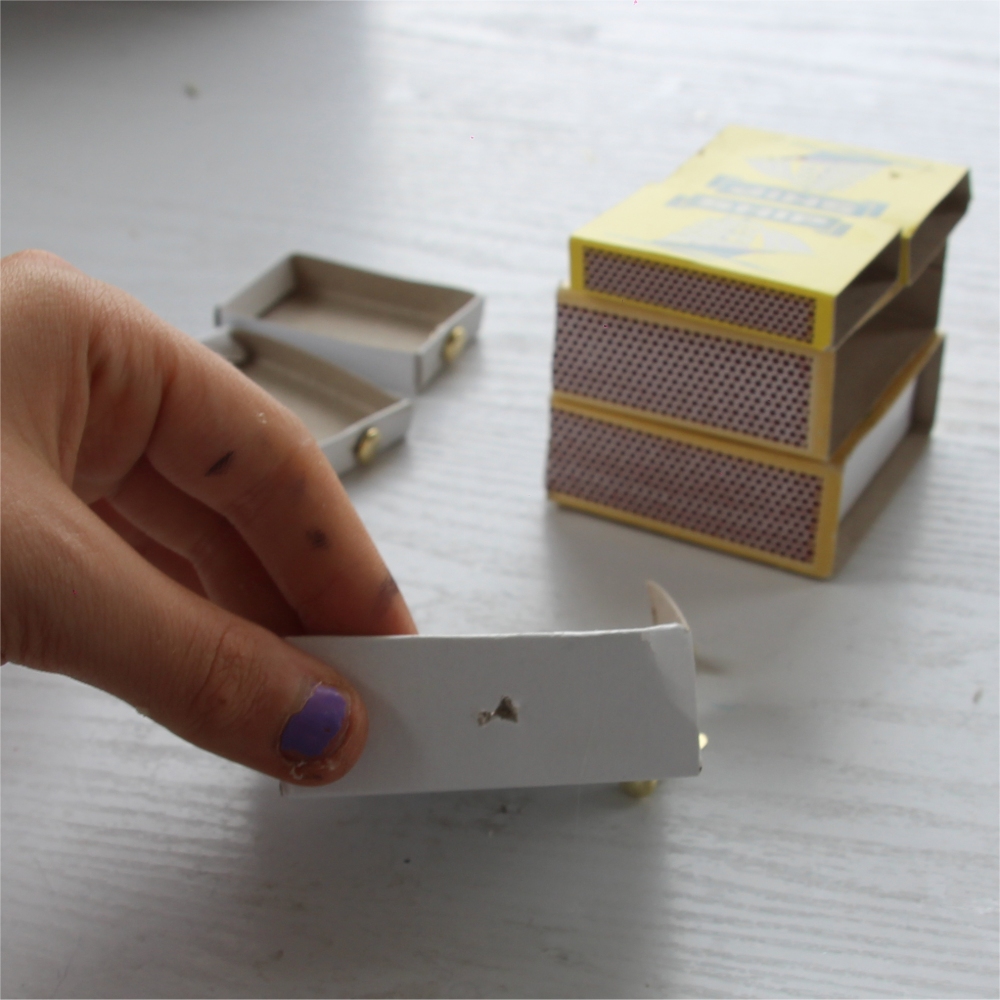
Make a small hole in the front of one of your drawers.
Put a split pin into this hole to act as a drawer knob.
Now put knobs on the rest of your drawers.
Glue your drawers into place using pva or a hot glue gun. Then, if you like, cover the sides with some spare wrapping (or other colourful) paper to decorate it.
Put your chest of drawers in the birds room.
Chest of drawers – Step 1
Chest of drawers – Step 2
Chest of drawers – Step 3
Chest of drawers – Step 4
Chest of drawers – Step 5
Chest of drawers – Step 6
Chest of drawers – Step 7
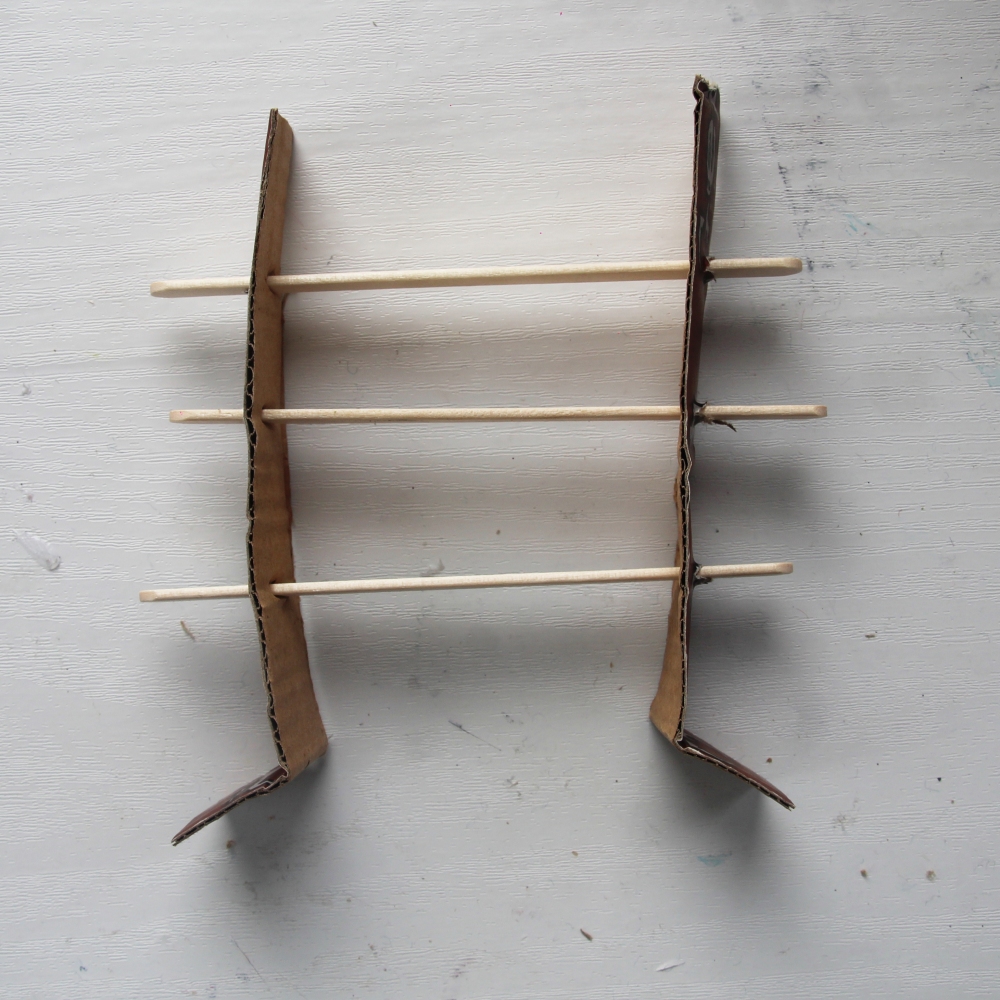
Shelves
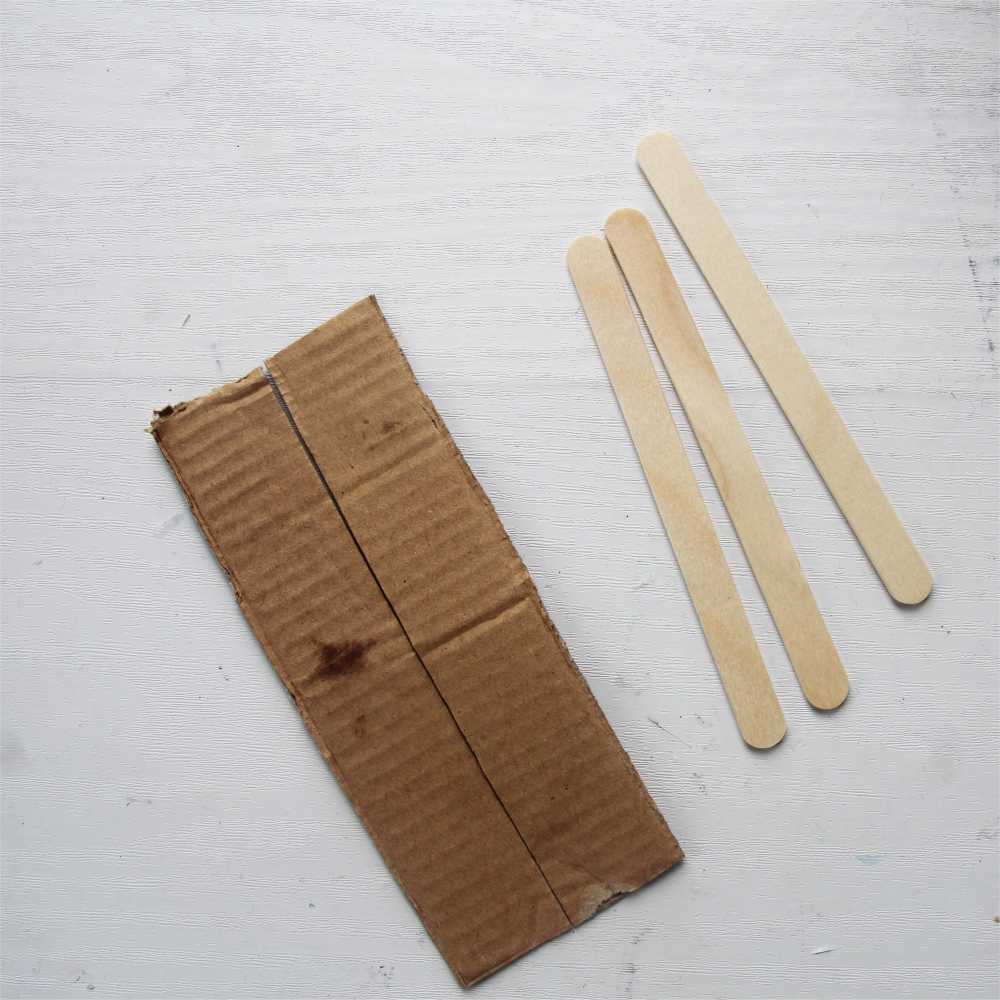
You will need two pieces of thick card cut to about 12 cm tall and 3 cm wide. You will also need 3 lollipop sticks.
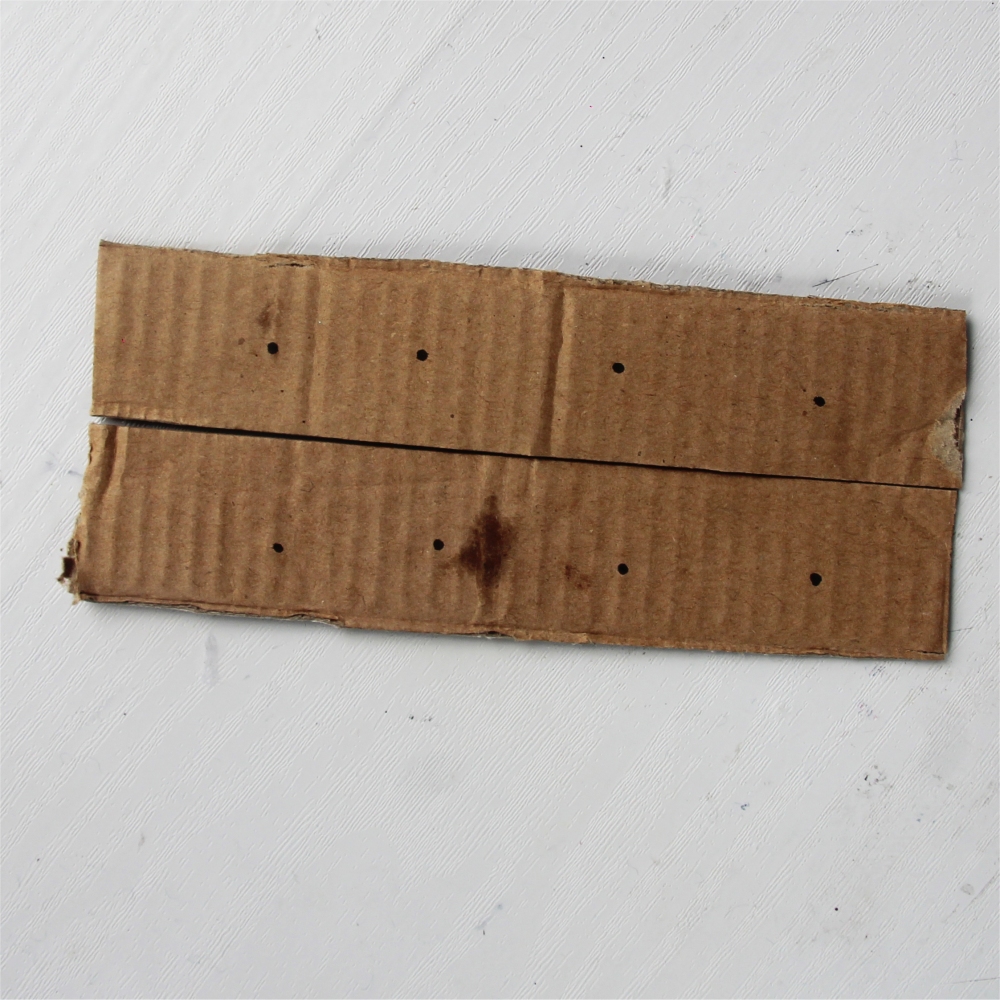
Mark four points at equal distance along both pieces of card. Make sure the points are at the same place on both pieces of card so you don’t end up with wonky shelves!
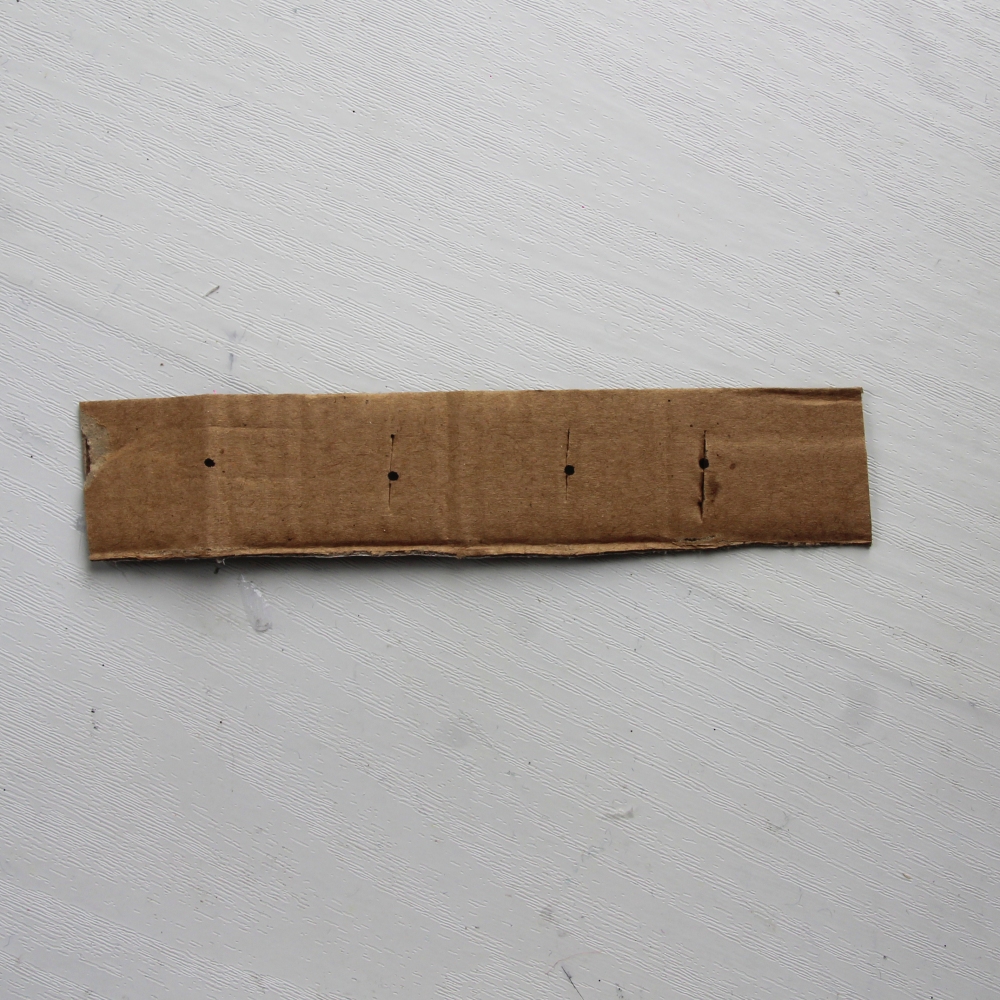
Cut a small slit along the top three points of both pieces of card.
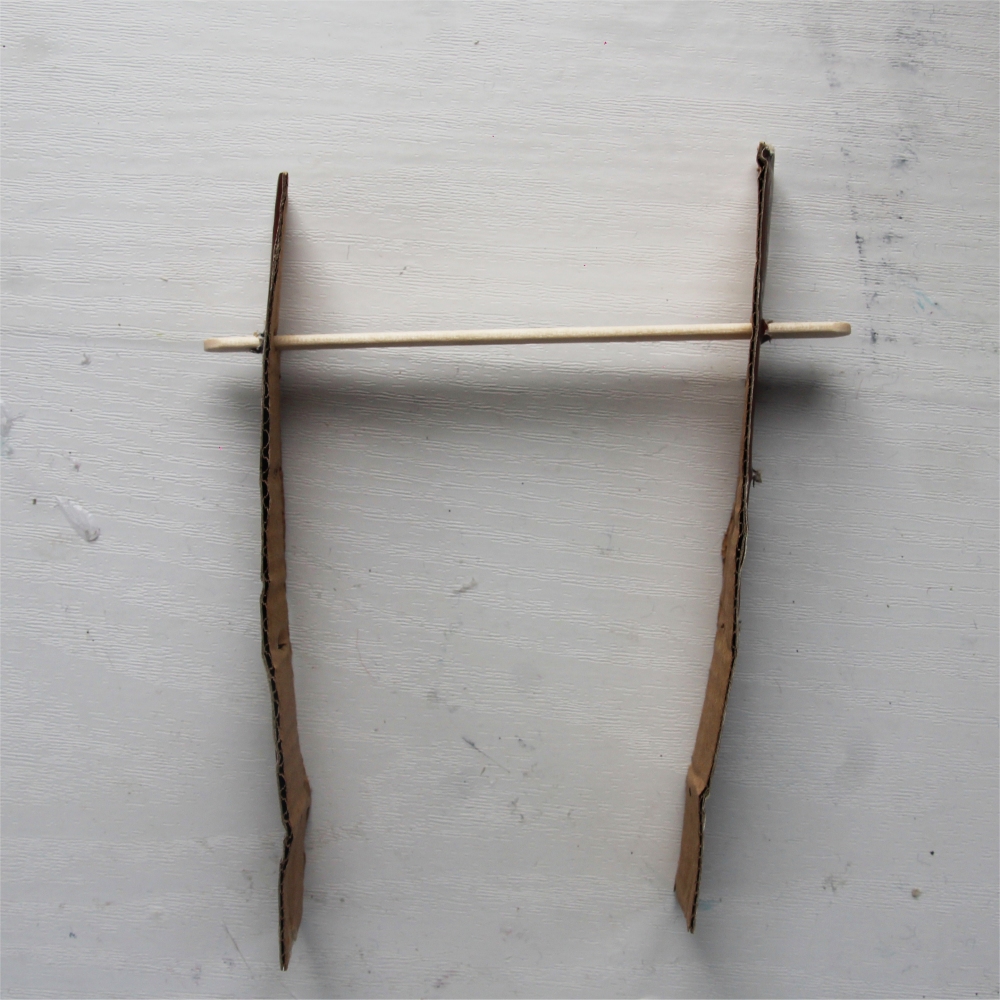
Slide a lollipop stick through one piece of card then into the matching point on the second piece of card. Repeat this with your next two lollipop sticks.
Fold the bottom of both pieces of card out, along the last point, to help balance the shelves.
You could stick on some small ornaments like tiny shells or toy cars. These could help give an idea of what your bird is like. Tip: If you don’t have what you want, why not draw it on card, cut it out and stick it on.
Place the shelves into the box. If they don’t stand up then stick them down using a hot glue gun or pva glue.
Shelves – Step 1
Shelves – Step 2
Shelves – Step 3
Shelves – Step 4
Shelves – Step 5
Shelves – Step 6
Shelves – Step 7
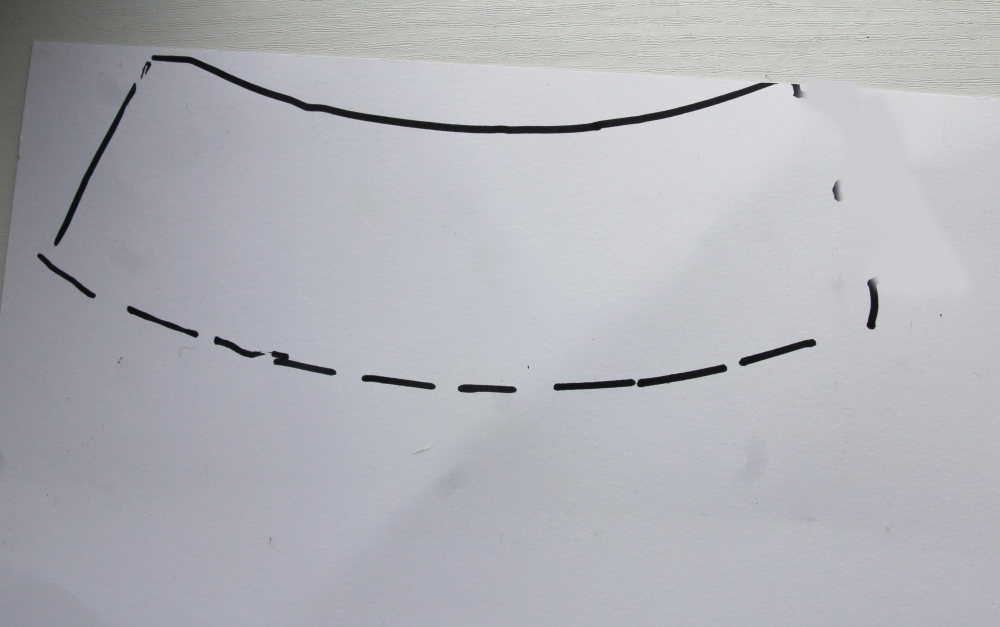
Lamp
Draw the shape shown onto card. Hint: It may help to draw the smaller curve first and use a ruler to help make sure the bigger curve is the same distance from the small one all the way round.
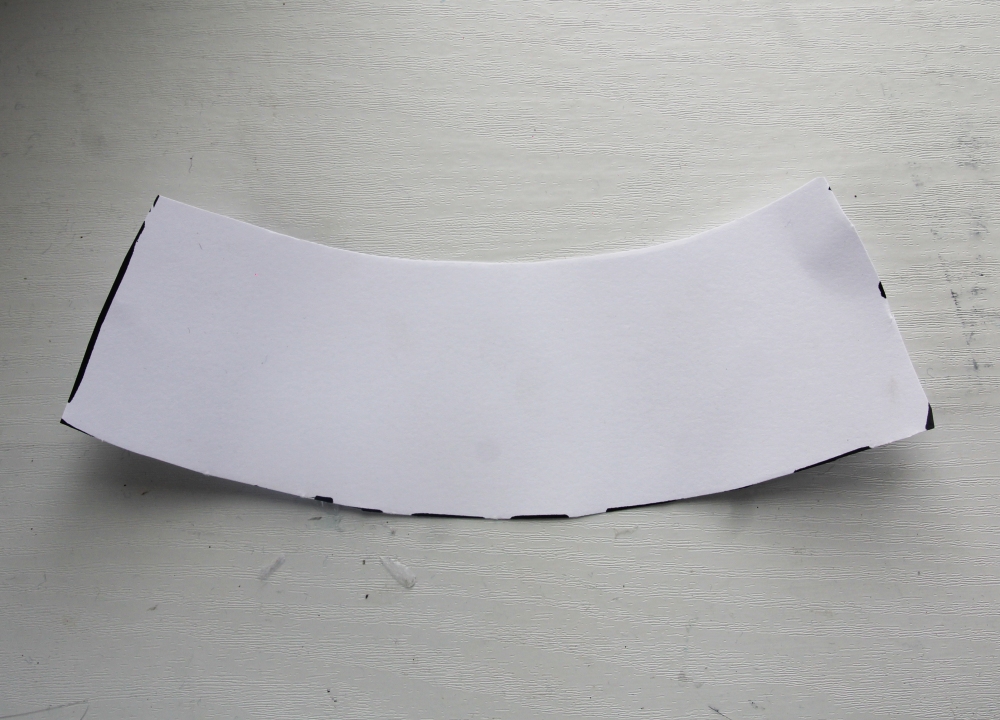
Cut out the shape.
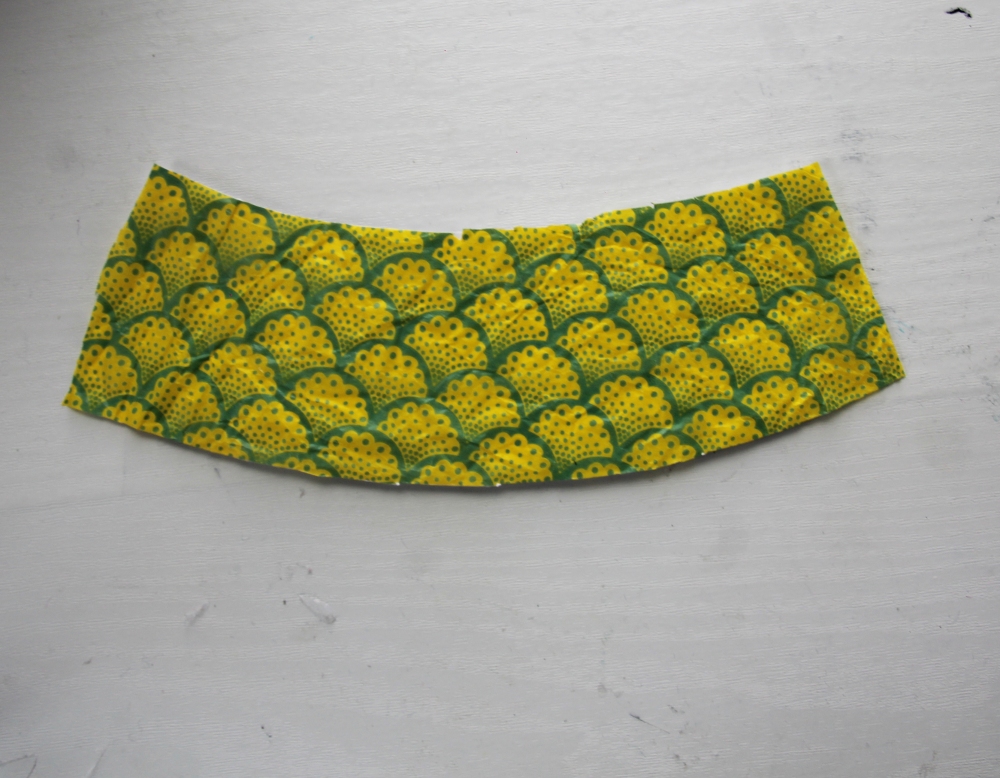
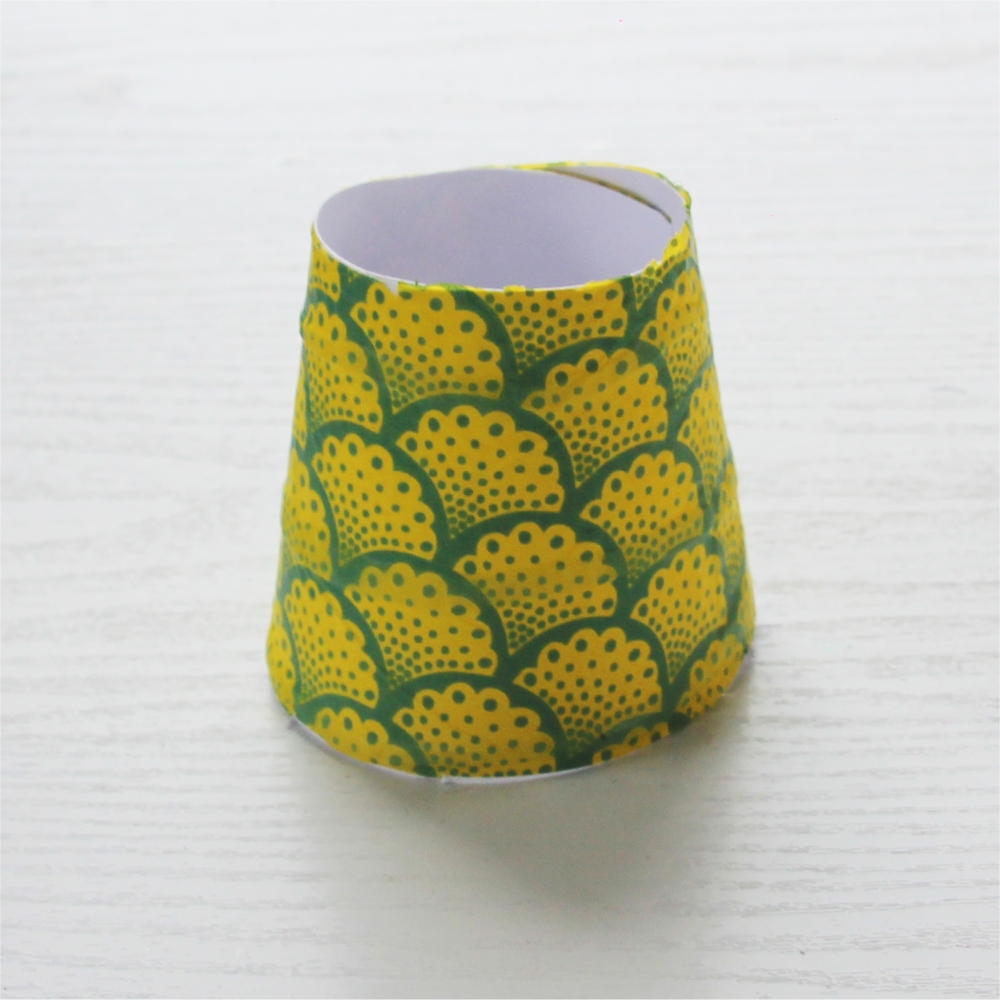
Using double sided tape or glue, stick on some paper or tissue to the shape to decorate it. If necessary, cut round the edge of the shape to keep it neat.
Roll the shape into a lampshade shape and fasten with tape or glue. Make sure the gap at the top of the lampshade a tiny bit bigger than the size of a matchstick/cocktail stick (depending on what you are using)
If you have some pom poms, tassels or ribbons, you could decorate the lampshade with it.
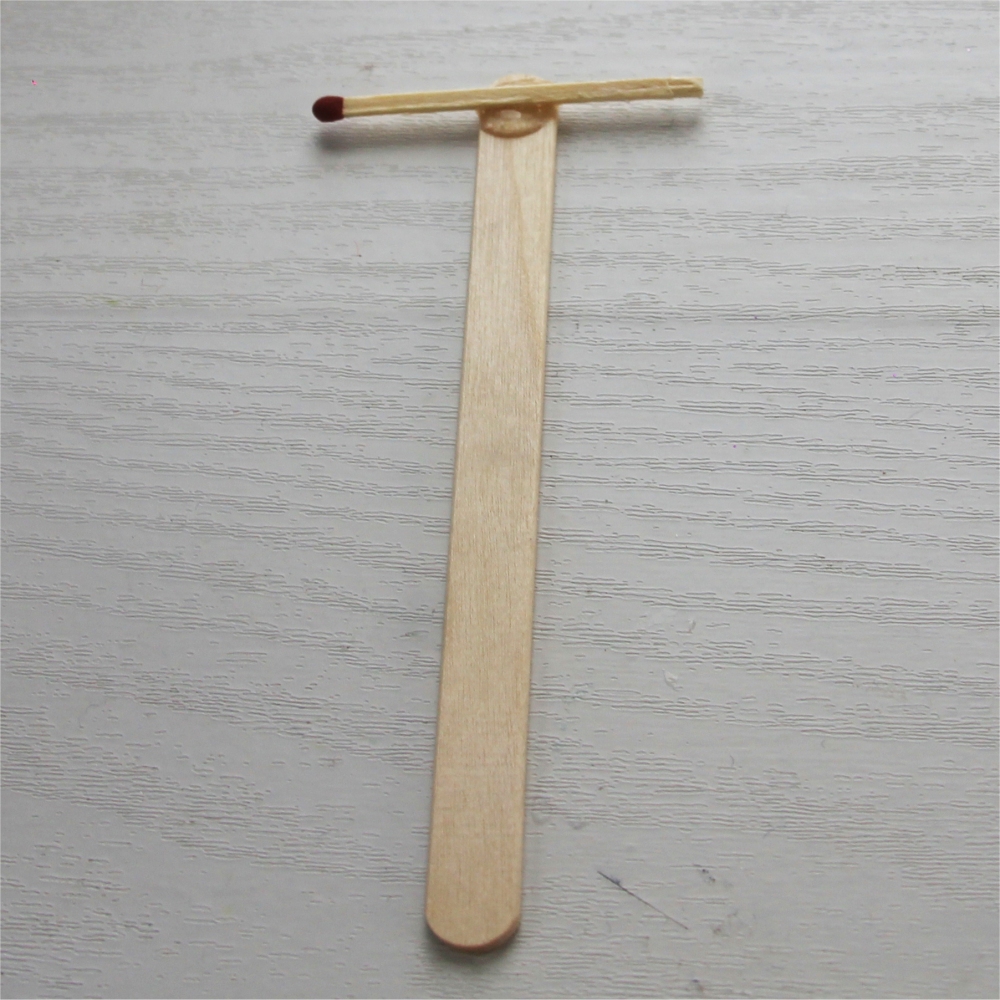
To make the pole we have attached a matchstick horizontally to the top of a lollipop stick. You might not have these exact materials but just find what you can. You could use a cocktail stick instead of matchstick, for example. We’ve used a hot glue gun to attach them, but tape would also work.
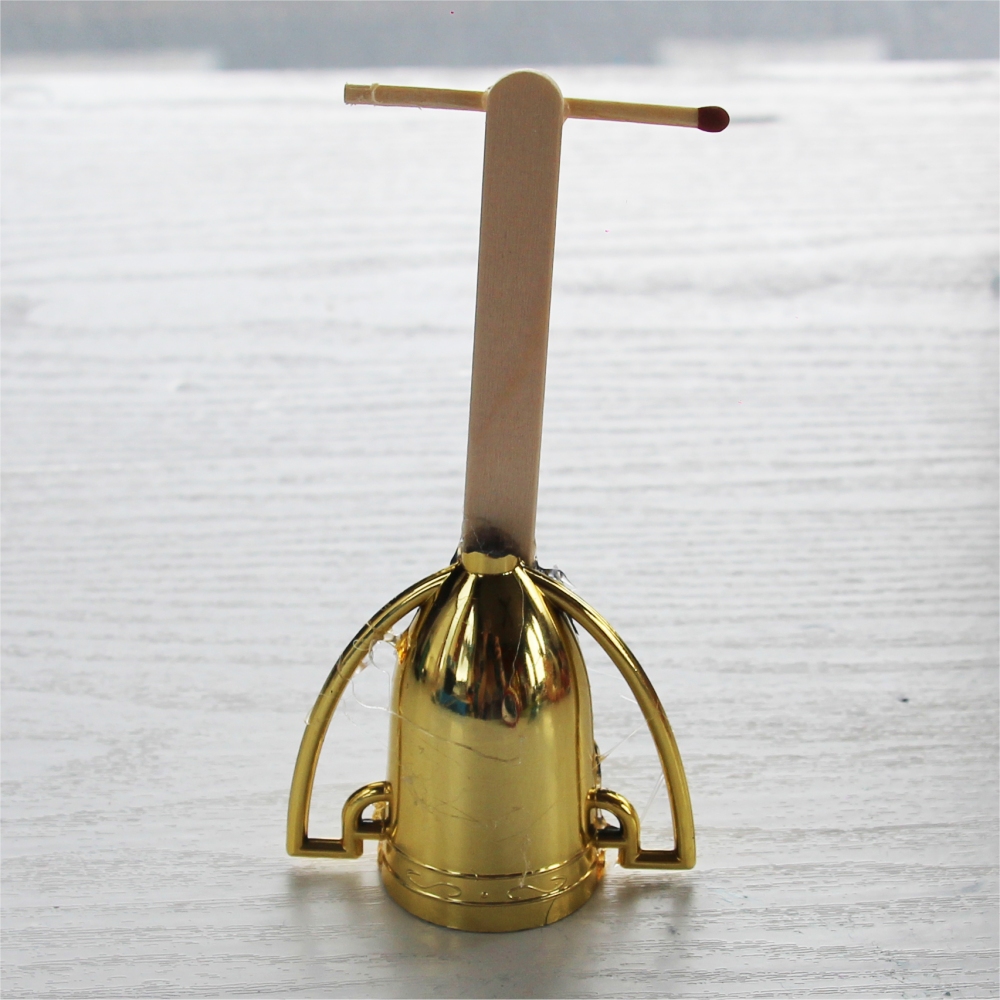
Now you need to find something for the base. You can use any little bits and bobs ready for the bin. For example, we managed to find an old broken plastic trophy, but you could use a lid, or the bottom of a pringles tube cut off for example. Whatever you find, you will need to cut a slit in the middle at the top to slot your pole in. Don’t forget to decorate it too!
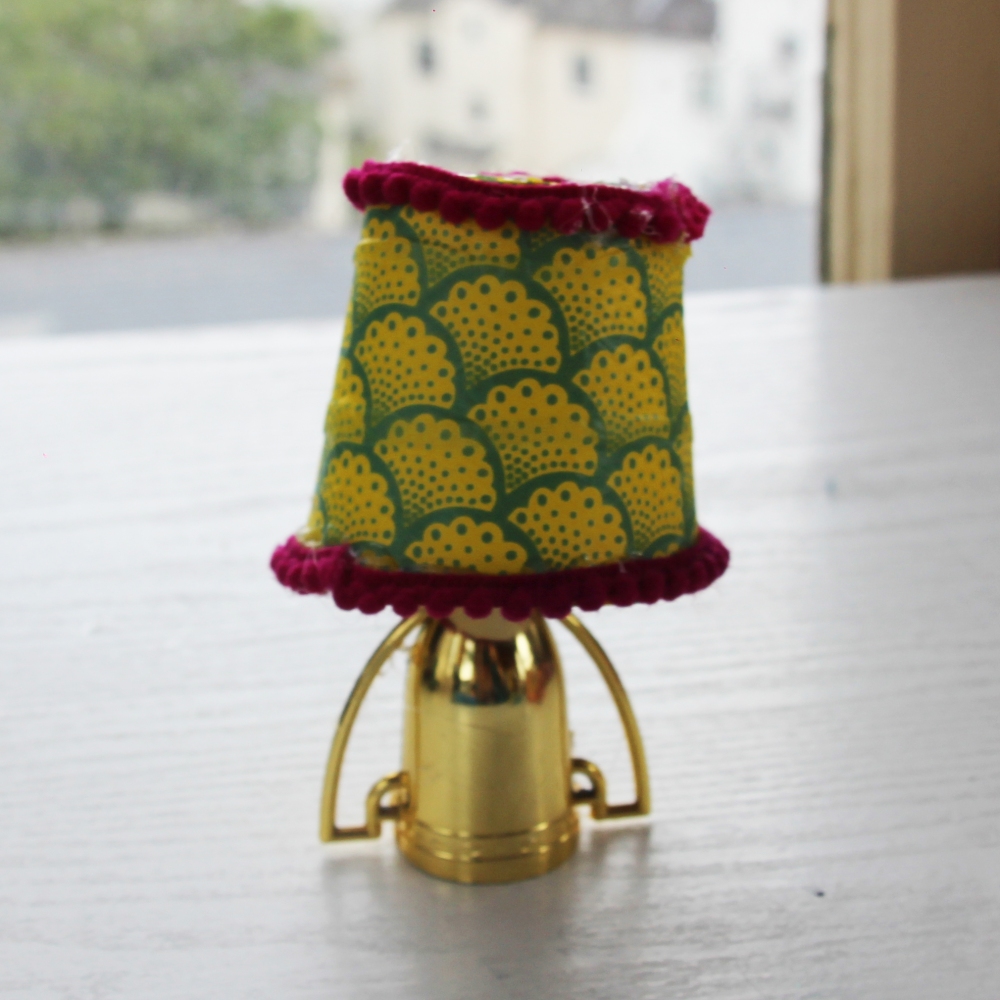
Now carefully place the lampshade on to the pole, wedging the matchstick/cocktail stick at the top so it stays up. You could make a small hole on either side and slot it in that way if the wedging isn’t working.
Lamp – Step 1
Lamp – Step 2
Lamp – Step 3
Lamp – Step 4
Lamp – Step 5
Lamp – Step 6
Lamp – Step 7
Lamp – Step 8
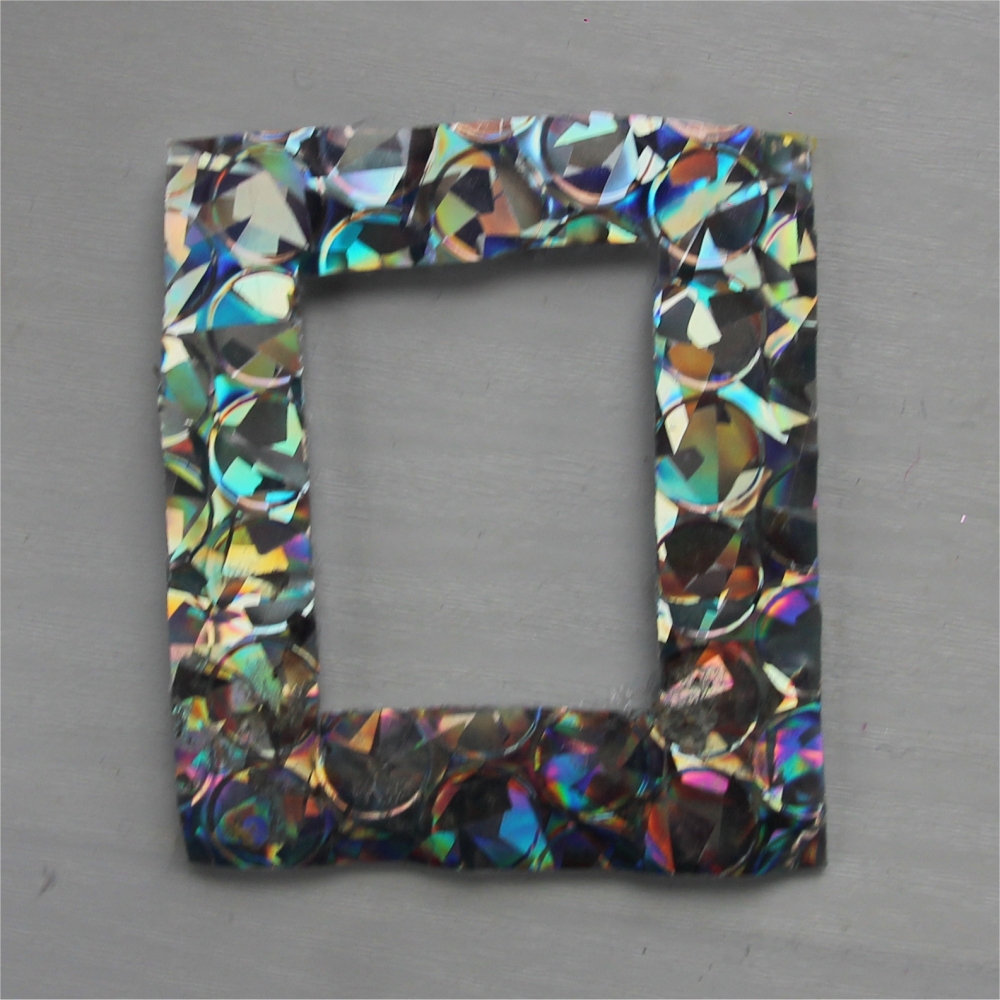
Picture Frame
Cut out a rectangle shape from a piece of card or paper that you think would make an epic frame. Once you have cut the rectangle, cut out a smaller rectangle in the centre. Tip: If you don’t have the right paper/card, why not decorate some! If you want, you can make your frame a fancy shape too!
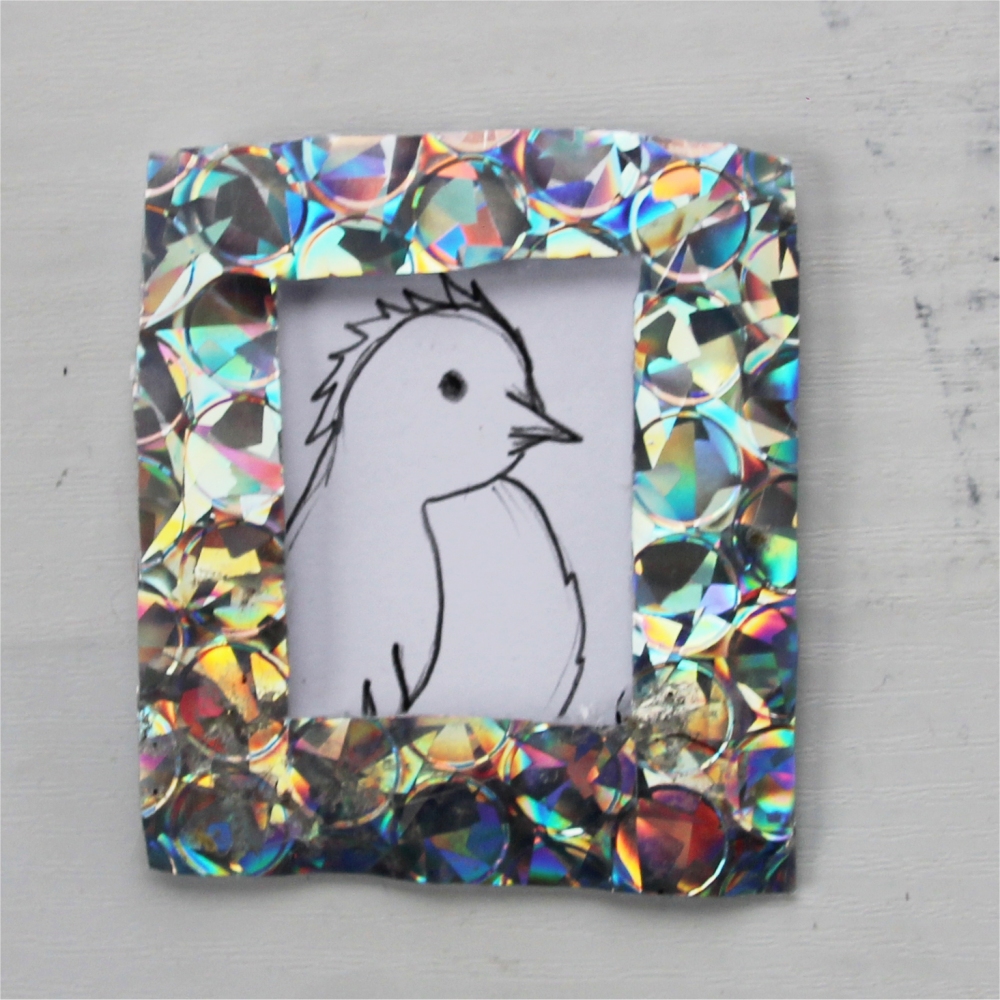
Draw a picture, the same size as your smaller cut out rectangle. Cut it out, leaving some space around the picture for glueing. Stick the edges of the picture to the back of the frame so that you can see it from the front.
Place the frame and picture on the wall of the room wherever you think looks good. You can make as many as you like, perhaps your bird is an art collector?
Picture frame – Step 1
Picture frame – Step 2
Picture frame – Step 3
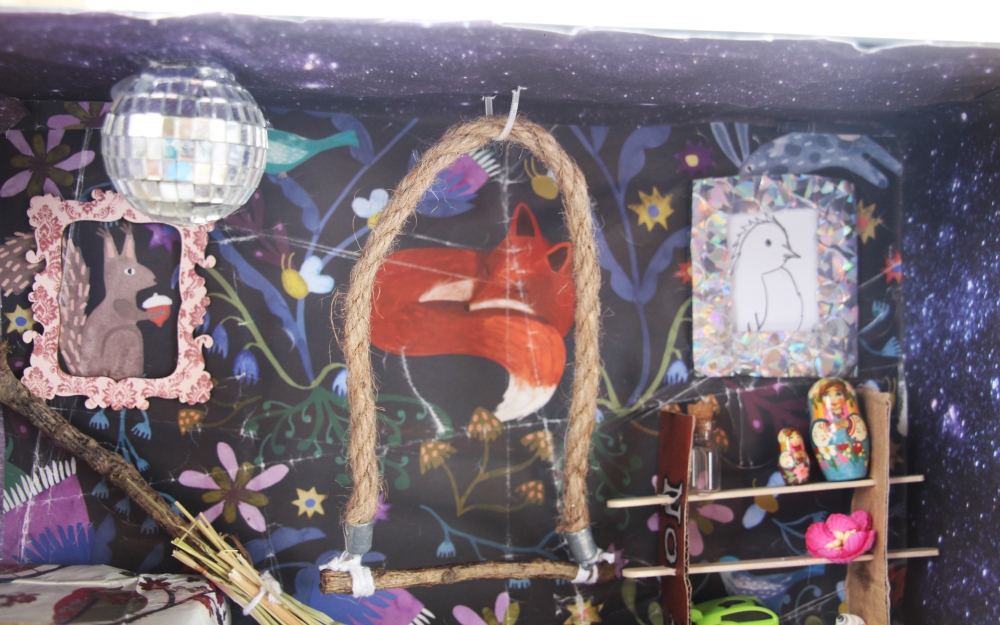
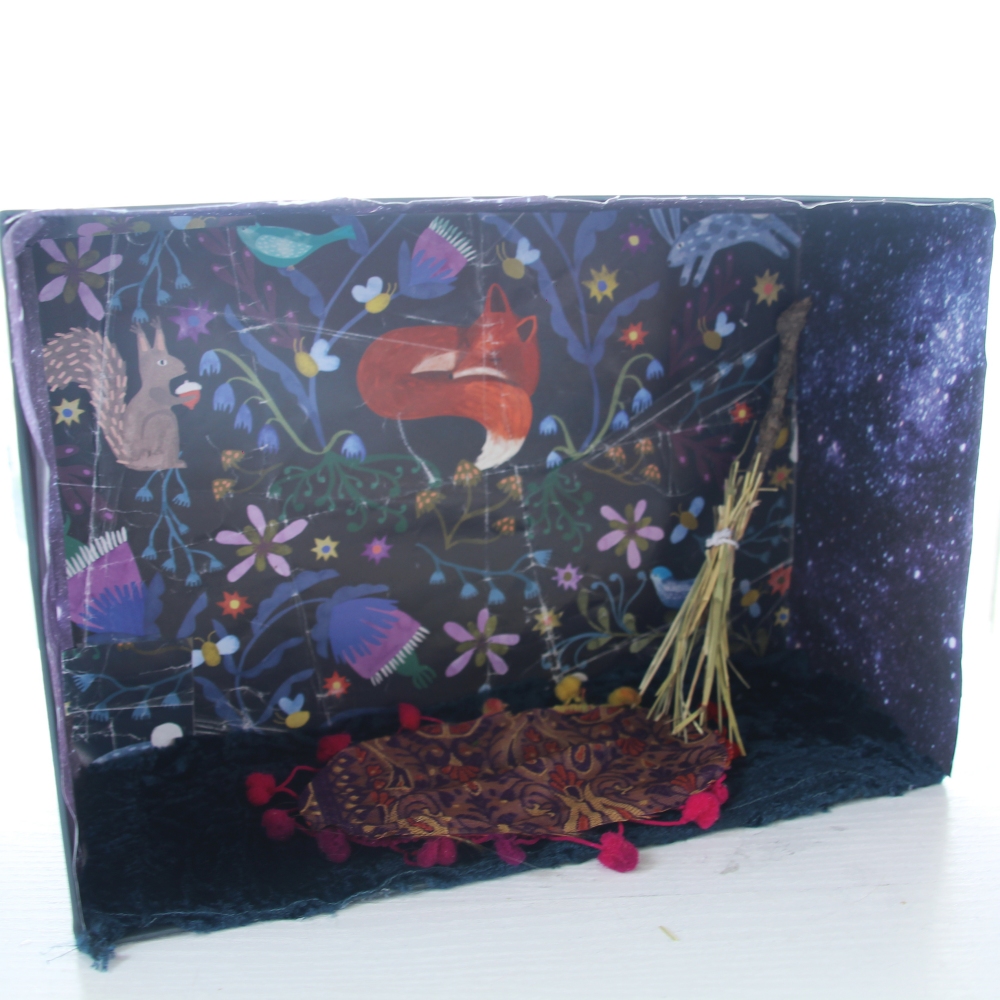
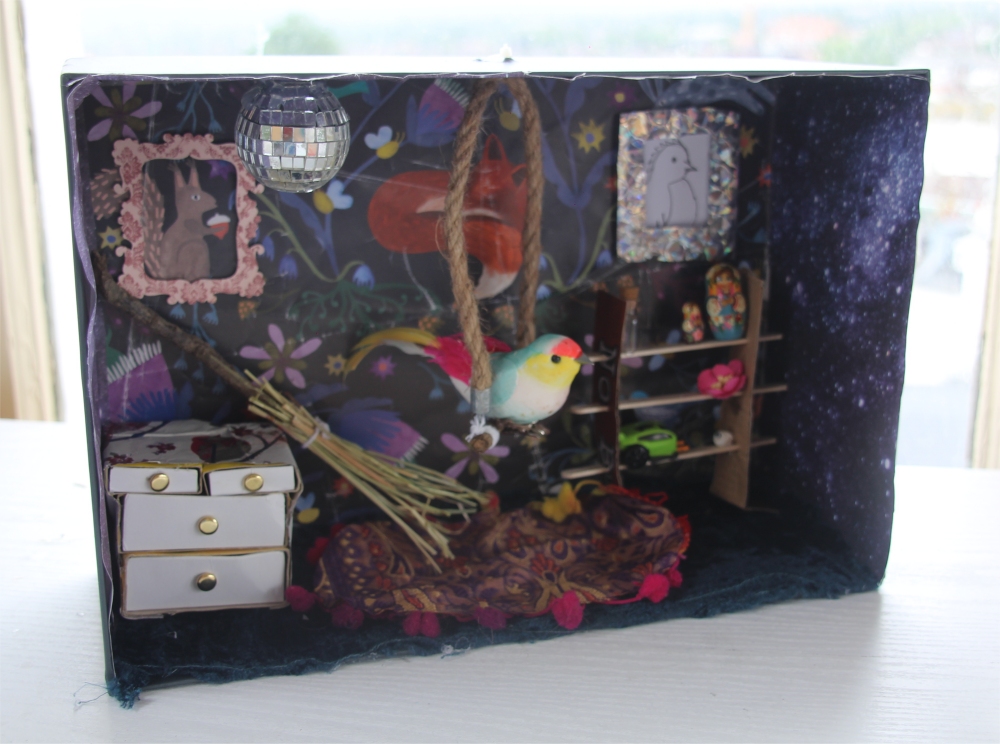
Your bird sitting room should now be looking amazing!
Further activities -extension
Here are some ideas of some extra touches you could add to your bird room if you want.
Curtains
If you would like to make curtains for the front, cut two pieces of material of equal size. The size of the material will be different depending on the size of your box, it needs to be slightly taller than the box itself so that there is some slack when you pull it to the side. You may also want to make the material as wide as half the box so that you can glue them from the centre.
Glue the top of the curtains to the top of the box.
Now, using some ribbon or string, or fake pearls like we have, make a curtain holder which will keep it at the side. Glue the ribbon to the side of the wall at the front, somewhere in the middle. Wrap it around the curtain then glue the other side of it down next to the first. You should end up with some great looking curtains!
Tip: If you glue 2 small pieces of ribbon, or string, instead of one (one on each side of the curtain) you can then tie it into a bow around the curtain. This means you could tie and untie the curtains easily whenever you wanted.
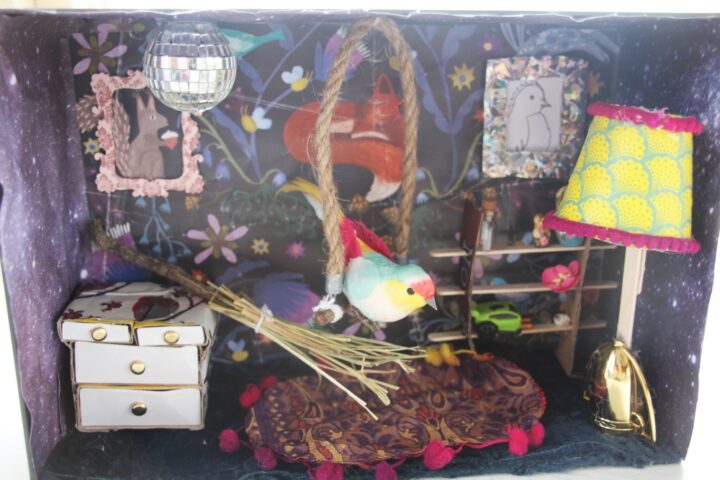
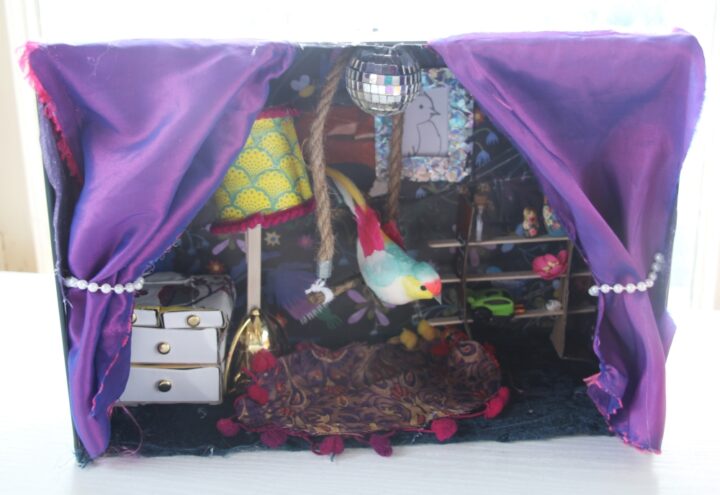
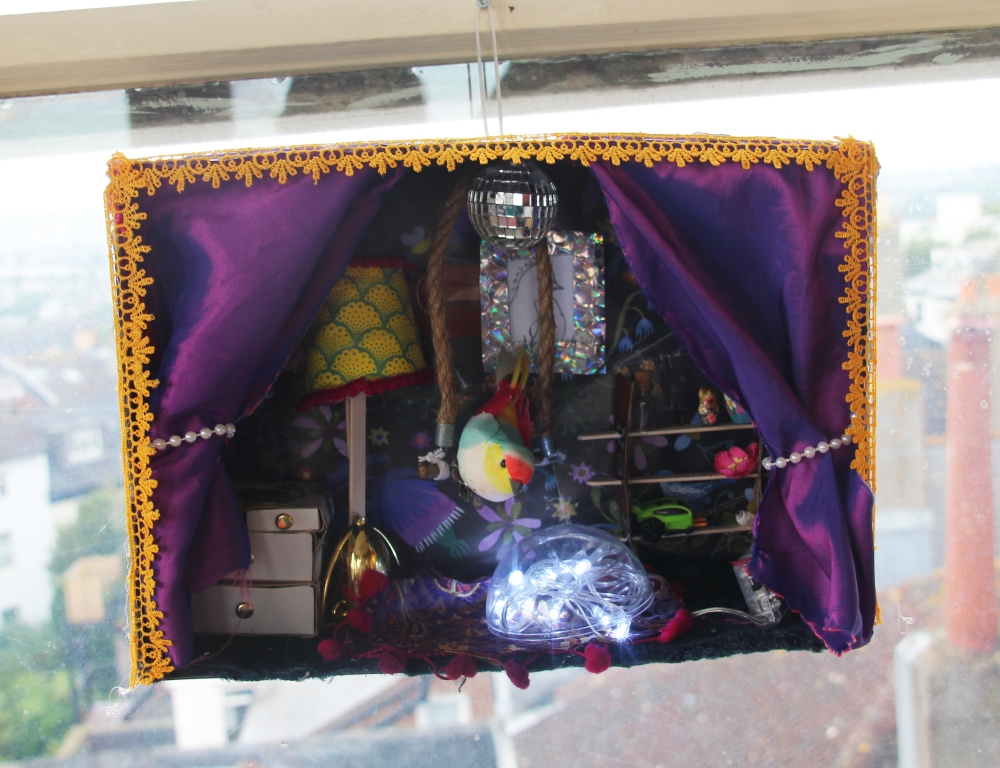
Your finished room!
Why not add some curtains?
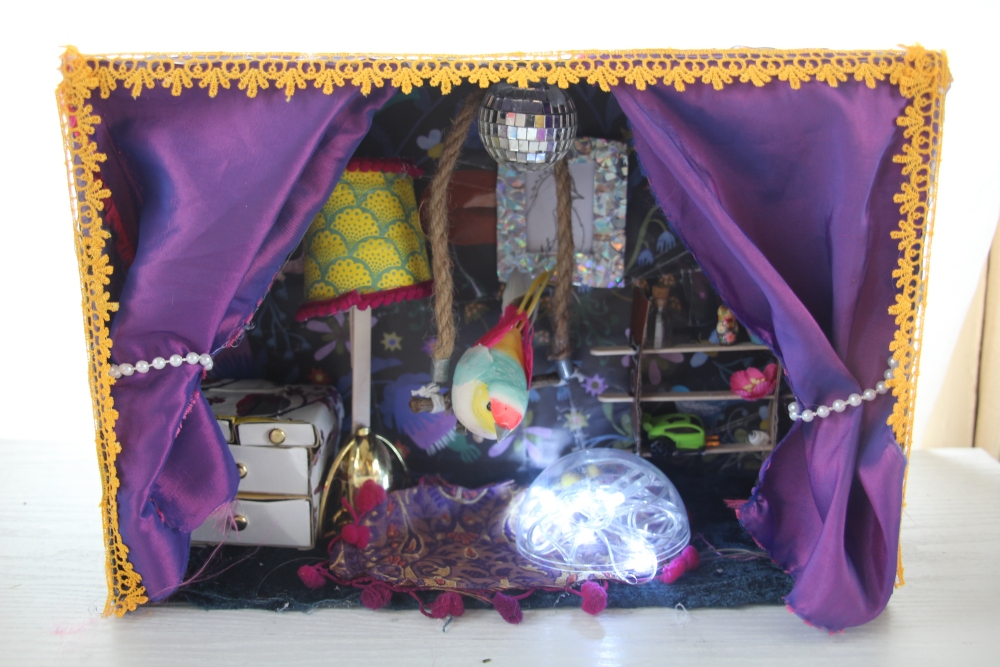
We’ve added some lace trim to the outside of the box to bring it all together and to hide the edges of the curtains.
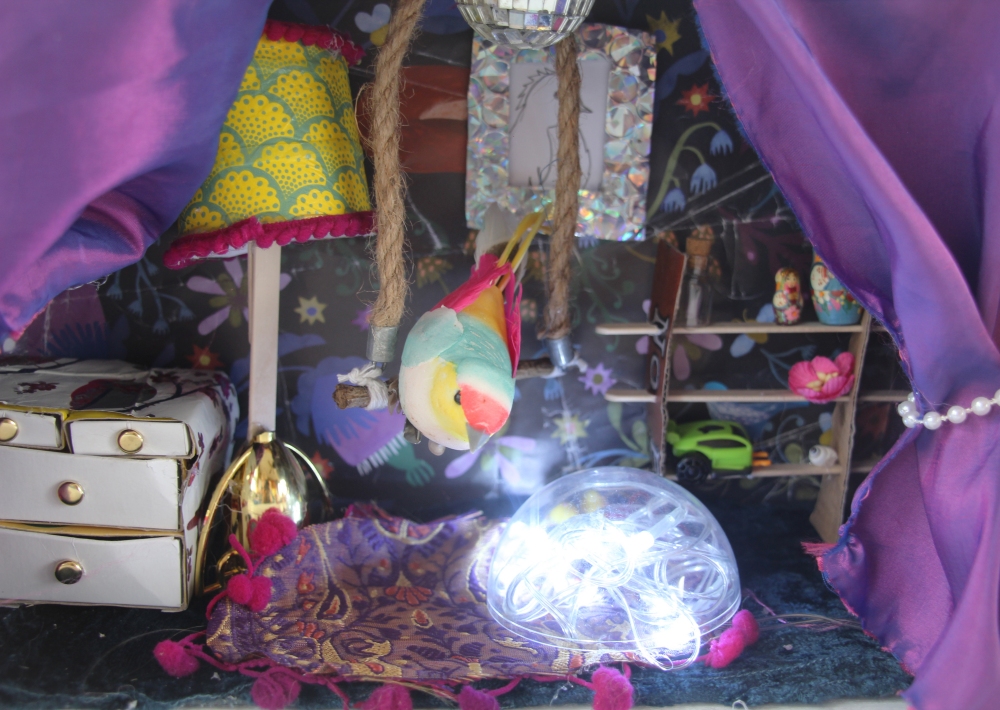
We’ve also added some small decorations like a mini disco ball. Have a look at what random bits and bobs you can find around the house to add. You can experiment with all sorts of things at this point! Fairy lights also make a great addition to add a bit of magic to the box.
Hint: Cocktail sticks make great mini umbrellas!
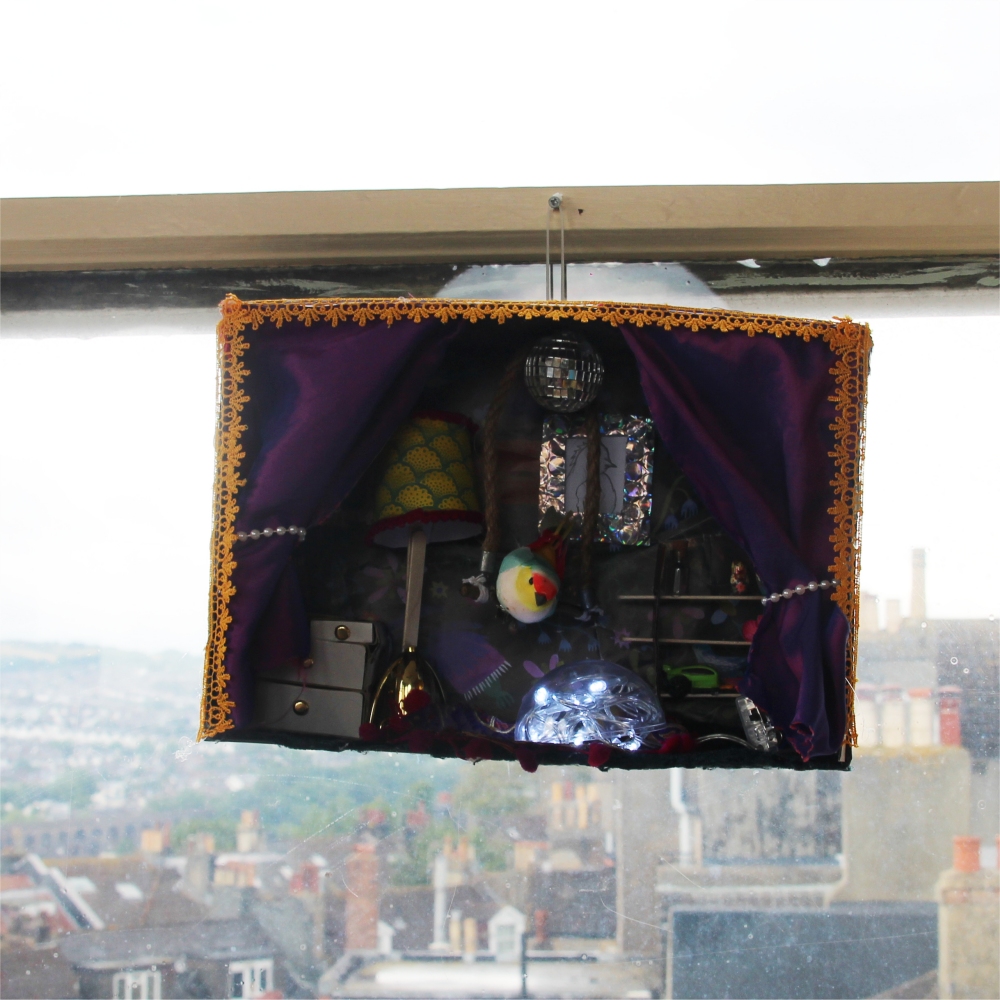
You can hang up your bird room if you want. We’ve added a cable tie to the top of the box, using the holes where we hung the bird perch. You could also use string.
Add some lace trim
Add other small decorations
Why not hang your bird room in a window?
All done!
Just don’t forget to add a little bird friend who can enjoy the room when it’s finally done! Why not draw one if you can’t find one.