There’s a lot of old rubbish in the world eh? It is high time we clean up this mess! It is also high tide! How about we attend to both matters in hand and build ourselves some boats from recycled rubbish about our homes?
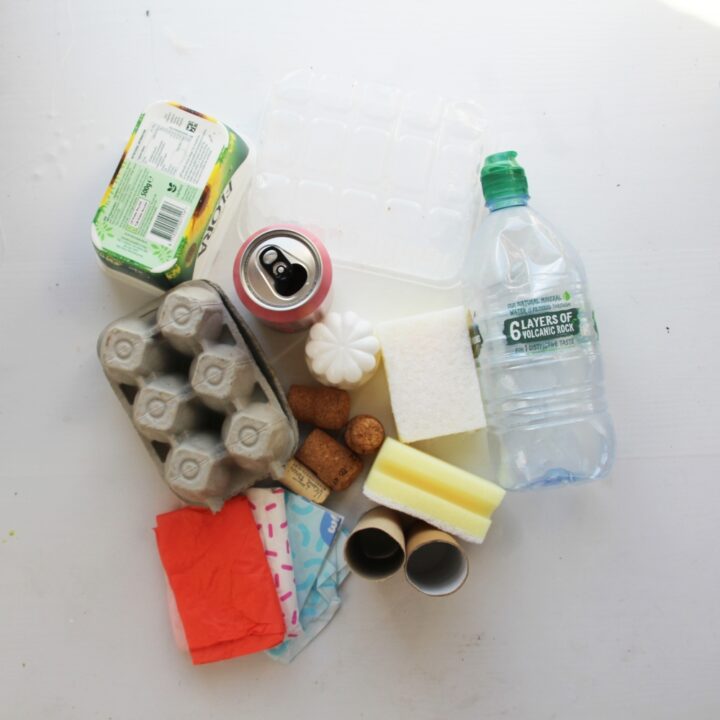
For these boats you will be needing to collect lots of useful odds and ends that might have been thrown in the bin. Save them, wash them and then get making! Obviously everyone’s trash is different so feel free to alter the instructions to suit what you have at your…disposal!
Difficulty Level:
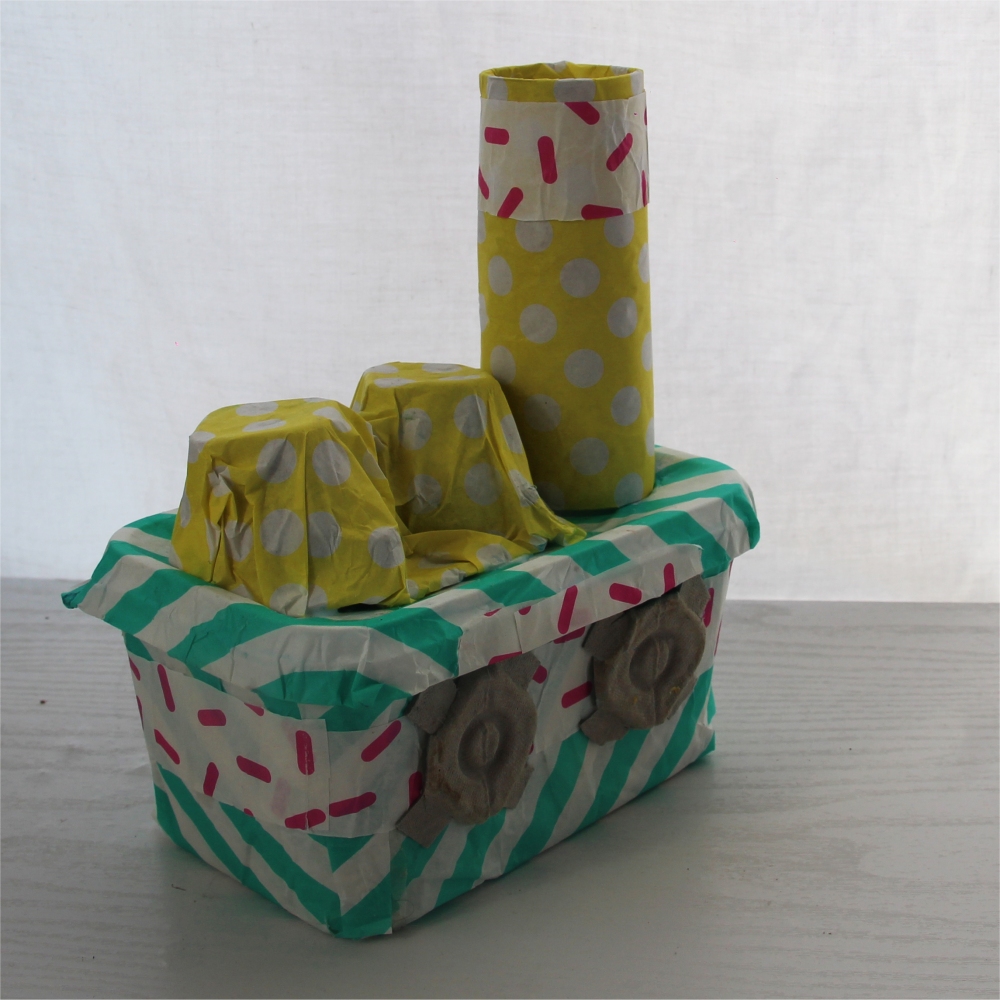
Margarine Tub Boat
What you need:
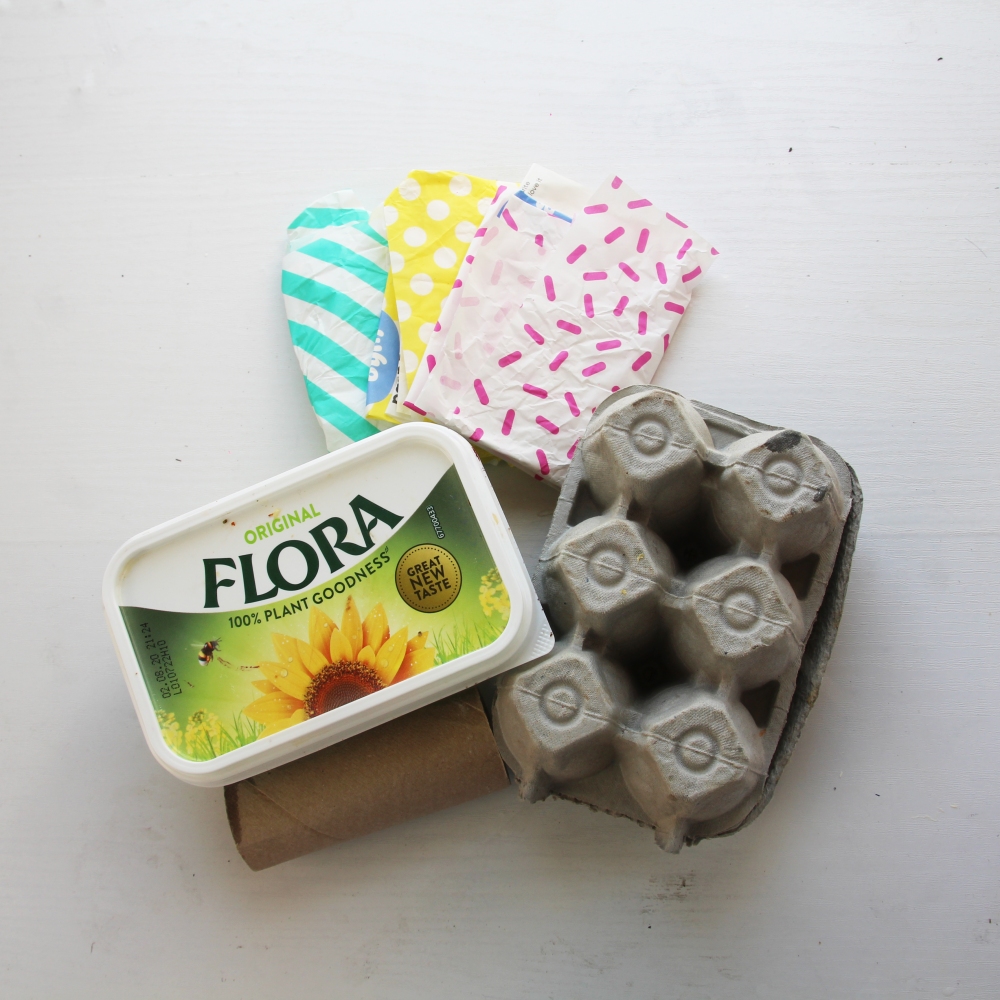
Egg carton, margarine tub, toilet roll, recycled paper (for example old wrapping paper/newspaper/magazine/thin paper bags)
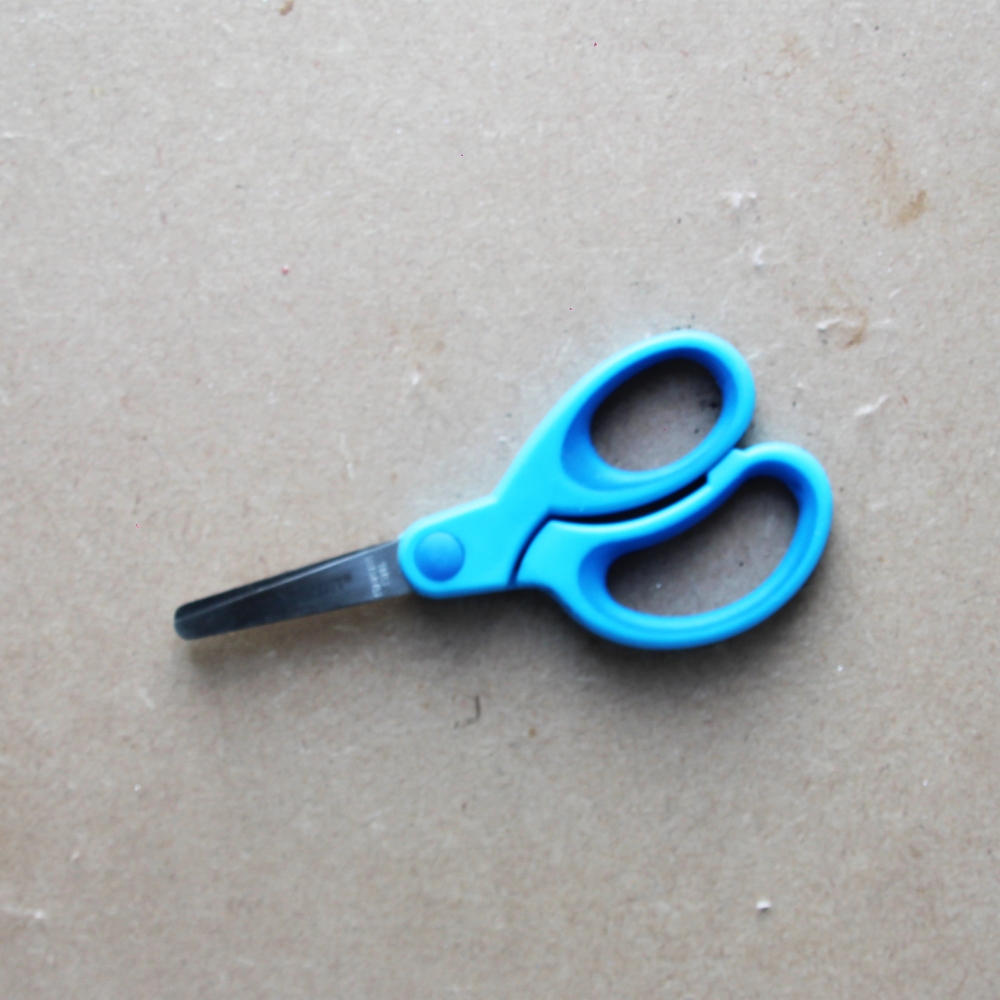
Scissors
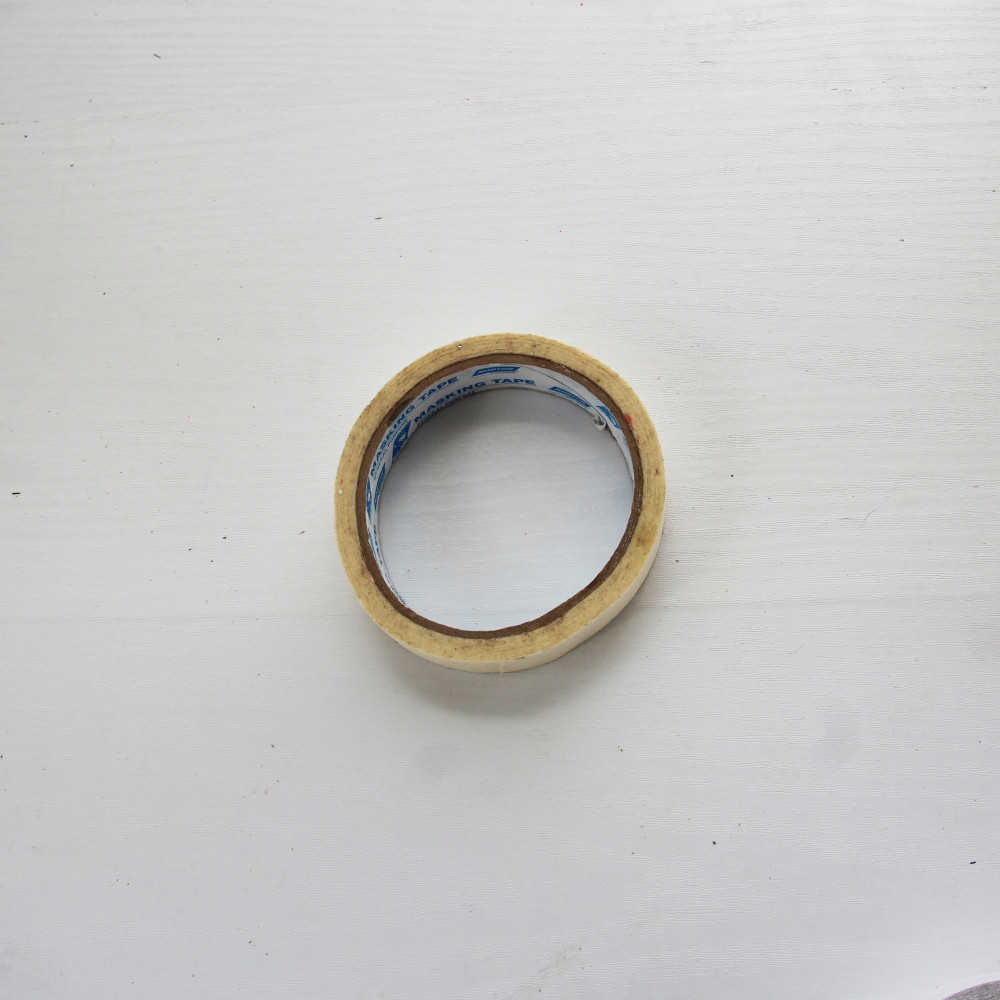
Double sided tape/glue/sellotape (any are fine, but we recommend double sided tape if you have it)
Method:
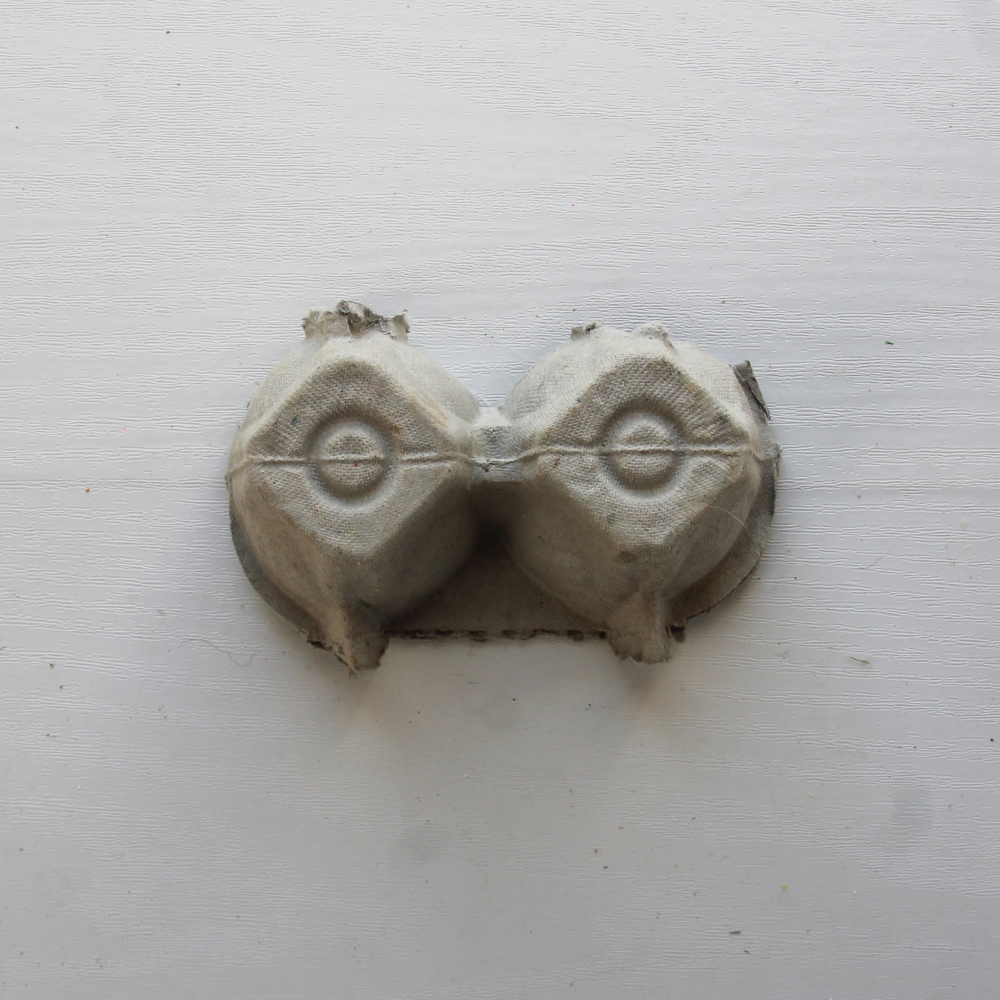
Cut out two sections of an egg carton and put aside for later.
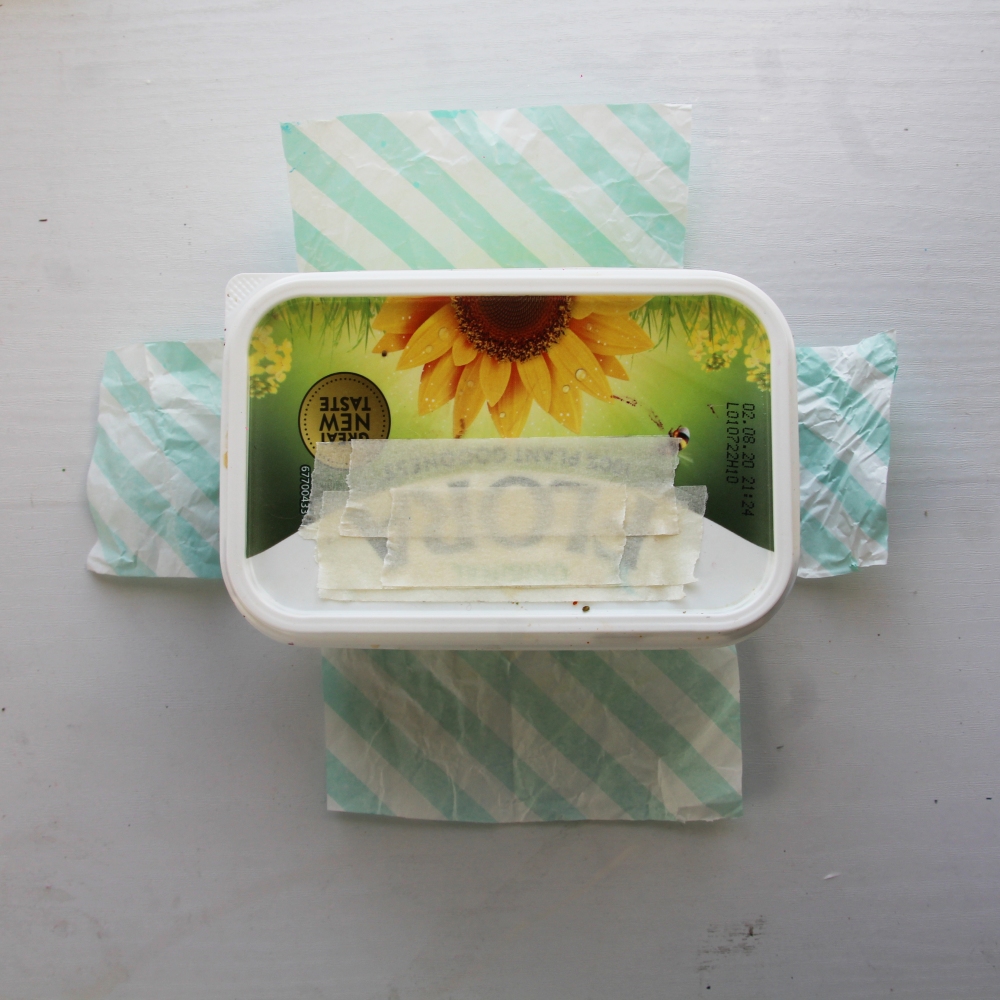
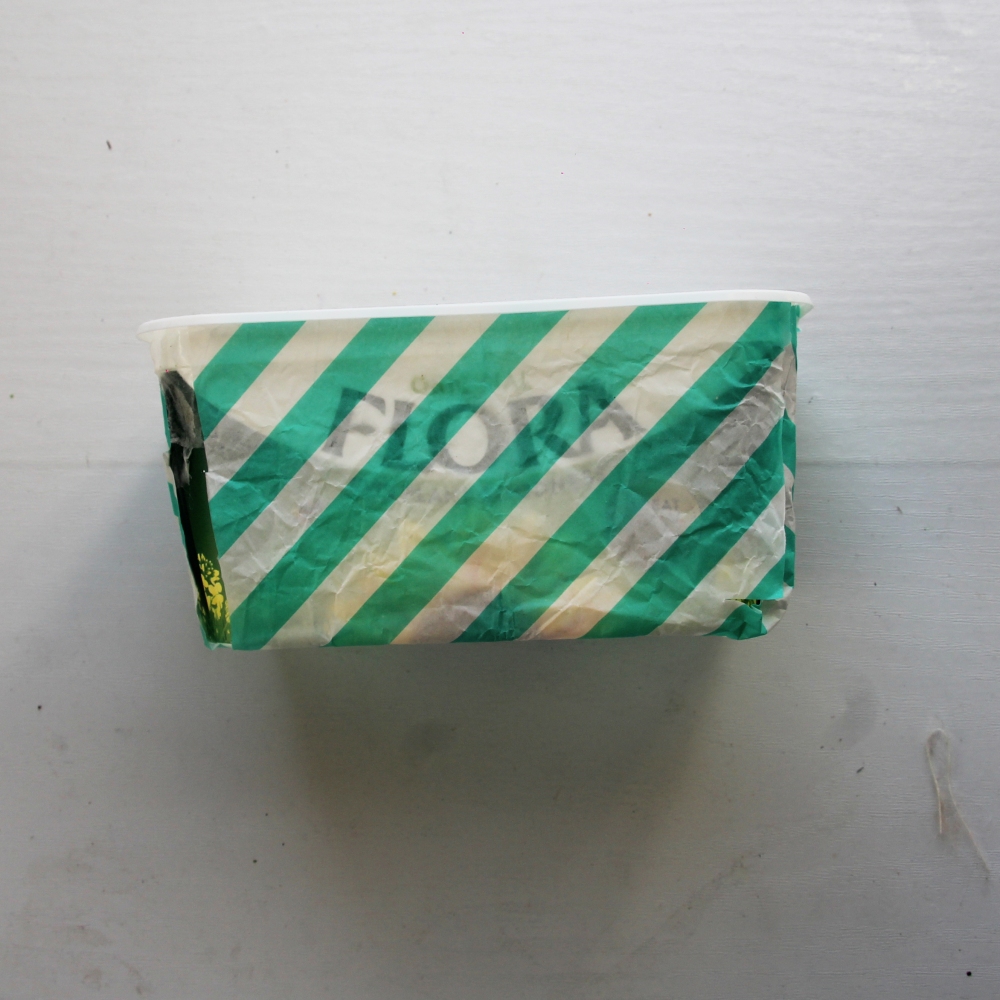
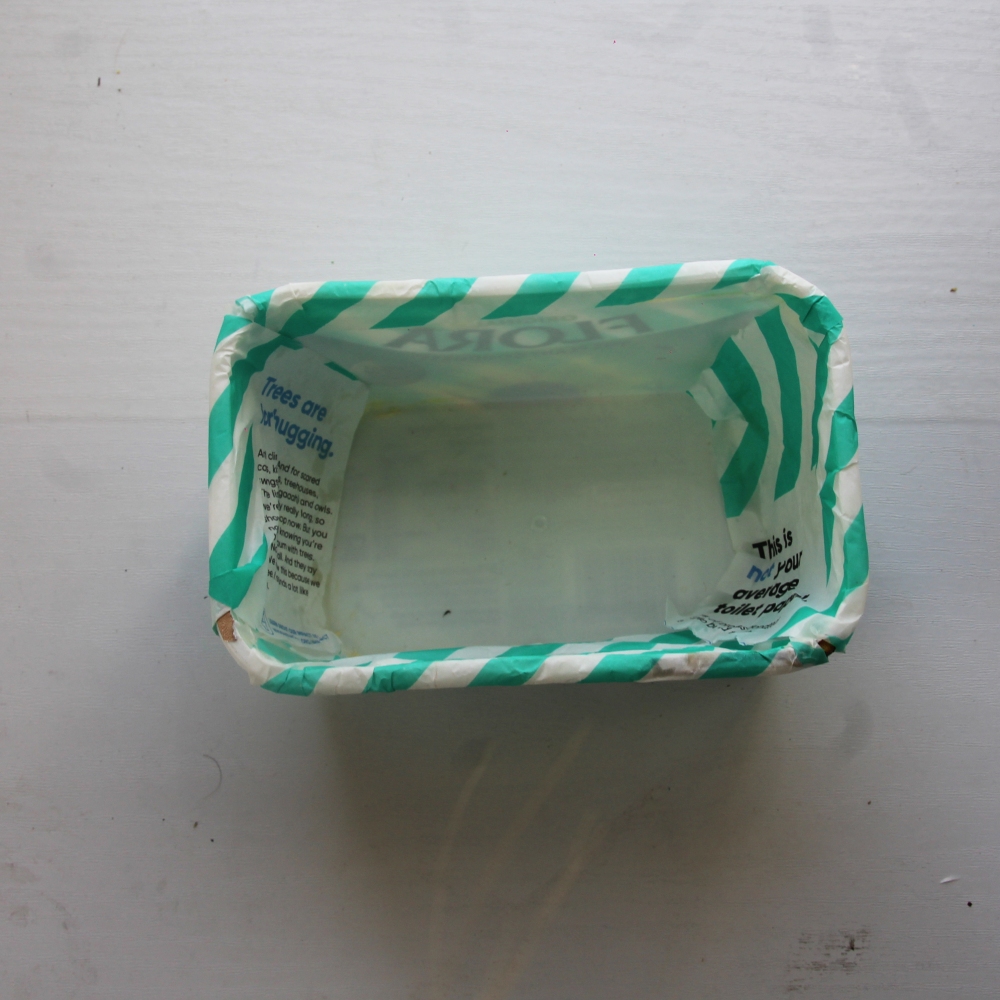
Cover the margarine tub base with paper, leaving lots left around the base to go up the sides. Cut the corners out so that you can fold up each side to cover the tub.
Remove the tub lid. Using double sided sticky tape, glue or sellotape fold the cross sides up and stick down to the tub.
step 1
step 2
step 3
Depending on the thickness of your paper you may need to do this again with a second layer to fully cover up the tub’s own design.
Hint- Any excess paper can simply be folded and stuck onto the inside of the tub as it won’t be seen.
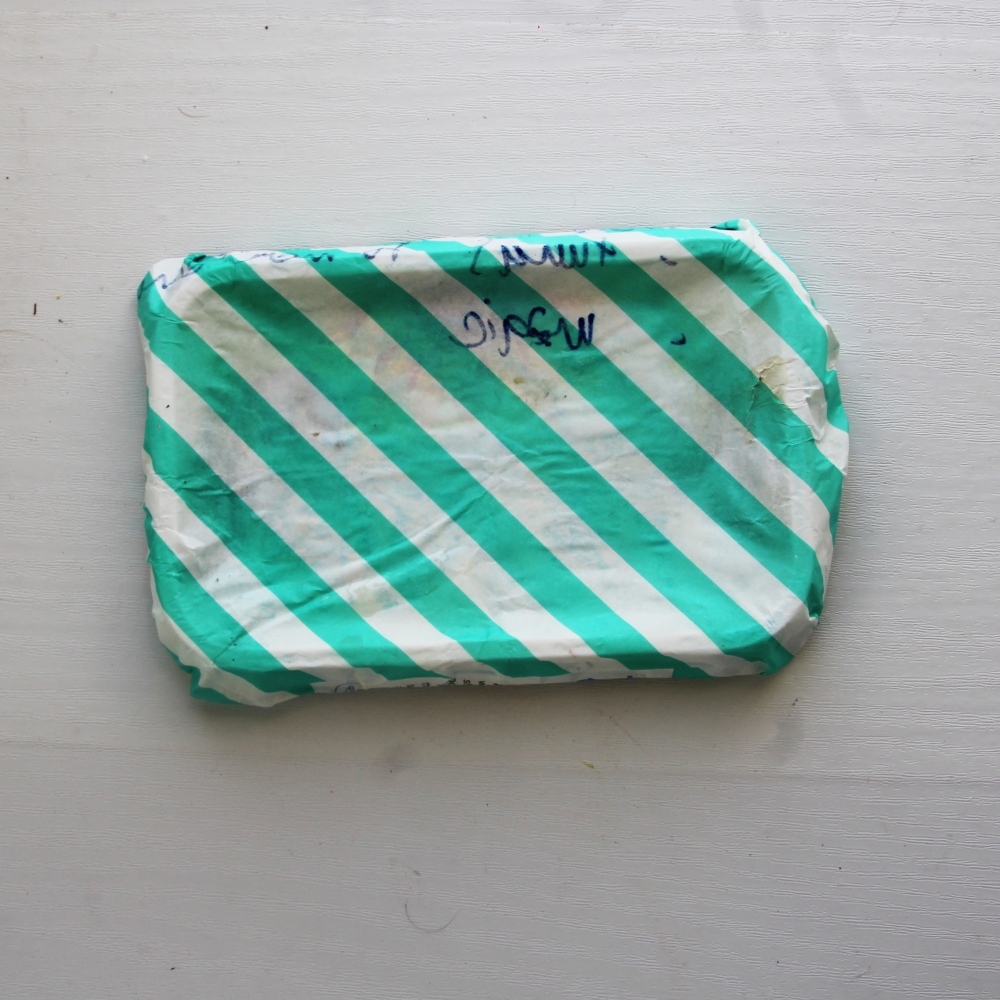
Now do the same with the lid of the tub, covering it with paper.
.
step 4
step 4 (hint)
step 5
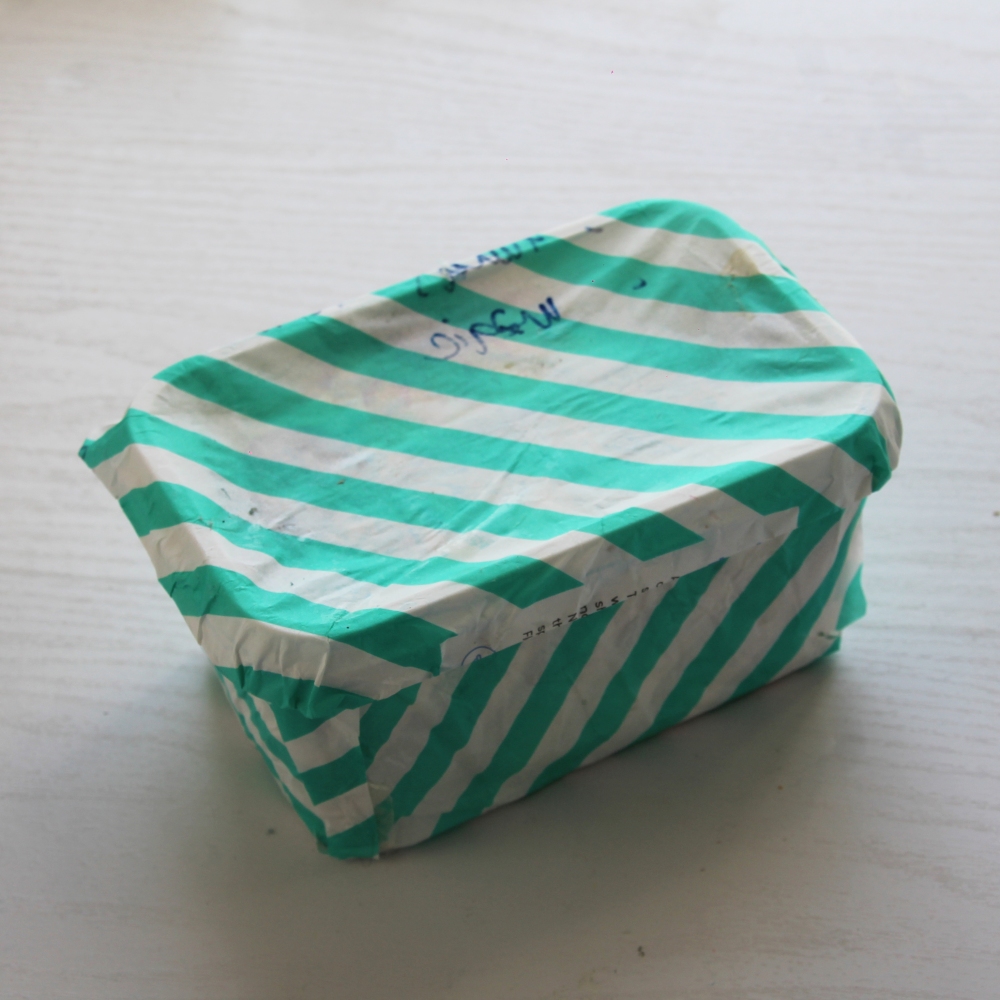
Put the lid back onto the tub base. It should stay by itself but if it doesn’t fasten it with your tape or glue.
Hint: As we are using recycled paper, don’t worry if there is writing on it. As you can see here an old shopping list is on the back of ours! We will be covering that up.
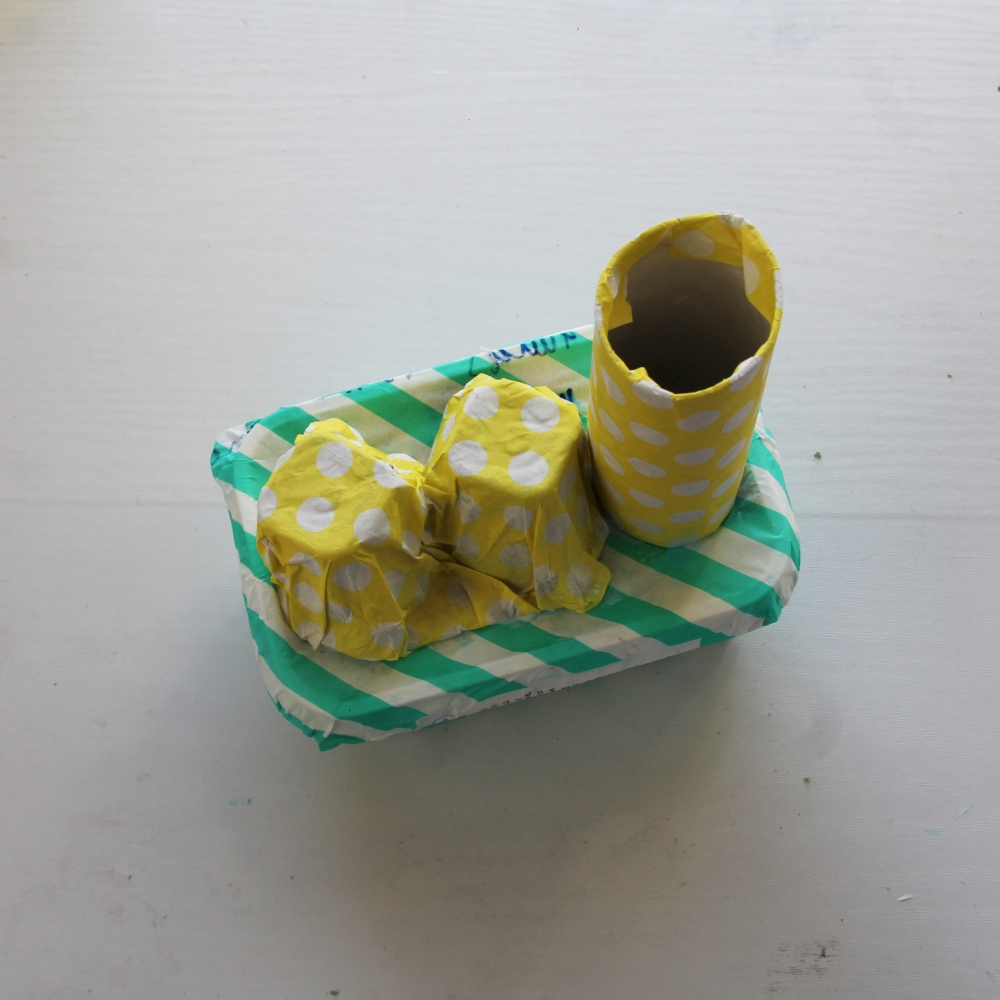
Now it’s time to get the 2 sections of egg carton you put aside. Cover them with more paper of your choice, then fasten the carton onto the lid of the tub using tape or glue.
Repeat this process of covering with paper with the toilet roll tube, then fasten it next to the egg box like we have, on the lid.
step 6
step 7
step 8
Now you can decorate your boat even more! We’ve used a third spare coloured paper to add in some strips of another colour. You could use paints or stickers here also to make it your own! If you want to cover the paper you used, paint is best.
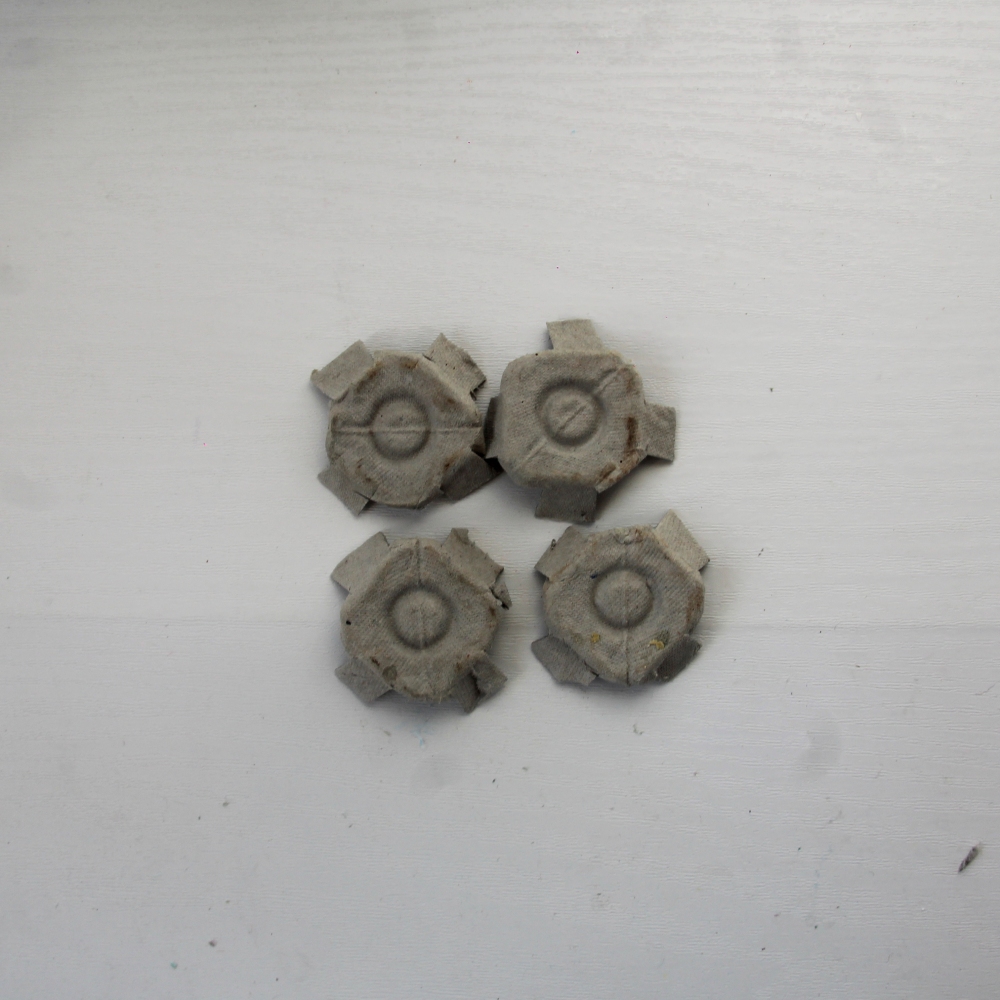
Last but not least – we need to add some windows. Using the rest of the egg box you haven’t used, cut out just the very tips of the circular bottom bits egg box like we have.
Stick two of the egg carton circles to each side of your boat.
Et voila! You have windows, and a fully working boat.
step 9
step 10
step 11
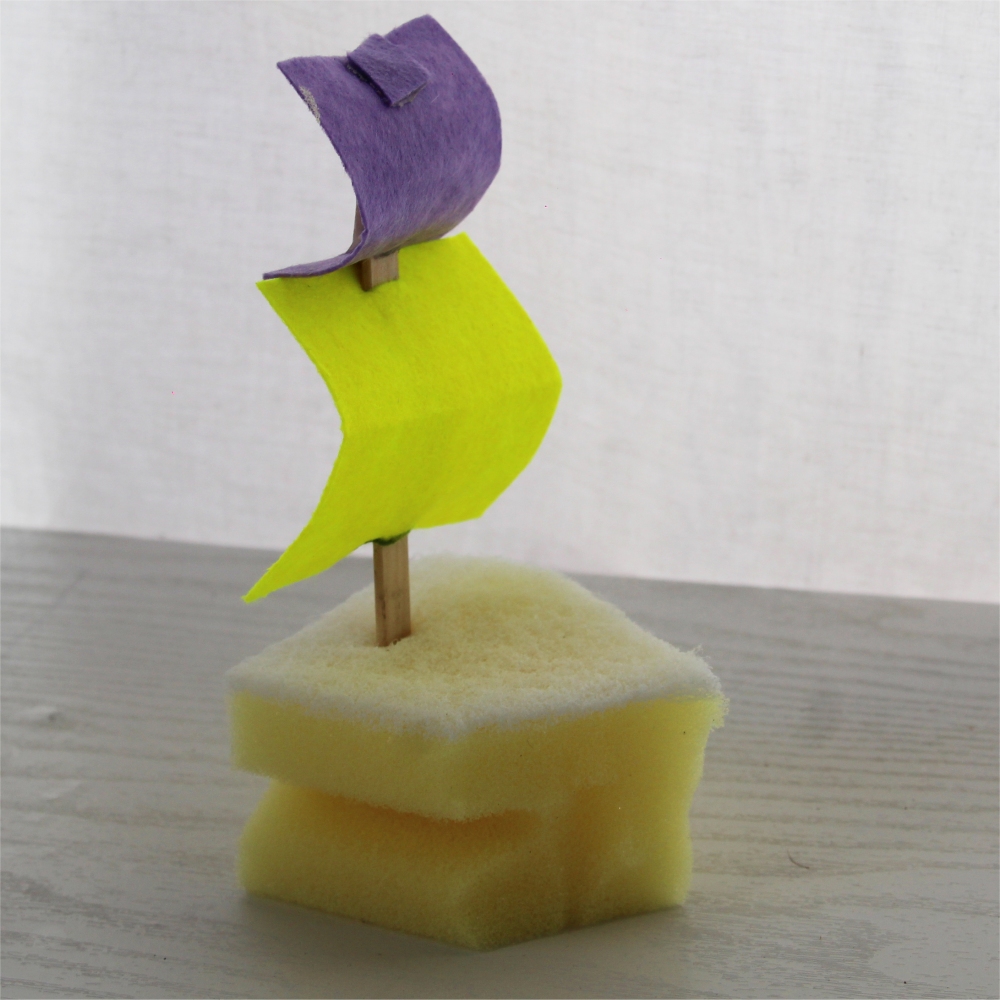
Sponge Boat
What you need:
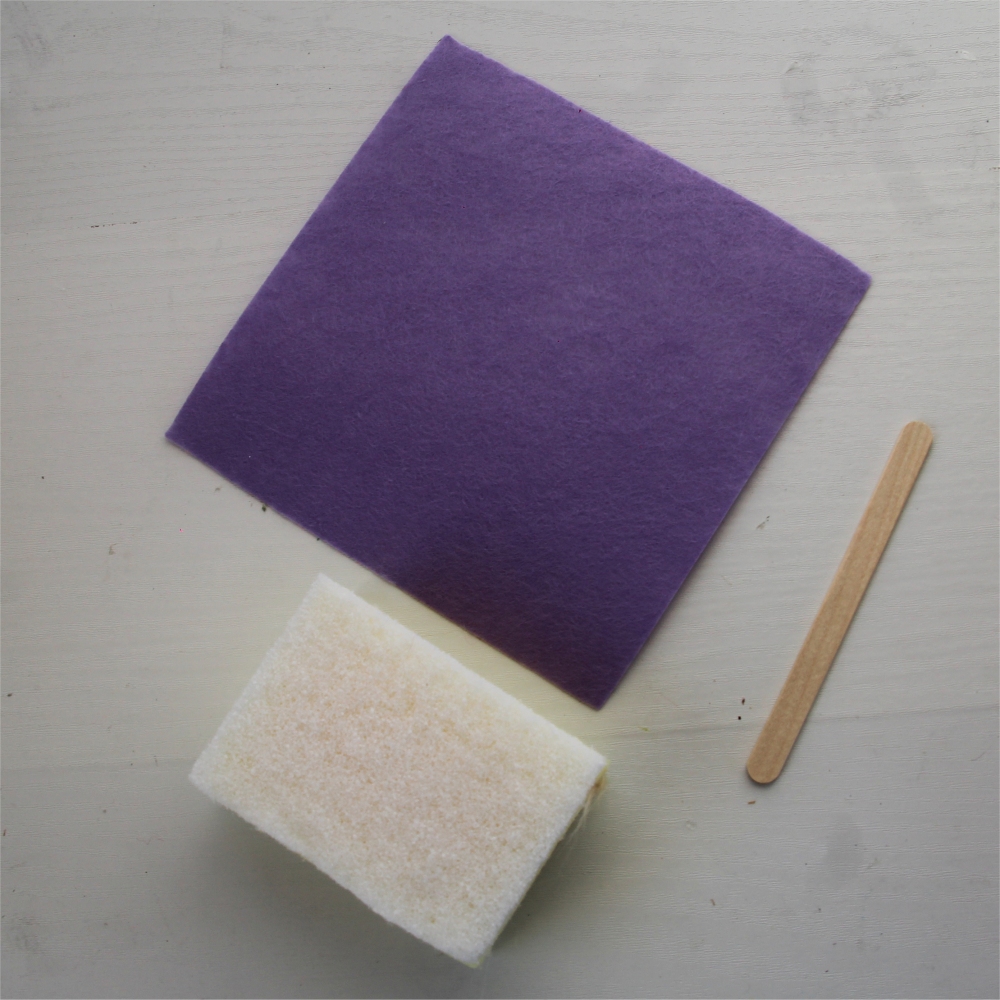
Felt, sponge, lollipop stick (or another stick of a similar length)
Scissors
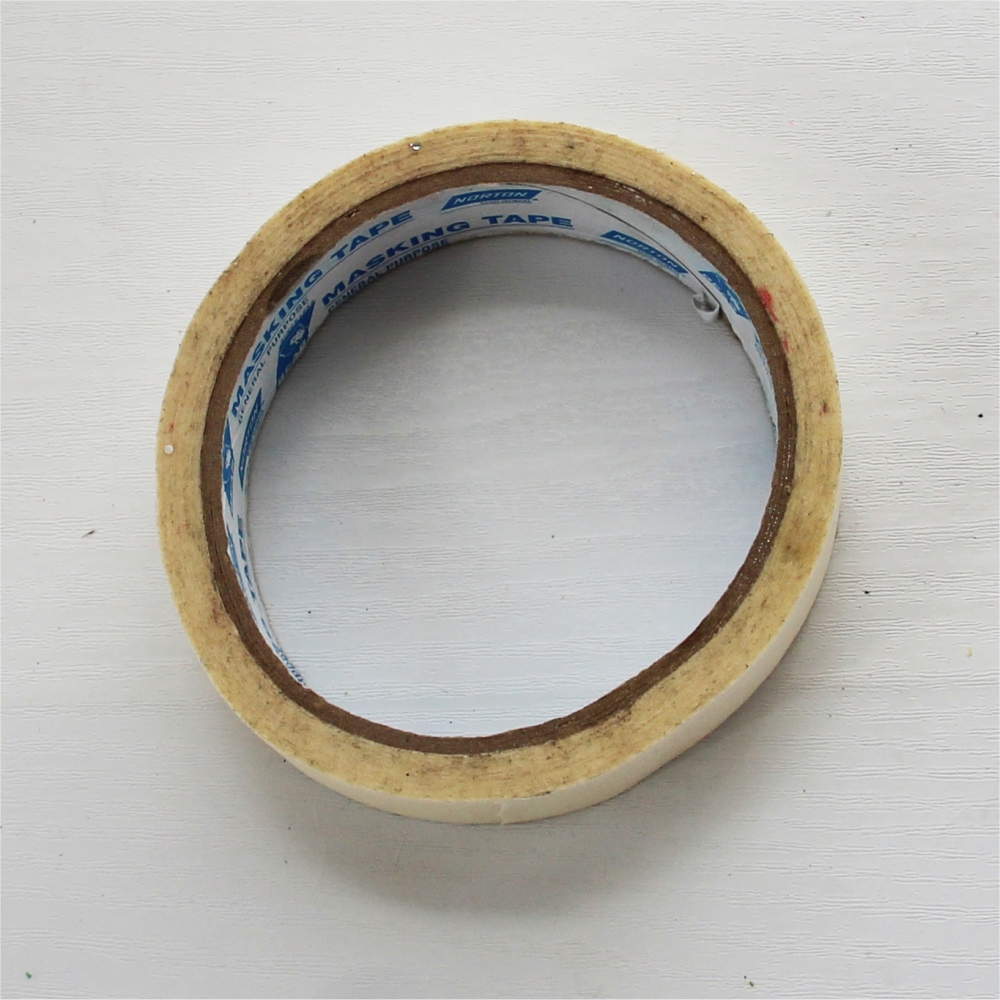
Masking tape
Method:
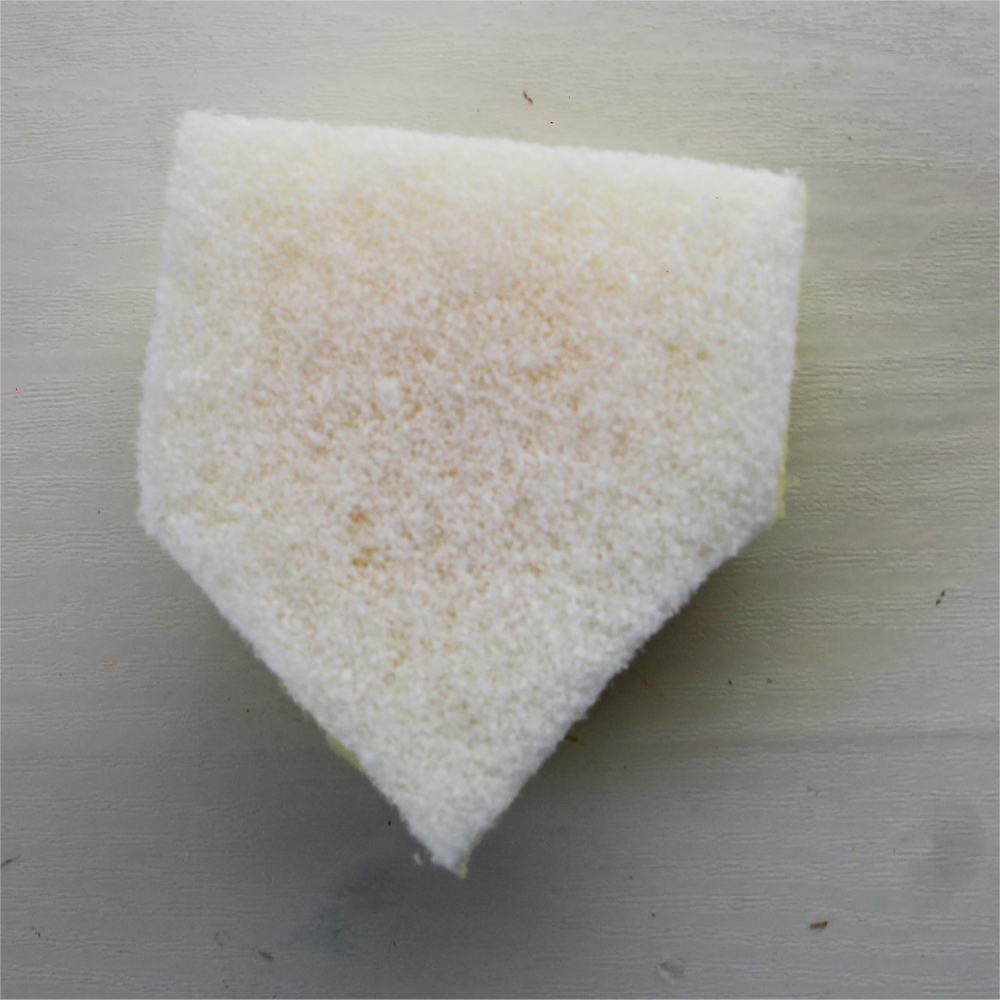
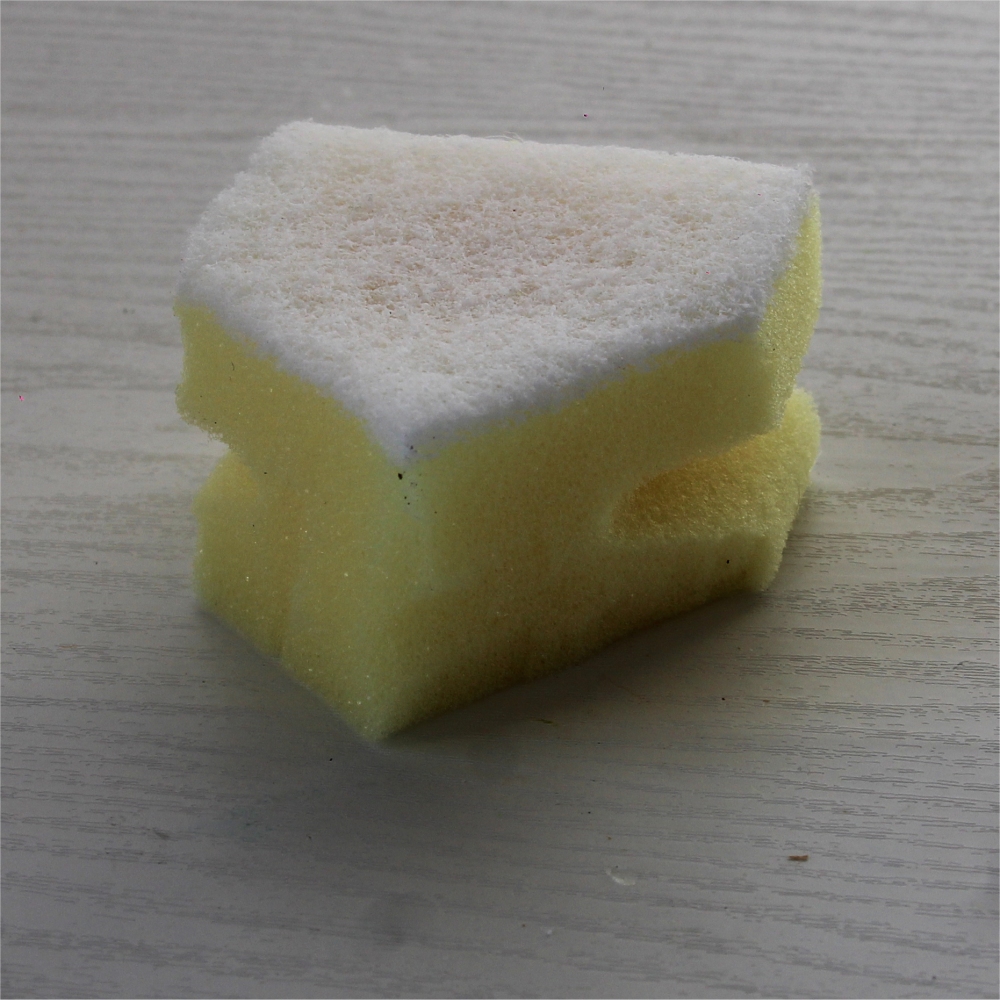
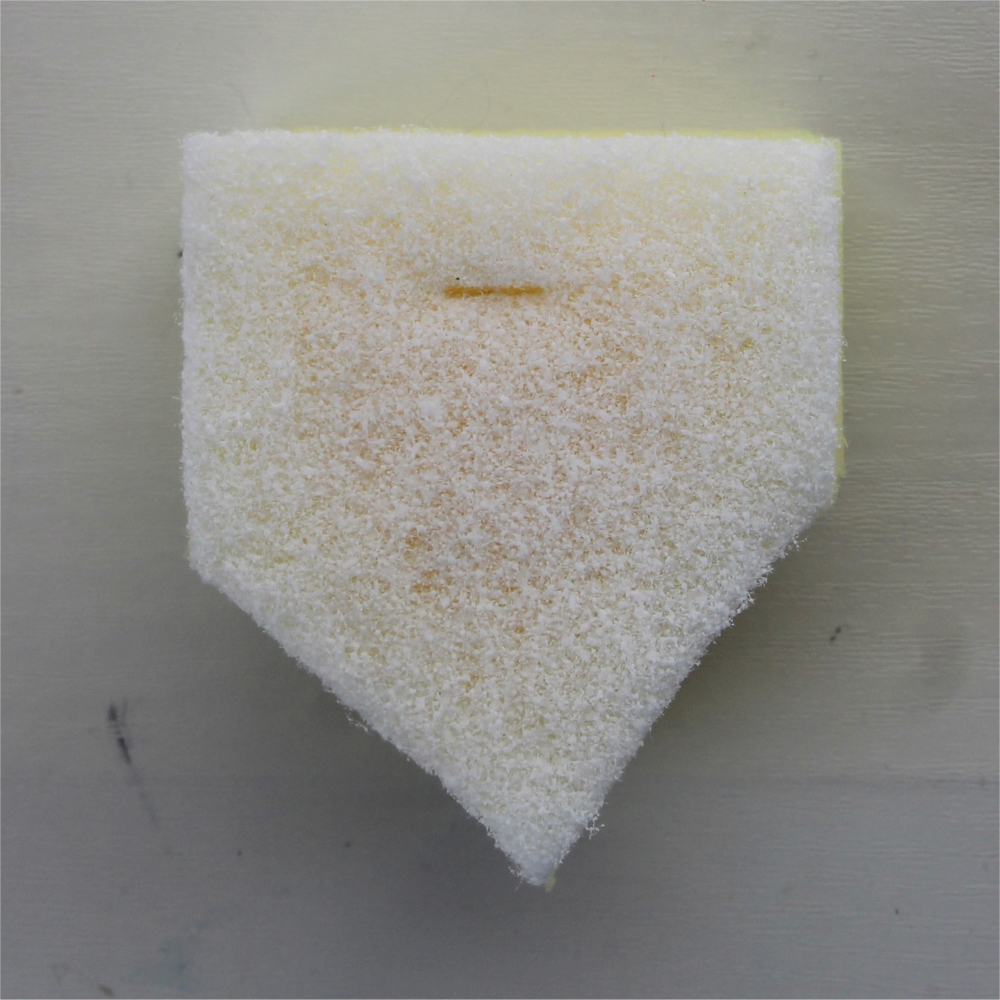
Cut your sponge into a boat shape.
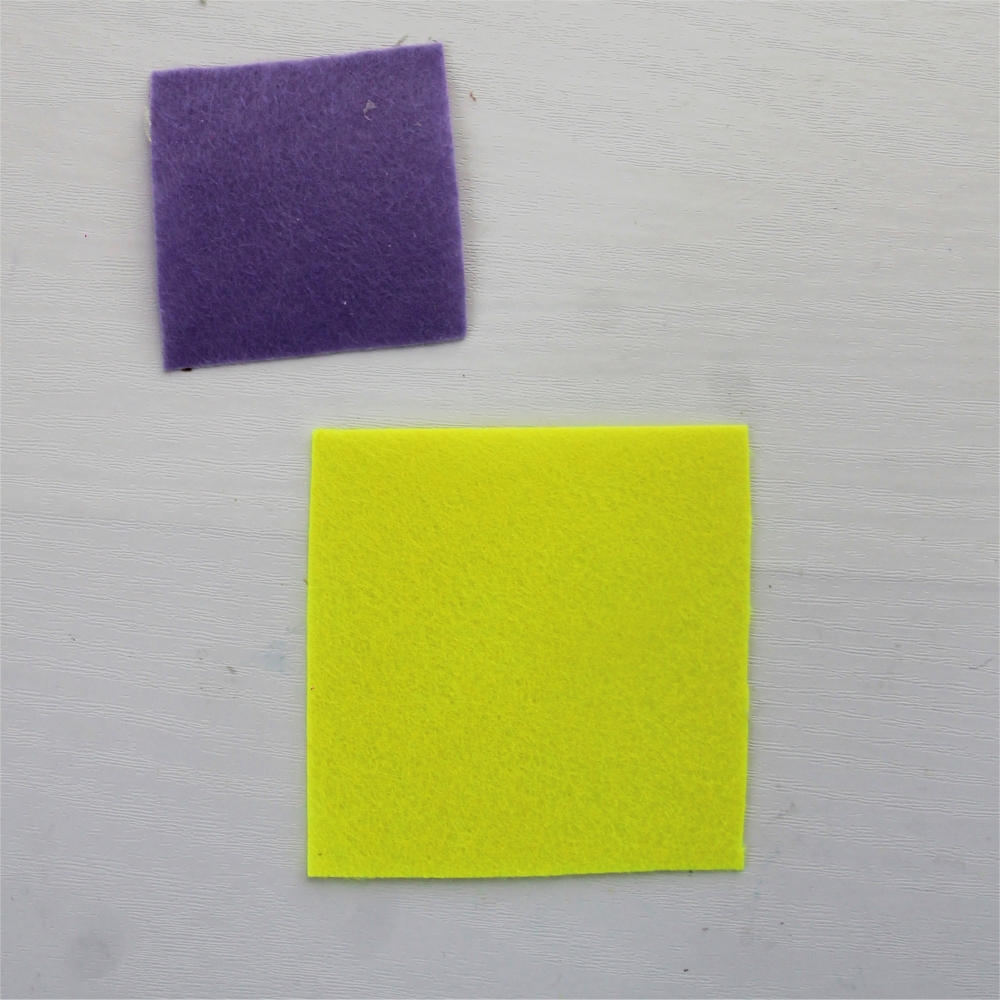
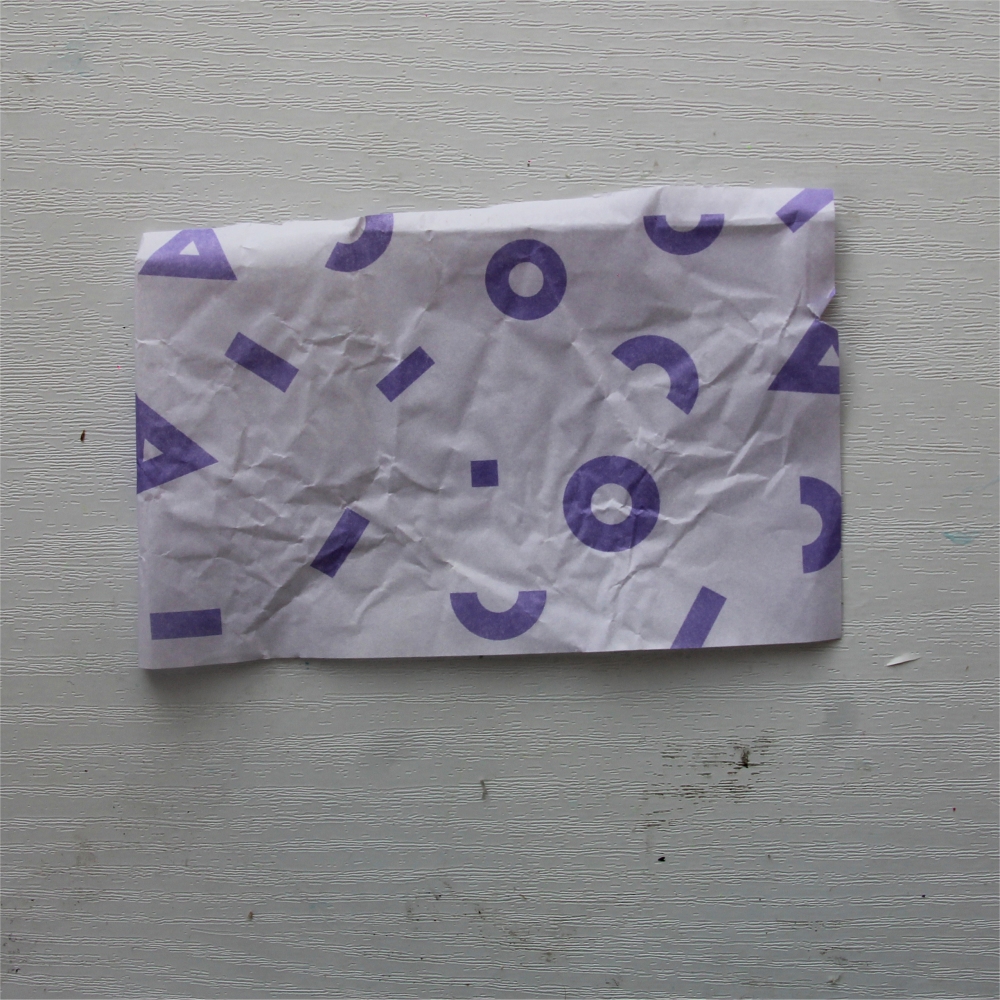
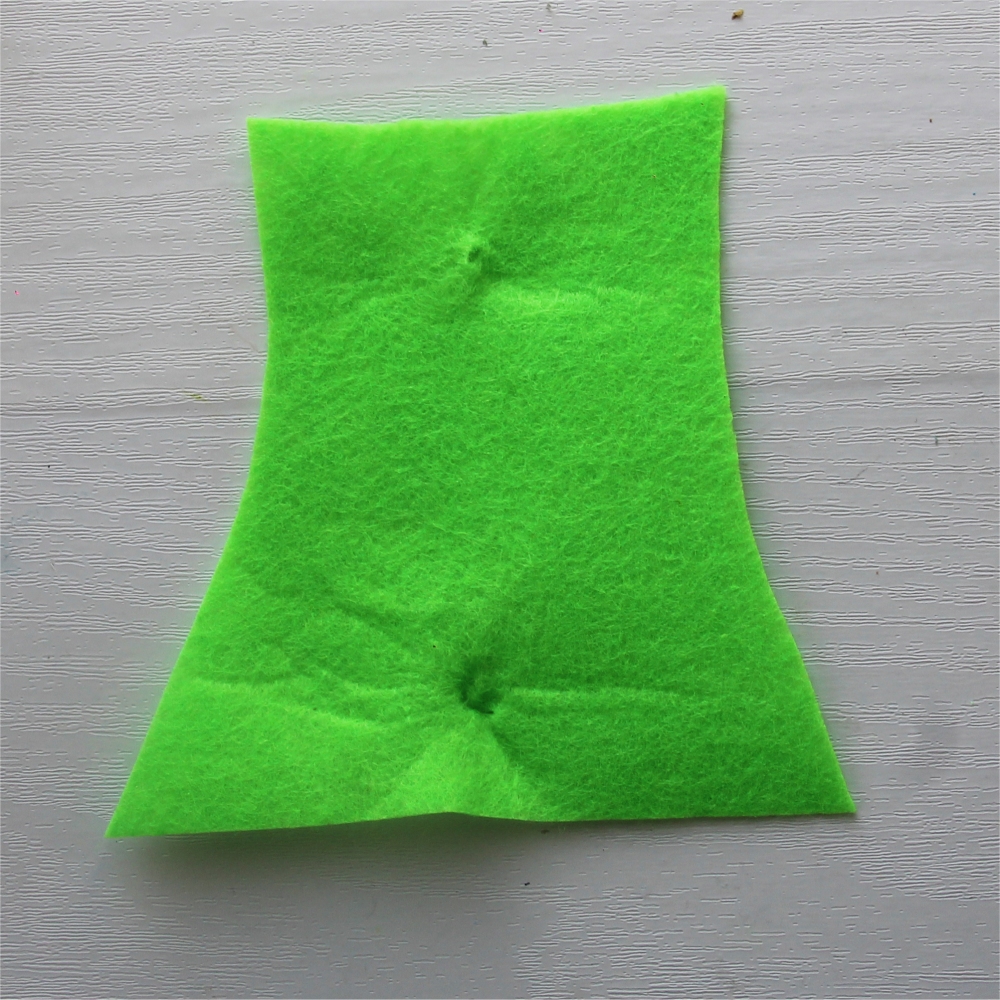
Cut out two squares from your felt, one larger than the other. These will be the sails to the boat so choose what size based on the size of your sponge.
Step 1
Step 1a
Step 2
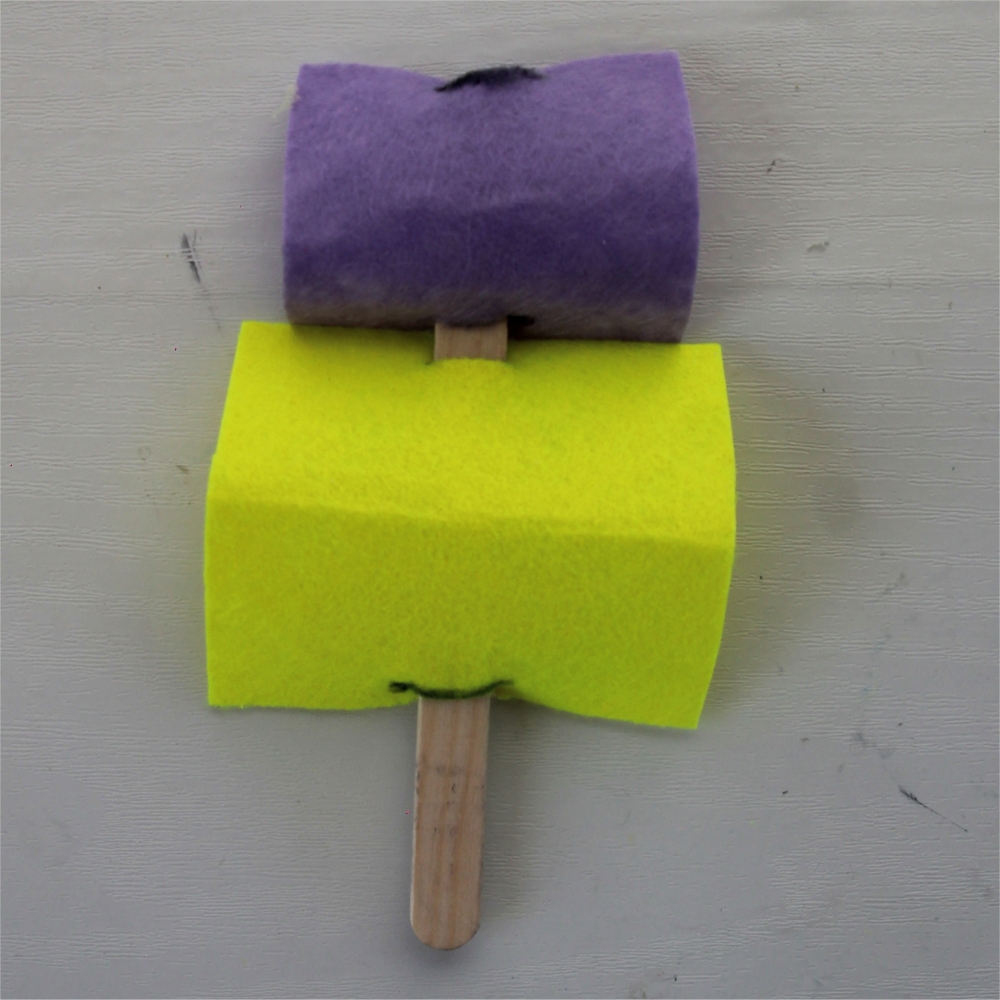
Cut a horizontal slit at the bottom and top of both the pieces of felt. We have put a line across where to make it clear, but you don’t have to.
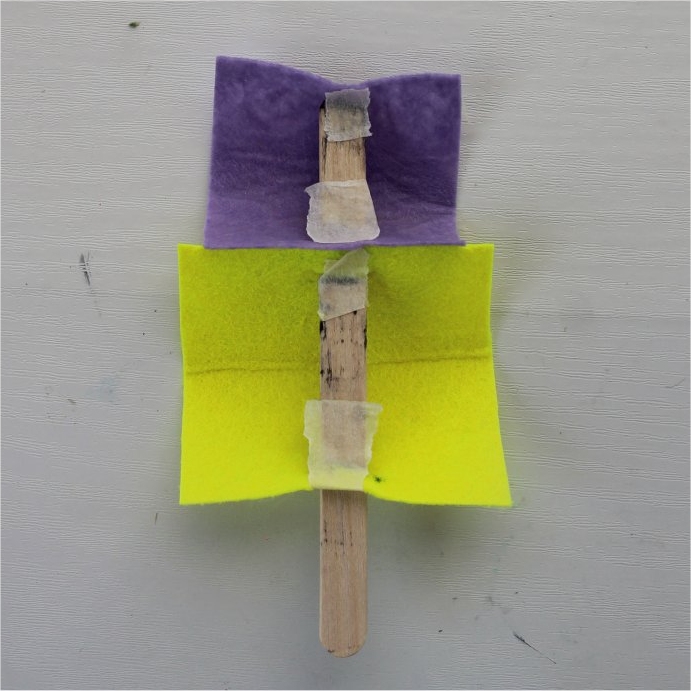
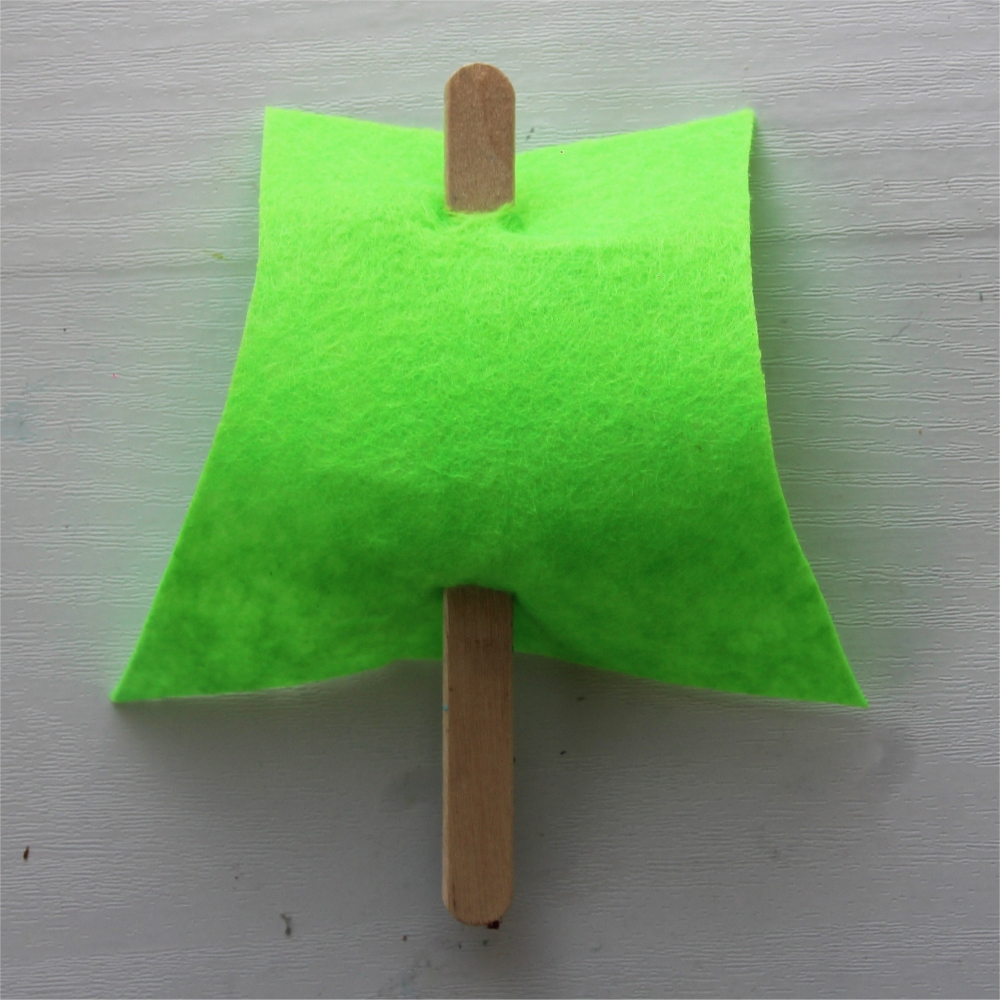
Feed your lollipop sticks through the felt squares. Put the larger square on first.
Turn your sails over and fasten the felt down to the lollipop sticks using some small squares of masking tape.
Step 3
Step 4
Step 5
Cut a tiny square of felt in the same colour as the top sail and stick it onto the top sail, covering the slit.
Make a slit in the middle of the sponge.
Push the bare end of the lollipop stick into the slit in the sponge.
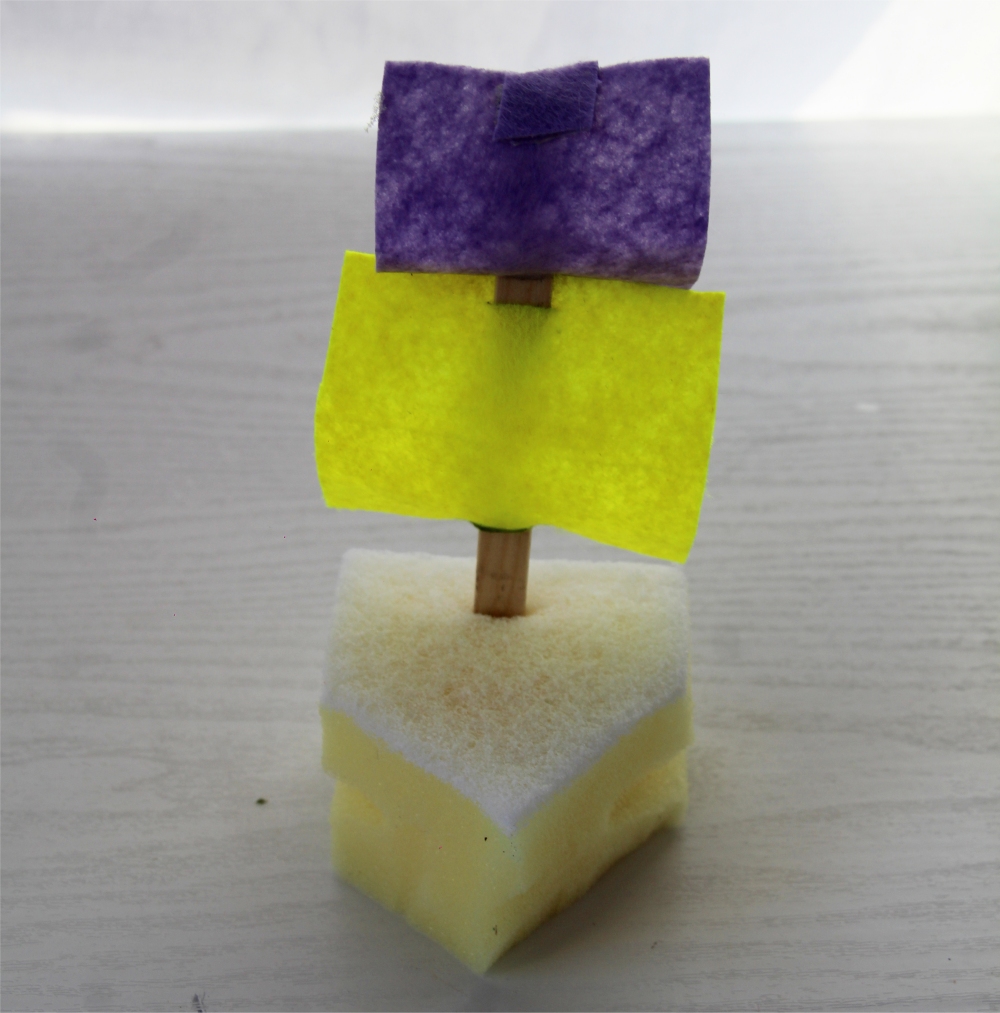
Your sponge boat is ready. Just don’t try to do the washing up with it!
Step 6
Step 7
Step 8
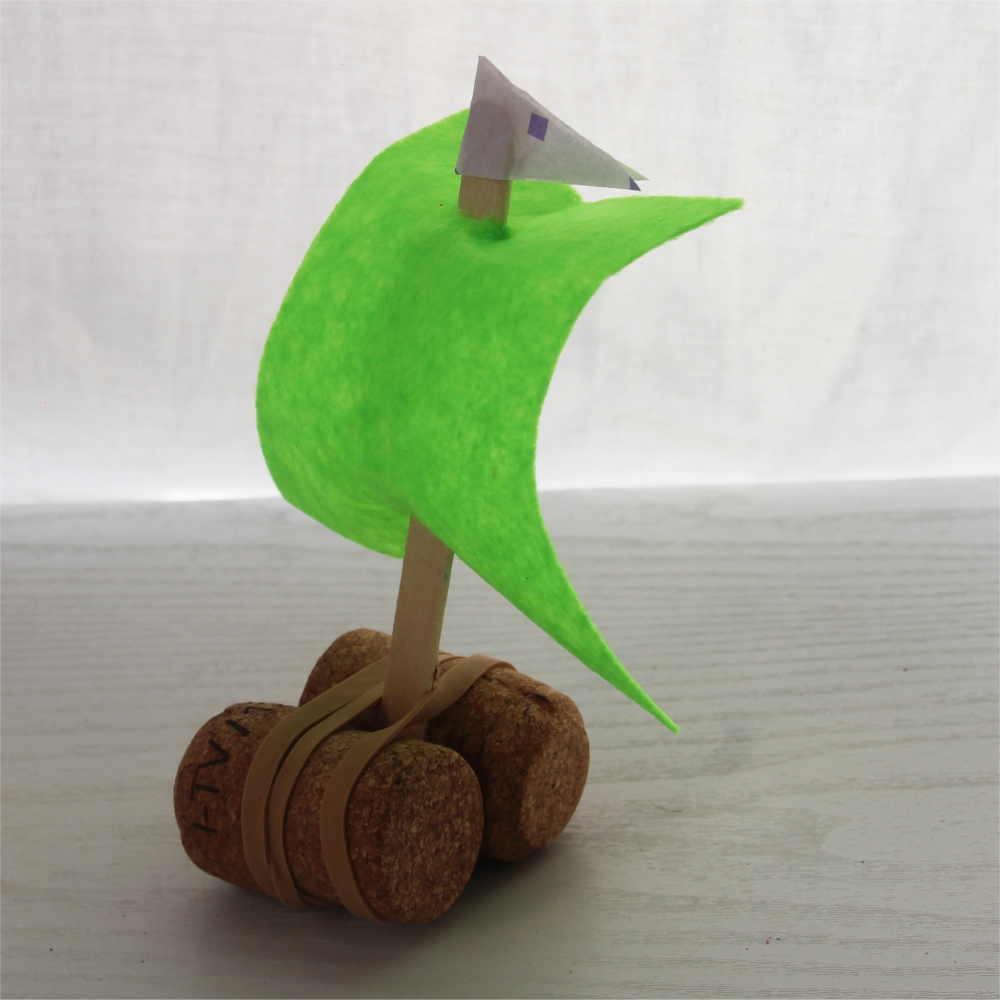
Cork Boat
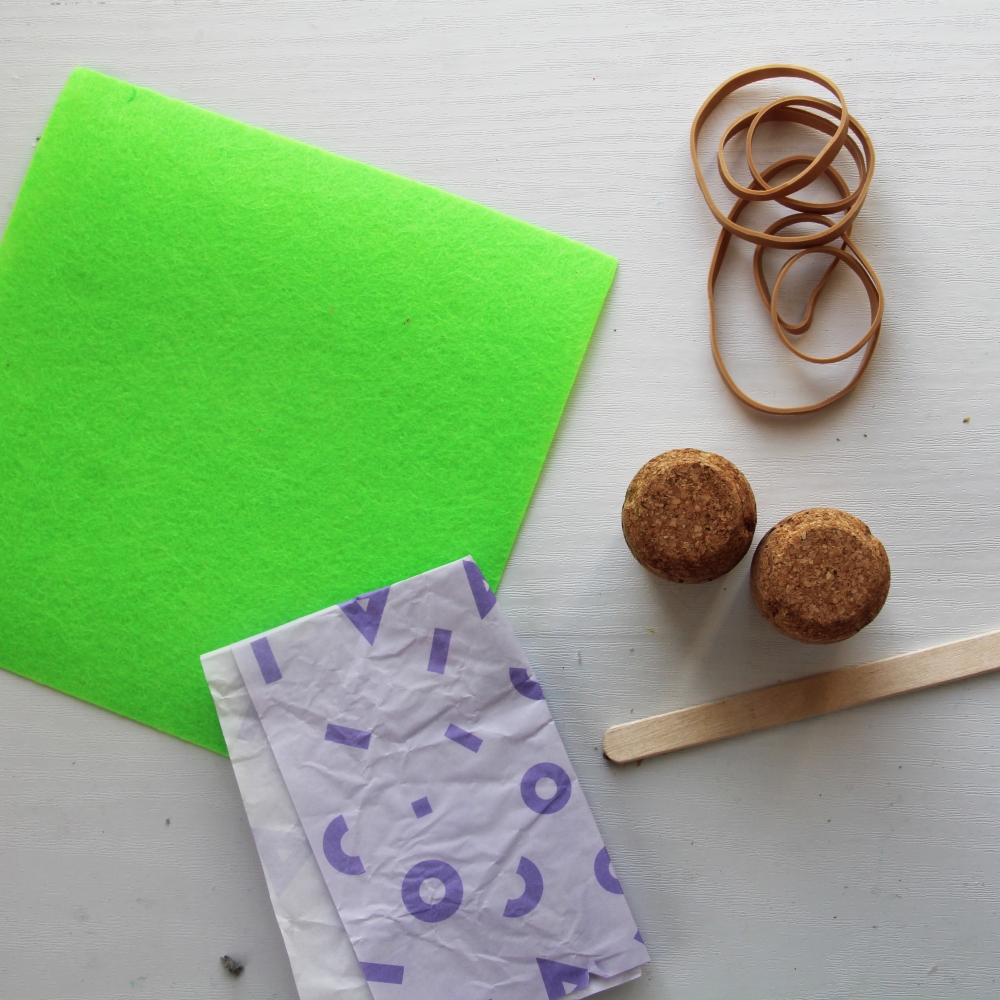
What you need:
Equipment
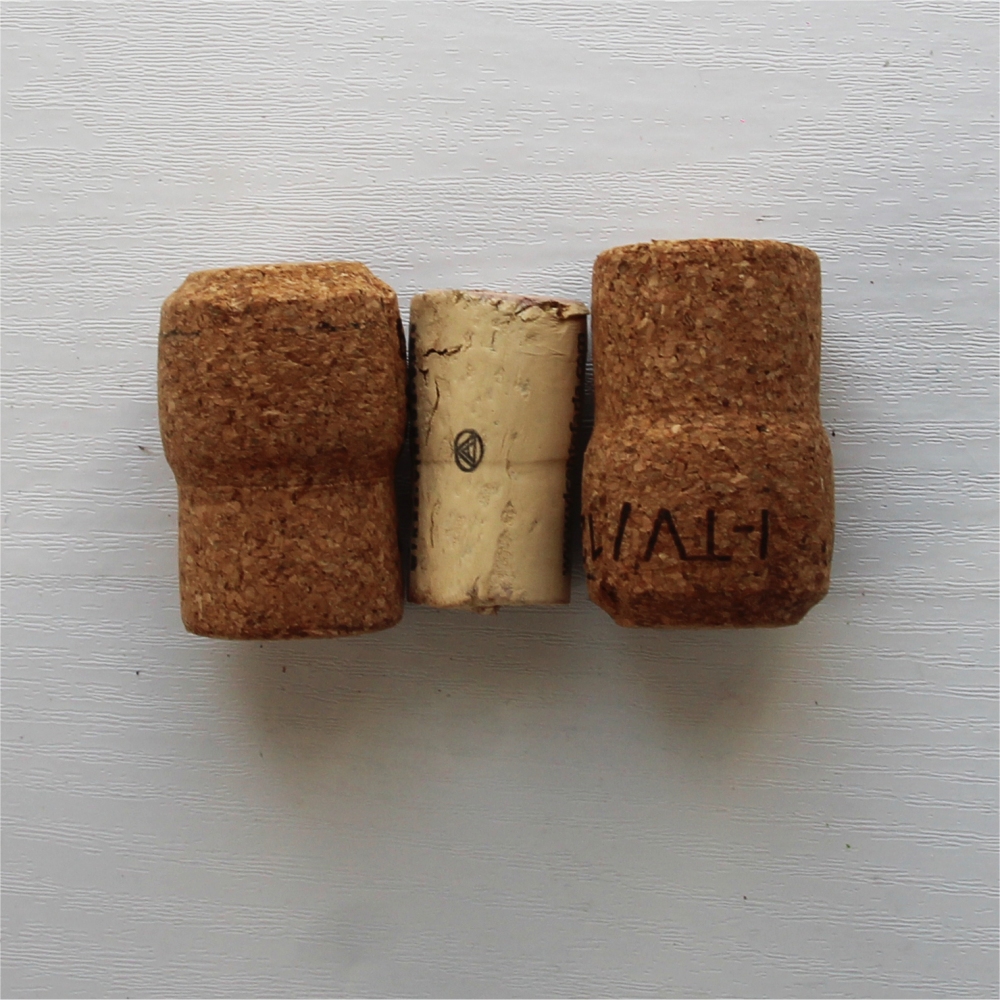
Corks
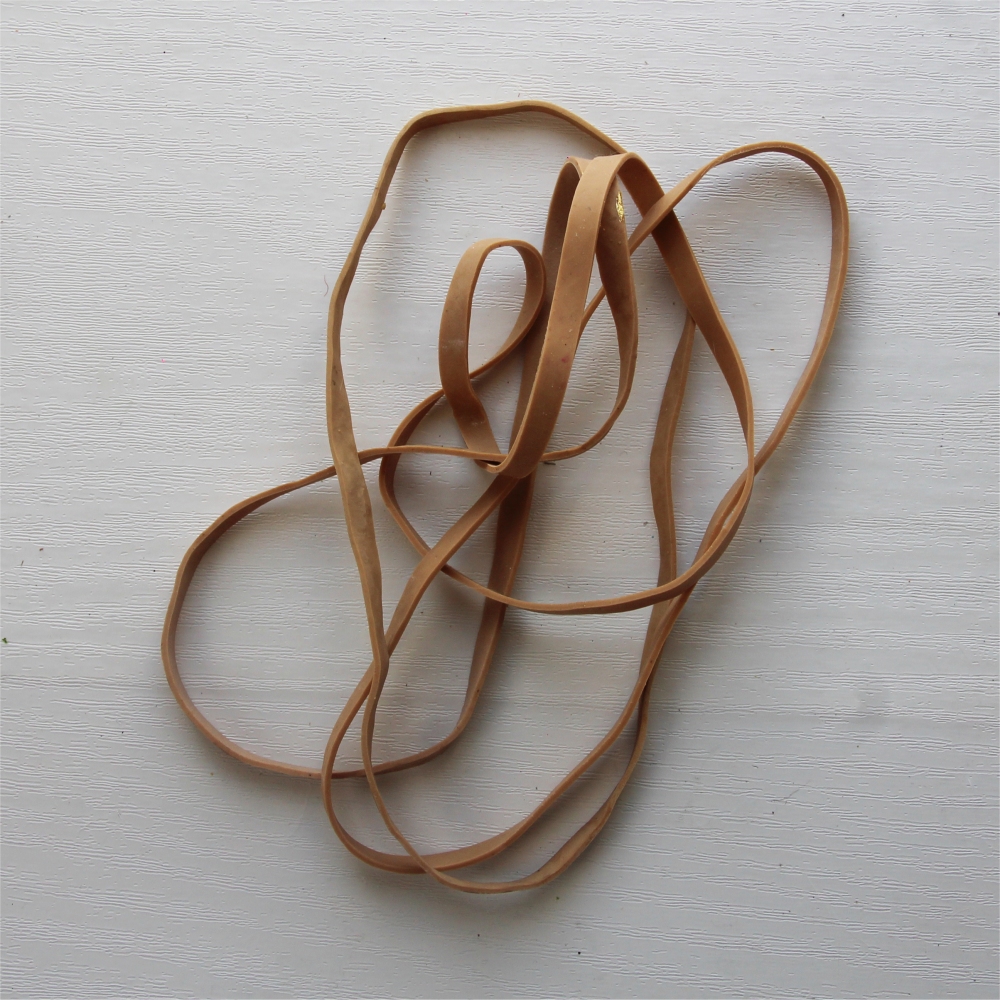
Elastic band (or string)
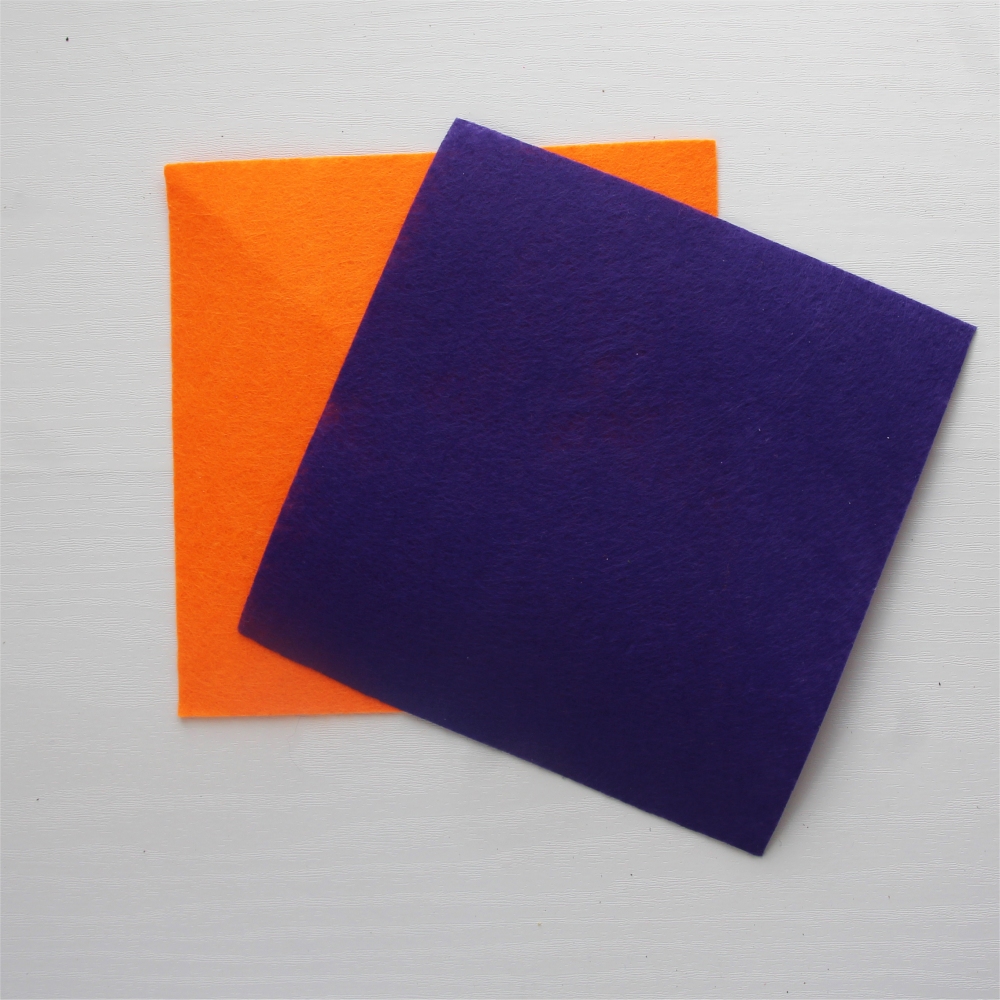
Felt
Glue
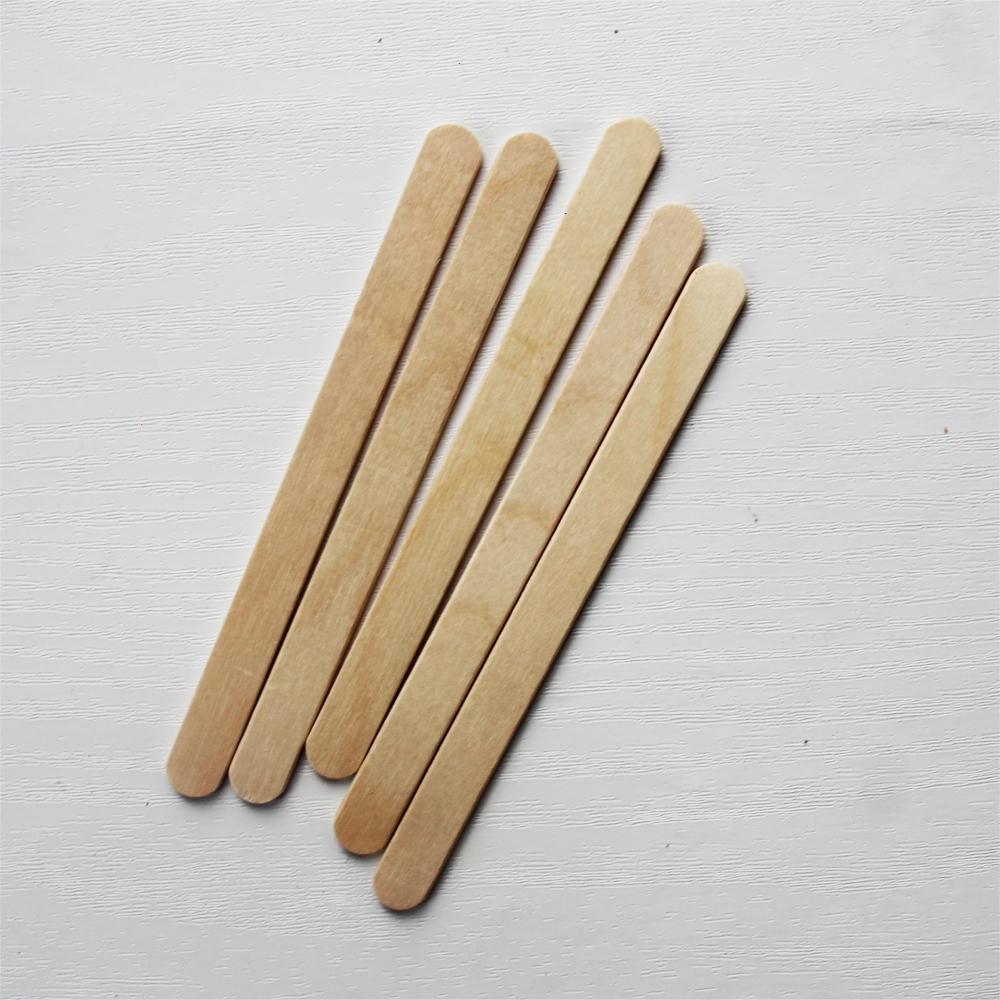
Lollipop stick (or another stick of similar lenght)
Scrap piece of scrap paper (any colour is fine)
Masking tape
Method:
Lay two corks next to each other to make the base of the boat.
Tie the corks together using elastic bands or string.
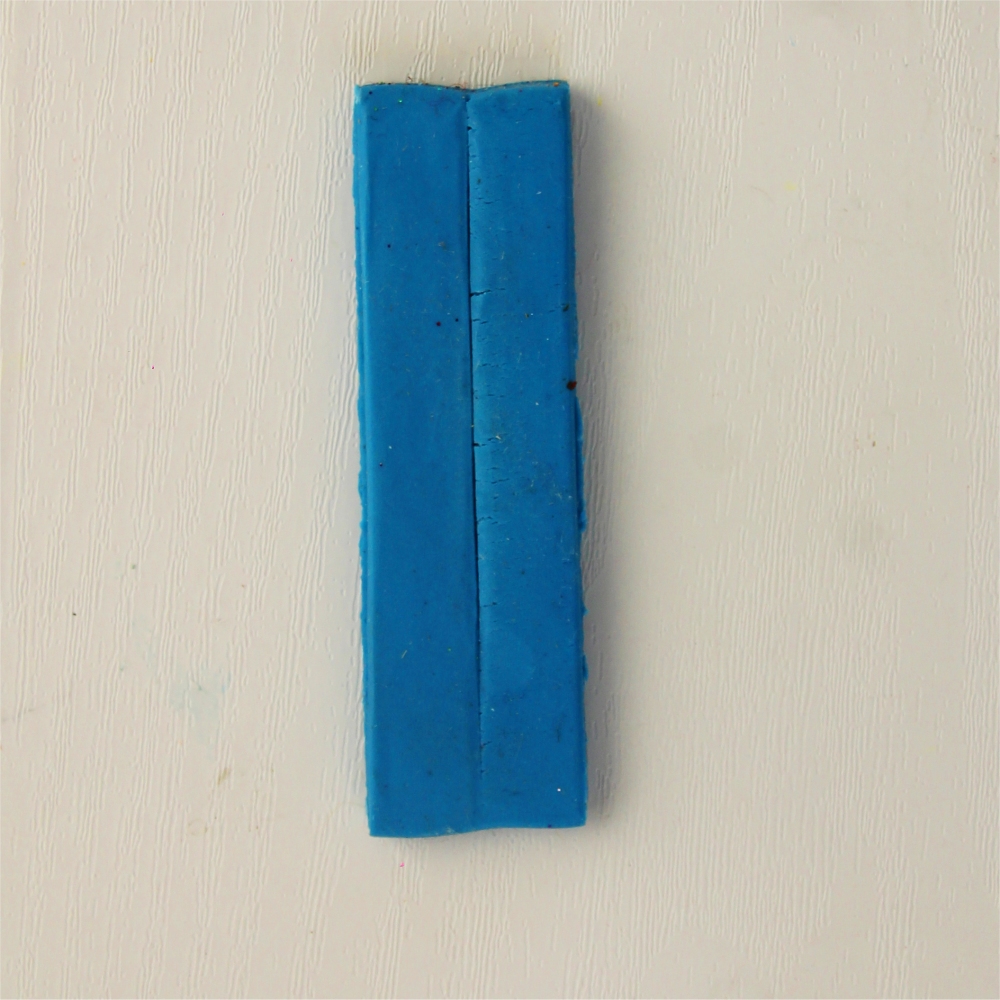
Cut a piece of felt into a sail shape.
Step 1
Step 2
Step 3
Cut a hole into the top and bottom of the sail.
Feed a lollipop stick through the holes.
Fasten with masking tape.
Step 4
Step 5
Step 6
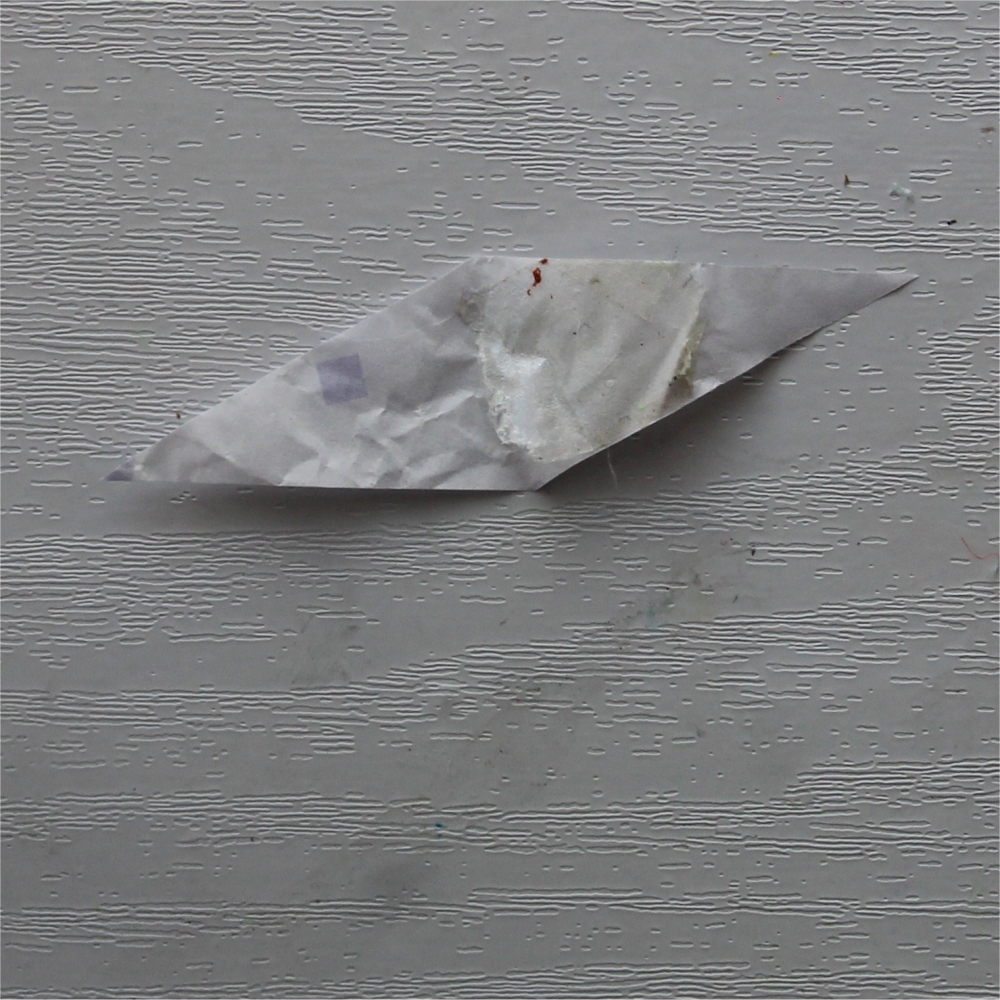
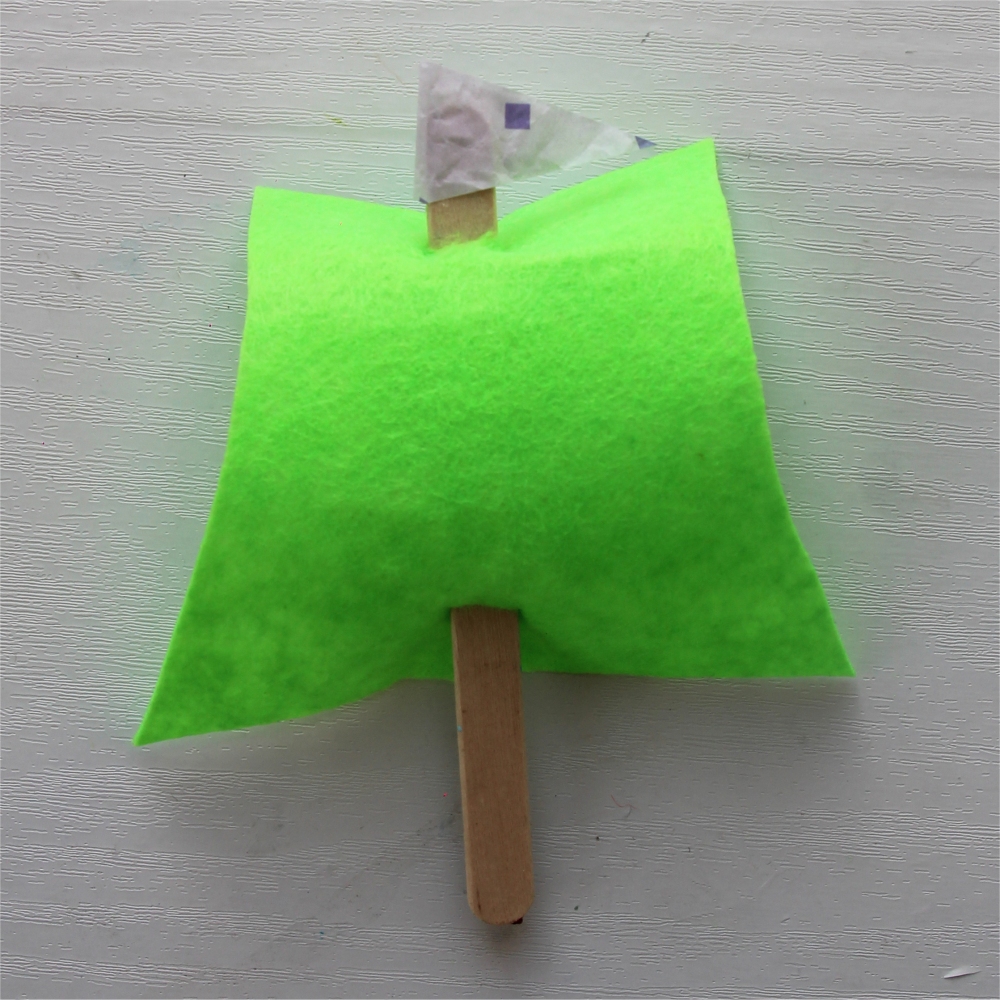
Take your small piece of scrap paper and fold it in half.
Cut a flag from the paper by cutting a triangle out with the folded edge on one side. When you unfold it, it should look like a diamond.
Add a pea sized blob of glue to the top of the lollipop stick on each side. Stick the flag onto the glue with one side on the back of the stick and one side on the front so they’re both covered.
Step 7
Step 8
Step 9
Put the lollipop stick through the elastic bands (or string) tied around the cork and down in between the two corks so that it stands up alone.
Your cork boat is ready to set sail!
Step 10
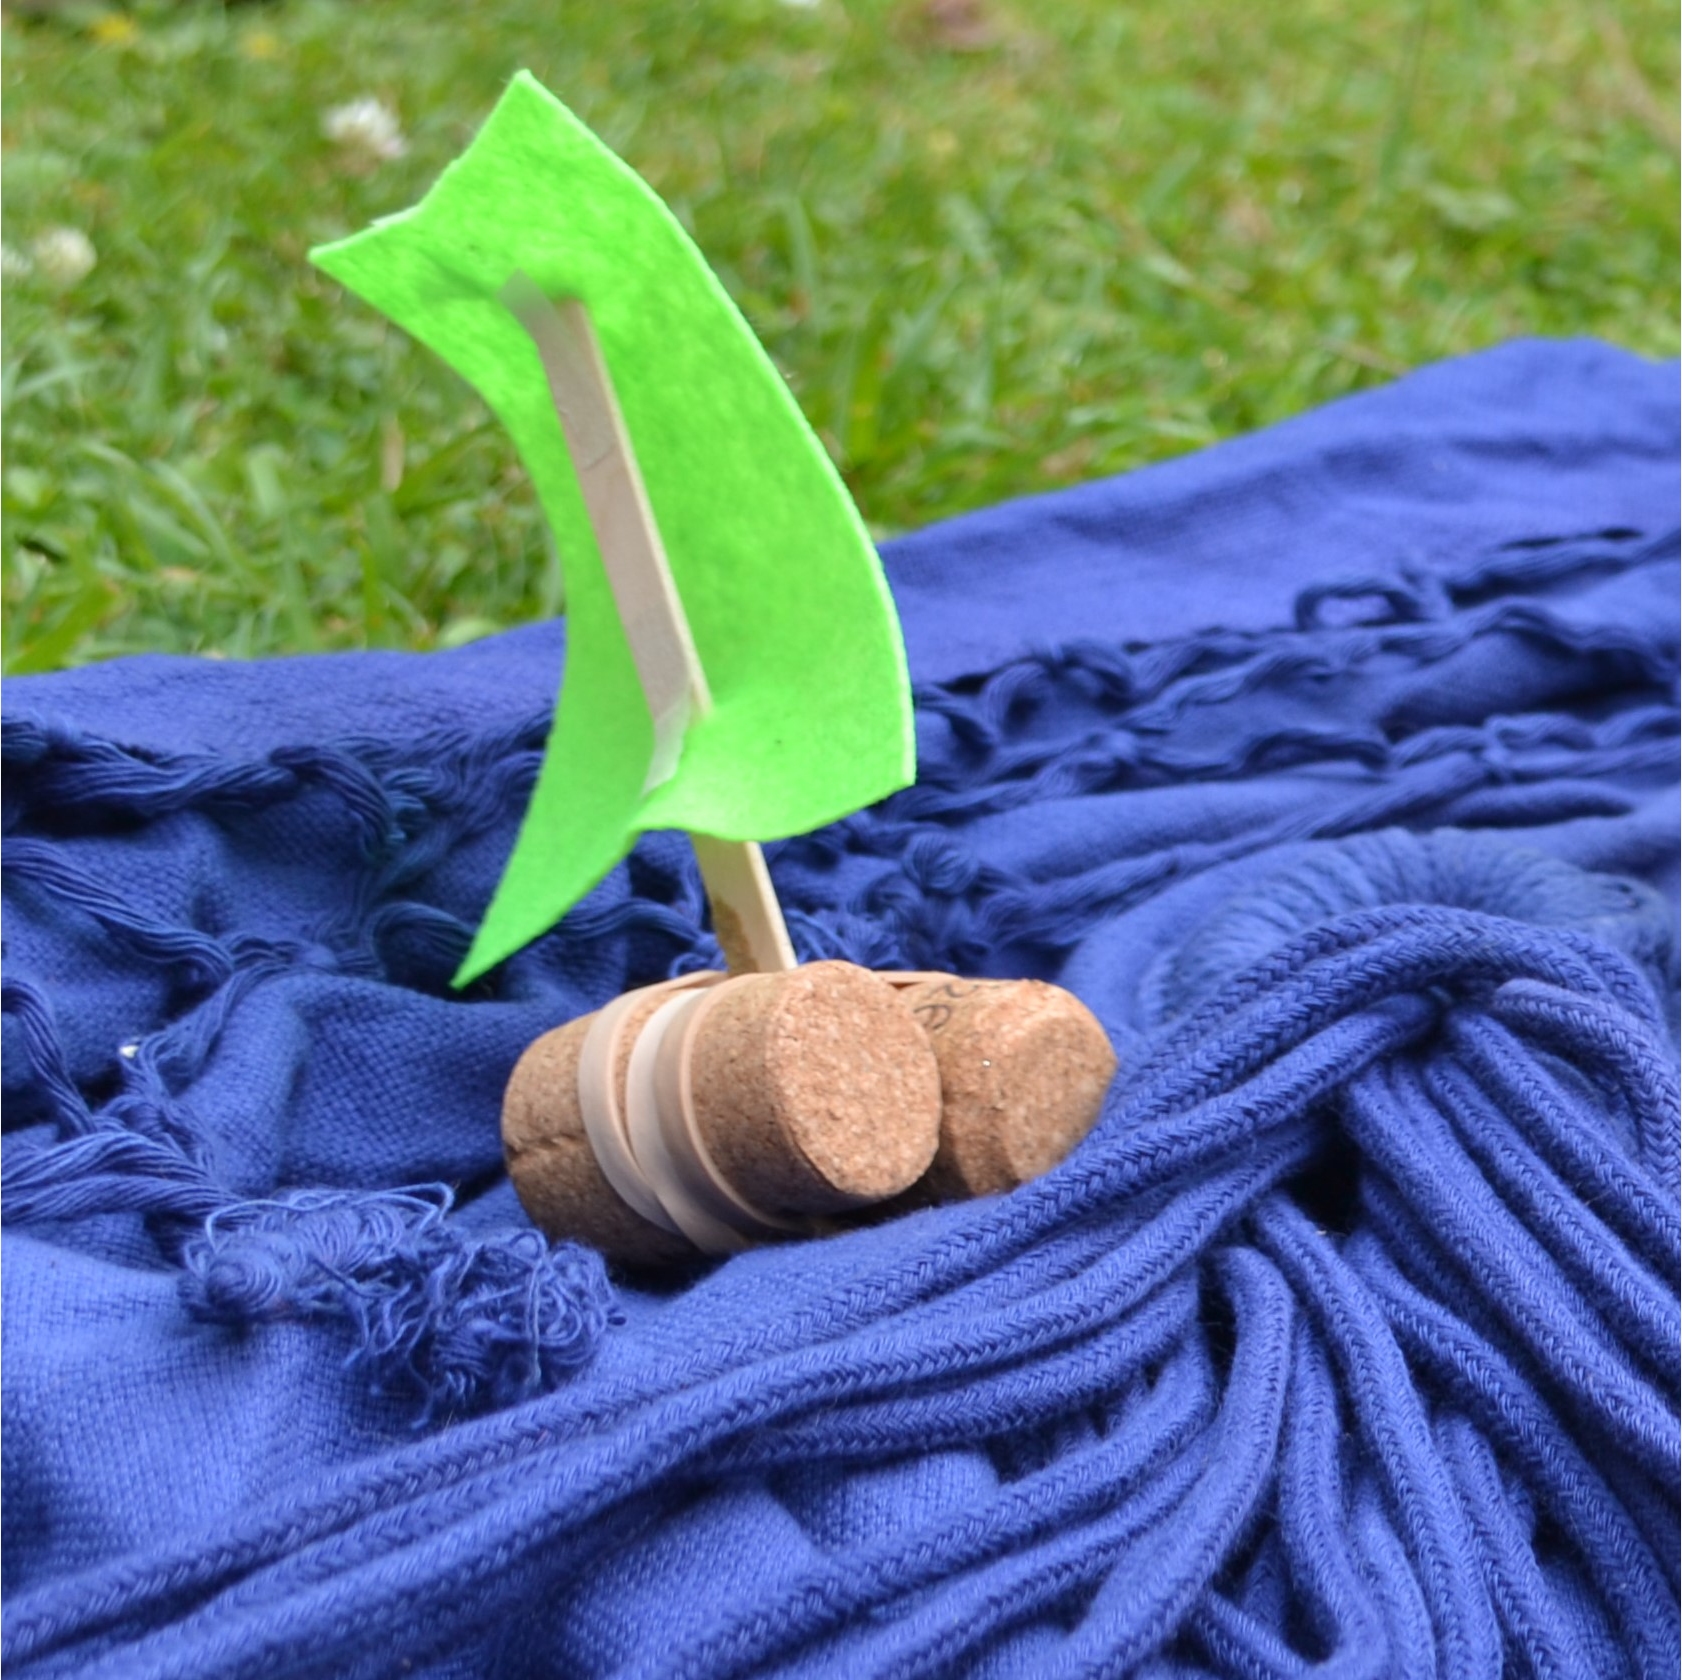
Cork Boat
Ready to sail away…
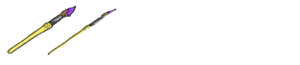
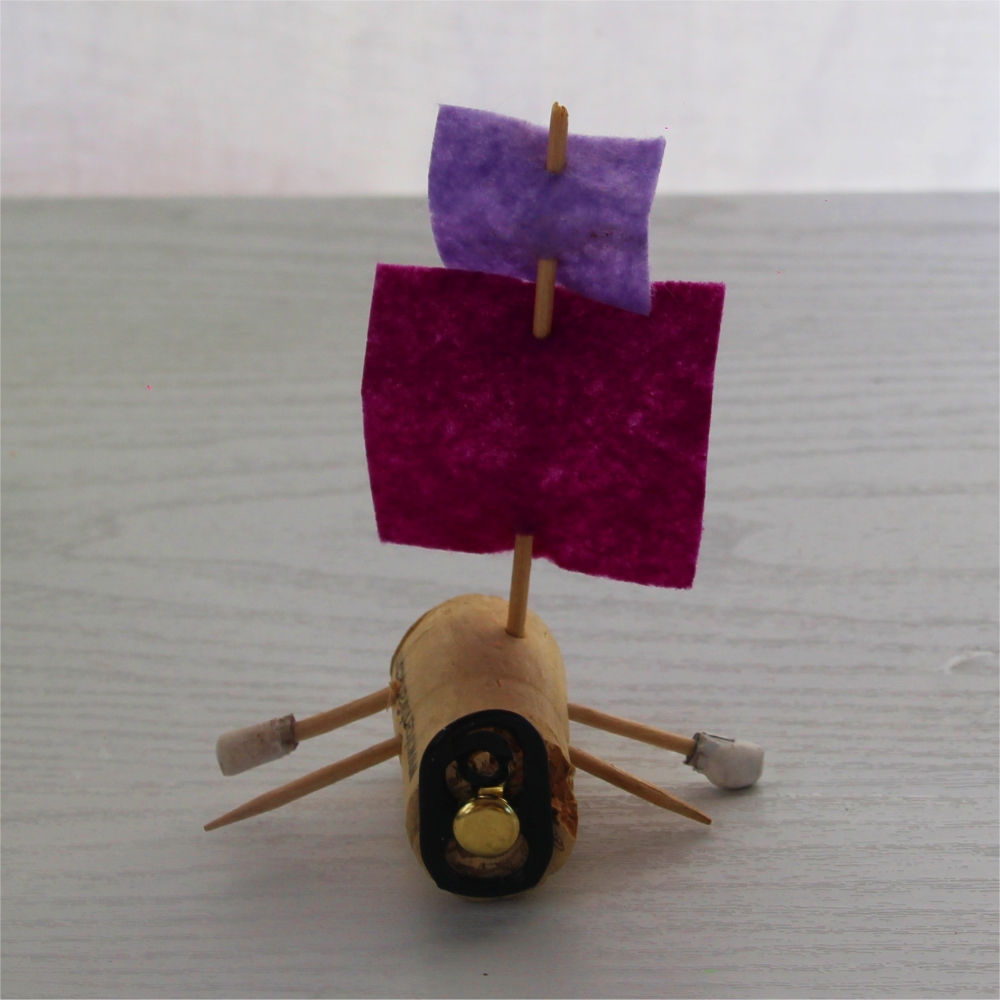
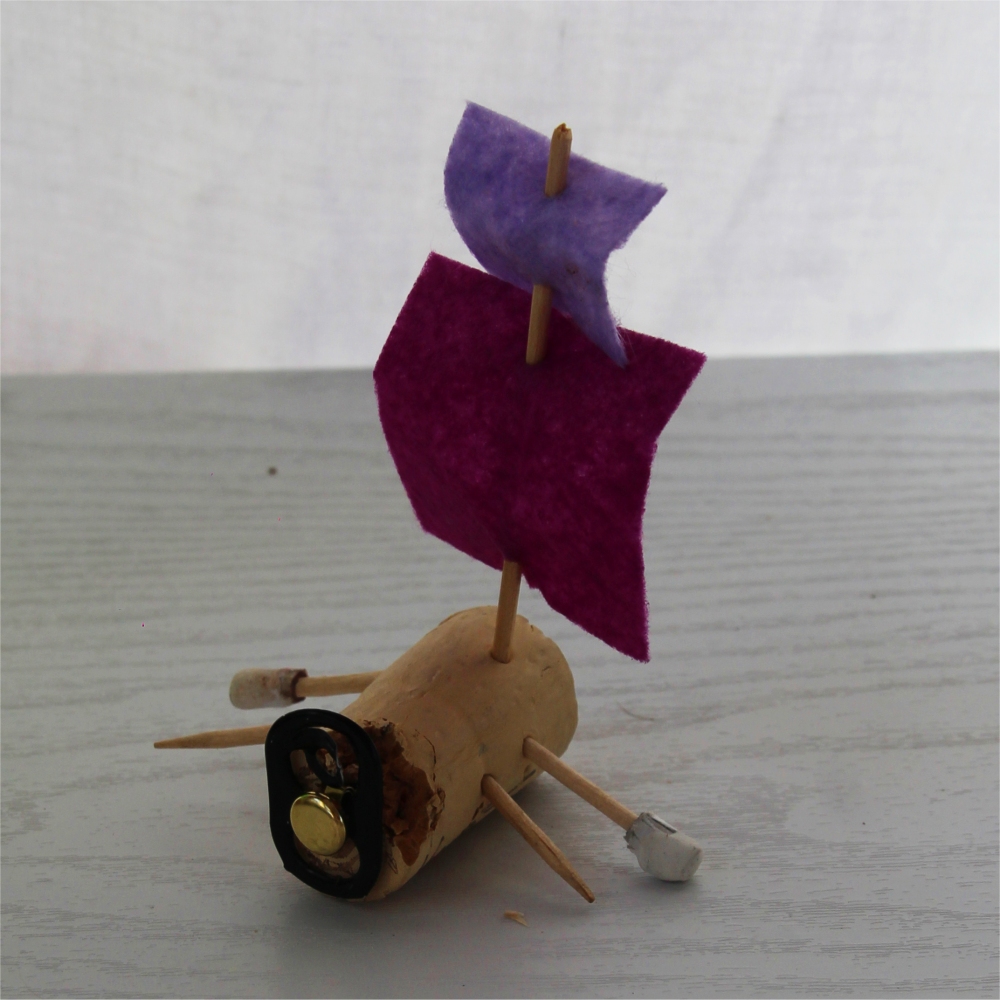
Tiny Cork Boat
What you need:
Corks
Cocktail sticks or paper umbrellas
Felt
Safety pin (optional)
Blue or white tac
Scissors
Split pin (optional)
Ring pull from a can (optional)
Method:
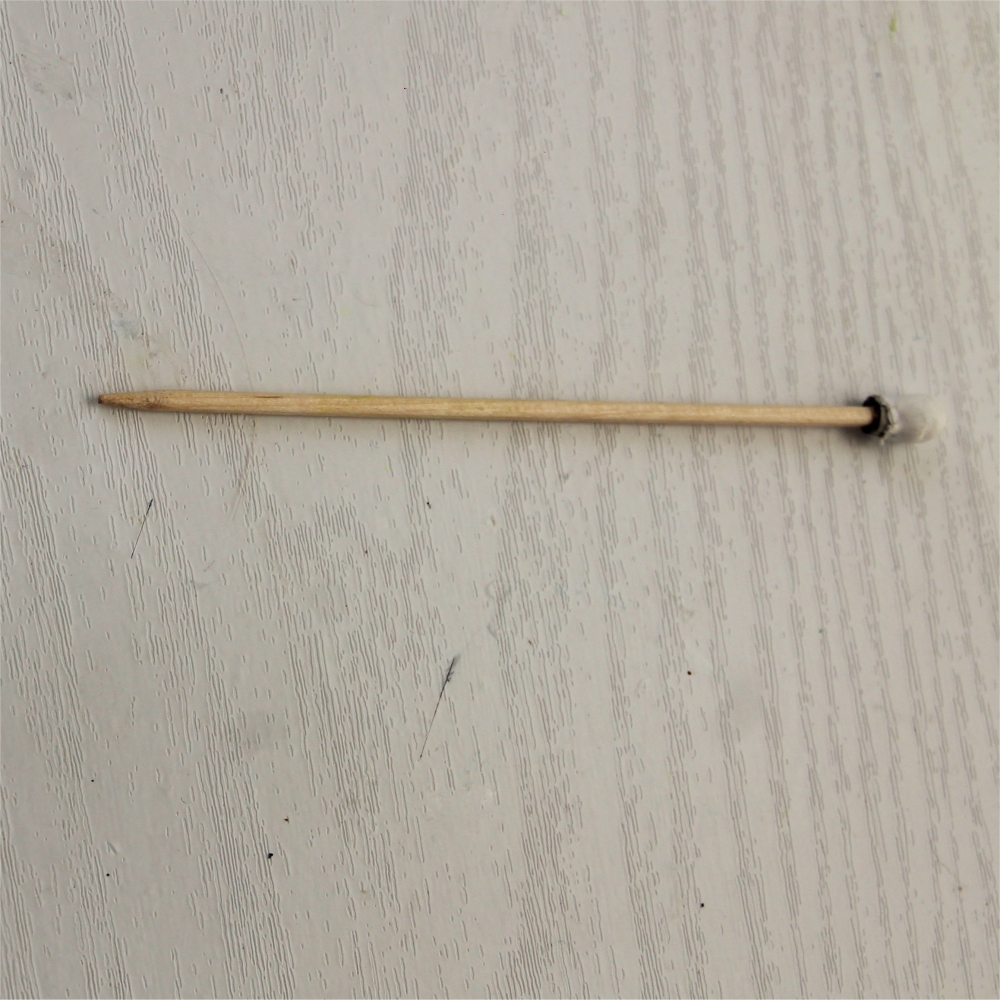
Take the paper umbrella part off the top of their sticks (you need about 3), if you don’t have cocktail sticks.
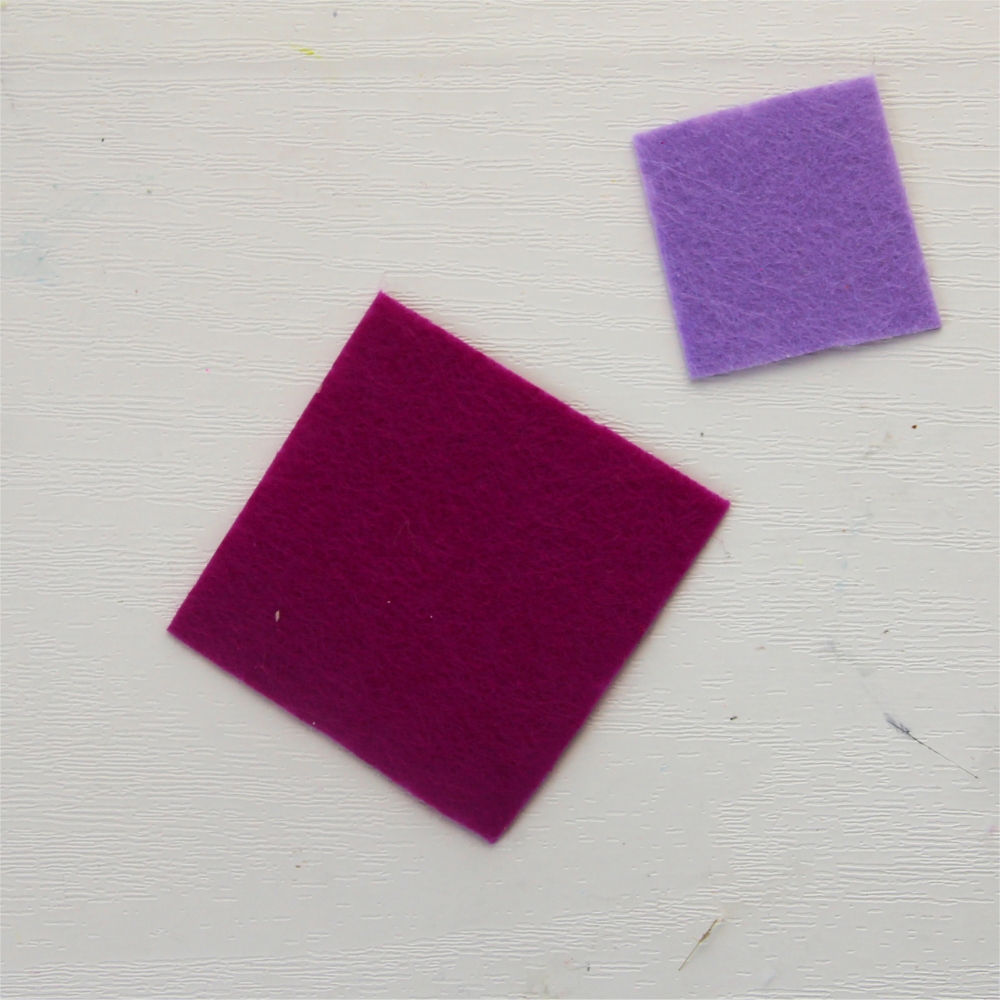
Cut two small squares of felt, one slightly bigger than the other.
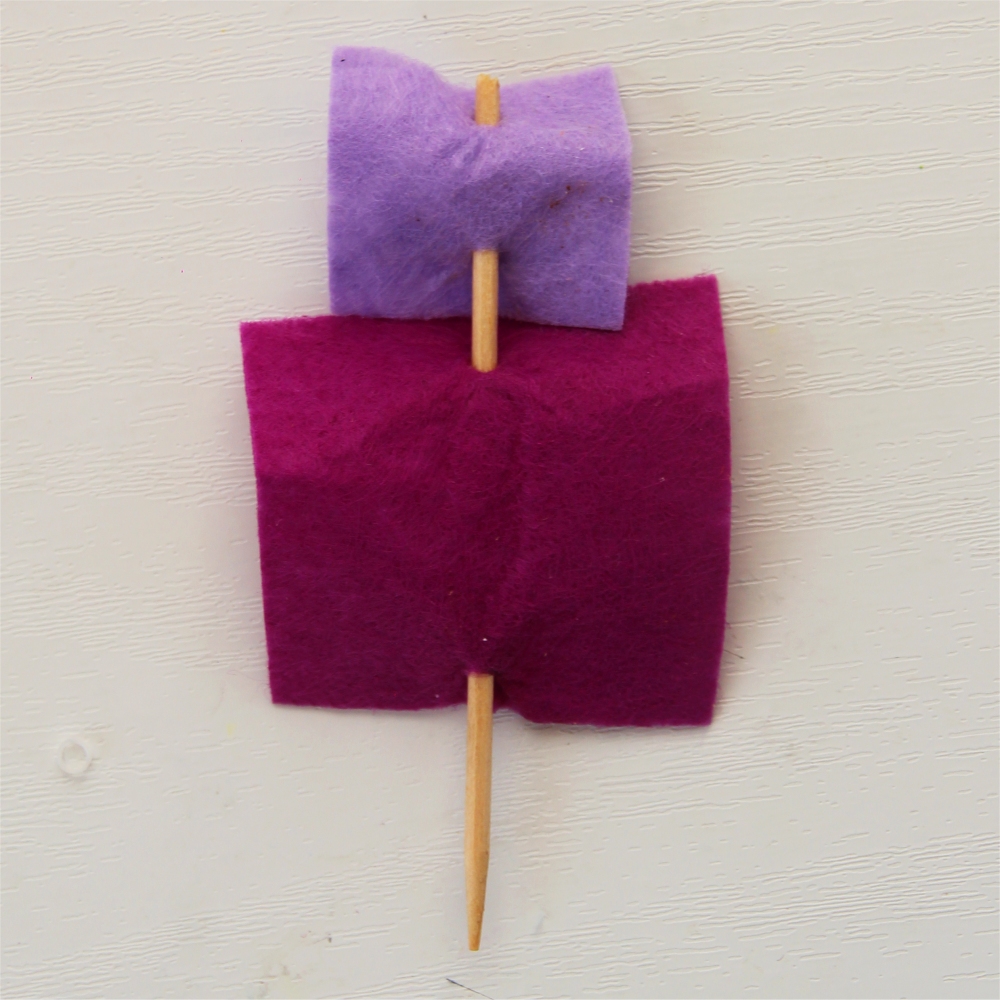
Feed the cocktail stick through the top and bottom of the squares of felt so they become sails. You may need to use a sharp pencil to poke holes in first.
Step 1
Step 2
Step 3
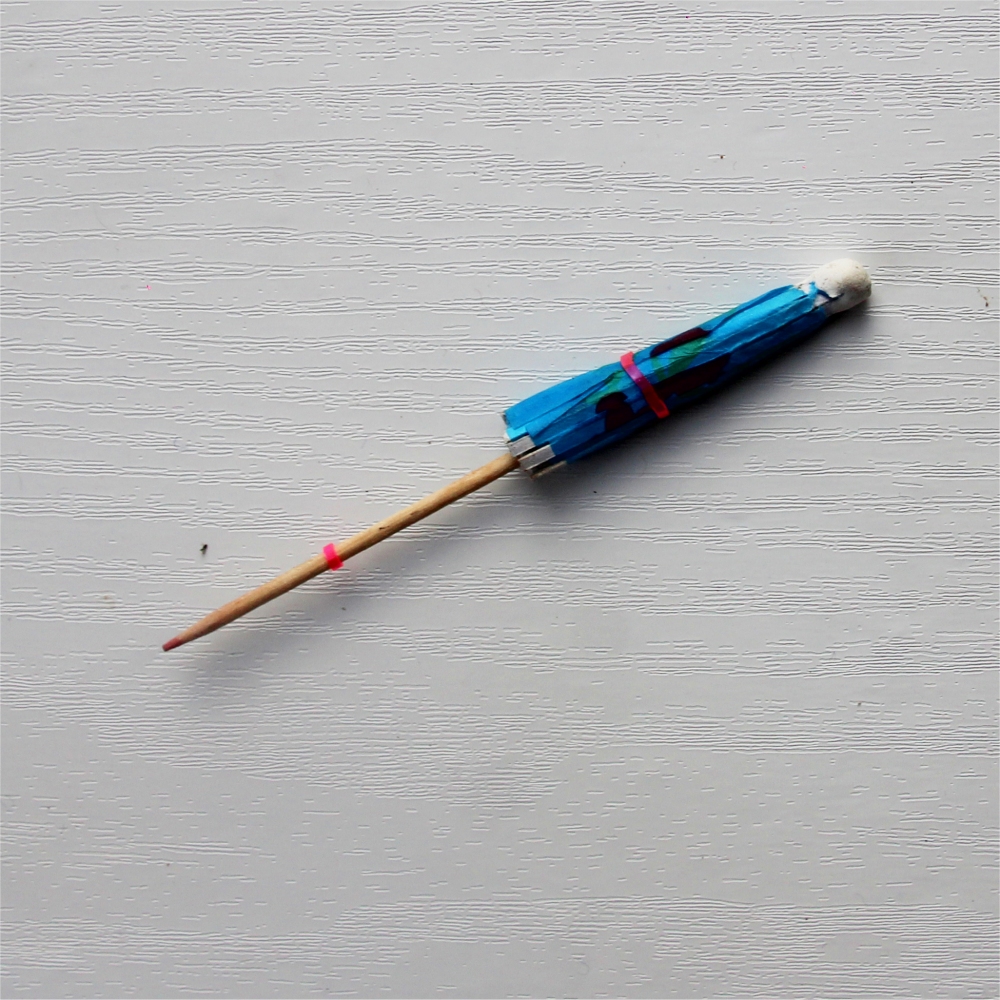
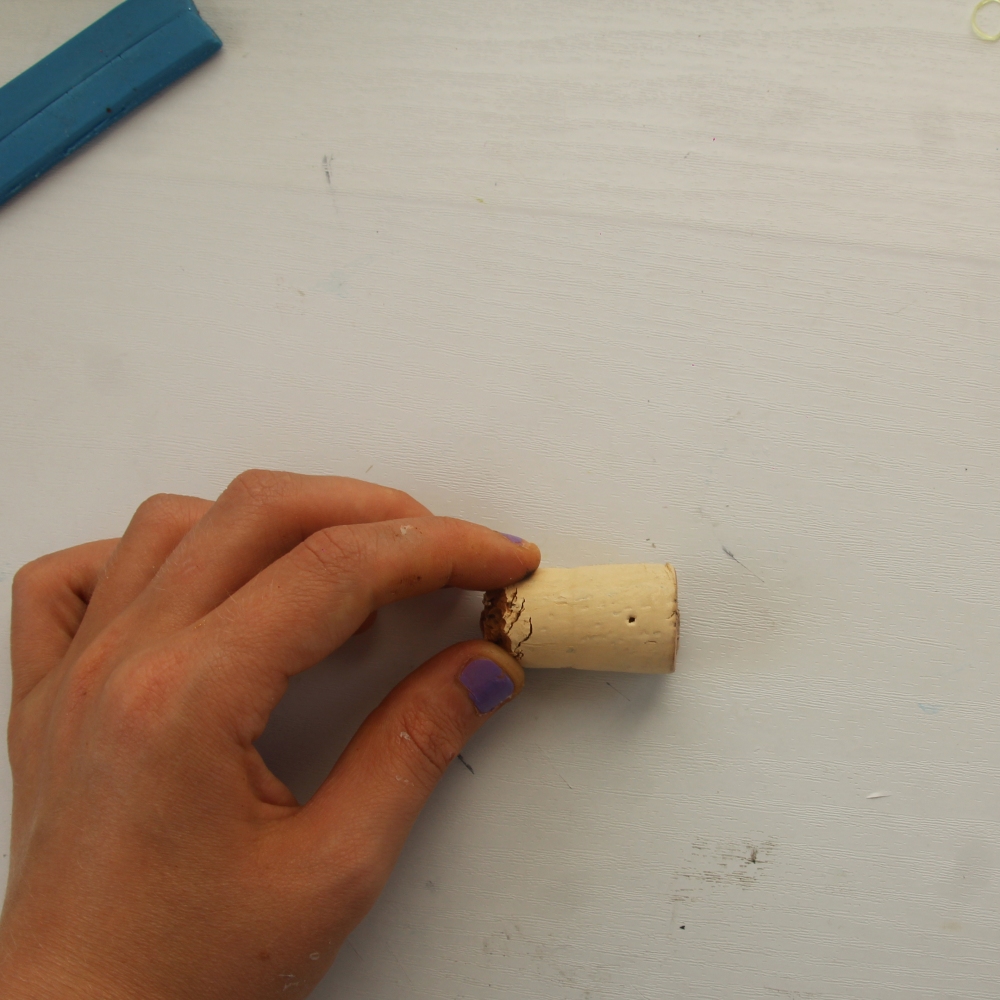
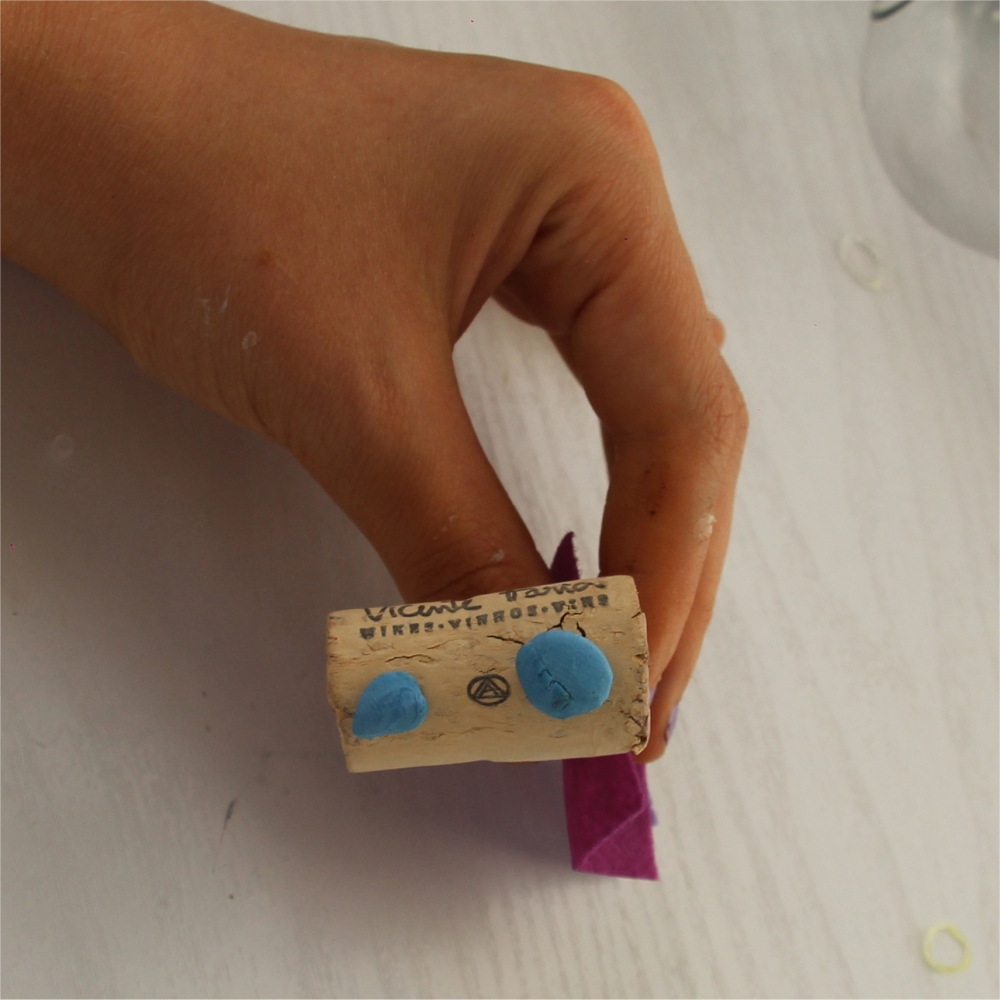
Using a safety pin (or a cocktail stick), make a hole in the middle of your cork, nearer one end.
Put the cocktail stick with the sails into the hole you have made. Put two small balls of blue tac on the underside of the cork so it can stand up well.
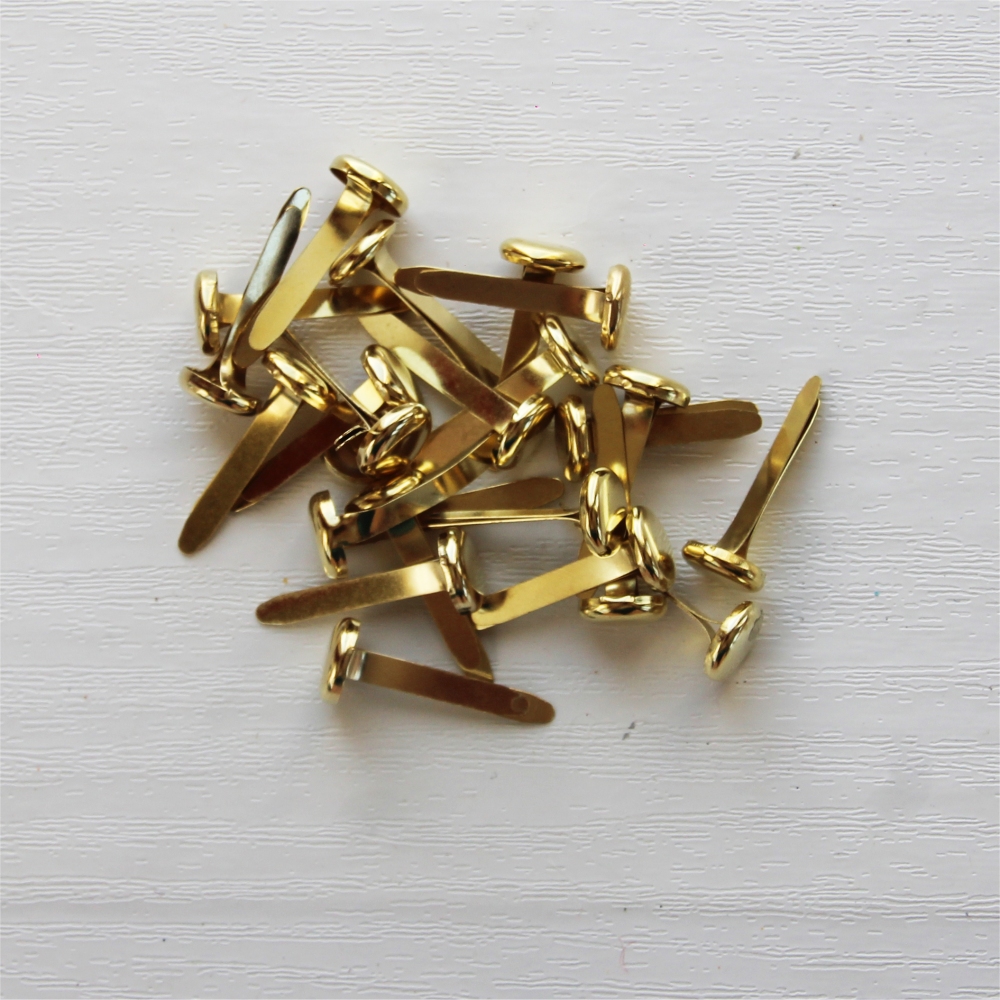
We’ve decided to put a split pin into the front of the cork to add detail.
Step 4
Step 5
Step 6
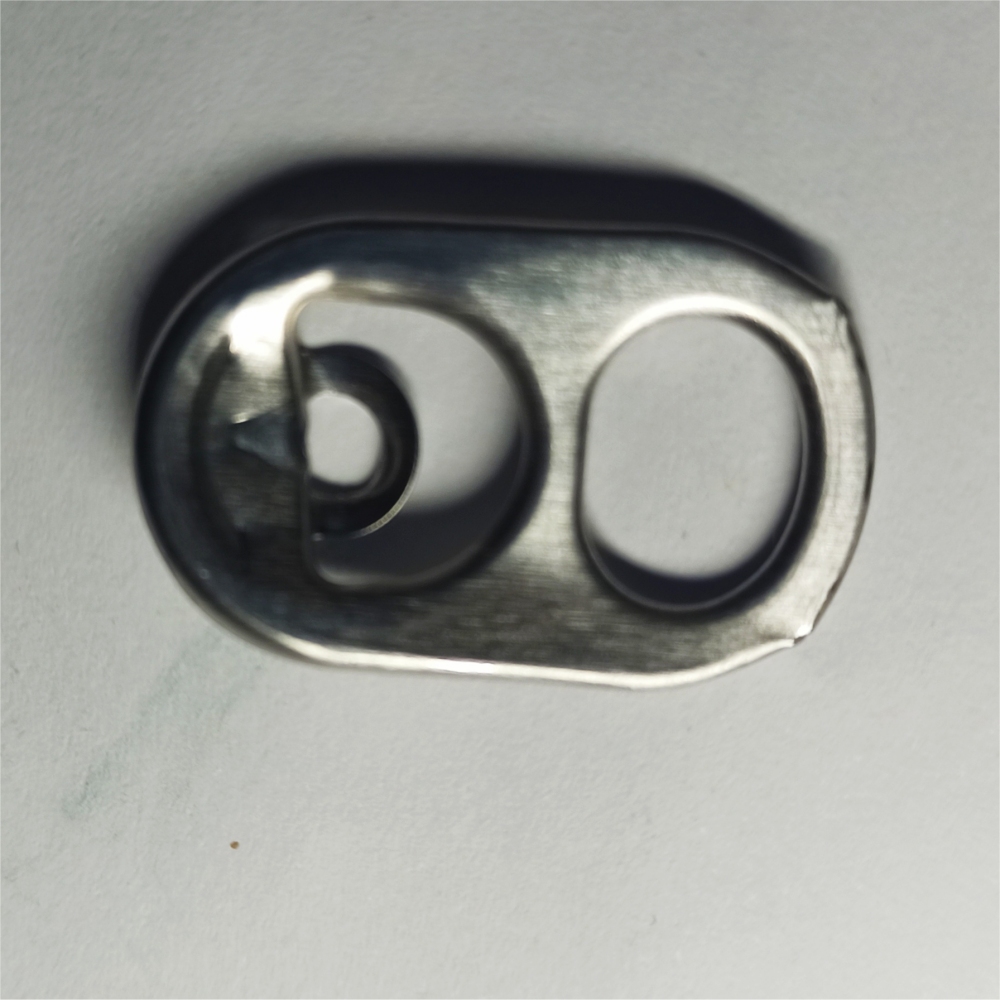
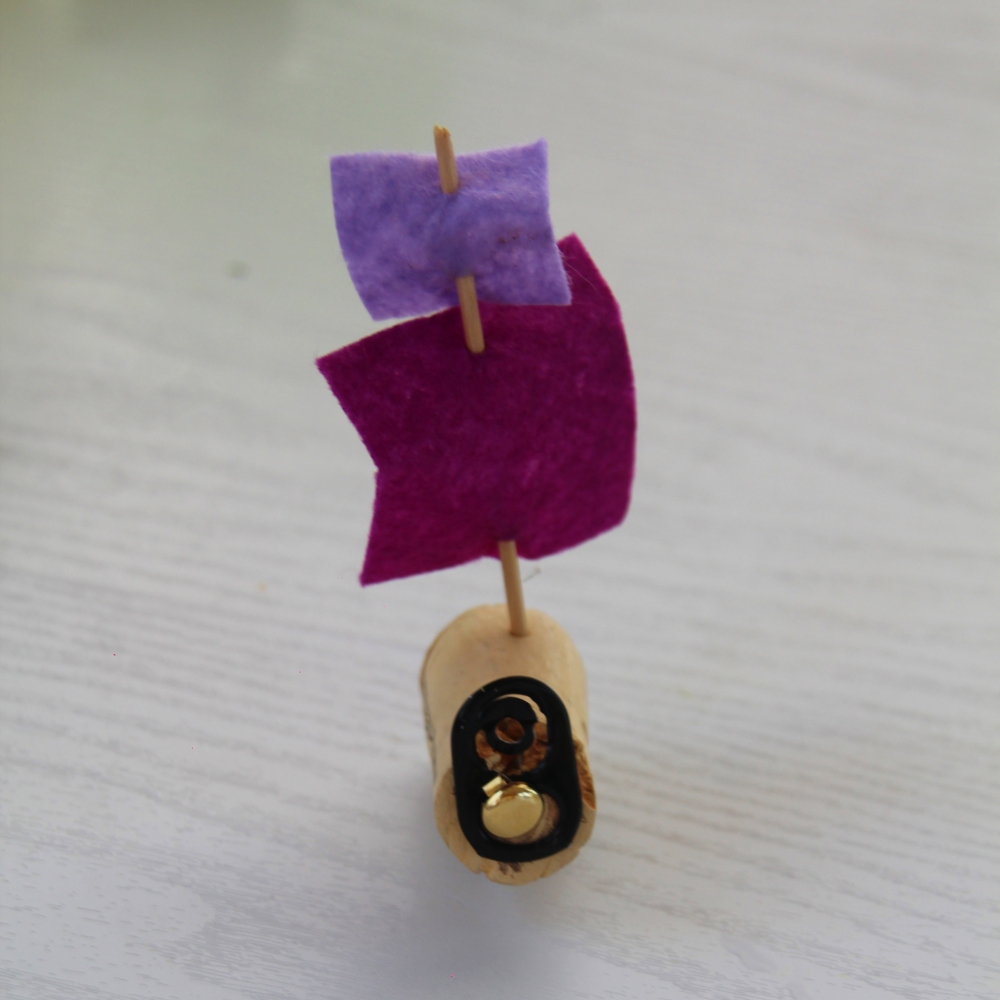
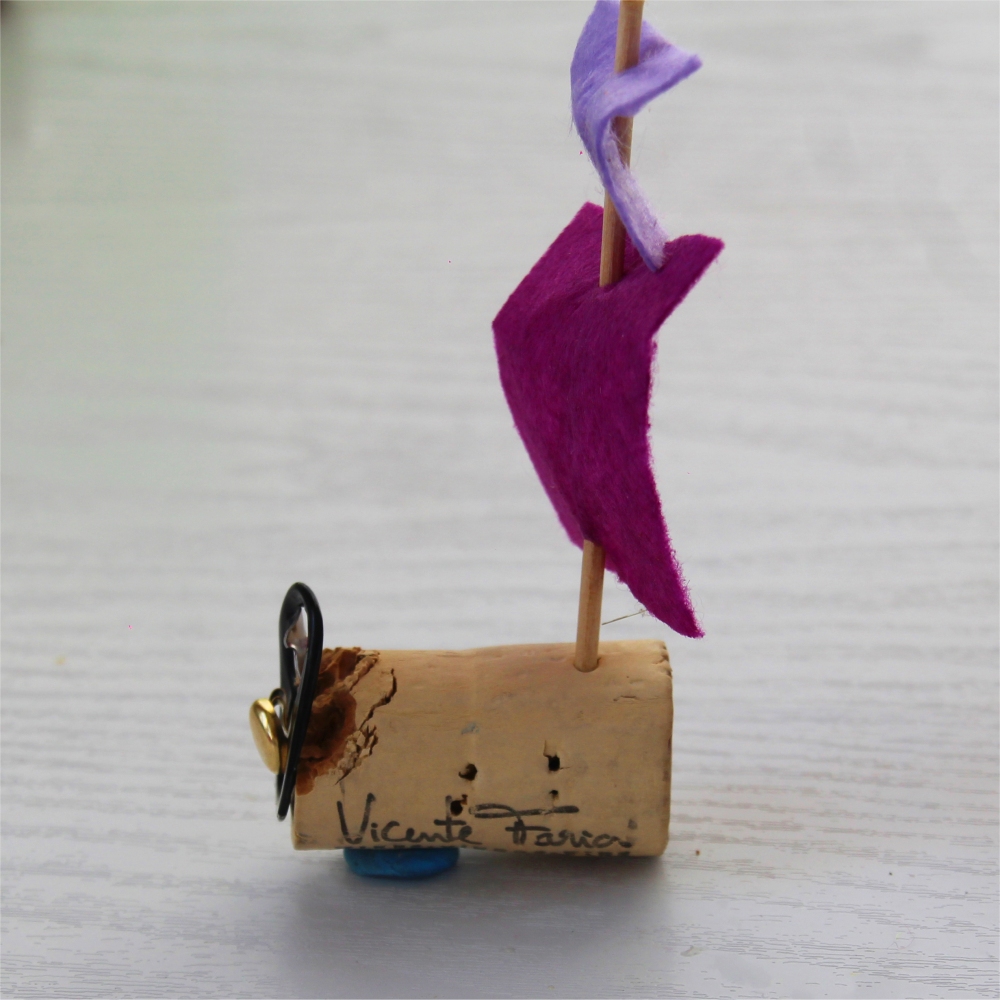
We’ve added a ring pull from the top of a can to ours as well!
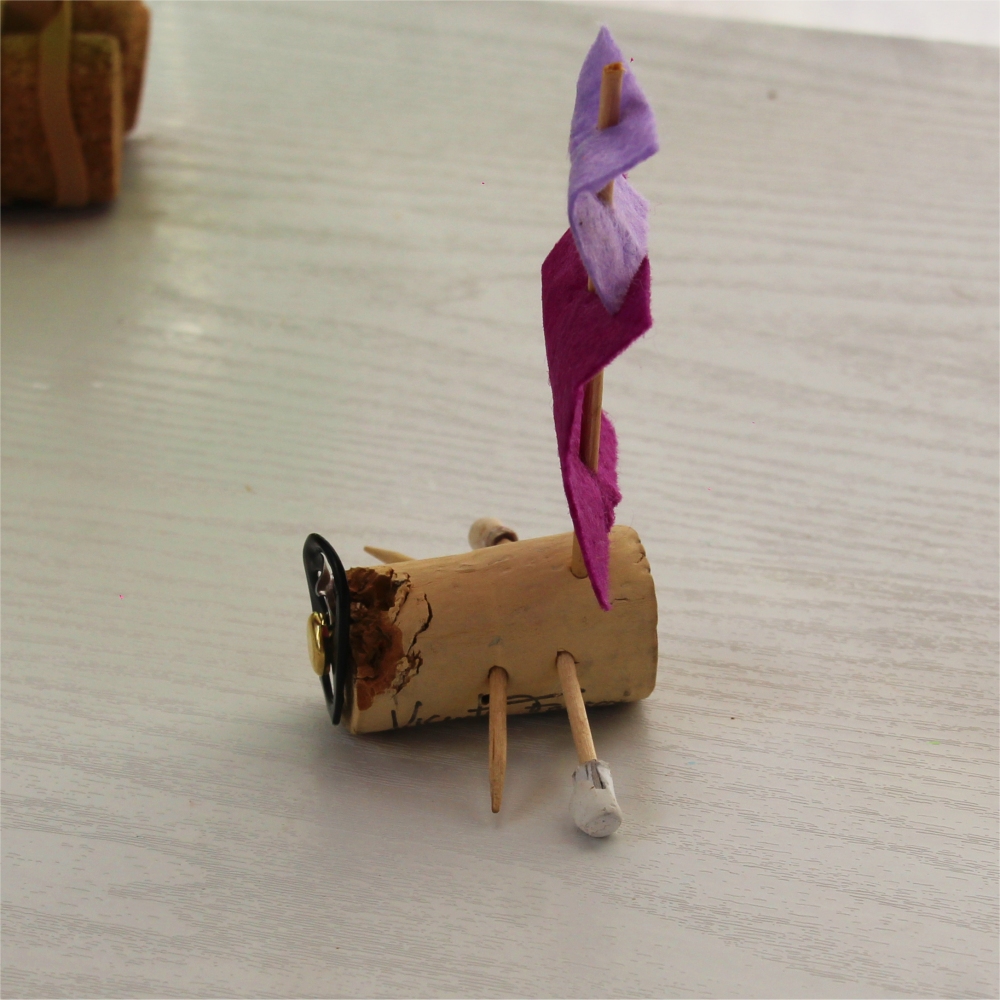
Now make two holes on each side of the boat
Put a cocktail stick into each of these holes into the holes to act as oars (we cut ours in half but you don’t have to).
Step 7
Step 8
Step 9
You can add a bit of blue tac to the end of your cocktail stick, or wrap it with tape if you want.
Your mini cork boat is now finished. We think it looks a bit like a Viking boat with its long oars! What do you think?
Step 10
Tiny Cork Boat
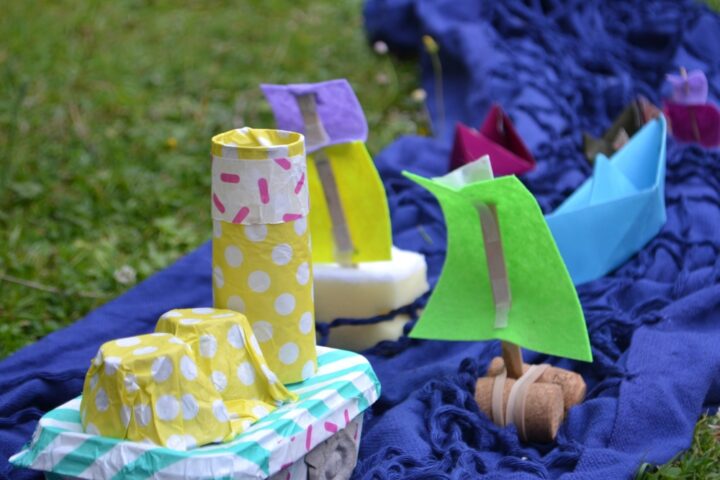
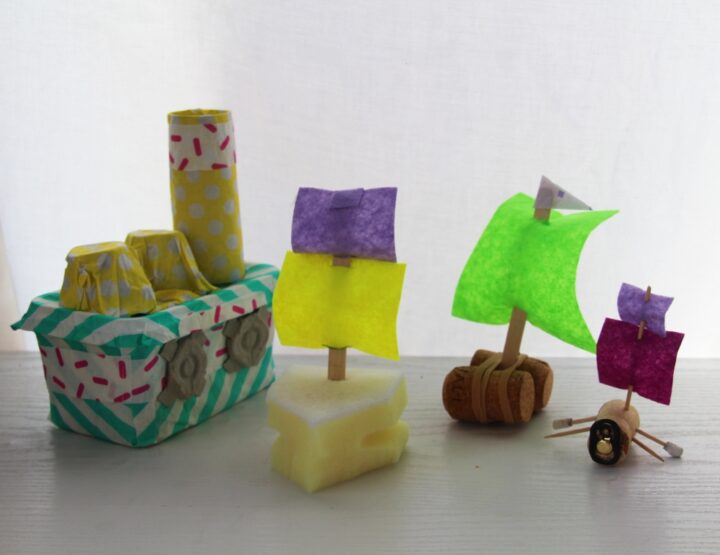
If you have managed to do them all you will now have four finished boats of different sizes made from recycled materials!
Why not try them on water to see if they float?
Margarine Tub Boat
Sponge Boat
Cork Boat
Tiny Cork Boat
Further Activities
What other recycled materials can you make a boat from?
Try a plastic bottle or milk carton for example. Get creative!