“If you go down in the woods today, you’re sure of a big surprise!”
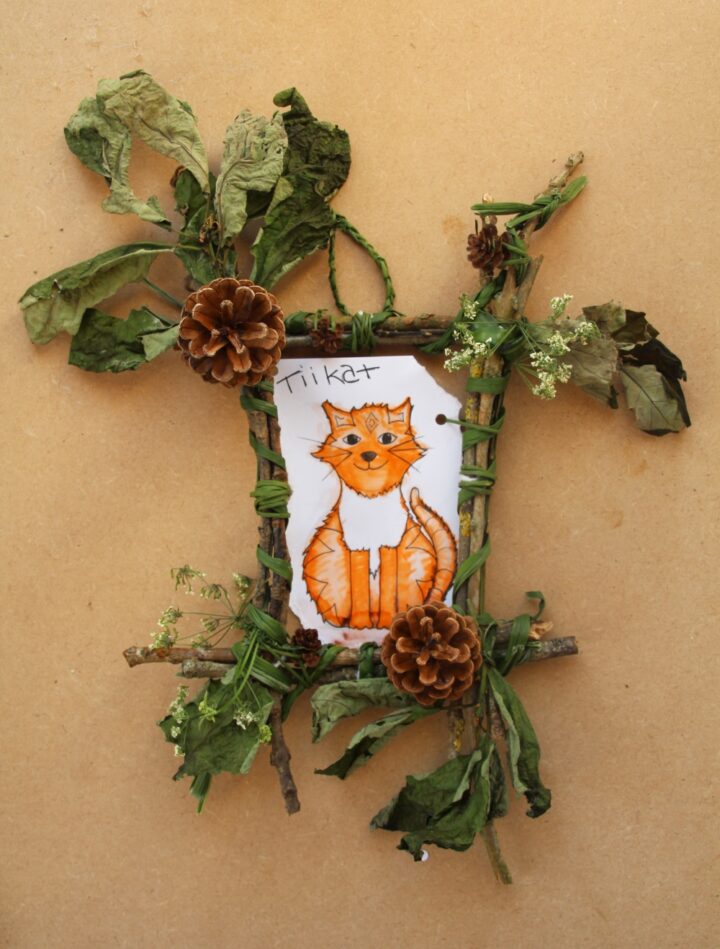
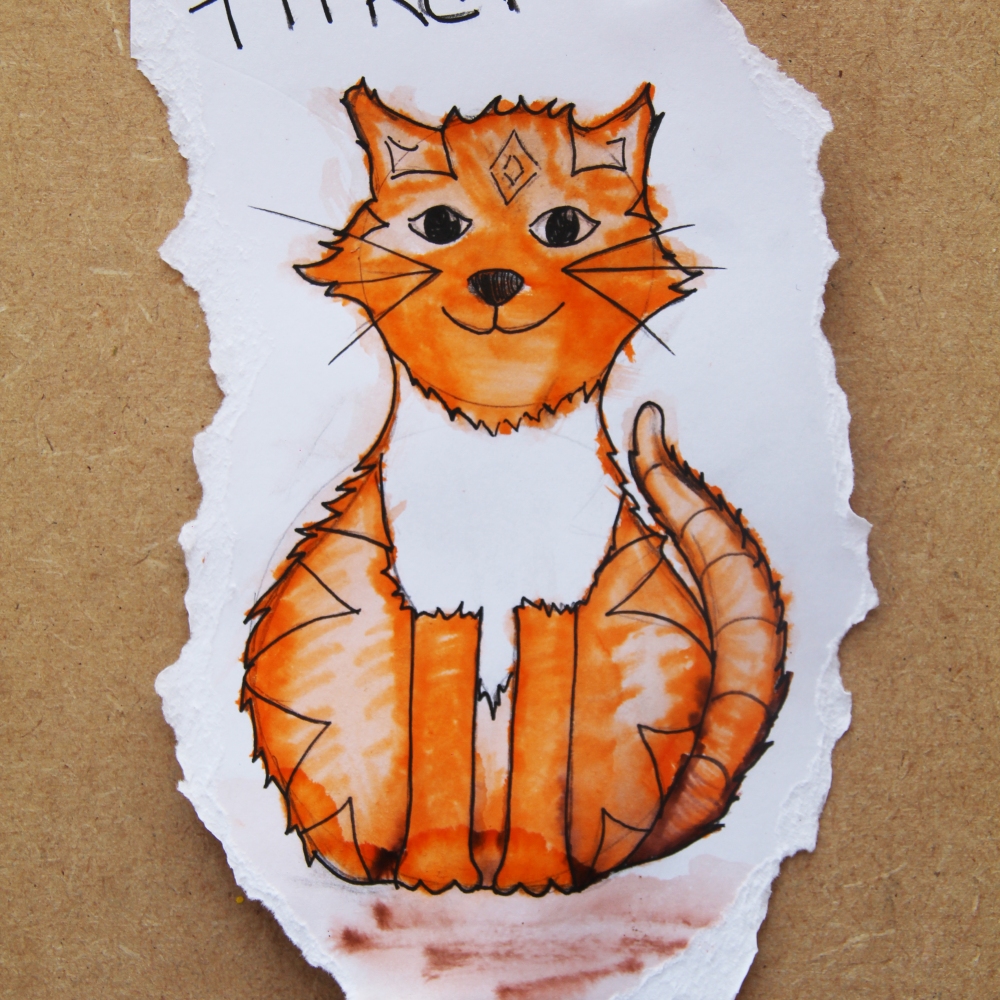
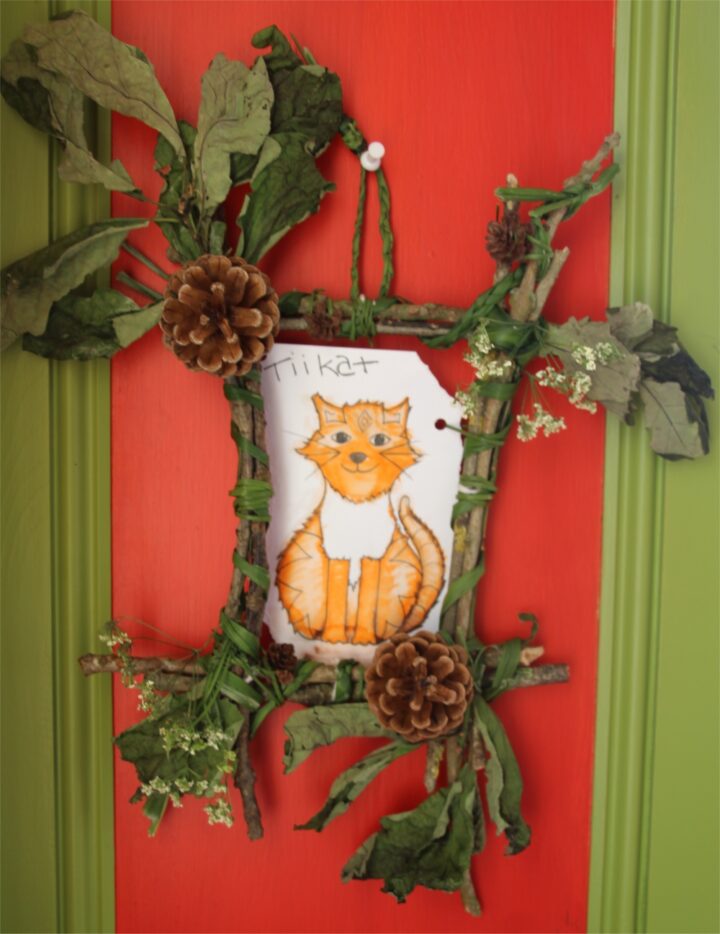
But it’s not the teddy bear’s picnic that we’re on the lookout for today – for this project you need to collect some of the interesting and pretty things you find at the forest or park. Did you spot that Tiikat’s dad’s picture was in a frame made of sticks? Now you can also create a beautiful natural picture frame to decorate your house with.
Difficulty Level:
What you need:
String
Scissors
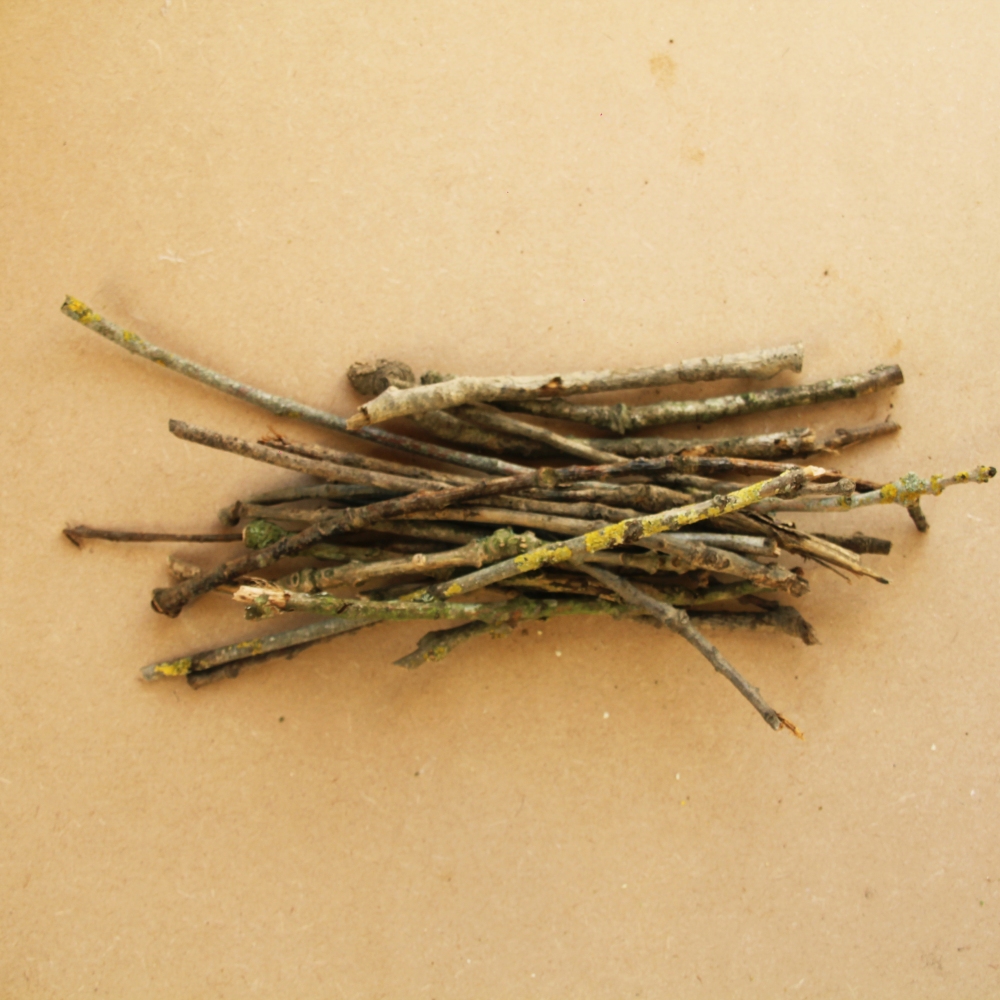
Twigs
Pencil or hole punch (optional)
Picture for putting into your frame
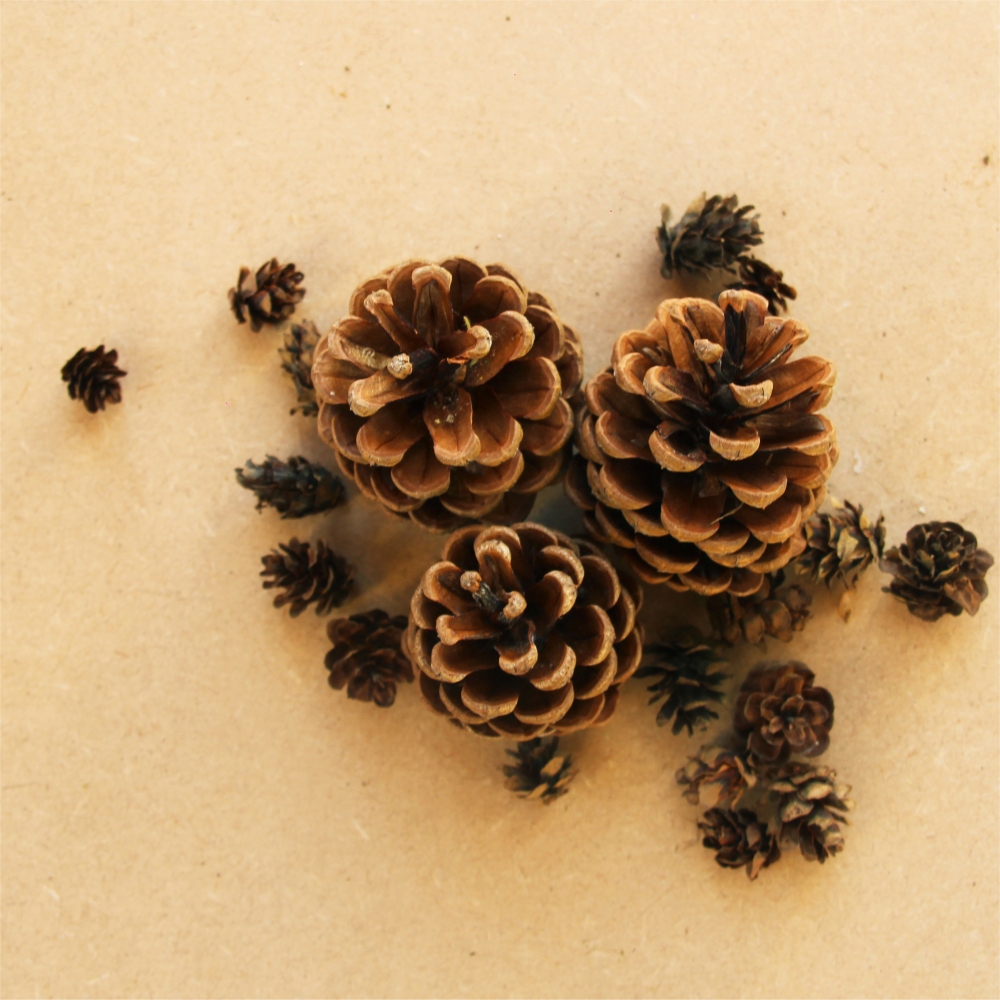
PLUS Natural materials for decorating, such as pine cones, leaves (fresh or dried), flowers, holly and long grasses.
Hint – Try to collect things that have already fallen on the floor as much as possible, so that the plants and flowers aren’t harmed by your scavenging.
These are just some examples –
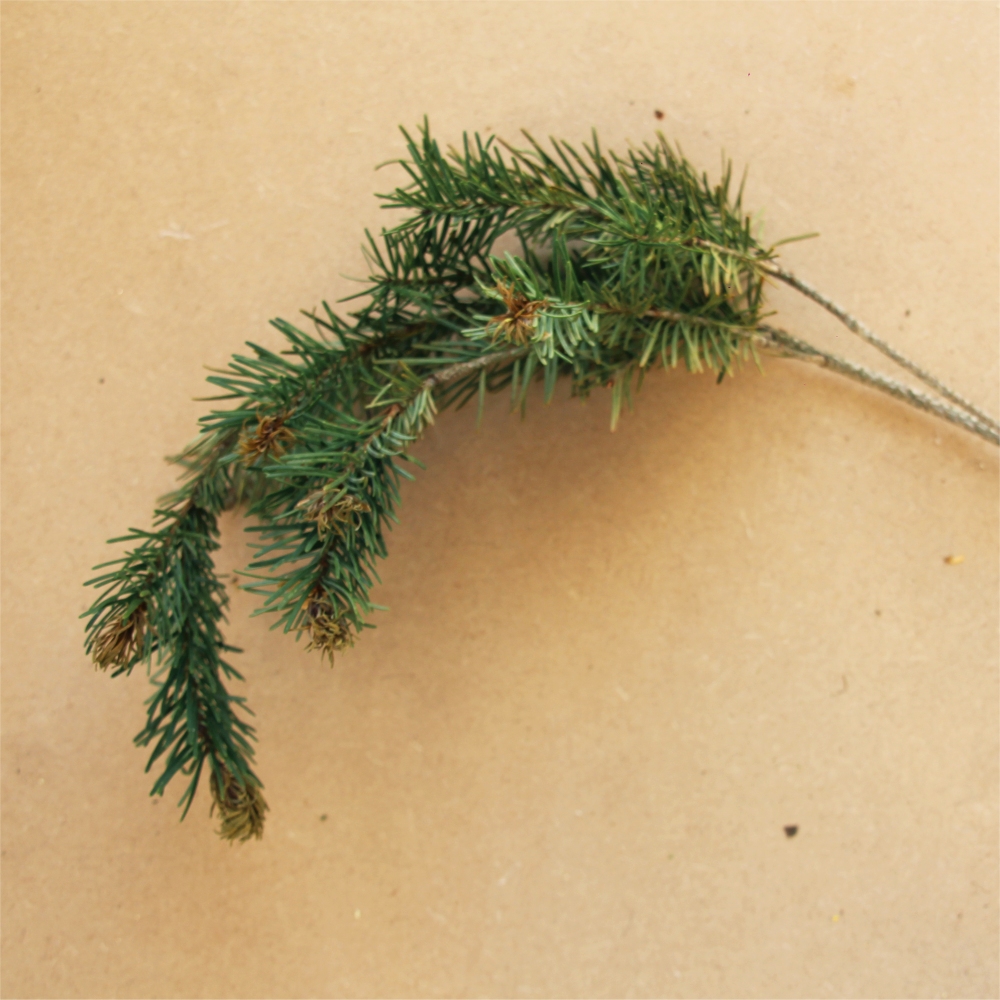
Pine cones
Branches
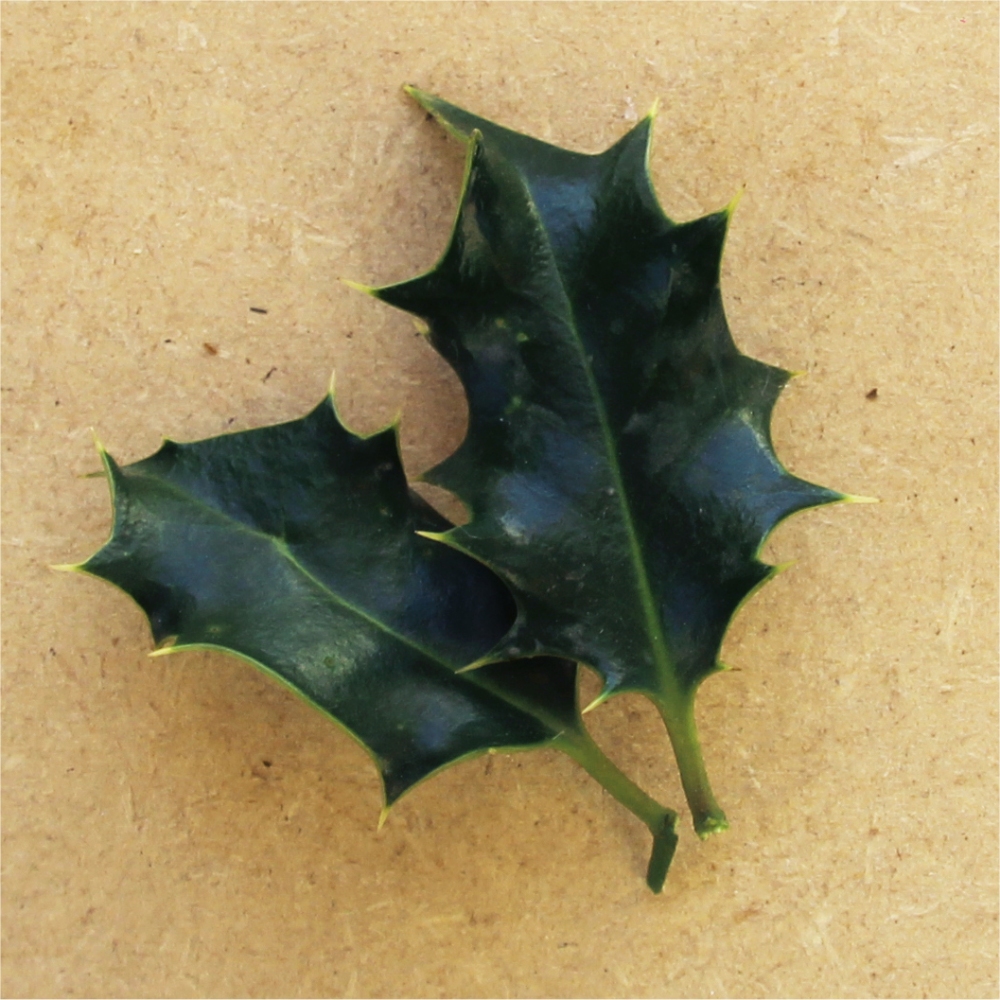
Holly
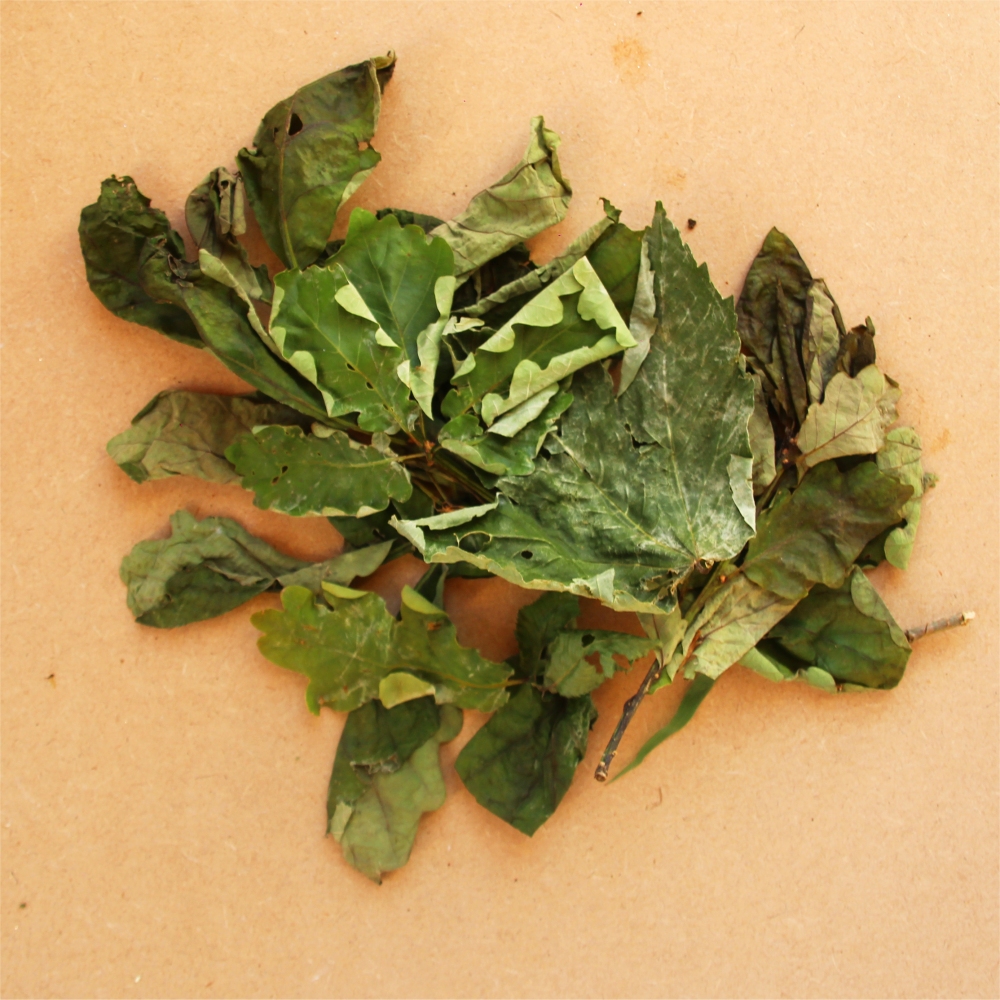
Leaves
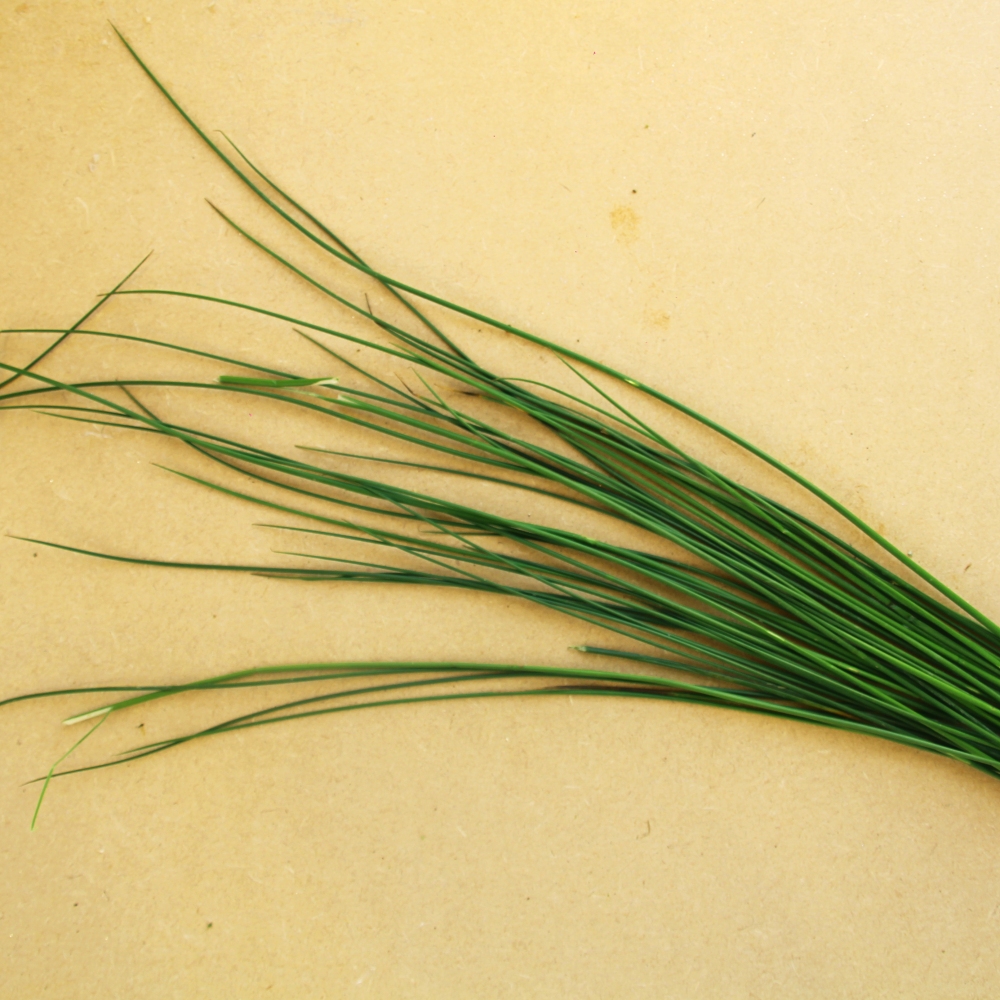
Grasses
Method:
Making the base frame
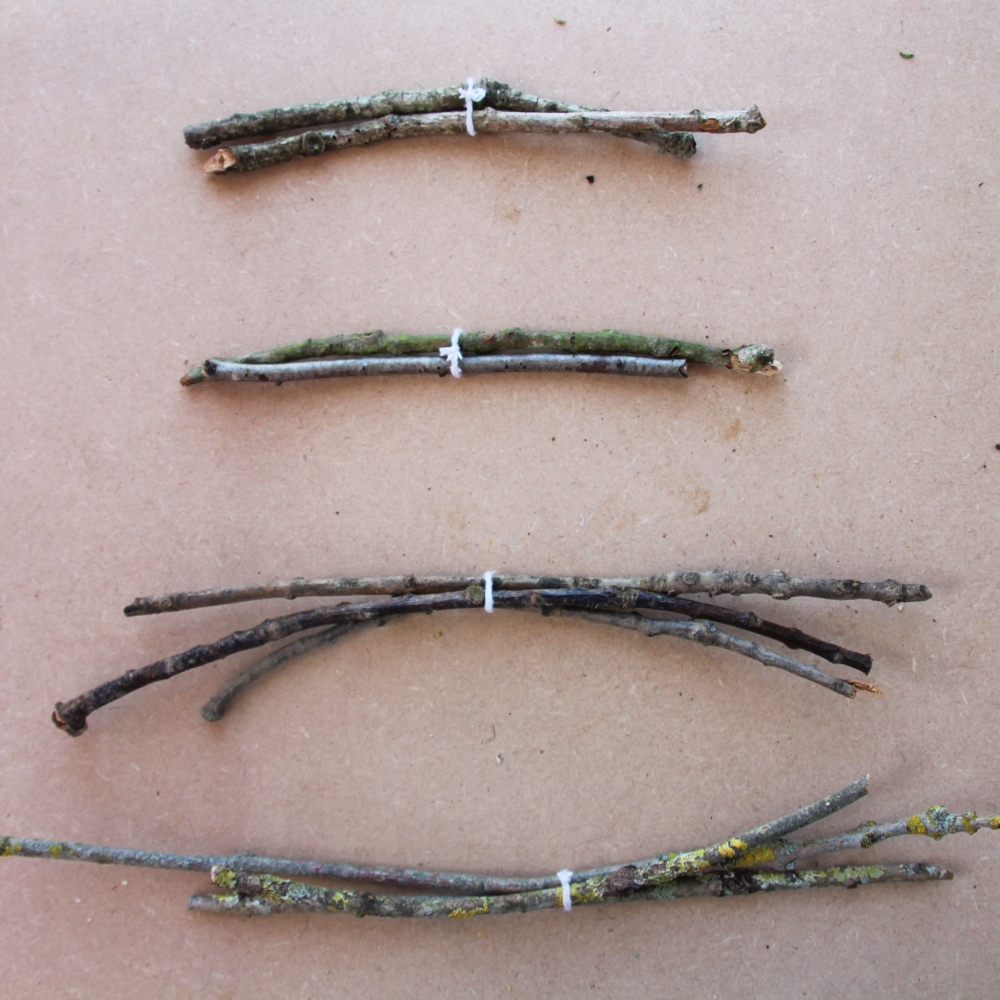
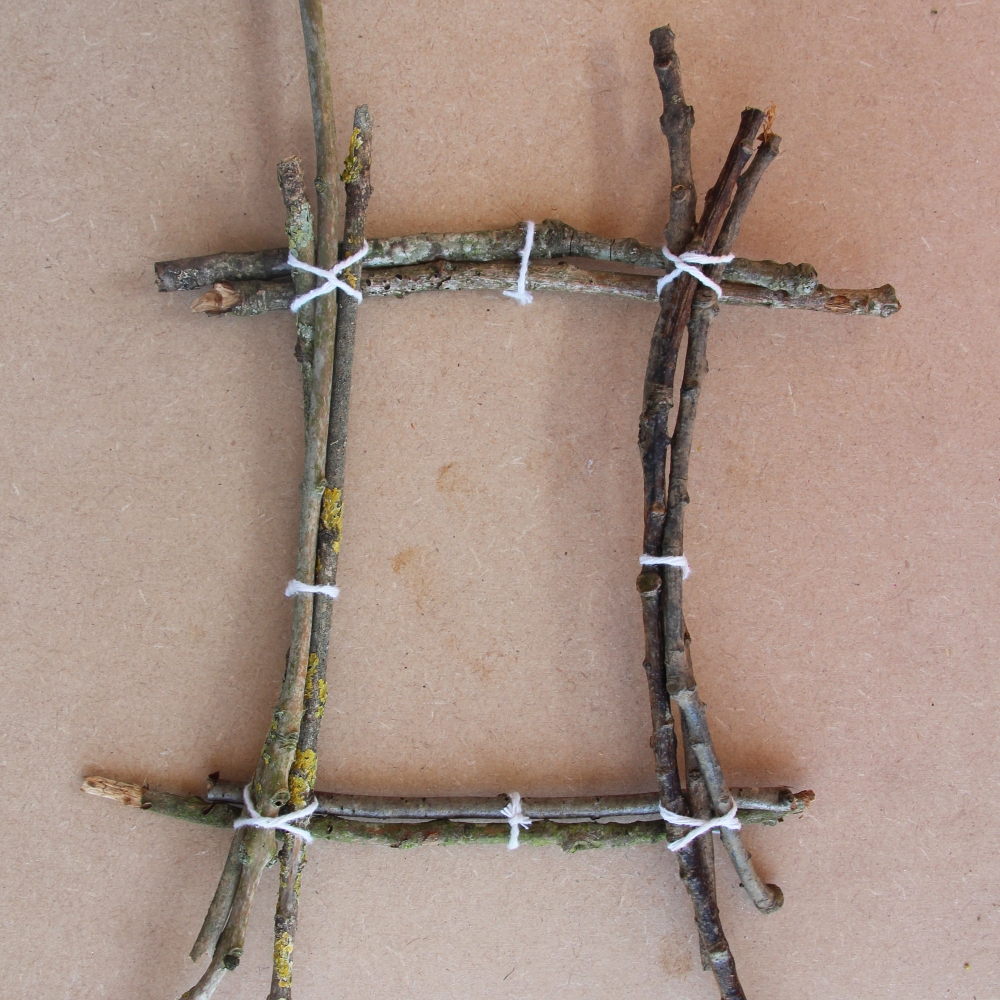
Decide which sticks you’re going to use and arrange them how you would like them to end up for your frame. We have used two shorter sticks on the top and bottom and three longer on each side to make a rectangle shape, with a portrait orientation.
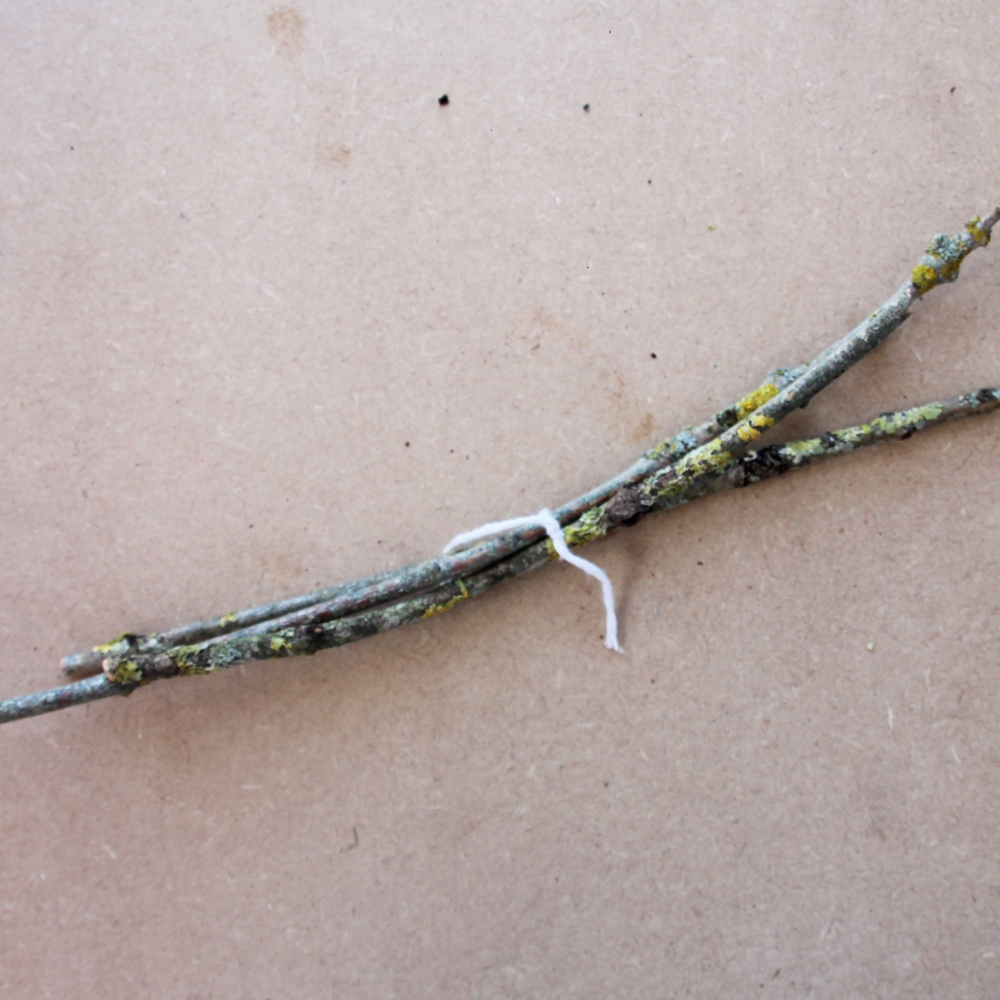
Using your white string tie one of the sets of sticks (all the sticks for one side of the frame) together in the middle.
Repeat step 2 for the sets of sticks for all other sides of the frame. You should now have four bundles of tied up sticks. These are the sides for your frame
Step 1
Step 2
Step 3
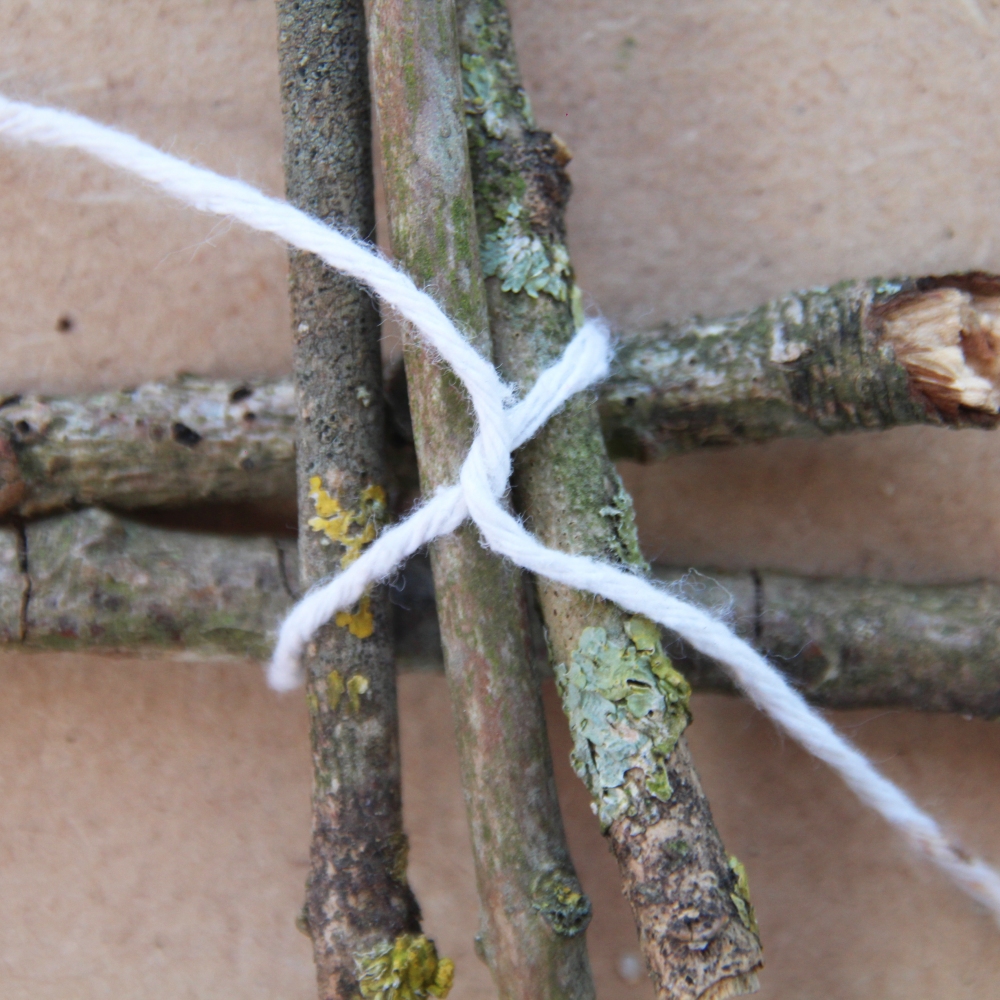
Now it is time to attach the corners together. Lay a piece of string on the table, then lay on top diagonally one of the shorter frame sides, then one of the longer frame sides on top of that. There should be at least 2cm (approx 1 inch) of stick to spare on either side.
Bring the two ends of string into the middle and around each other, pulling the bottom one to the left and the top one to the right forming a cross shape.
Next wrap the string around to the back, making sure you do this diagonally to the way it was wrapped around the front. Tie it in a knot at the back.
You may need a parent or a friend to help do this as it is a bit fiddly to hold it all in place. Don’t worry if it goes a bit out of shape as you can always rearrange it again!
Step 4
Step 5
Step 6
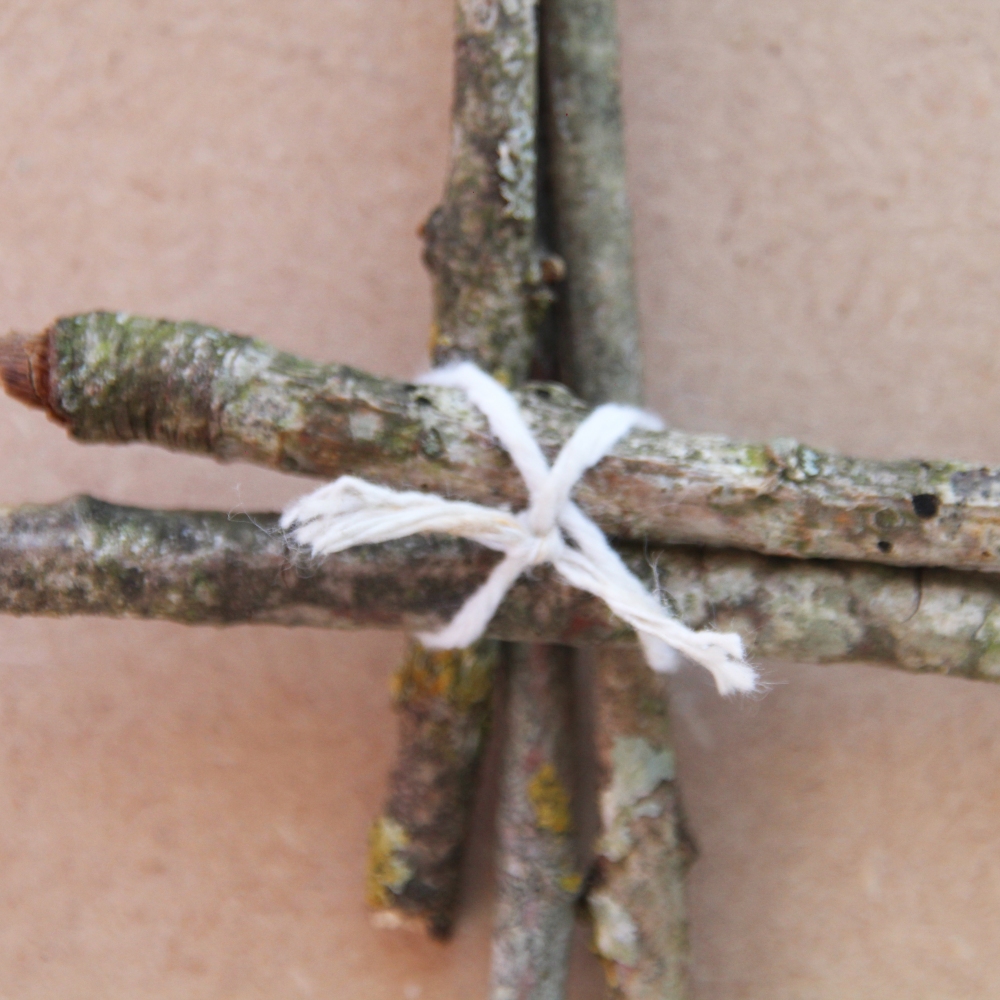
Repeat the corner tying (steps 4-6) on the next side.
Repeat the corner tying for the final two corners, in the same way. You now have a frame, well done!
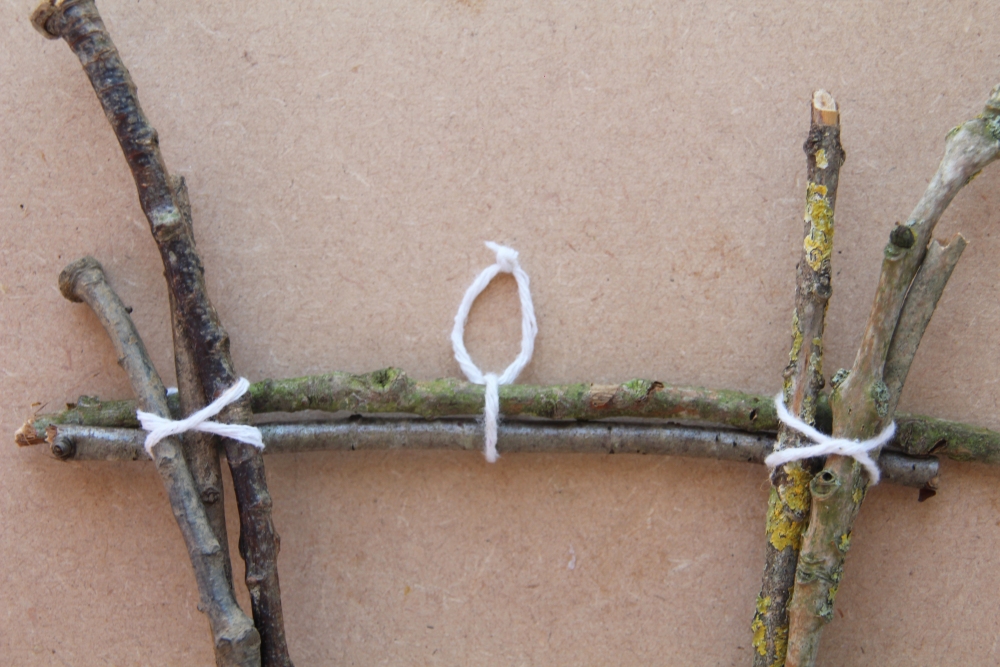
Add in a loop of string to the top by threading it through the string tying the middle of the top side. Tie it into a loop at the top. This will be what you hang the frame off, so make sure it is secure.
Step 8
Step 9
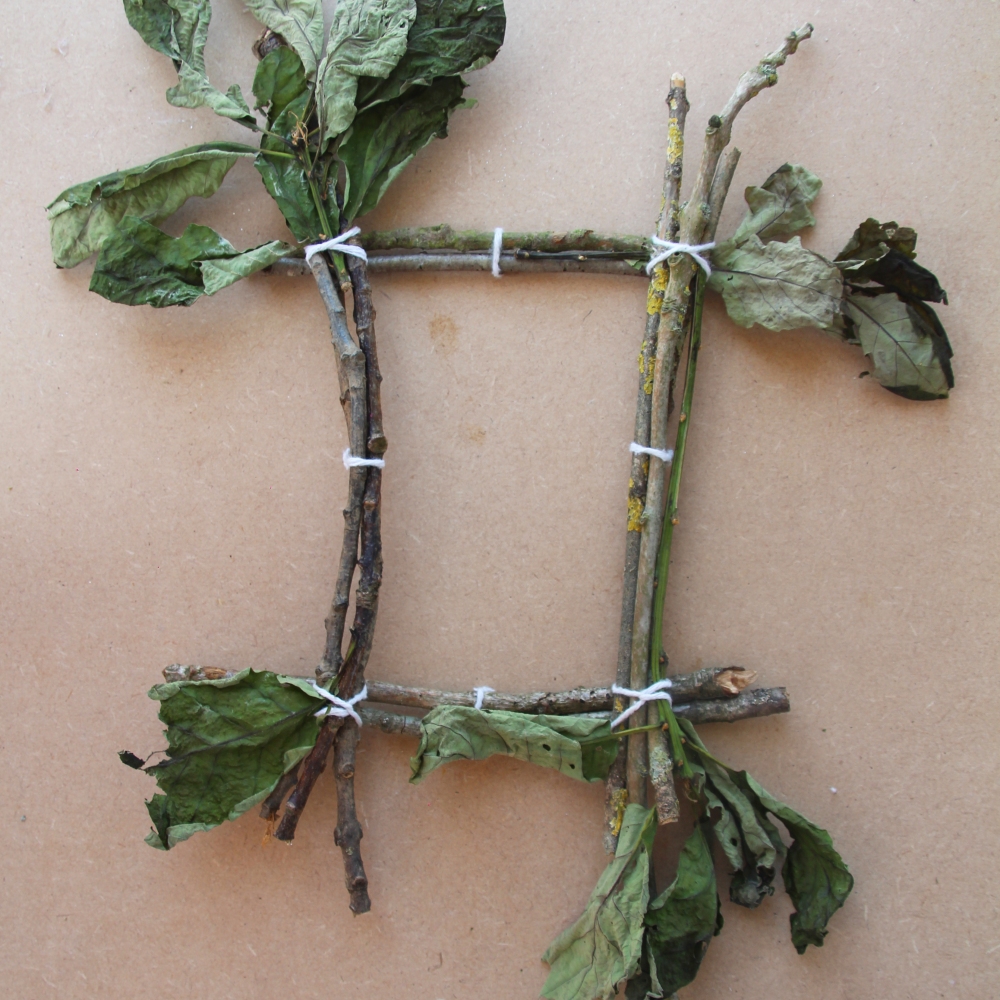
Decorating your frame frame
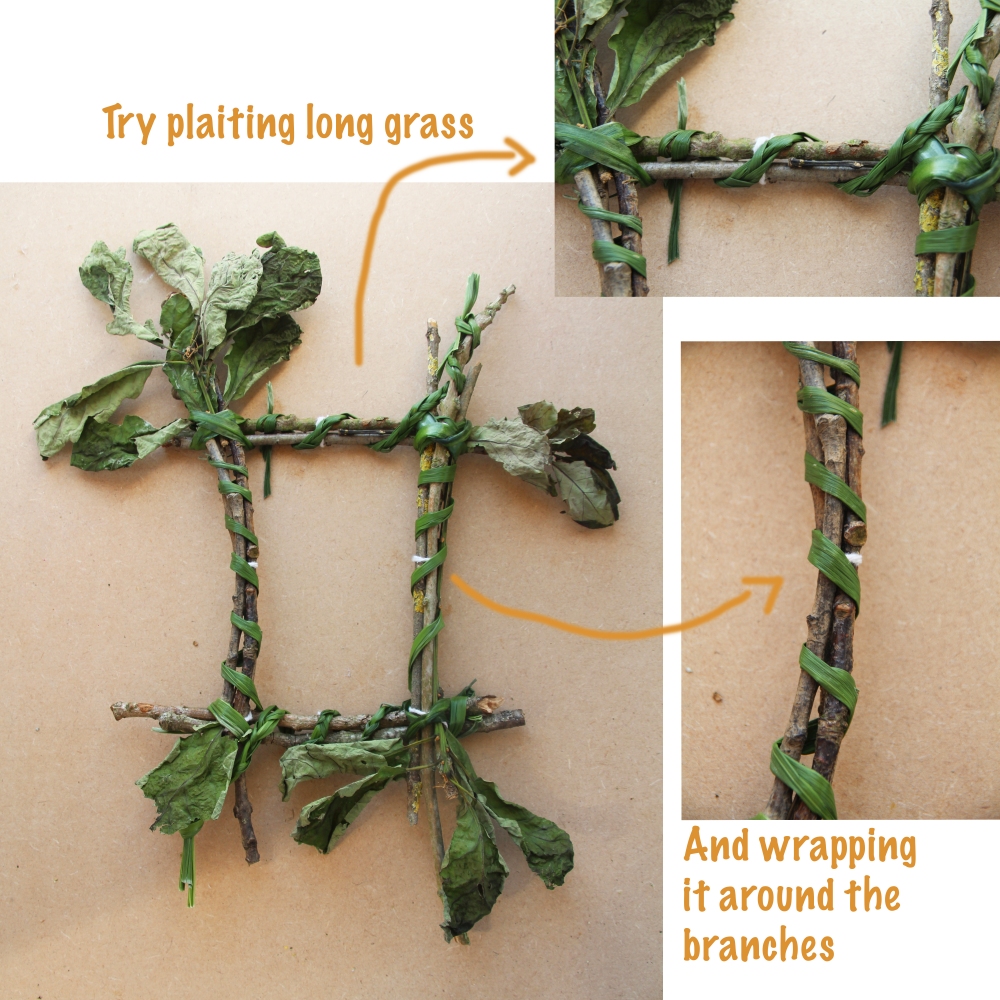
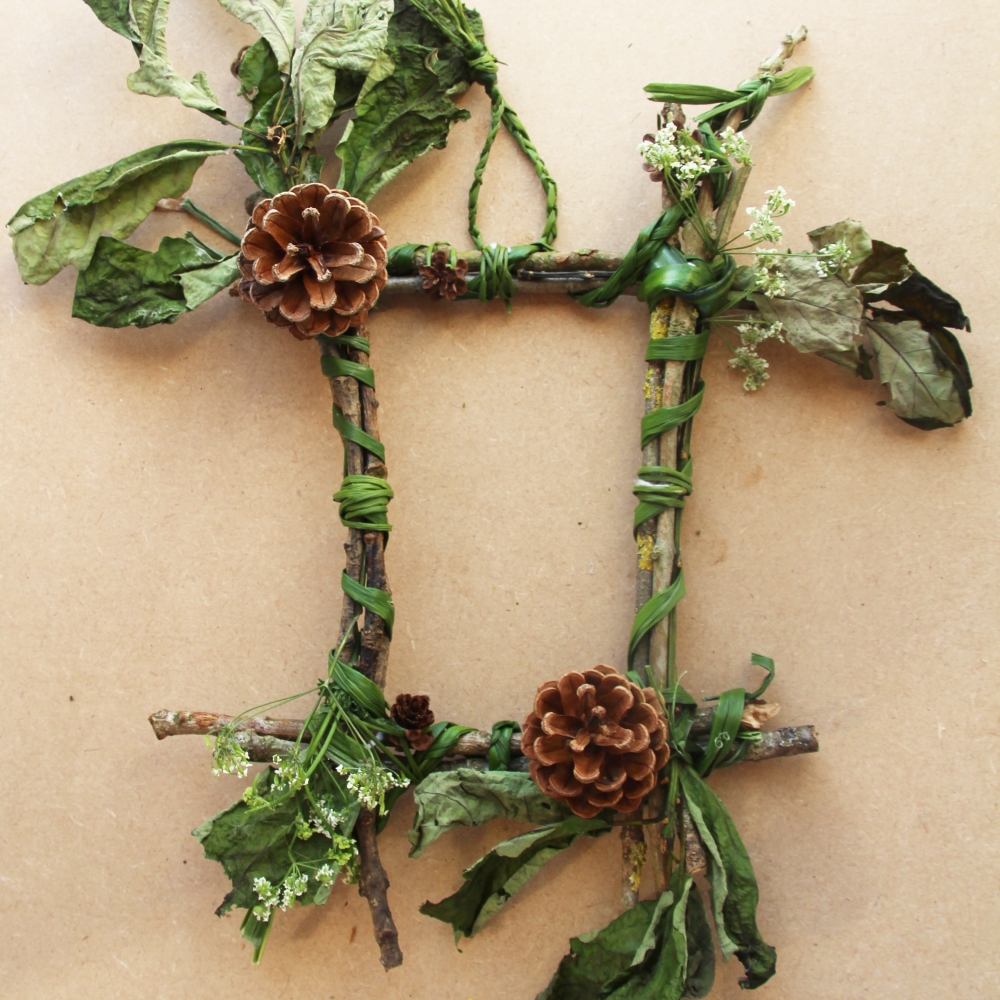
Now you can start to decorate your natural frame! We’ve started by adding some of our dried leaves poking them into the slots between the sticks then fastening with long grass/ reeds.
You can use more long grasses to decorate each side. Check out the zoomed in picture to see how we’ve plaited the grass and wrapped it around the sticks.
We’ve continued to decorate our frame with large and small pine cones, a plait loop for the top, flowers and grass bands. Check out the zoomed in sections to see how they were all fastened on using grass.
Don’t worry if your materials are different or you need to use string or another method to tie/stick things on! The great thing about these frames is that they’re never the same.
Step 10
Step 11
Step 12
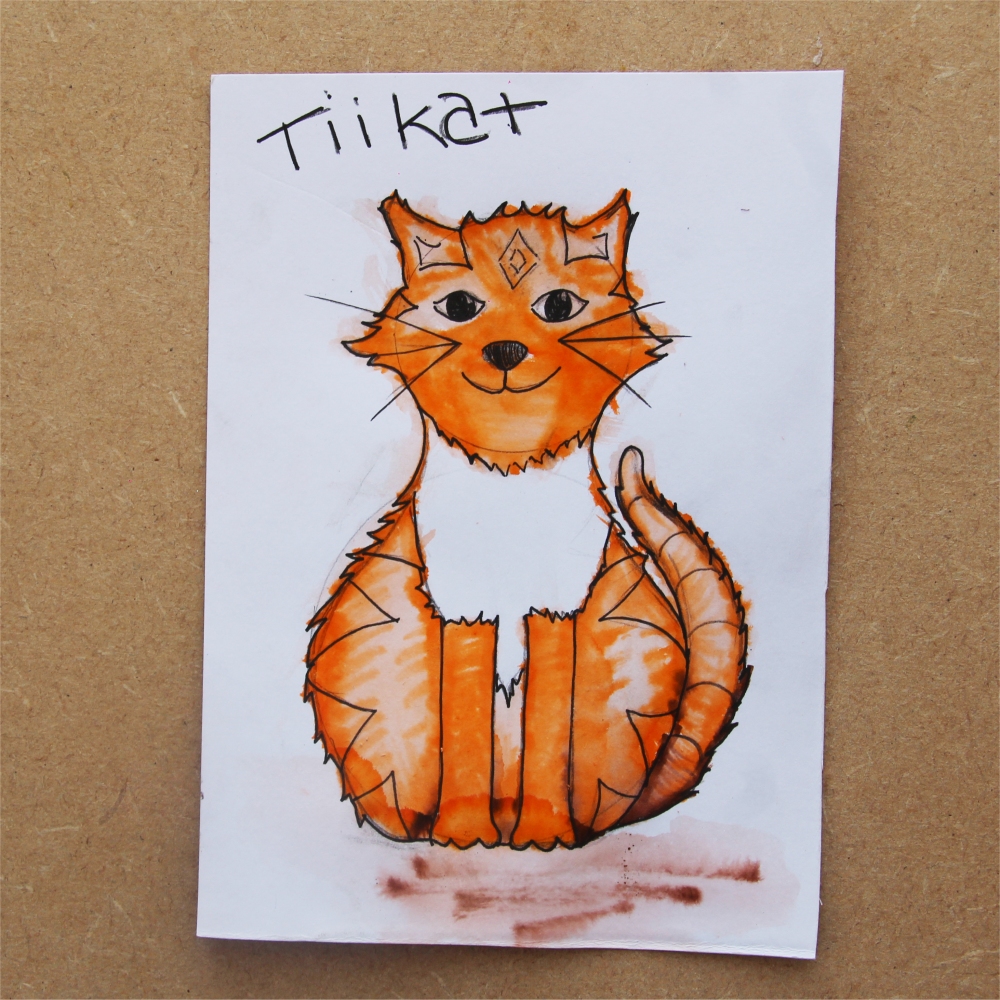
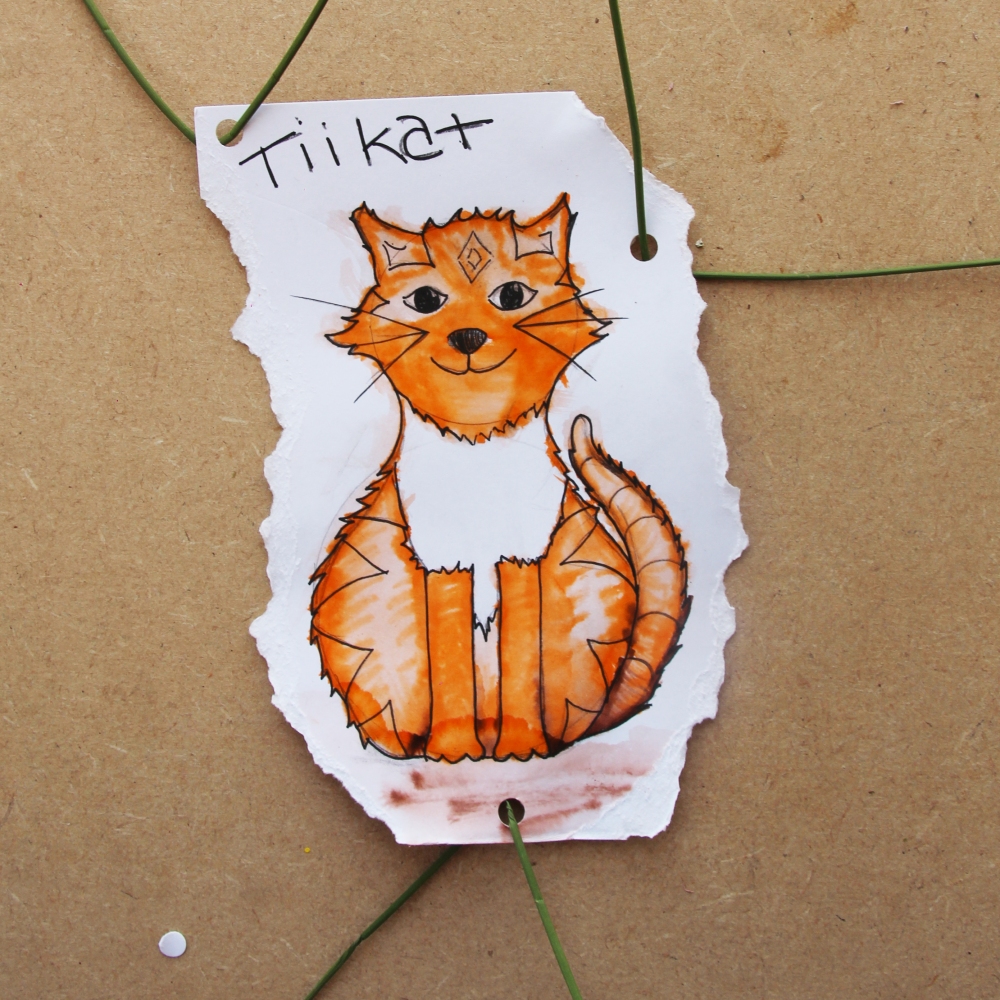
If you want to, you could experiment with distressing the edges of your picture by carefully tearing the sides. We chose to use our Tiikat drawing. Link to the tiikat drawing activity
Using a hole punch or a pencil, put 3 or 4 holes at the edges of the picture. You will use these holes to attach the picture to the frame. Put a long piece of string/ grass/ a reed in each hole.
Tip: If there is no space to add holes, you can stick your picture (or photo) onto some backing paper to create a border round the edge to punch holes in.
Line up the picture in the frame, deciding exactly where you want it to sit. Carefully wrap the string/grass/reed around the closest sticks on each side and secure it carefully.
Enjoy your finished frame! Put the frame up on your wall and enjoy it every day.
Step 13
Step 14
Step 15
*** Idea – why not check to see how your frame has changed in a week. Which of the natural materials have stayed the same? Which have dried out or changed colour? ***
Further Activities
Try going to a different park, woodland or maybe even the seaside to see what different things grow in different places.
You could even try searching at different times of year.