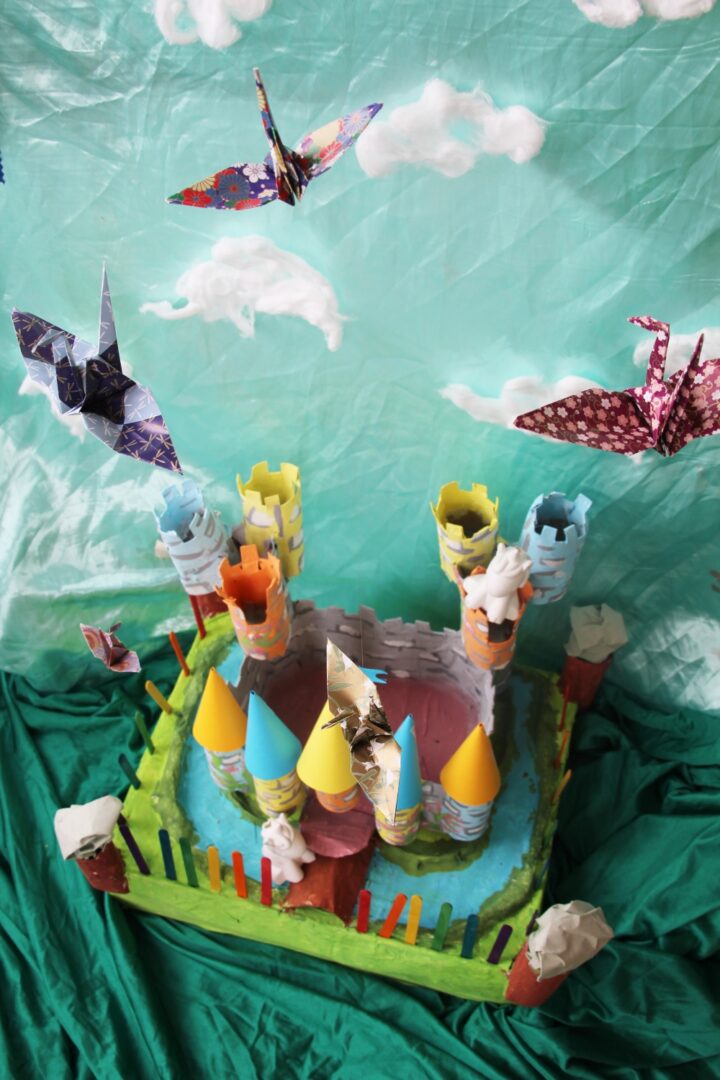
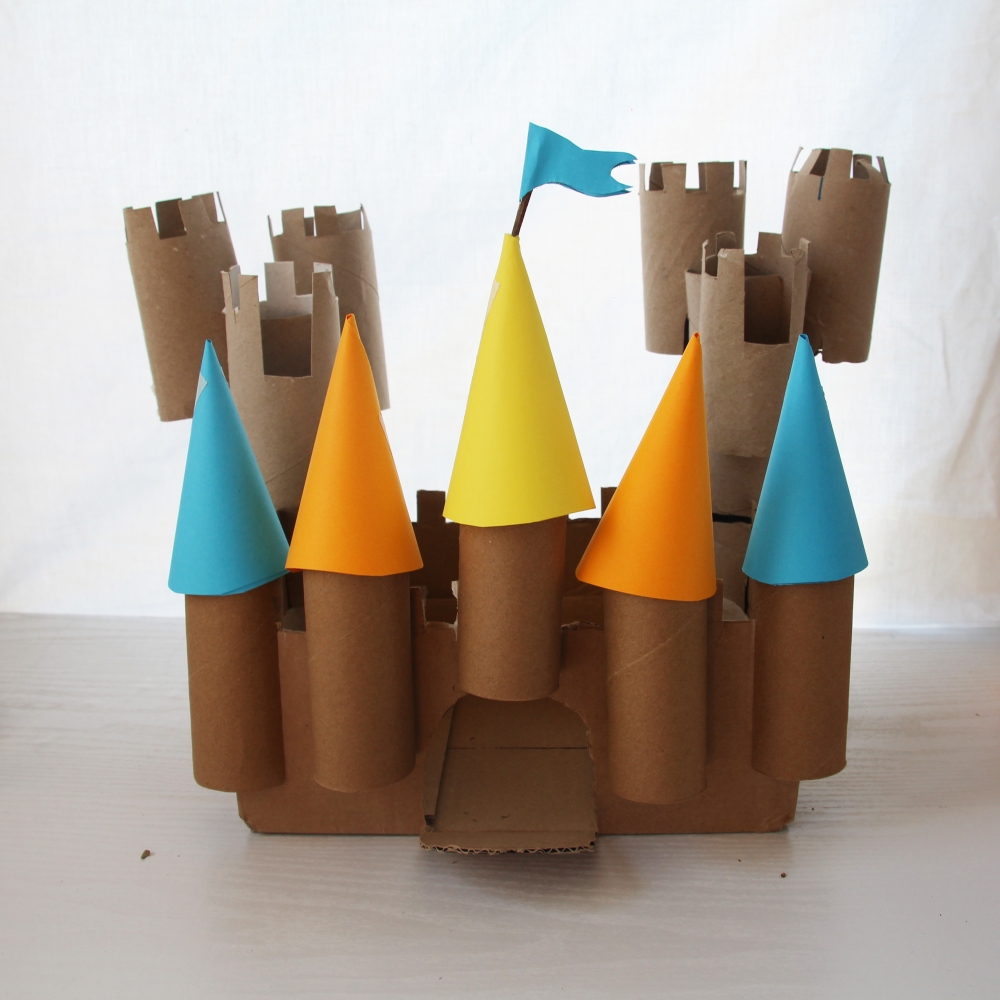
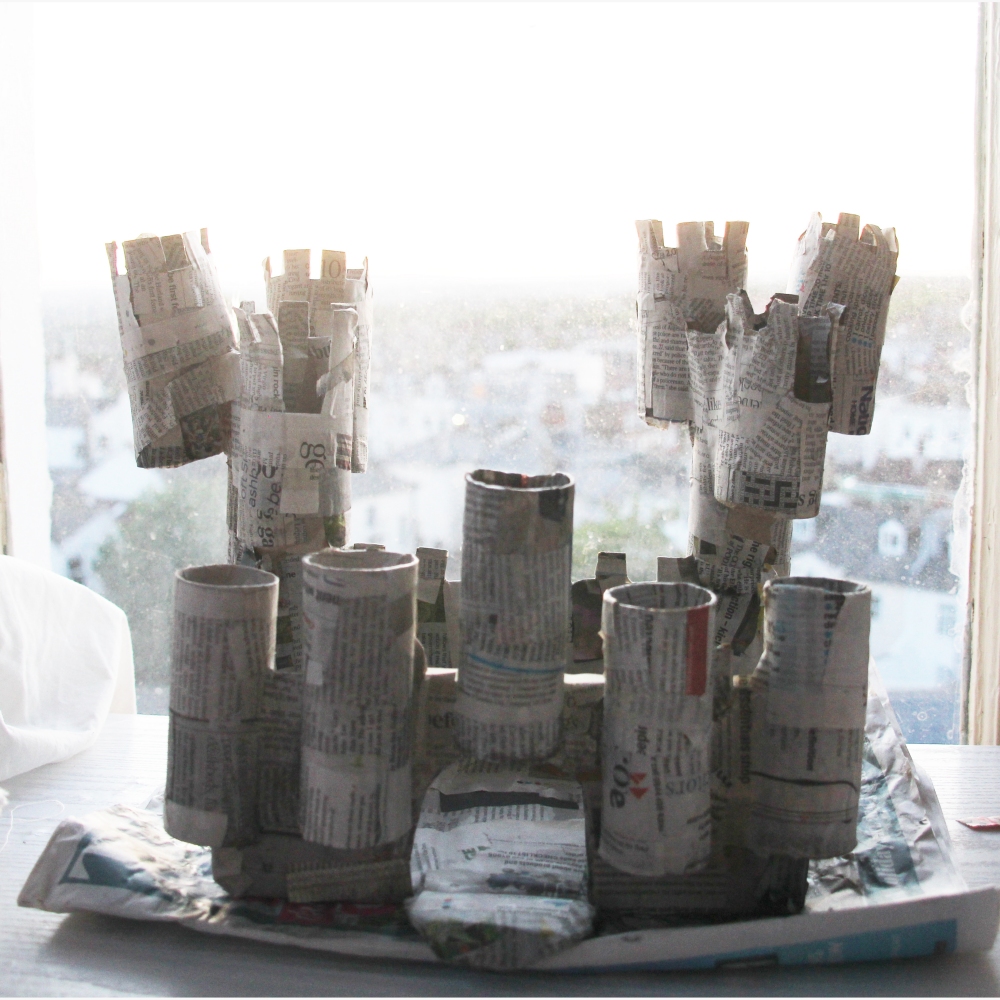
Loo Roll Castle

Not everyone lives in a house. Some people live on boats, in vans, in bungalows and trees.

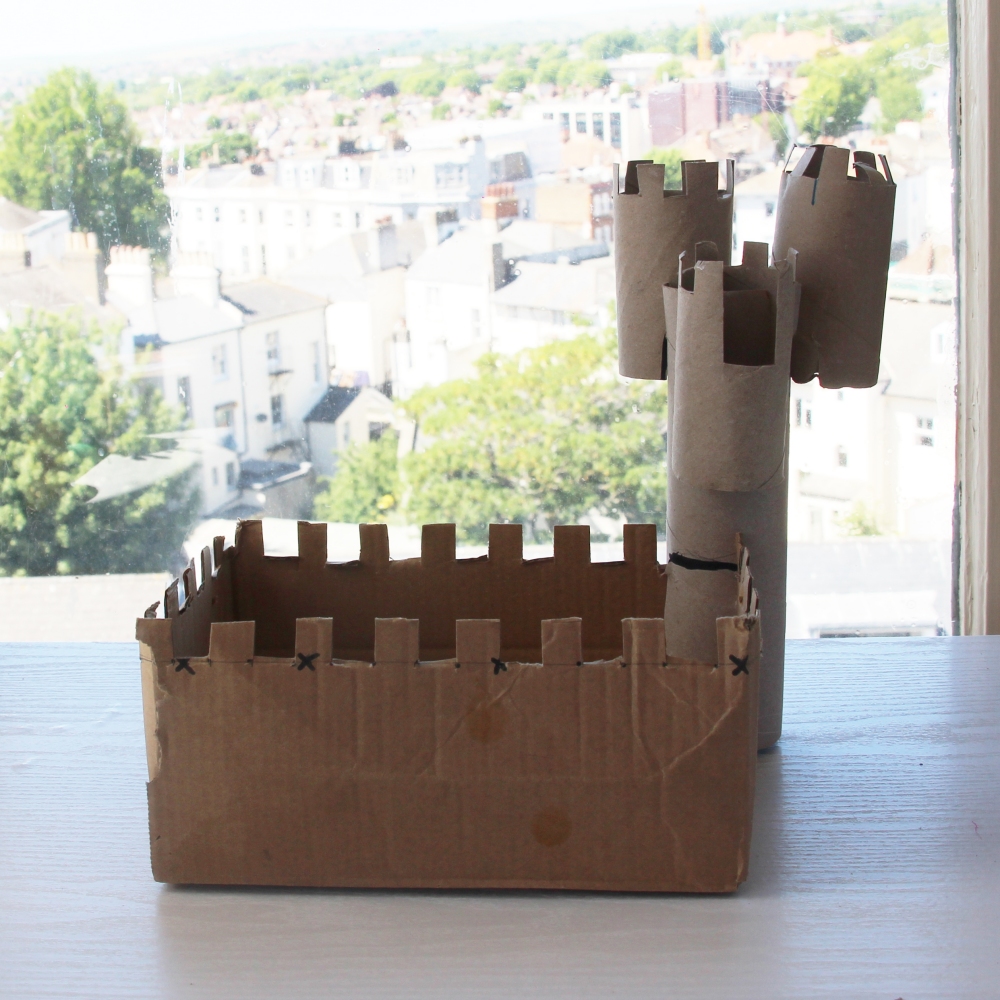
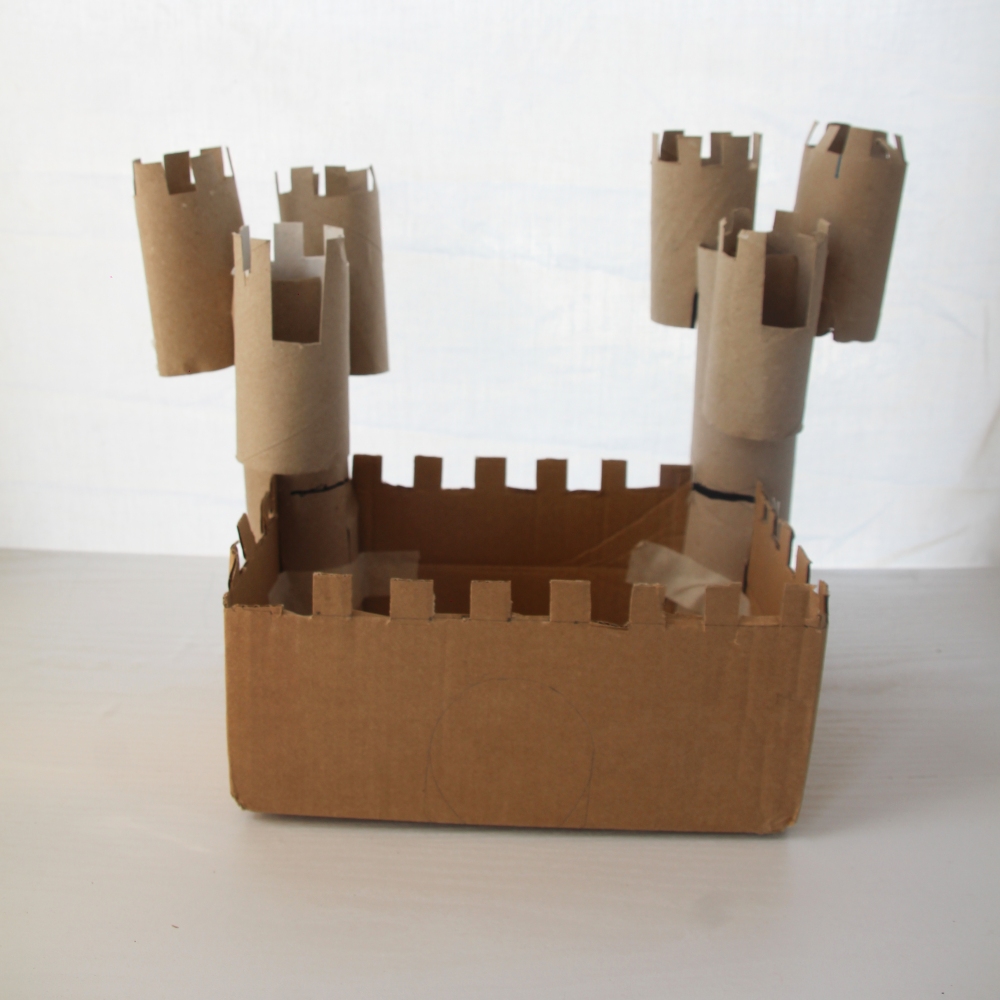
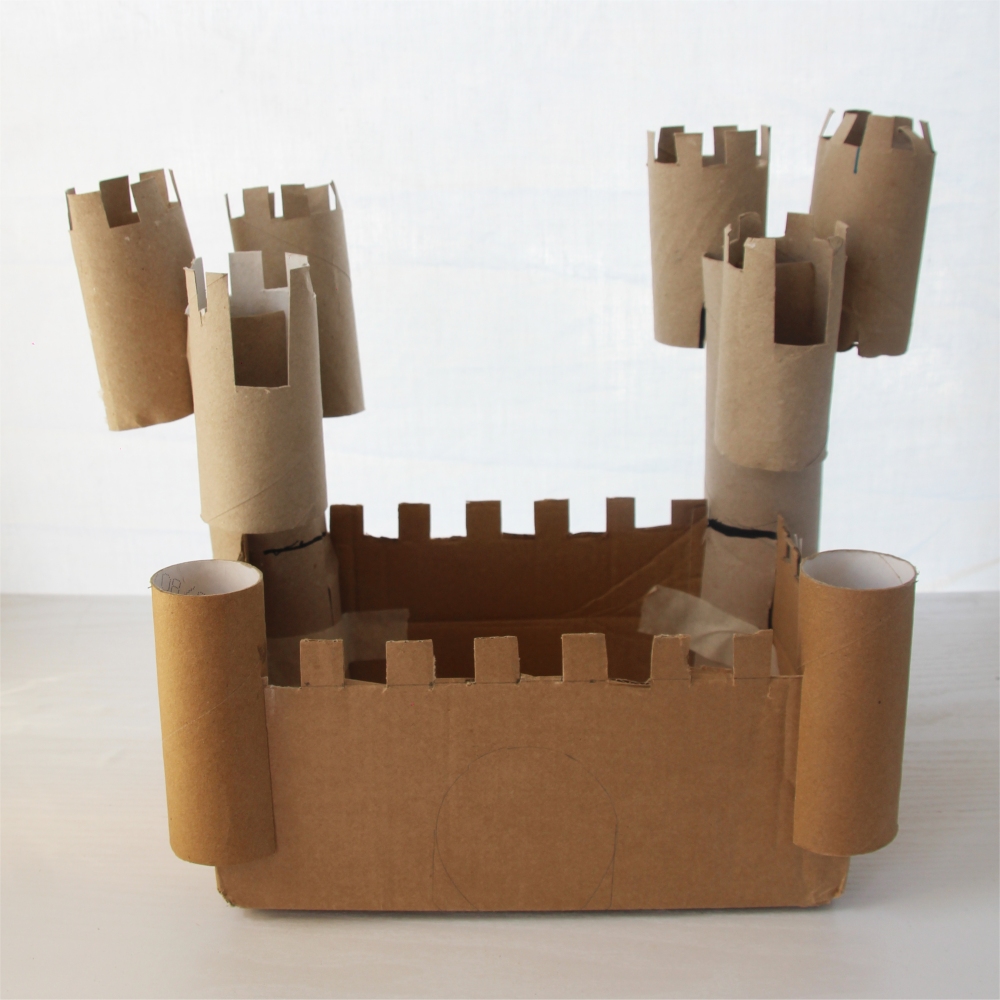
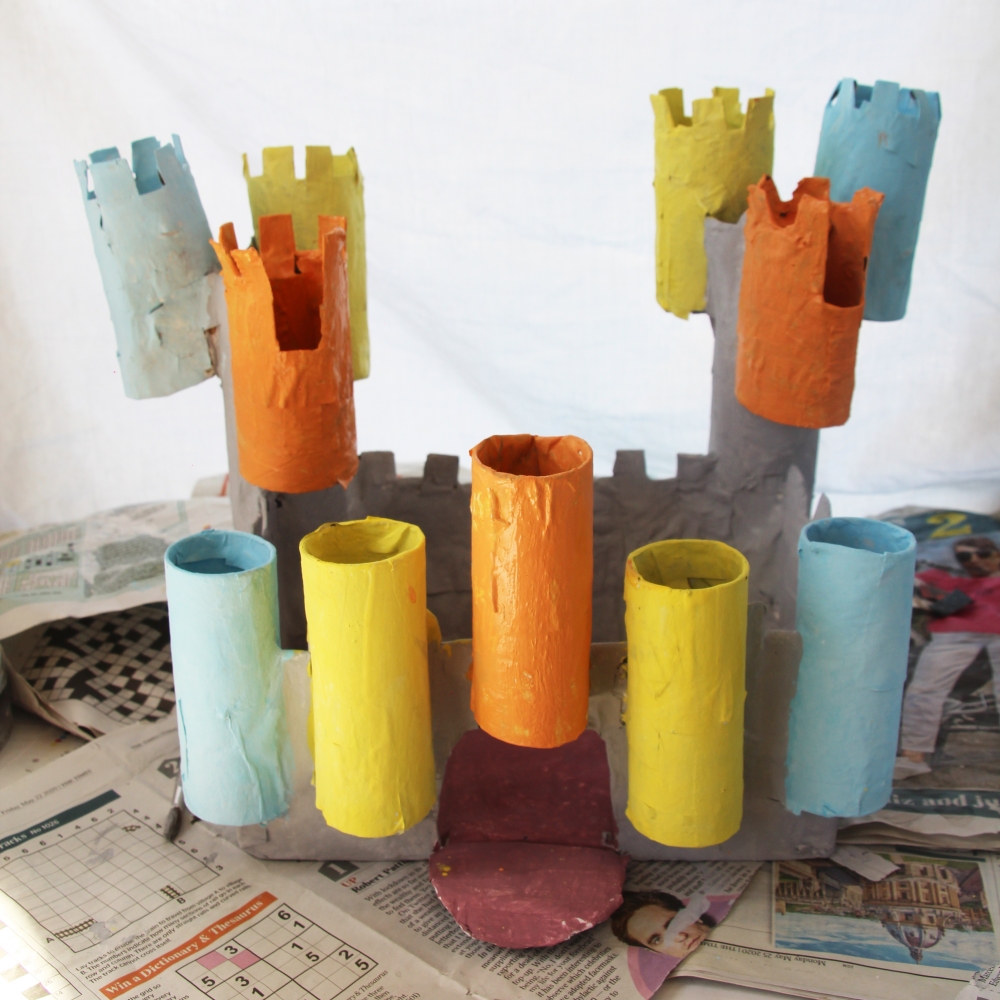
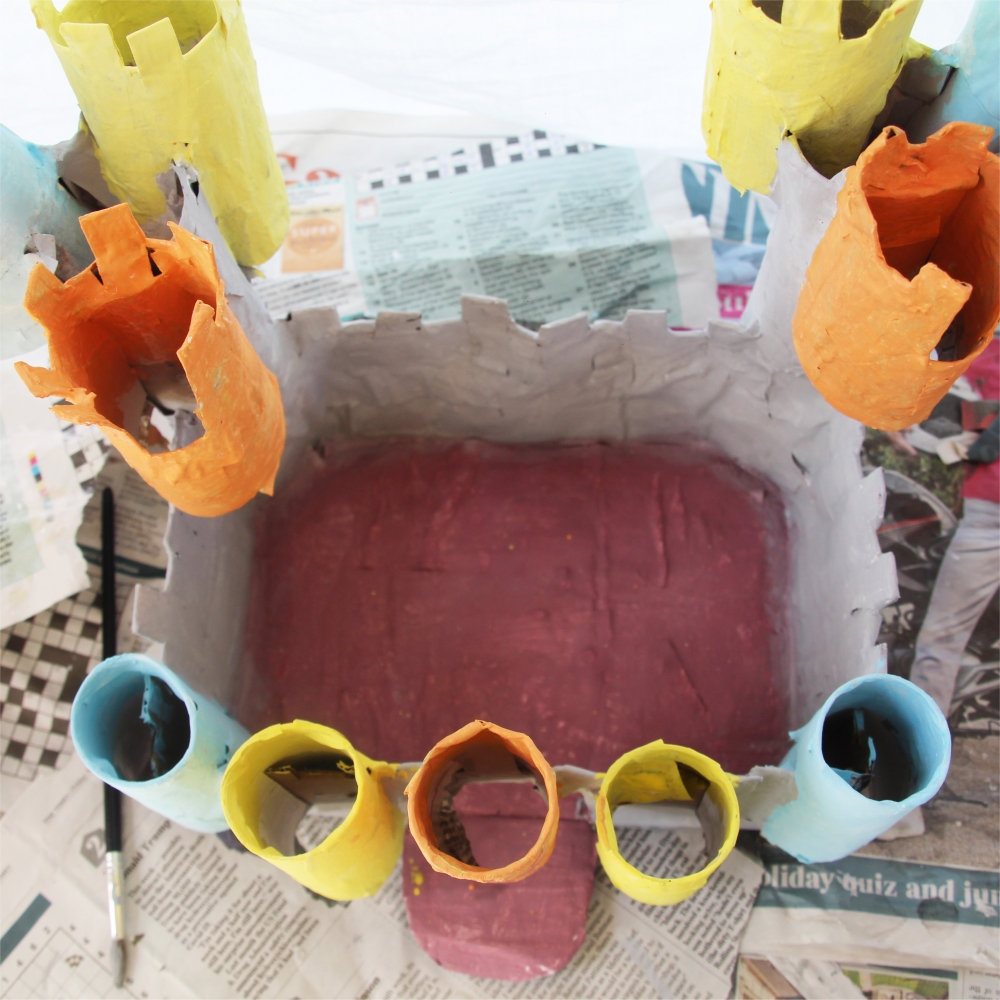
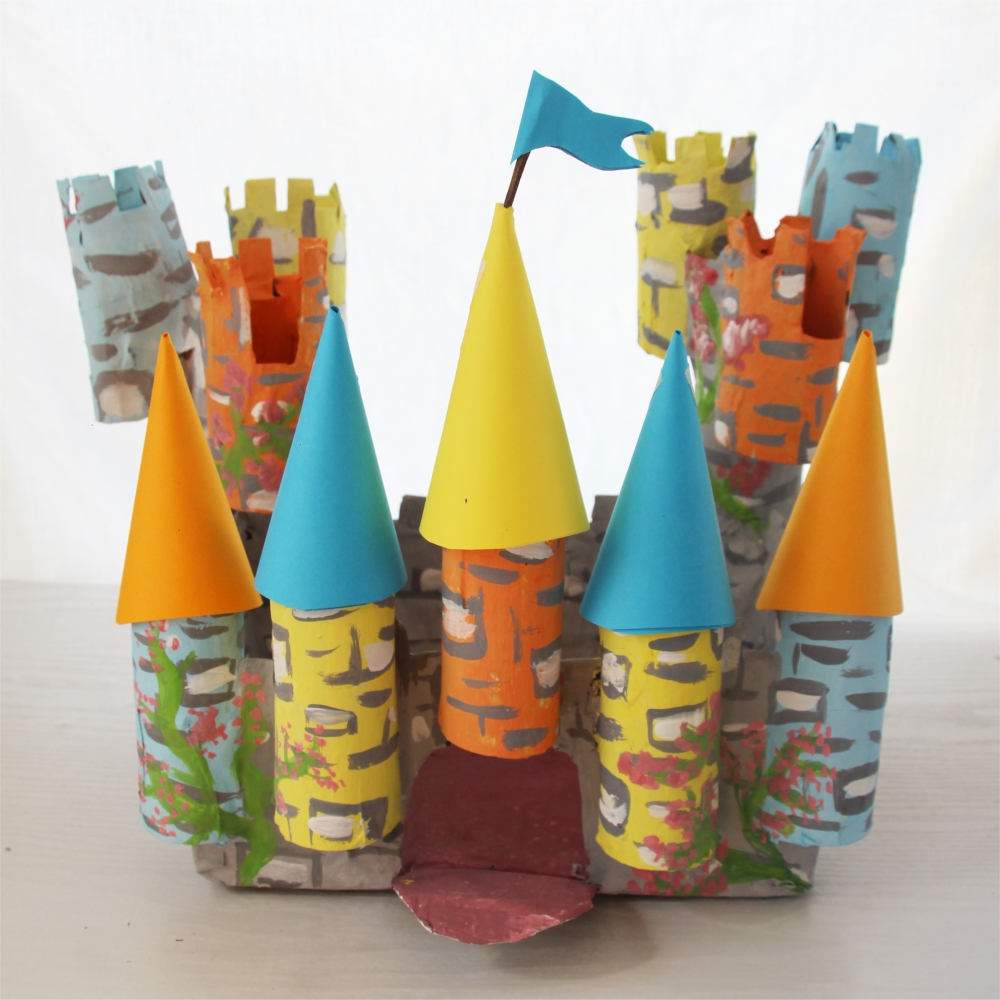
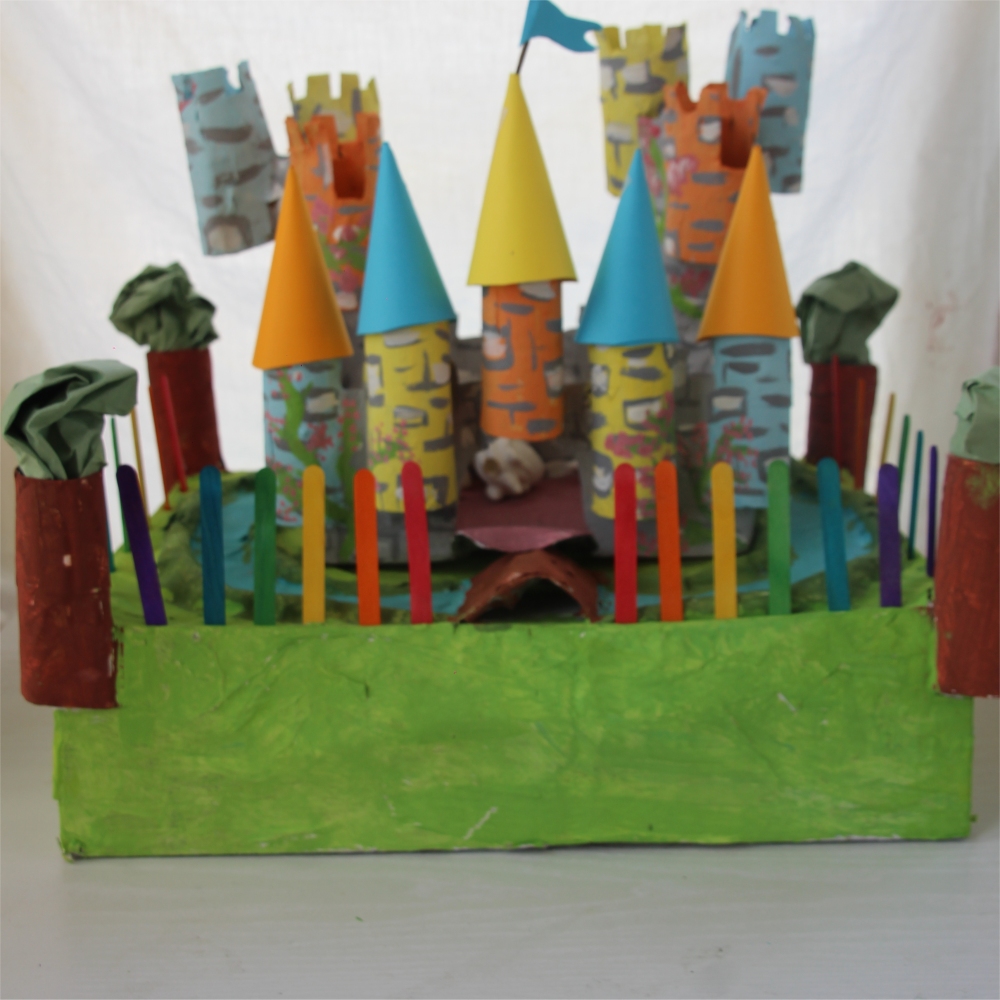
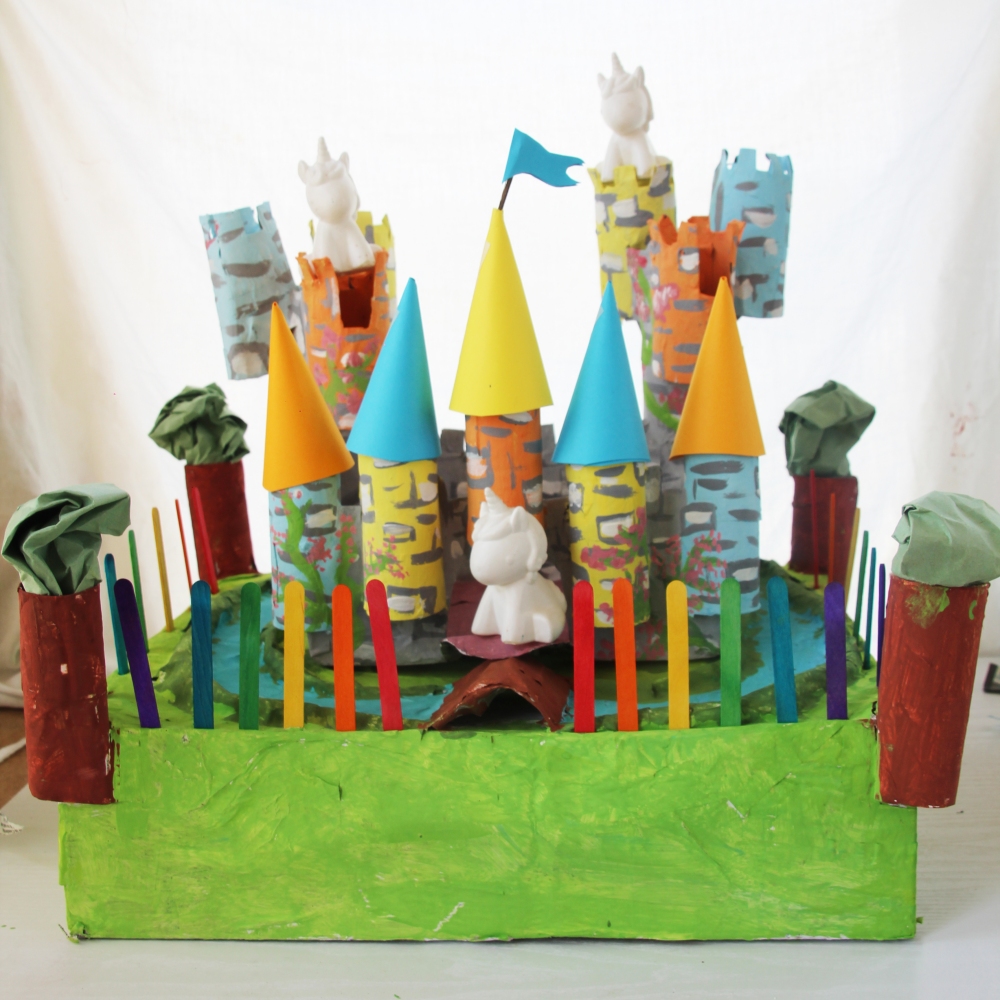
Imagine you could live in a castle! With this activity you can build your dream castle, on a smaller scale of course.

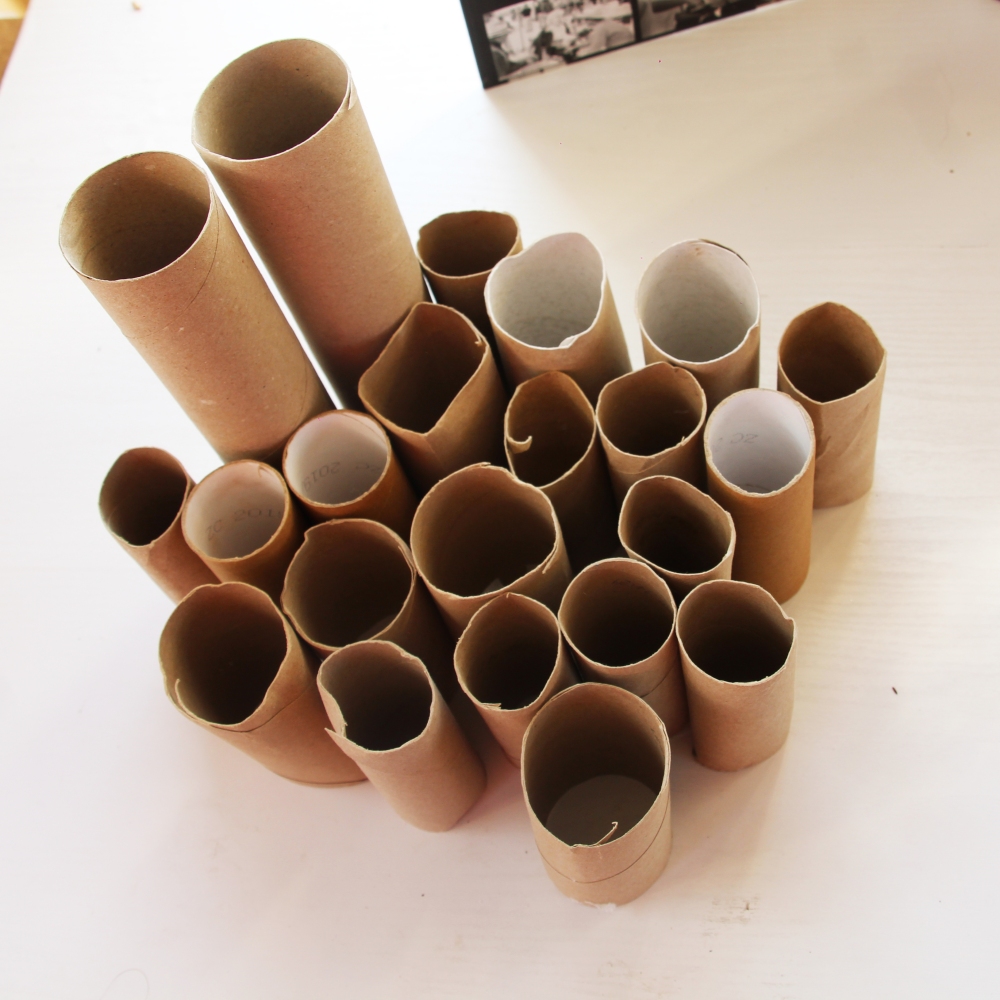
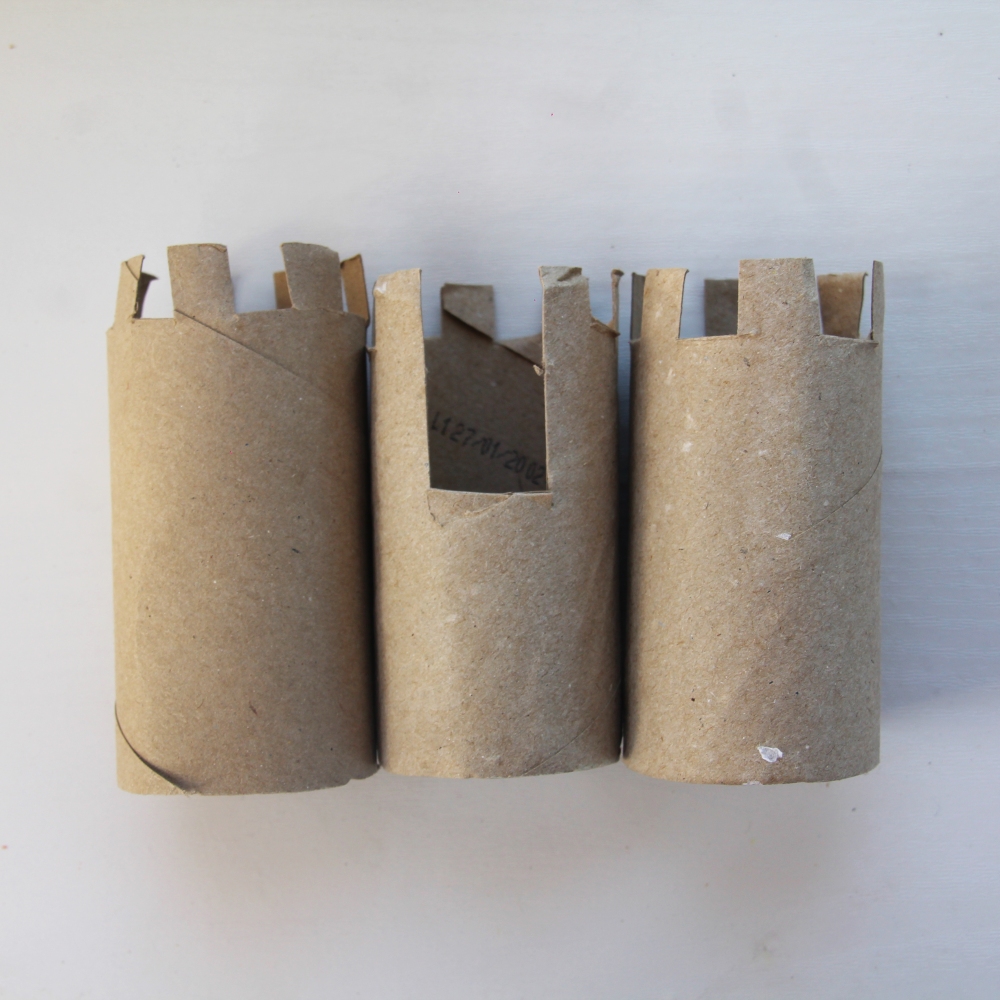
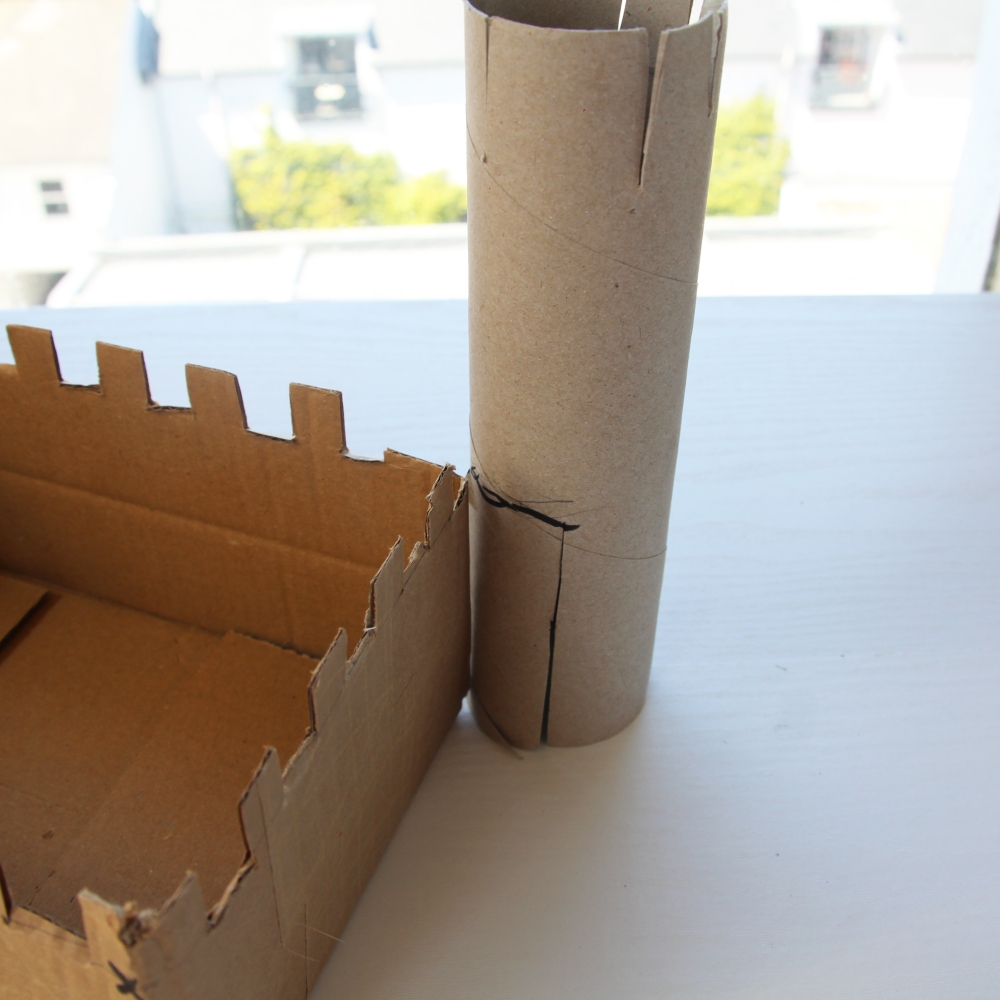
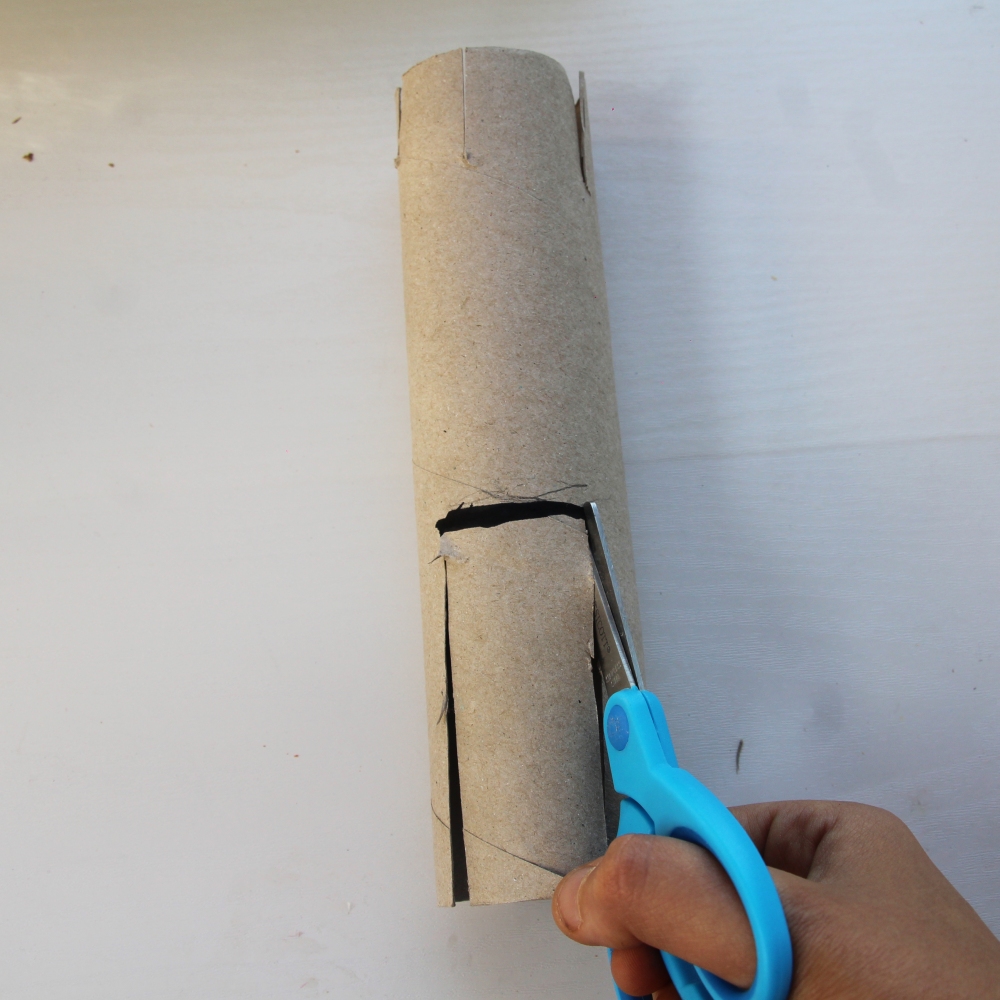
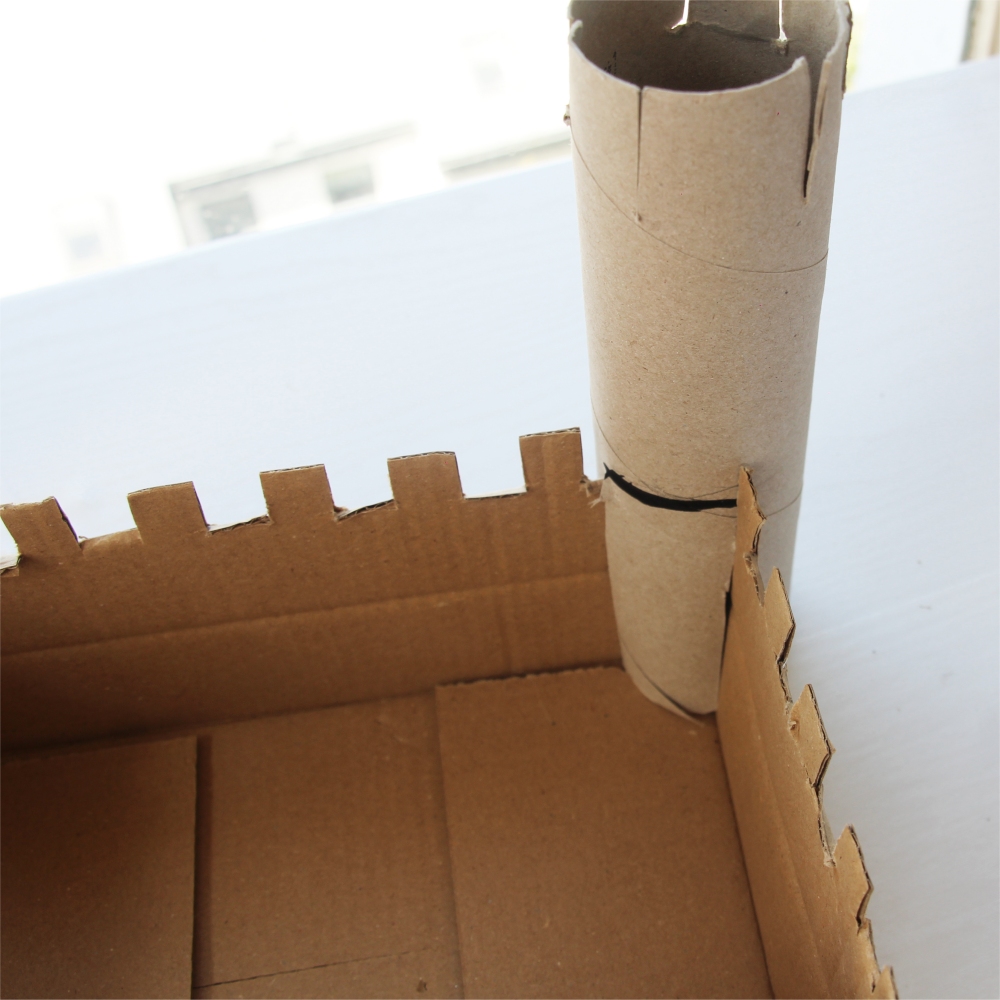
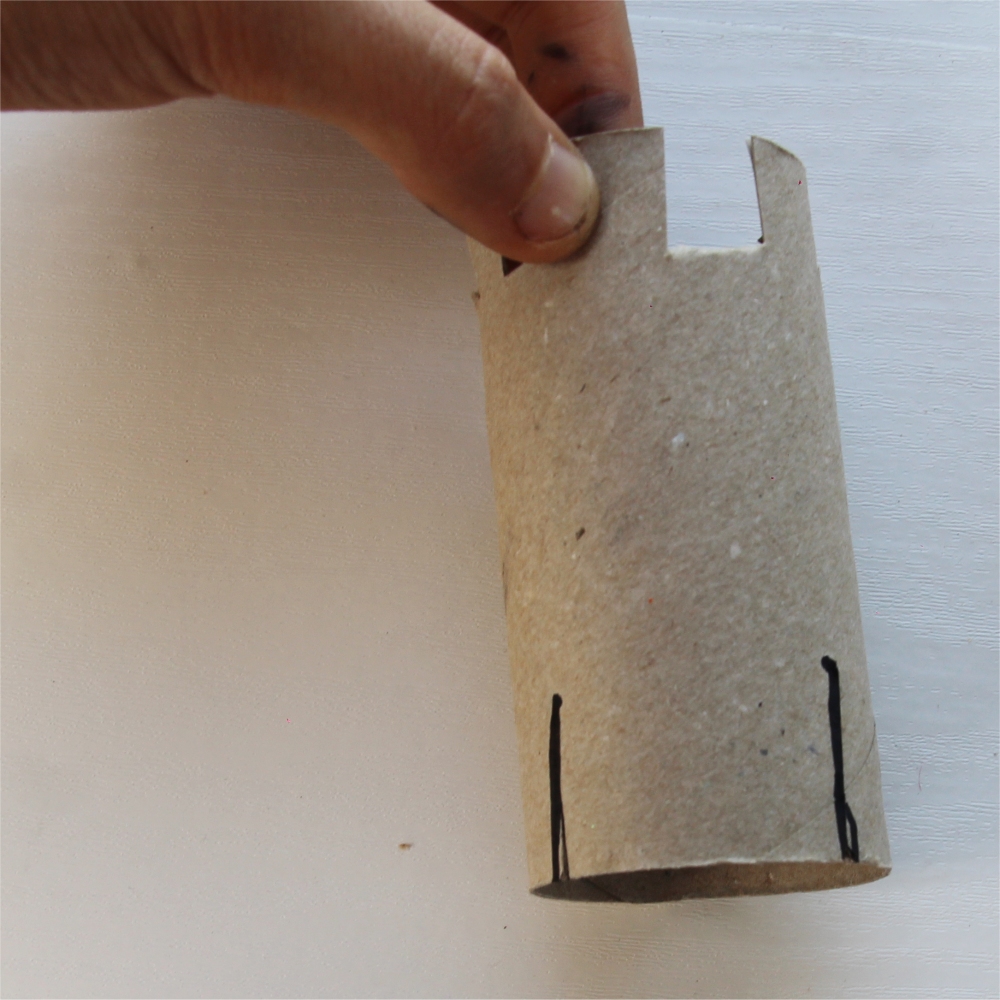
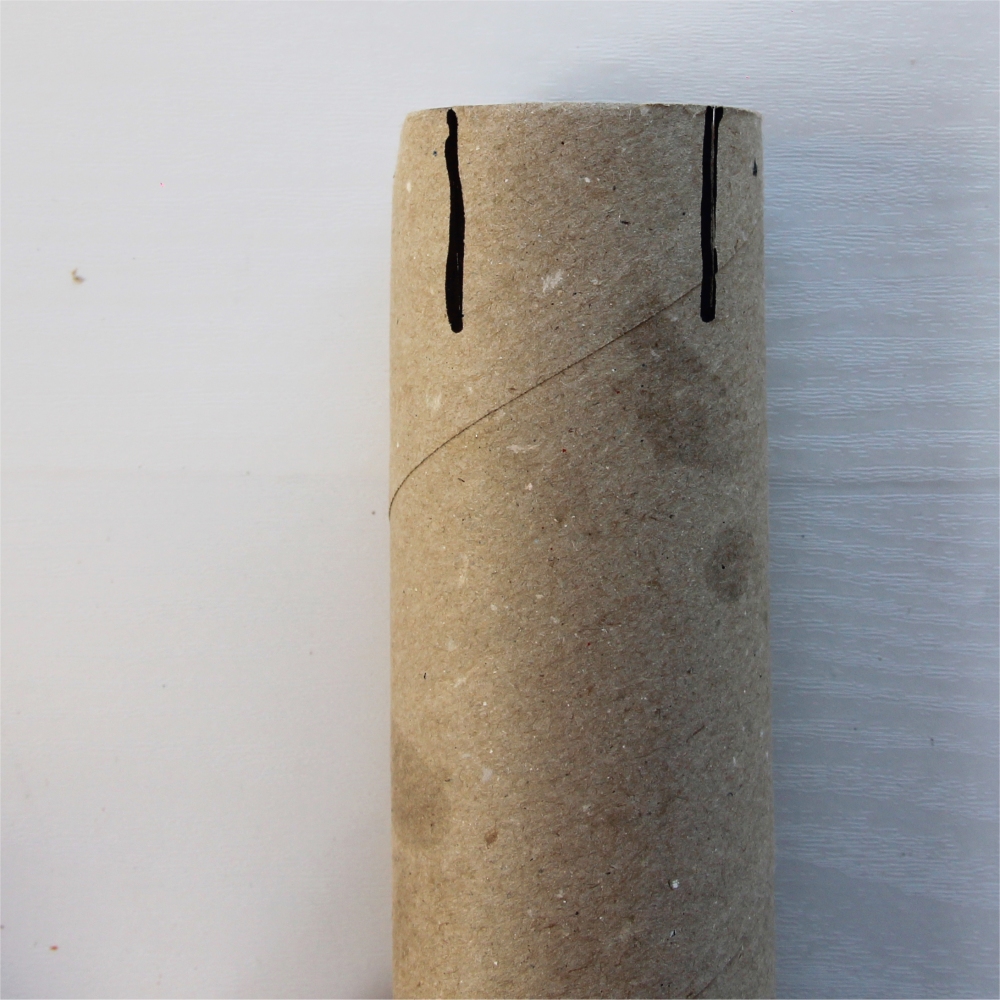
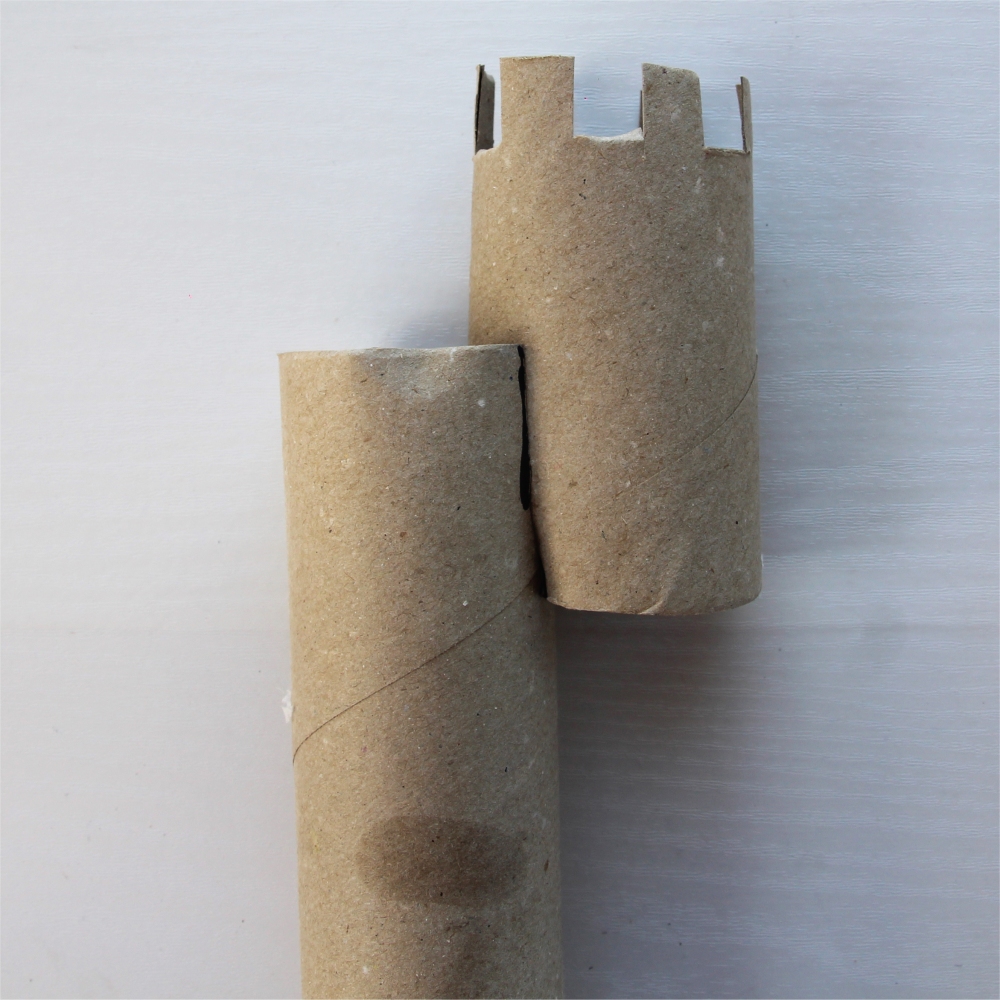
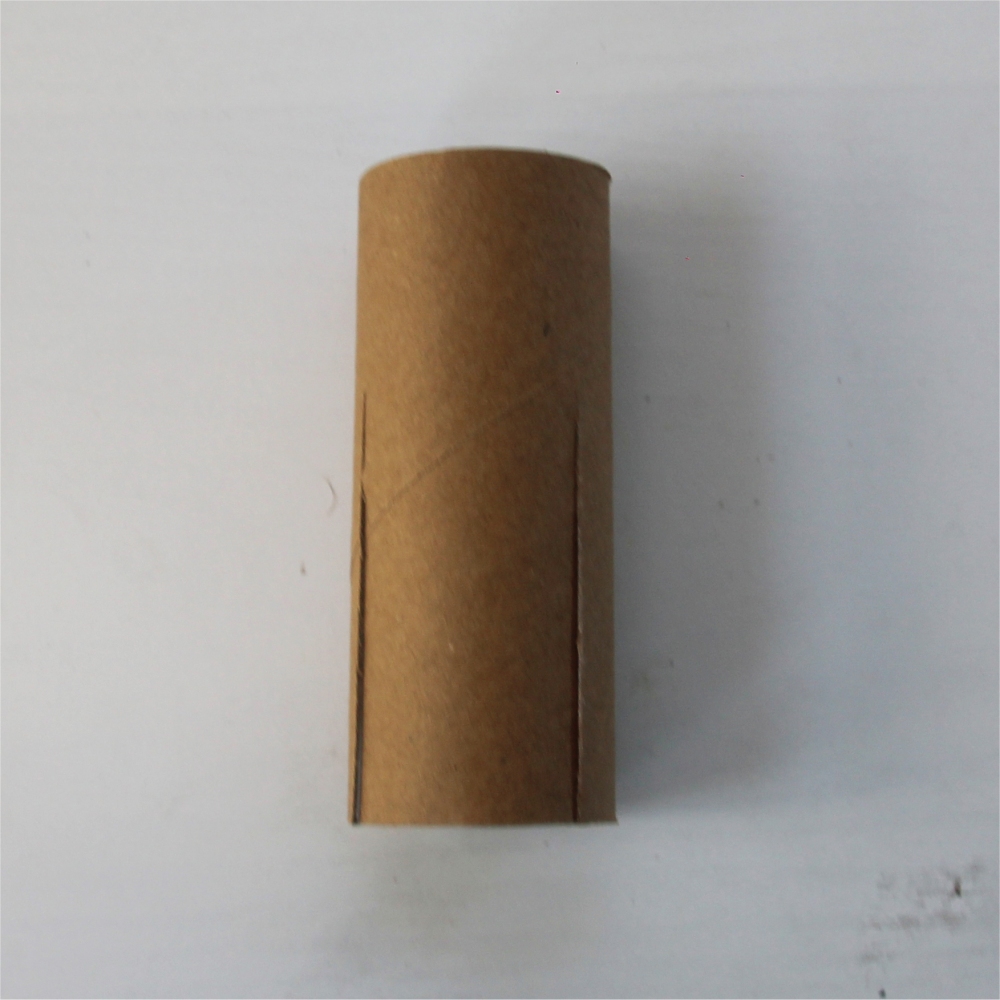
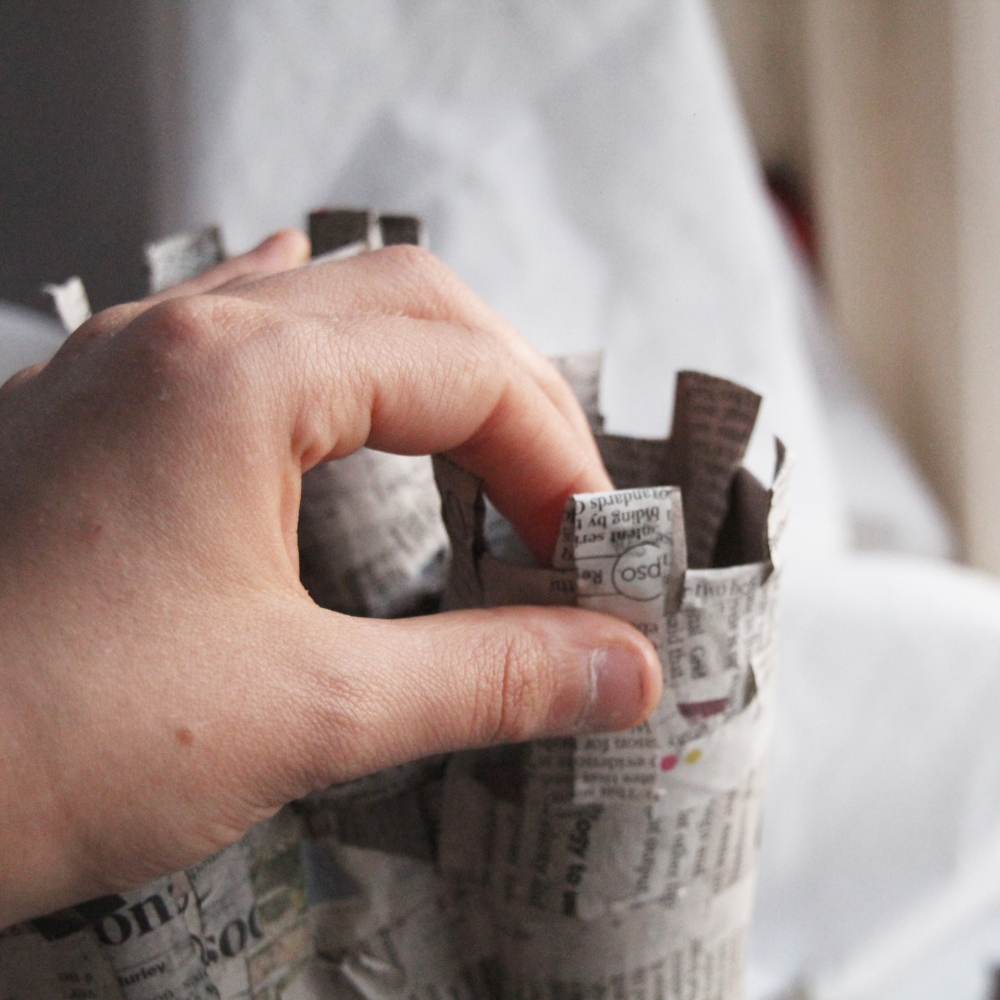
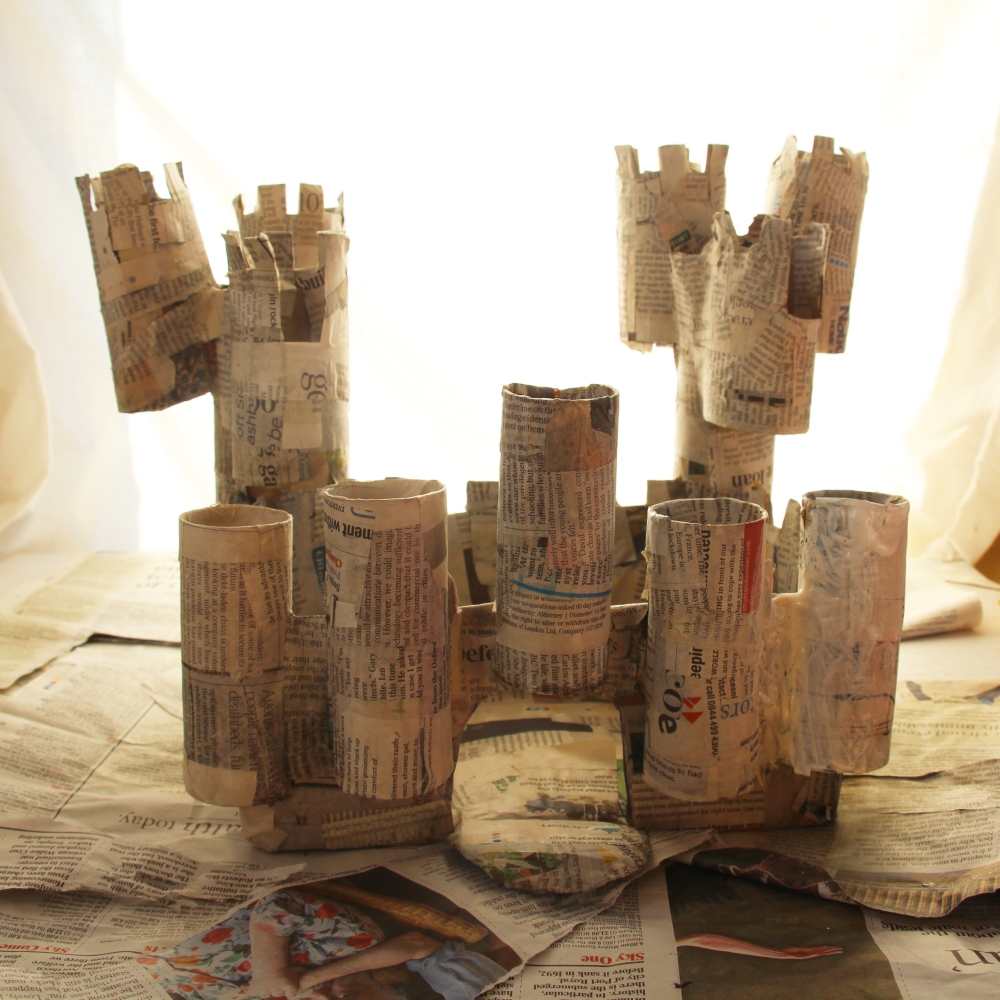
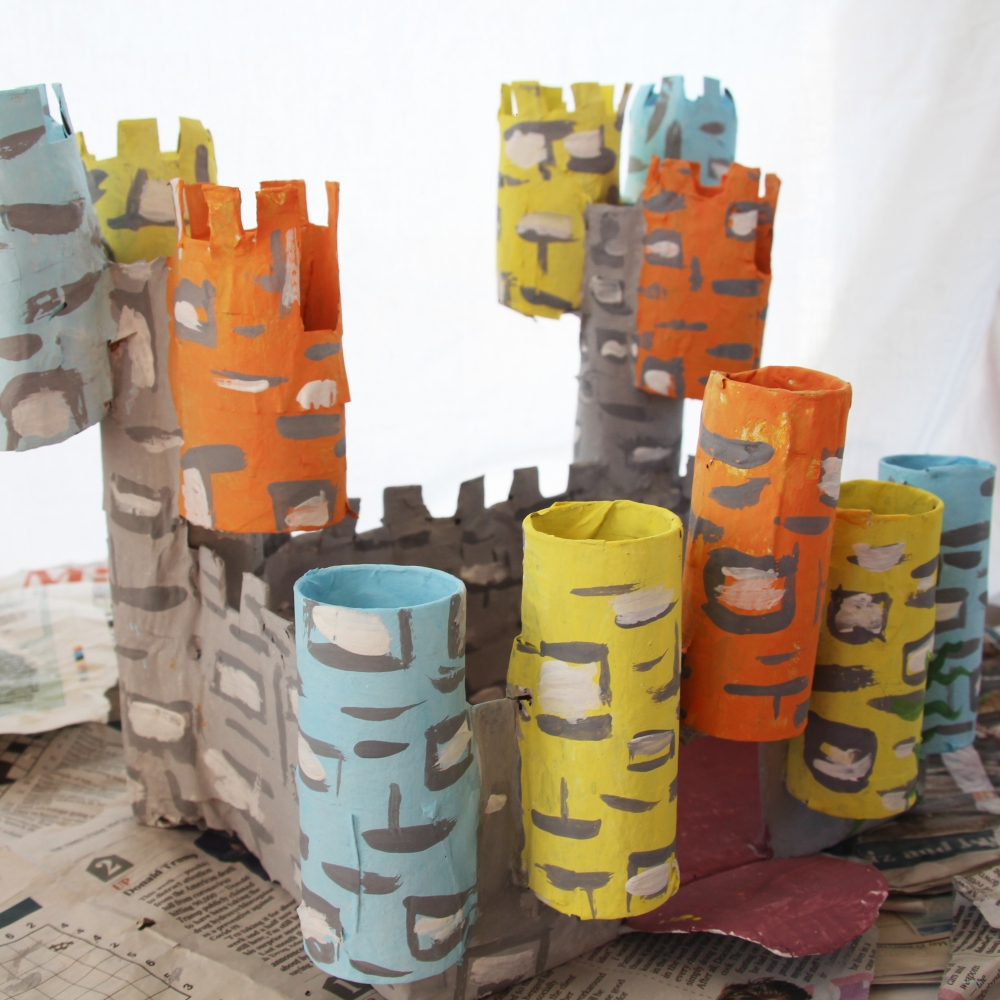
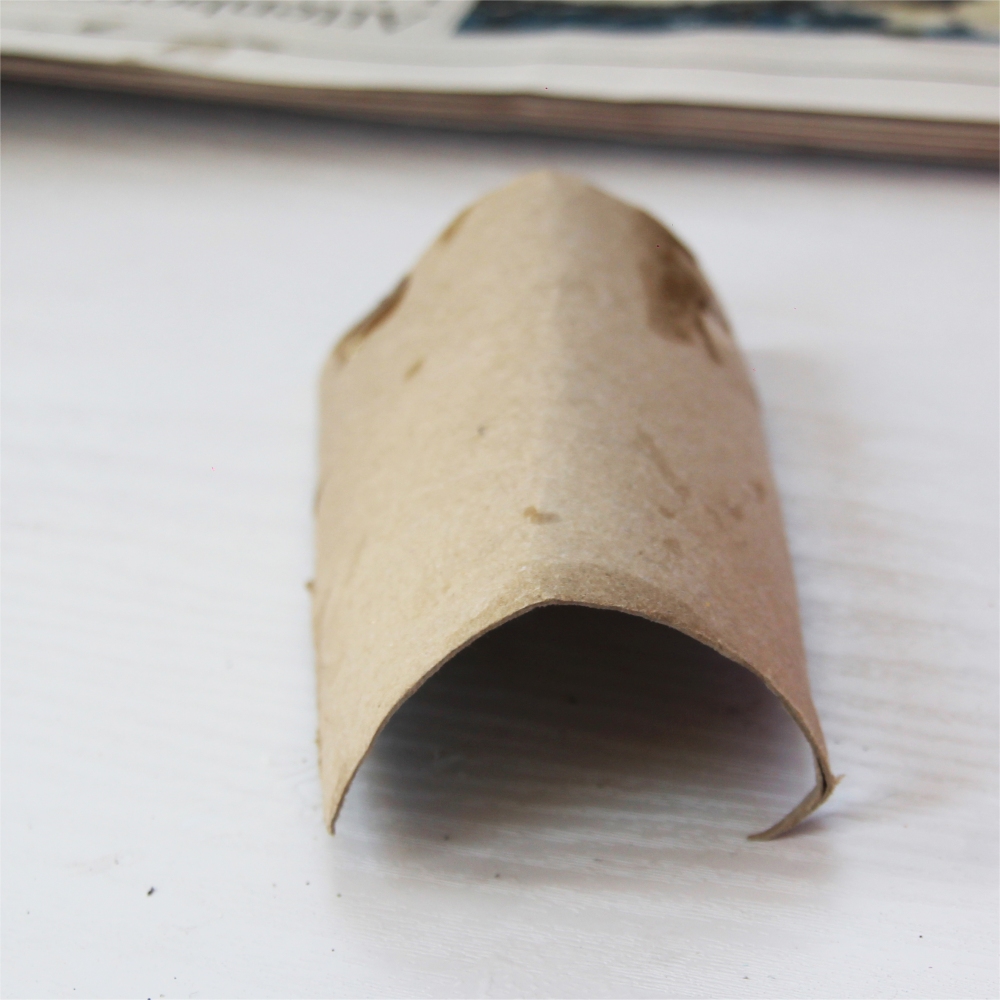
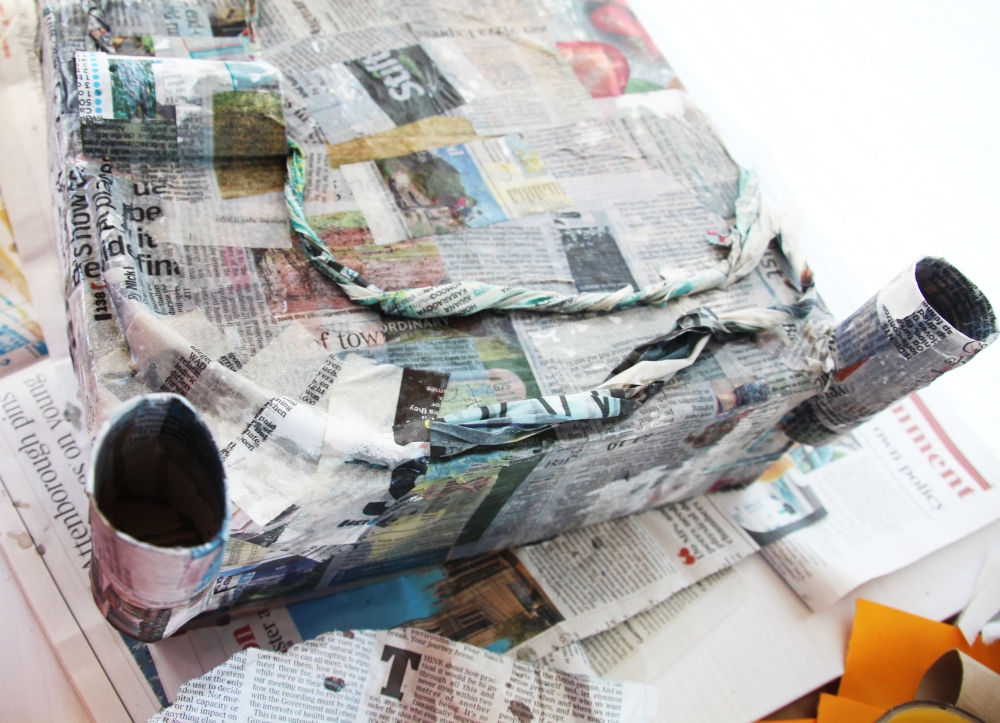
We’re going to be building a luxurious castle from…well…some of the most “bog standard” materials, toilet roll tubes! So get collecting because you’re going to need quite a few! We have made quite a complex tower using lots of tubes, but you could simplify it.

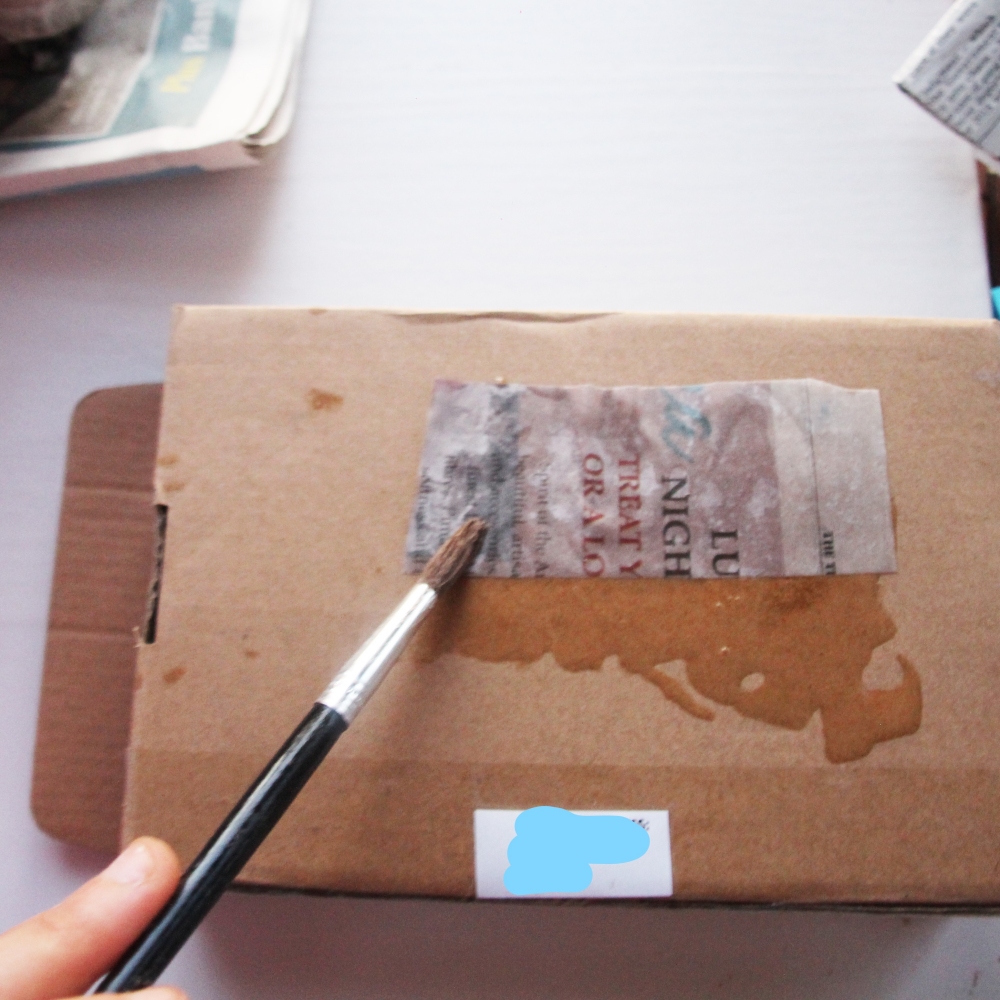
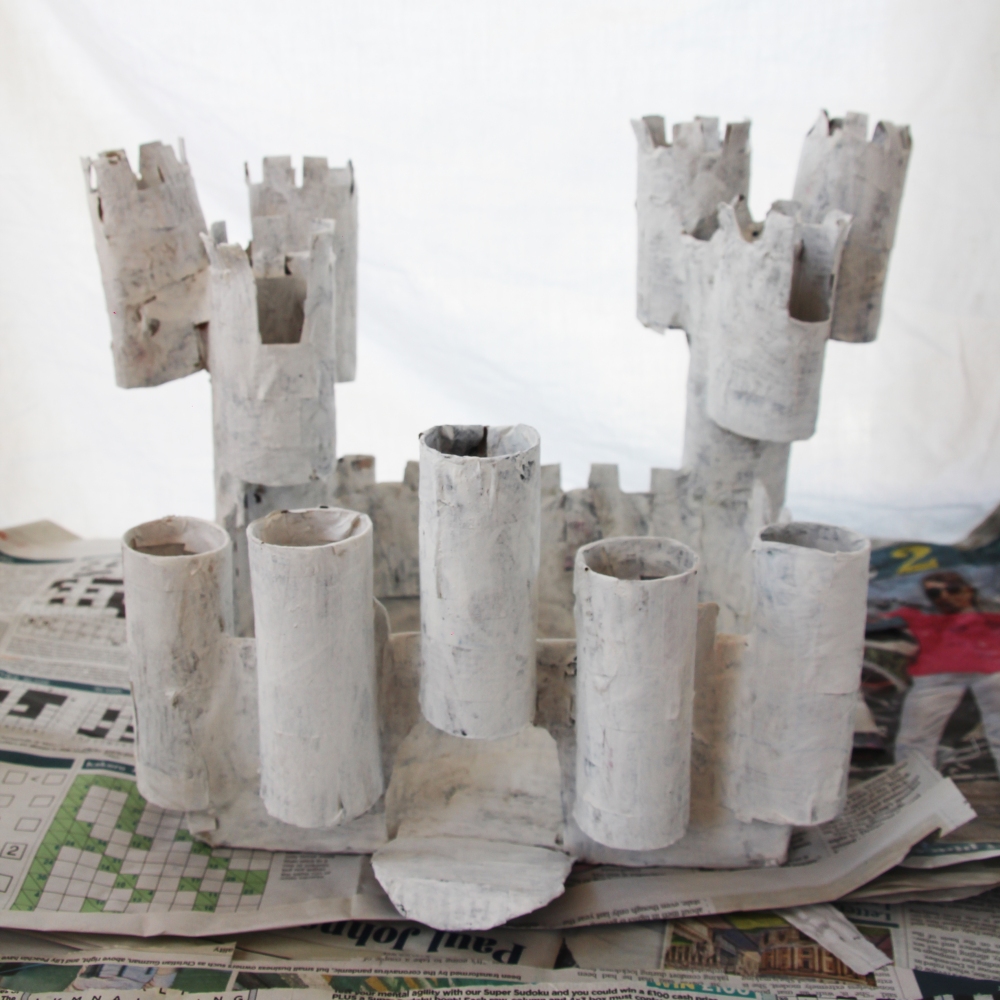
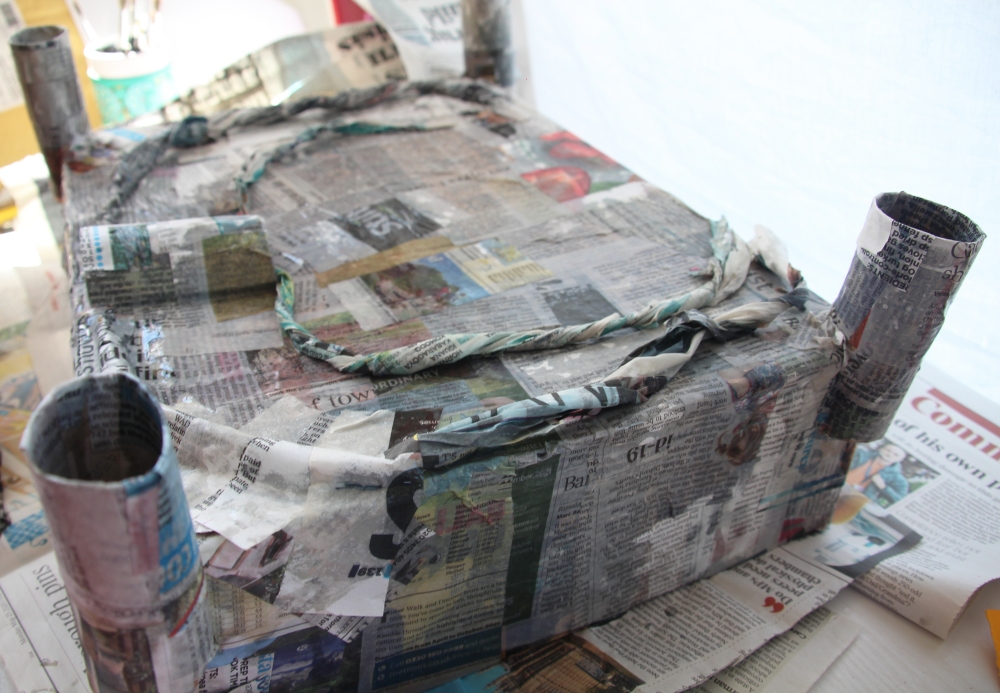
Hint – For this activity you might need a few days. This is because you will need to wait for paper mache to dry, then wait for paint to dry! So rather than sit and stare at it, we recommend making a workstation that is ok to leave in place for a few days while you work on it.
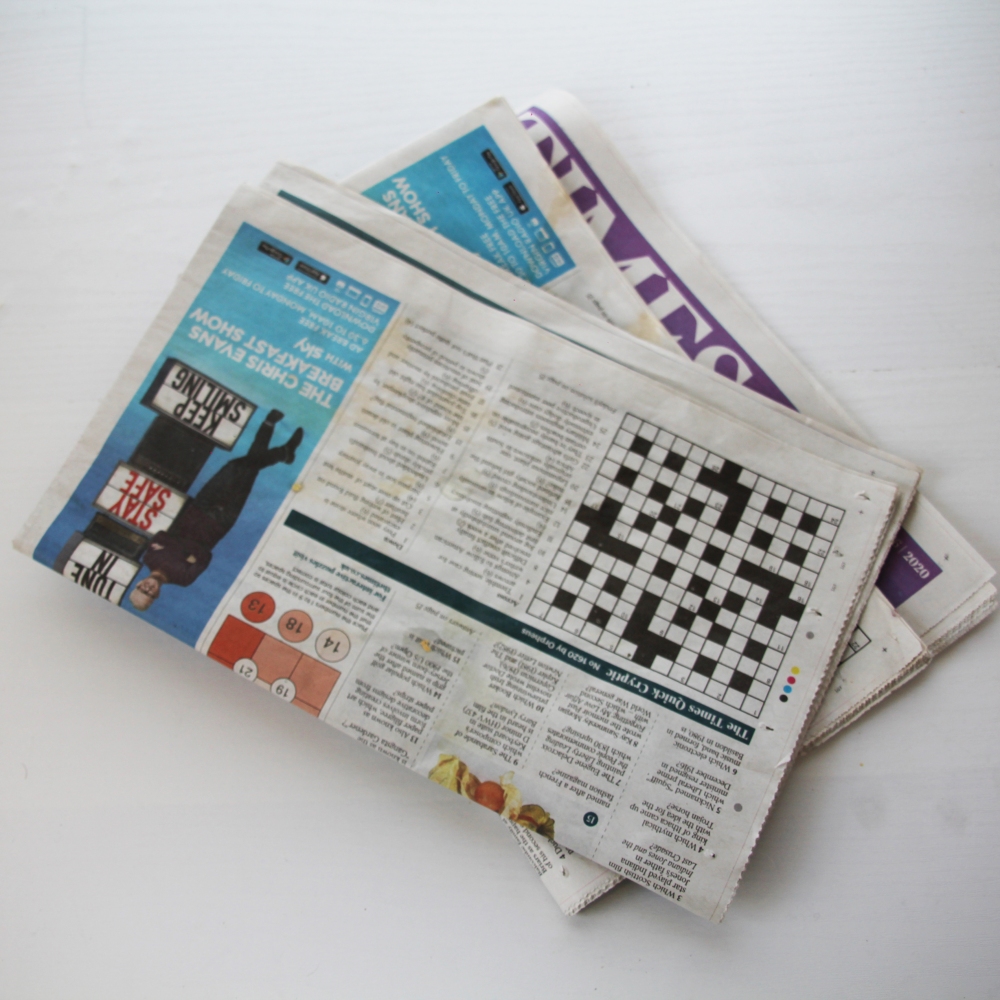
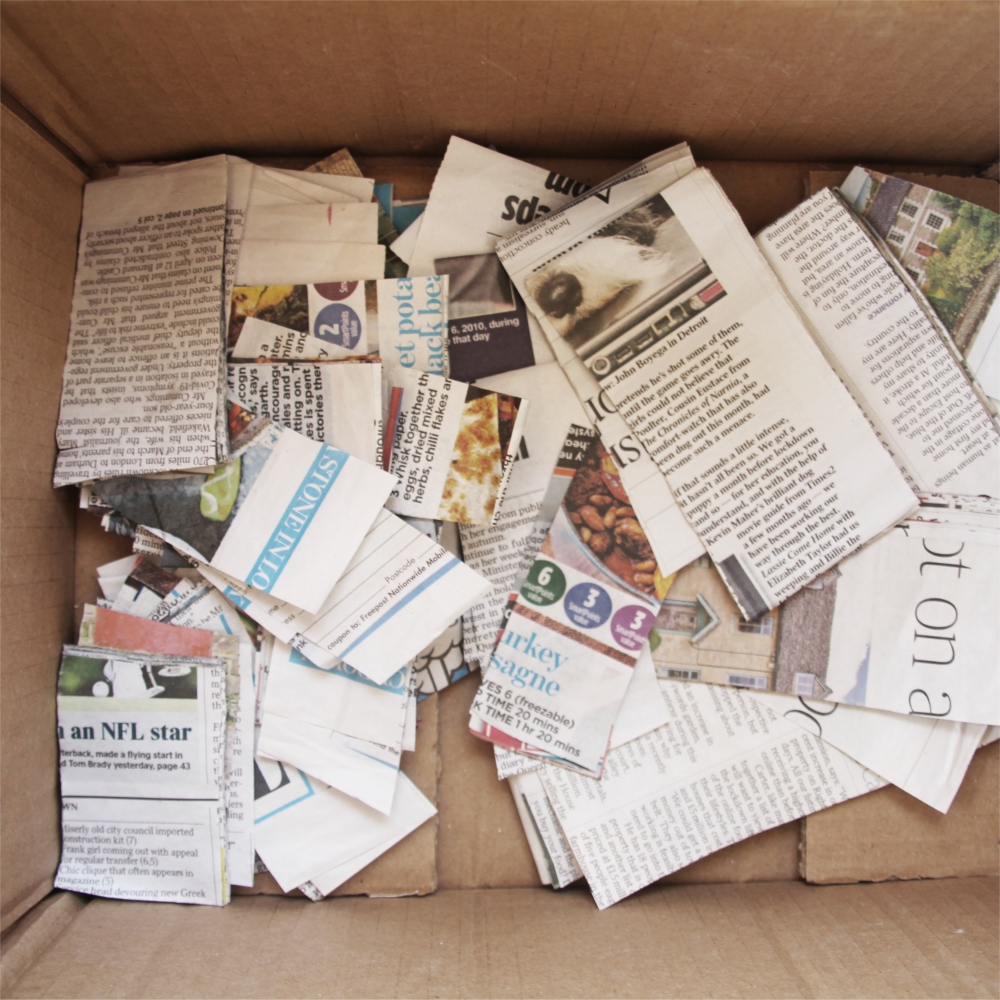
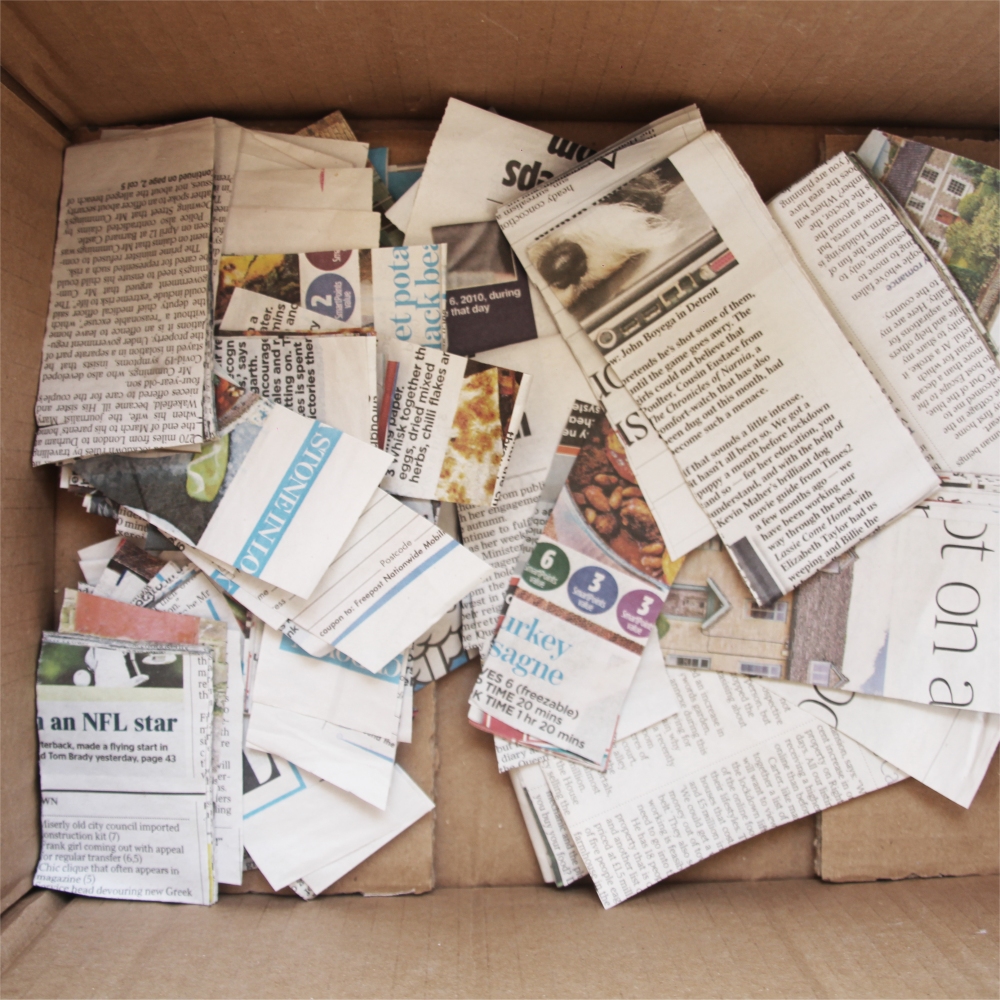
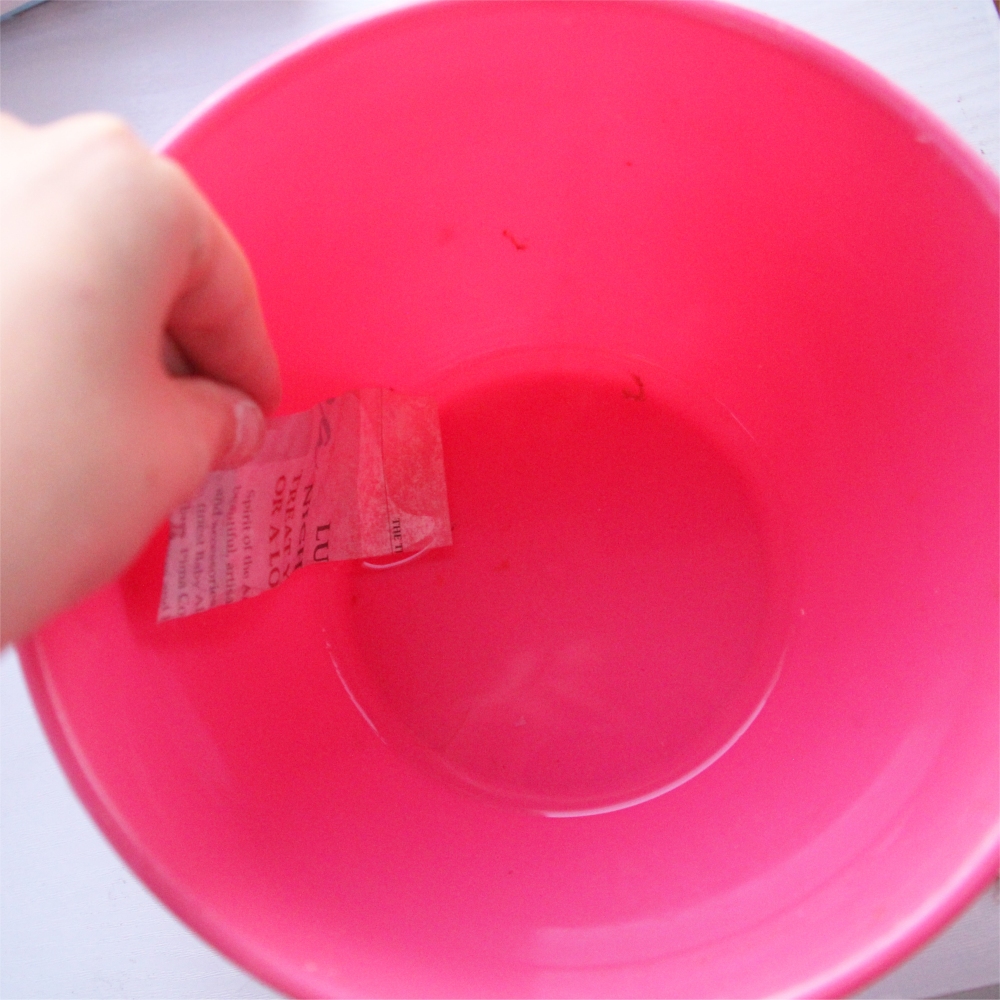
Make sure to put newspaper down to protect any surfaces!

Fact – did you know there are roughly 10,852,383 castles in the world. That’s 10 million, 852 thousand, 3 hundred and 83 castles (soon to be 10,852,384 once you’re done!) Many of them can be visited, so you could perhaps see what they are like in person!

Difficulty Level:

2.5 paintbrushes

What you need:

Building your Castle

  1. Remove the top of your box, using scissors or a craft knife if necessary.
  2. Using a ruler and pencil, mark a straight line parallel to the open top of the box , 1.5cm down, all the way around the box. Hint: Mark 1.5cm down from each of the corners and join these up on each side.
  3. Now, using a ruler, add in dots on that line, about every 1.5 cm.
  4. Cut slits where you have marked out the dots
  5. Now cut out every other square. Make sure you do this on every side of the box.
  6. Now using a similar method, cut out squares at the top of three toilet roll tubes. These are your “turrets”. Tip: If you want you can make a “lookout” on one of them by cutting a larger window.
  7. Hold one of your kitchen roll tubes up against the back right corner of the box. Mark off the height of the box onto the tube (use the bottom of the cut out squares, not the top).
  8. Cut 2 straight slits in the kitchen roll tube to the line you just marked off.
  1. Slide the tube onto the back corner. Now that you know it works, take the tube off.
  2. Mark two straight parallel lines on one of your three toilet roll turrets.
  3. Mark the top of your kitchen roll with two lines the same distance apart.
  4. Slot your toilet roll onto your kitchen roll using your slits.
  5. Repeat steps 10-12 with your other 2 toilet roll turrets. Your turrets can be slotted down at different heights if you wish. Tip: you may want to put the “look out” tube in the middle at the front.
  6. Now slot your kitchen roll tube back onto the box and secure with tape (masking tape is best).
  7. Repeat steps 6-14 with 3 more toilet rolls and 1 more kitchen roll. This should slot onto the other back corner of your box.
  8. Take another 2 toilet rolls and cut 2 slits into each.
  1. Attach these toilet rolls to the front two corners of the box.
  2. Draw on your front door. Tip: You might want to use something circular to draw around at the top if you want a rounded door like this one.
  3. Cut out the door, leaving the bottom attached so it can swing open and closed.
  4. Cut slits in three more toilet roll tubes and attach them to the front of the box. The middle tube will need much shorter slits and the other two slightly longer.
  5. Now we are going to make cones for the top of the front gate. Using your colourful A4 paper or card, cut out a 21cm square. Do this by marking out points 21cm along the longer sides, joining them and then cutting.
  6. Make 2 triangles by folding the bottom corner to the opposite corner. Open this up and cut along the crease you just made.
  7. Roll one of your triangles into a cone.
  8. Secure your cone with tape.
  1. Try placing your cone on top of your front toilet roll towers. If it doesn’t fit you may need to open out your cone and roll it tighter or looser before taping again.
  2. Make four more cones and put them on top of the other toilet roll tubes at the front of your castel. Tip: You could use different colours to make a pattern.
  3. Every castle needs a flag! Find a small twig or lollipop stick then force it through the point of the middle cone from underneath. If it is wobbly, fasten with tape.
  4. Fold another piece of colourful card or paper.
  5. Draw a flag shape on the card/paper, at the folded end.
  6. Cut out the flag through both sides of the card/paper, making sure you don’t cut the folded side. Put the top of your flag pole stick inside the folded end of the flag and then stick the two sides together using glue or double sided tape.

Your castle has now been built! You could stop here, or just paint it, but we think it looks better if you papier mache it. Follow the instructions below if you want to do the same.

Papier Mache & Finishing Touches

Hint – things are about to get messy! Grab an apron or a big old t-shirt to protect your clothes and skin! You might want to use your oldest nastiest paint brush for this as well so as not to get glue all over the best ones.

  1. Cut out lots of pieces of newspaper and put in a box or bowl. You’re going to need big and small pieces for different areas.
  2. Mix two parts PVA glue with one part water. You can begin to Papier Mache, but remove your cones before starting!
  3. First dip a piece of newspaper into the glue mixture to soak it.
  4. Place it onto the castle.

    Hint: There is no need to cover the bottom of the castle, in fact it will probably make it stick to the floor! We suggest starting with some larger pieces on the sides.
  5. Using a paintbrush or finger, press down on it to make sure it’s flat.
  6. Continue covering the whole castle, working up the sides and using smaller pieces to cover smaller parts of it.

    Hint: Be gentle with the castle whilst doing this. The glue and water will be making the card in the loo rolls get wet and be more fragile and easy to break, try to use just the right amount of glue!
  7. Once it is all covered in newspaper leave it to dry. It will take at least a few hours to be fully dry.

    Hint: It might be a good idea to leave it a full night so you definitely have a dry castle.
  1. Paint the castle with a layer of white to cover up the newspaper. Leave to dry for a bit.
  2. Now you can paint the castle with colours! We decided to do the base layer grey (by mixing white and black paint). We then painted the turrets in blue yellow and orange to match our cones. You could copy this one or experiment with your own colour combinations.
  3. Don’t forget to paint the inside!
  4. You could add in details like brick work
  5. And maybe some flowers or plants!

Your castle is now finished! You could use it to store small toys or creatures perhaps, or just play loo roll royalty…

Further Activities

If you really want to extend your castle you could build a moat and some grounds like us! You will need more toilet rolls, a larger box than you used for your castle, paints and more newspaper and pva/water mixture for papier mache.

Here are the steps we used.

  1. Attach a loo roll to each corner of your box using the slit and slot method we used earlier on. Make sure you have removed the top first.
  2. Papier mache the entire box.
  3. You could add in a bridge by cutting a loo roll in half, placing in position at the edge of the box.
  4. Papier mache on top of your bridge, if you have made one.
  5. You could add banks on the side of your river by twisting longer pieces of newspaper, placing in position then adding papier mache on top to secure.
  6. Leave to dry!
  7. When the grounds are dry you can paint them.

    Tip: You could scrunch up some balls of green (or painted green) paper and put them into the tops of the four new corner pillars to make trees. They can be whatever you want, so a part of a fence perhaps instead of trees.

    Tip 2: You could lollipop sticks to the perimeter to make a fence. We did this by using a sharp pencil to make holes along the edge (in about 1cm) then poking them through.

Now our unicorns have an epic hideout! And who would have thought it all started with a bit of loo roll!